the Lovely Wild

  • Blog
  • Archive
    • :: Archive
    • :: Apothecary
    • :: Celebrate
    • :: DIY
    • :: Eat
    • :: Wander
  • About
  • Design
  • Contact
fallwreath-7271.jpg

House Spells :: DIY Samhain Blessing Wreath

October 30, 2018 by Hailey Faust in :: Celebrate, :: Make, :: DIY

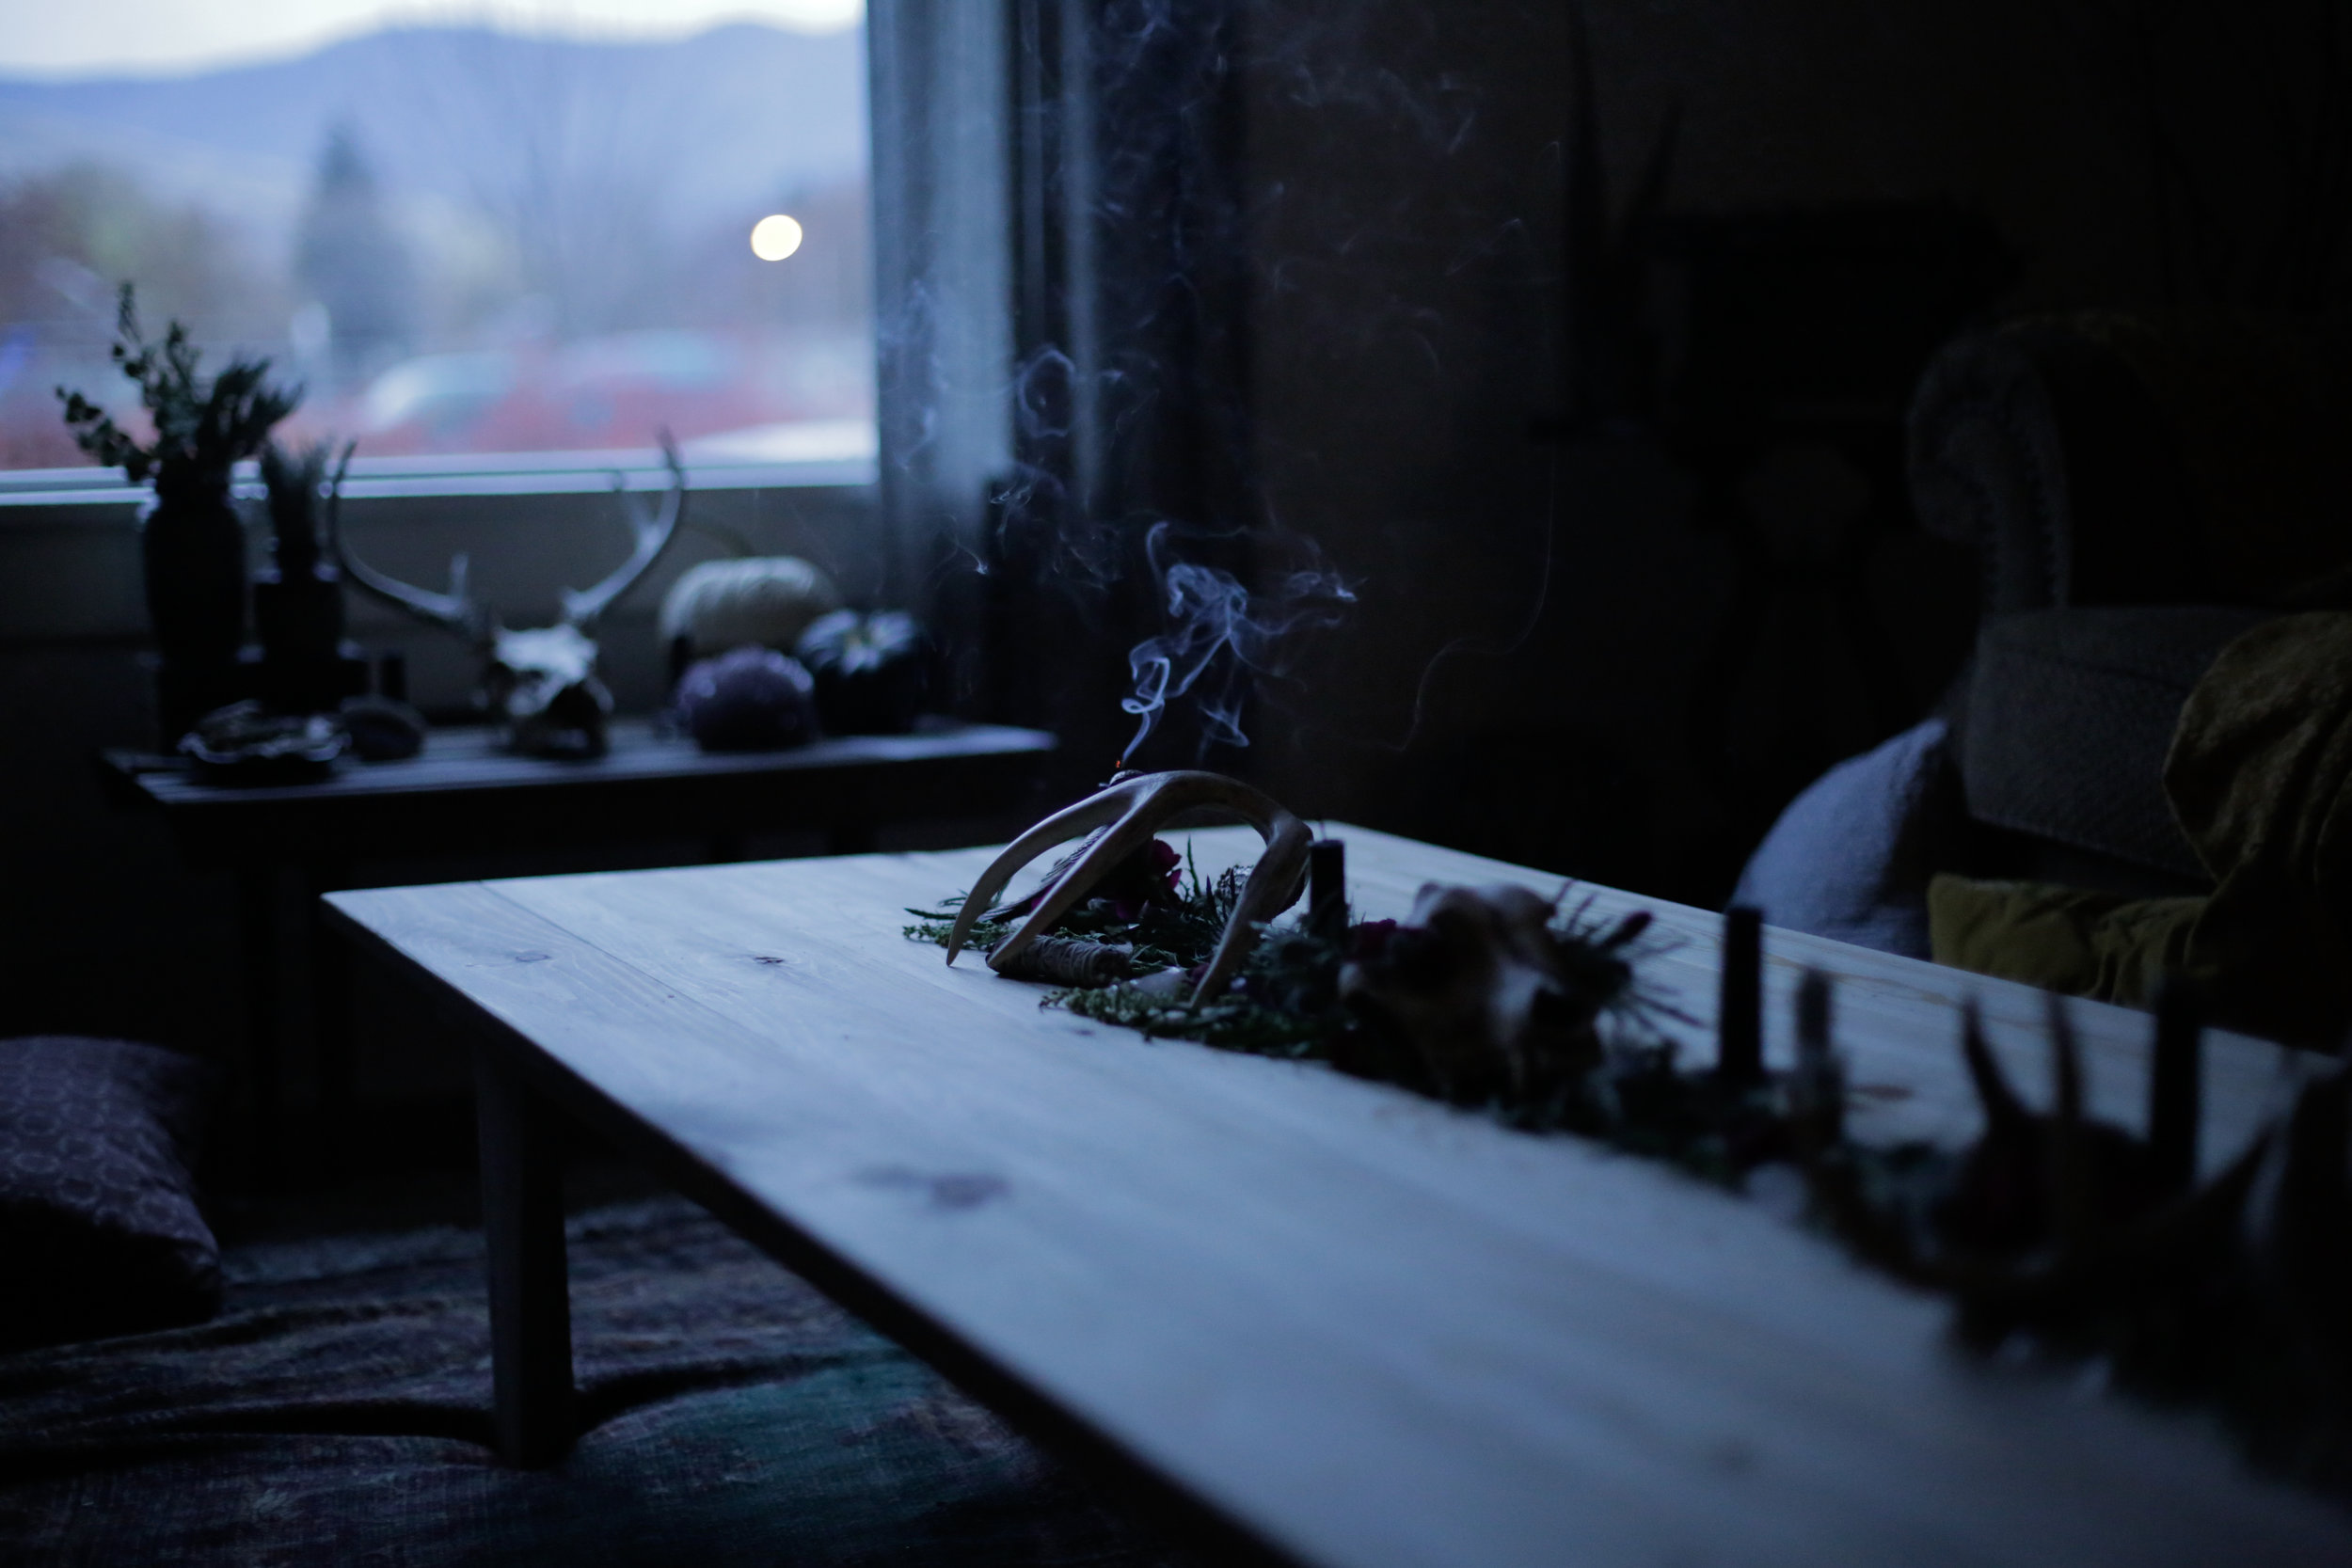
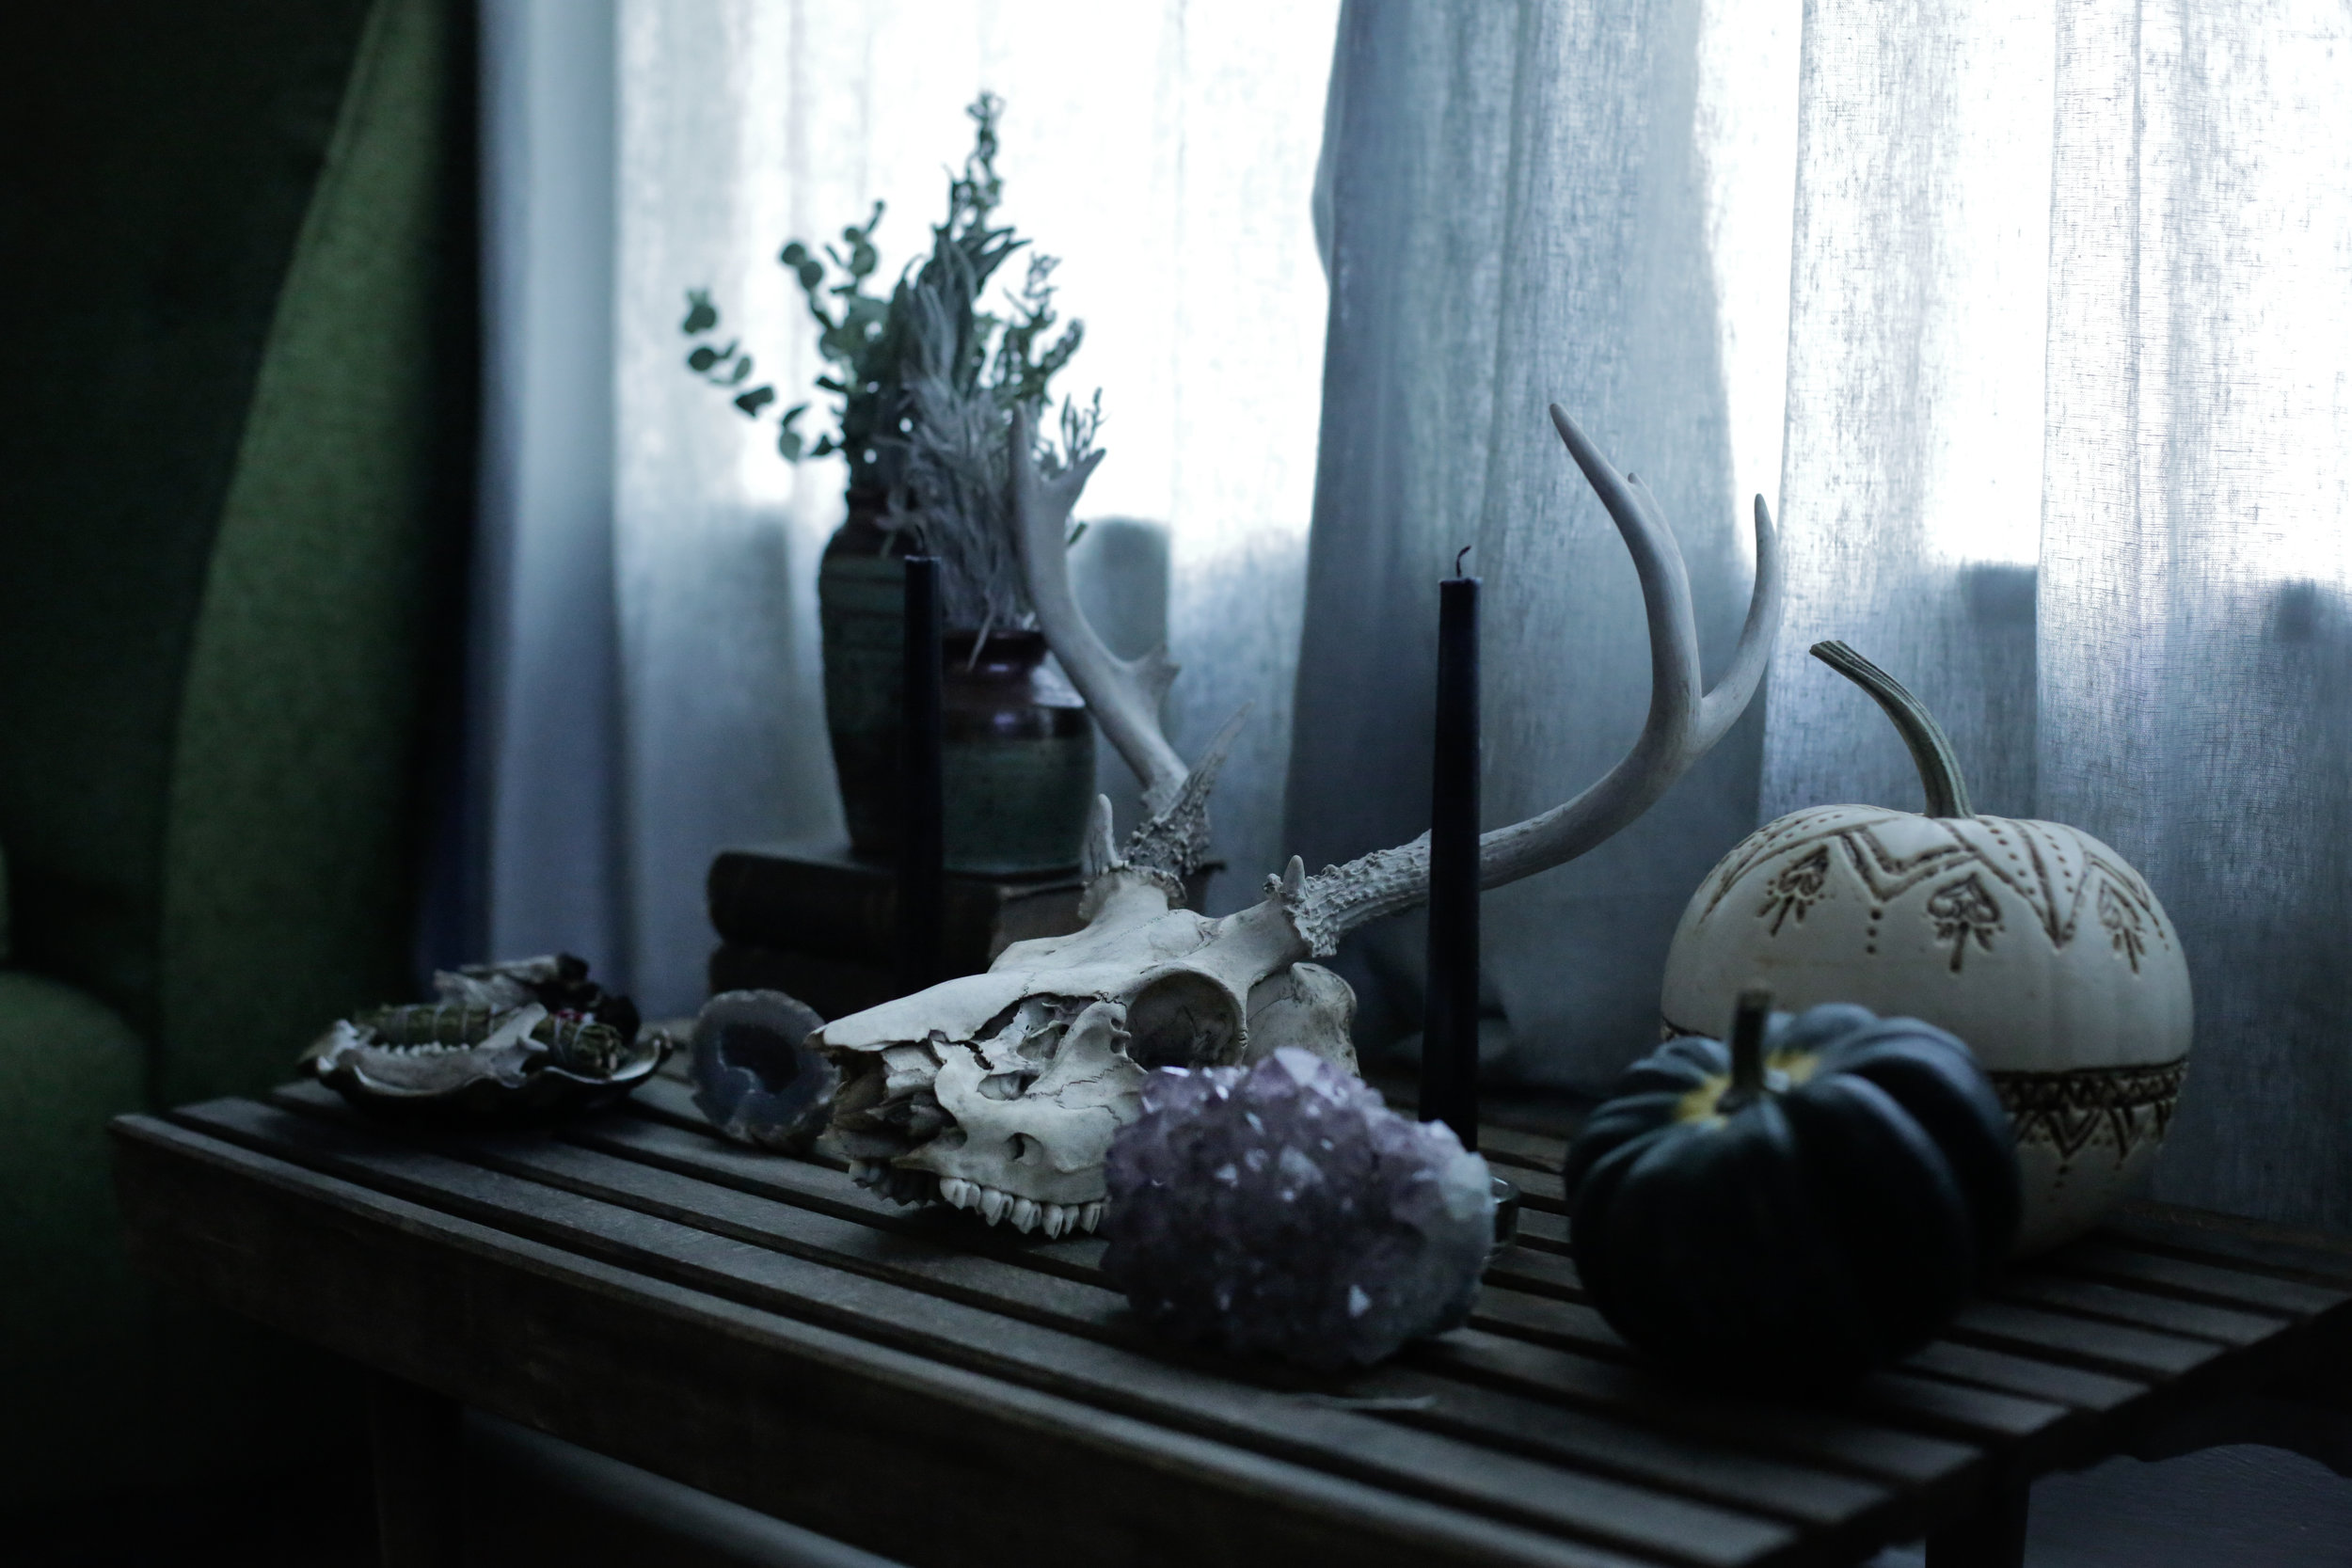
And now we step into the darker side of the wheel. Into the days of roots and stones and antlers and bones. A time to shed what we no longer need to carry, and to squirrel away what will carry us through the cold months ahead.

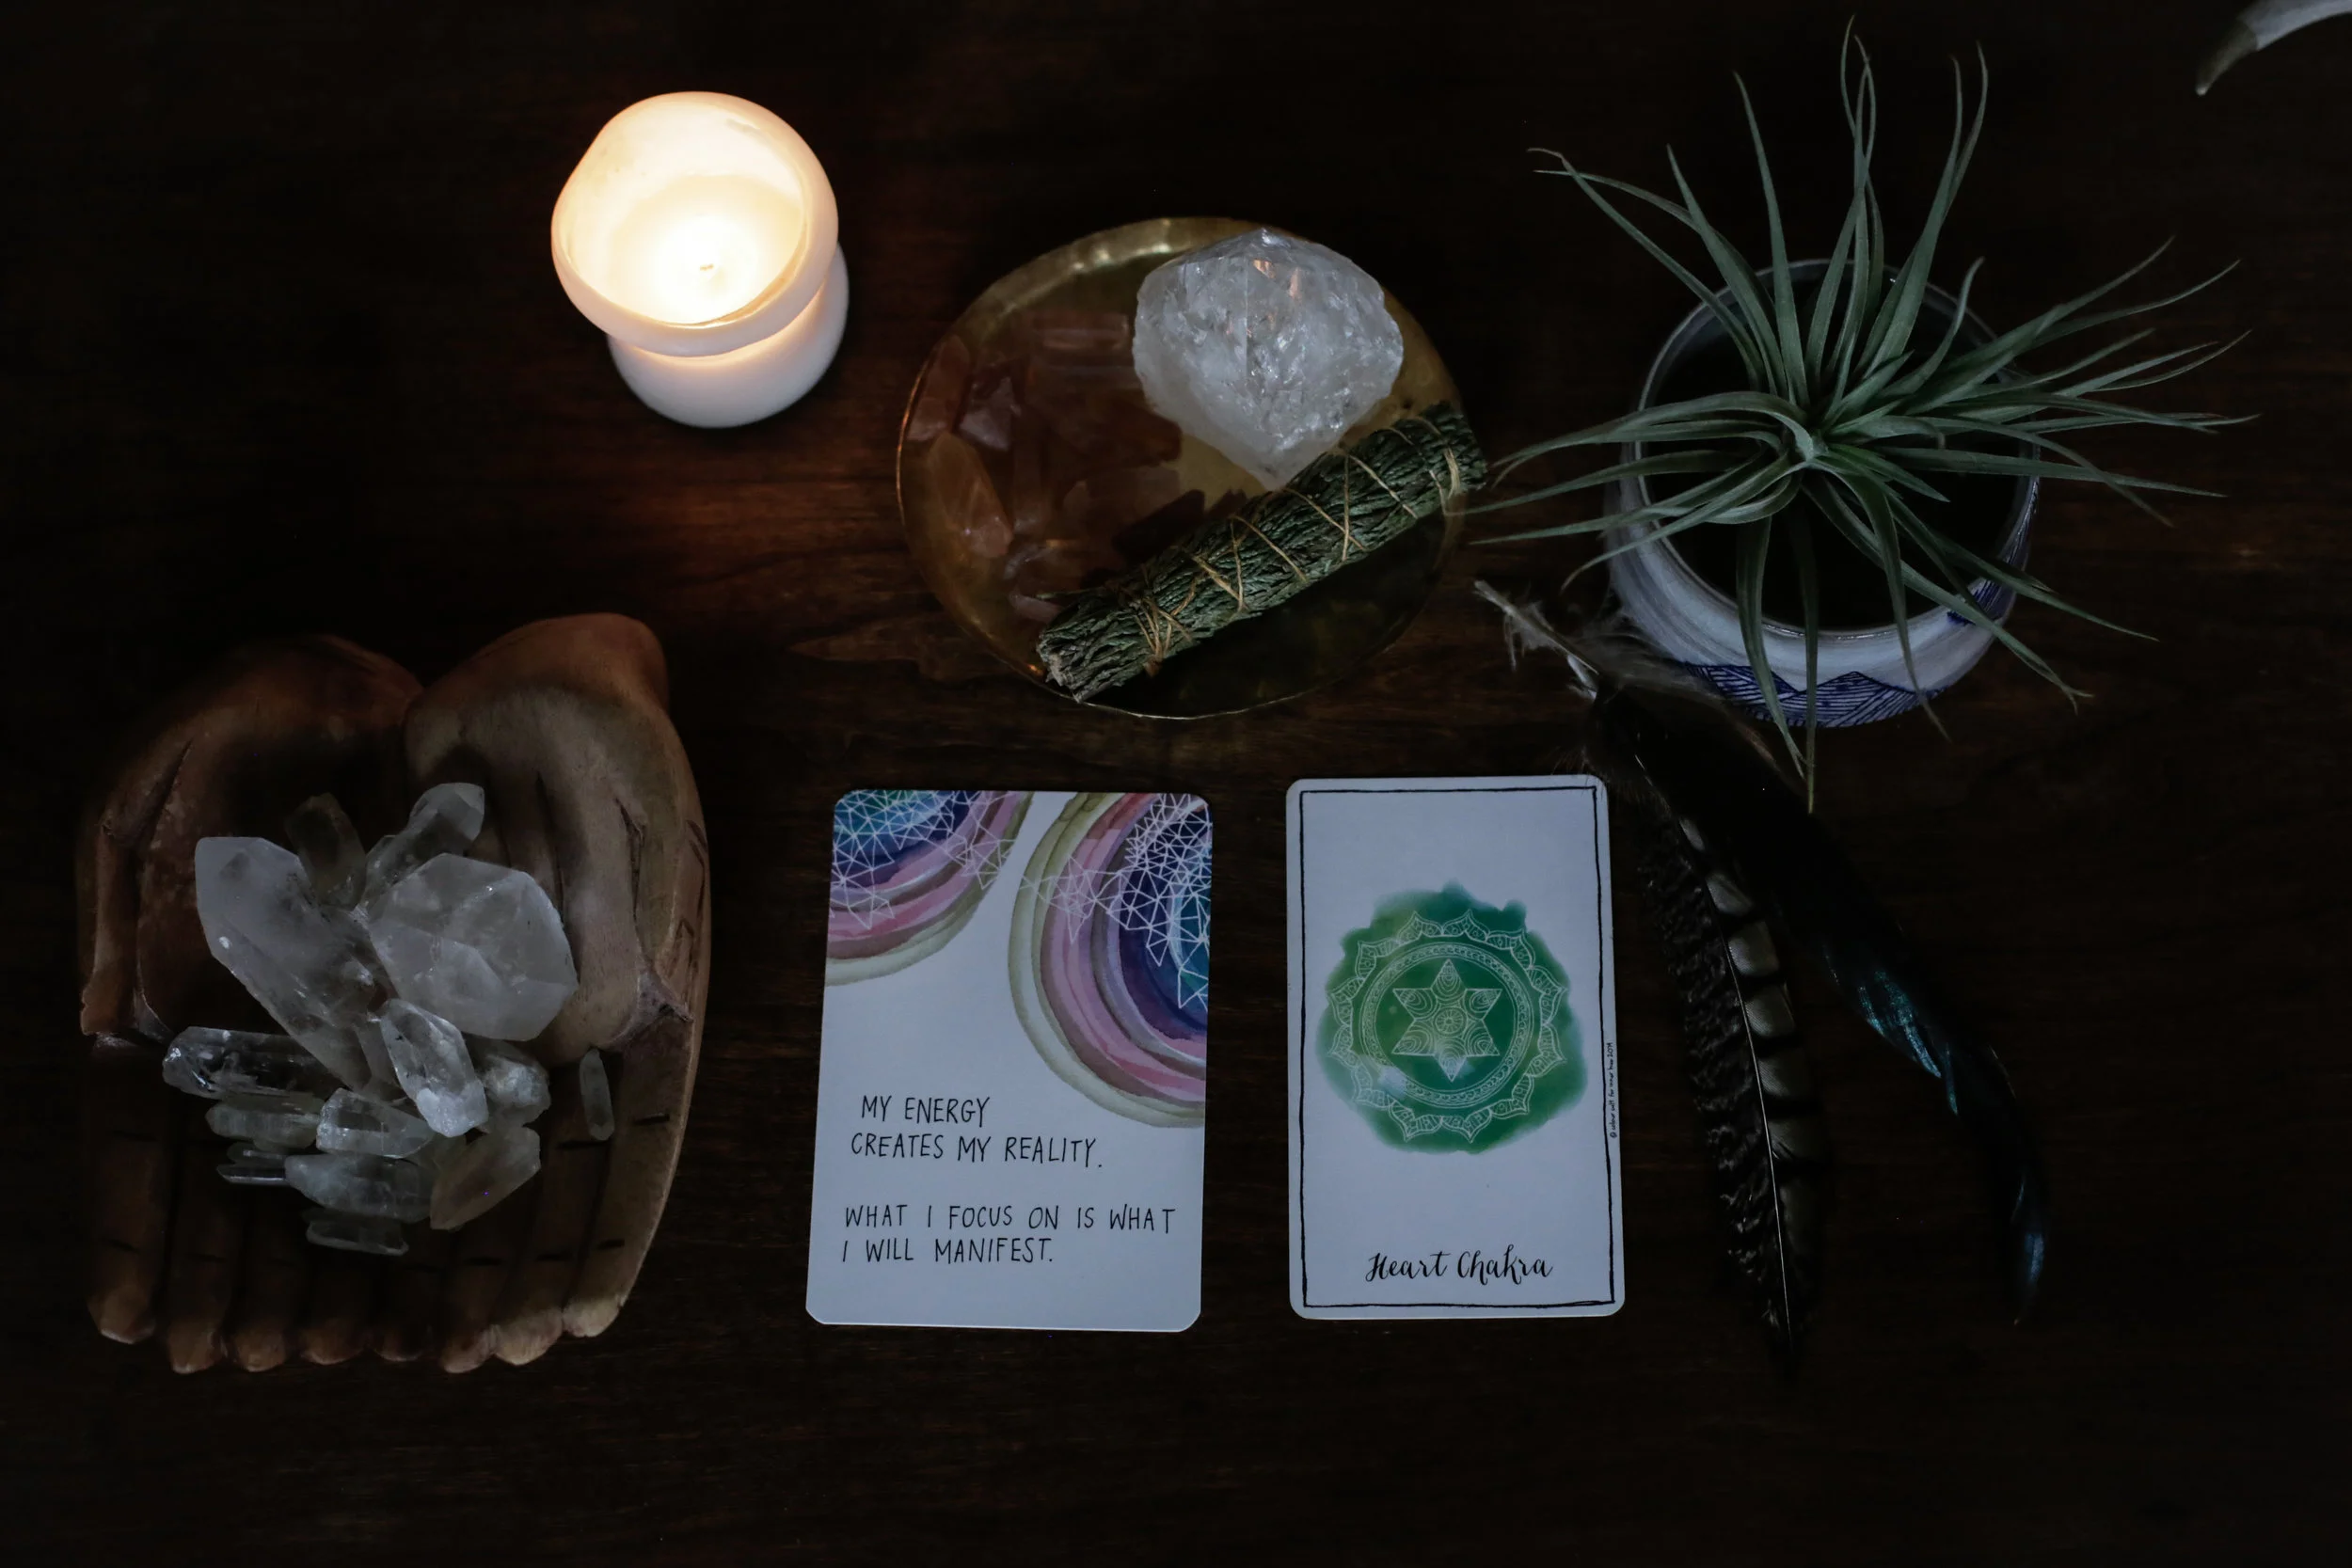
Samhain, Hallowe’en, Witches New Year…there are many names for this liminal time. For these in-between days when the veils are thinnest. We are now exactly half-way between the Fall Equinox and the Winter Solstice. This is a potent time of magic and transformation. A time that asks us to send our energy downward. Into our roots. Into the Underworld.

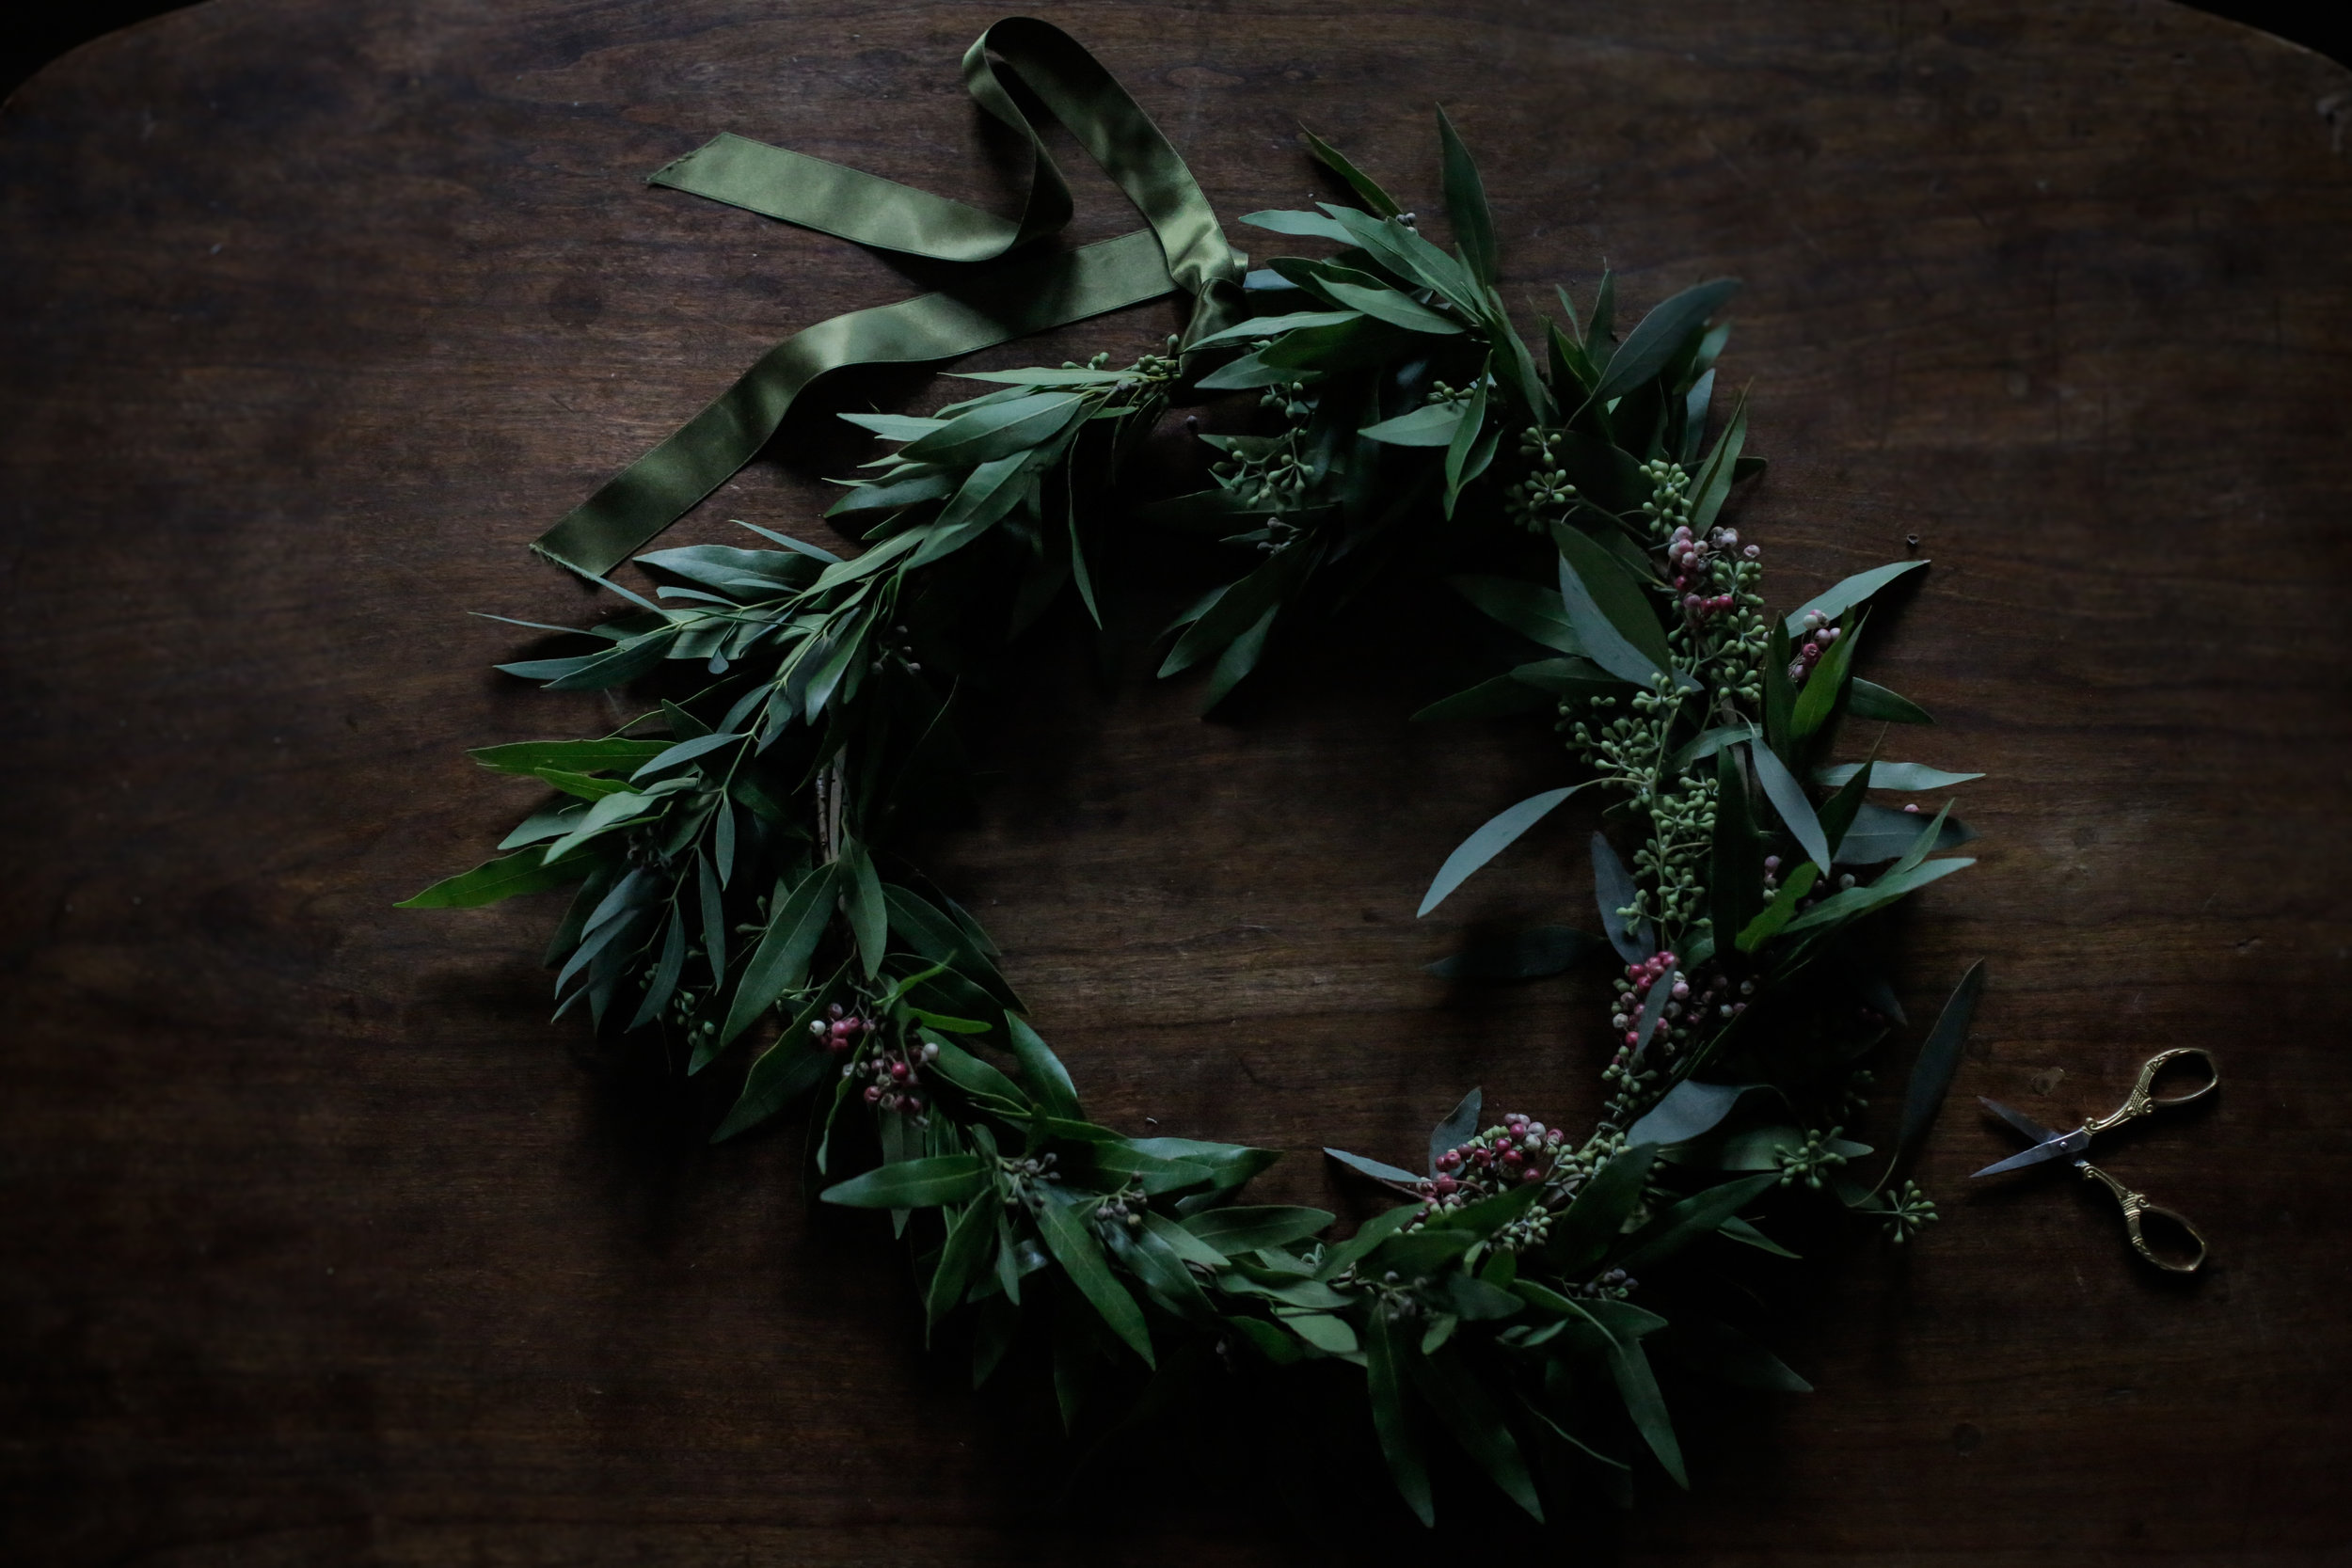
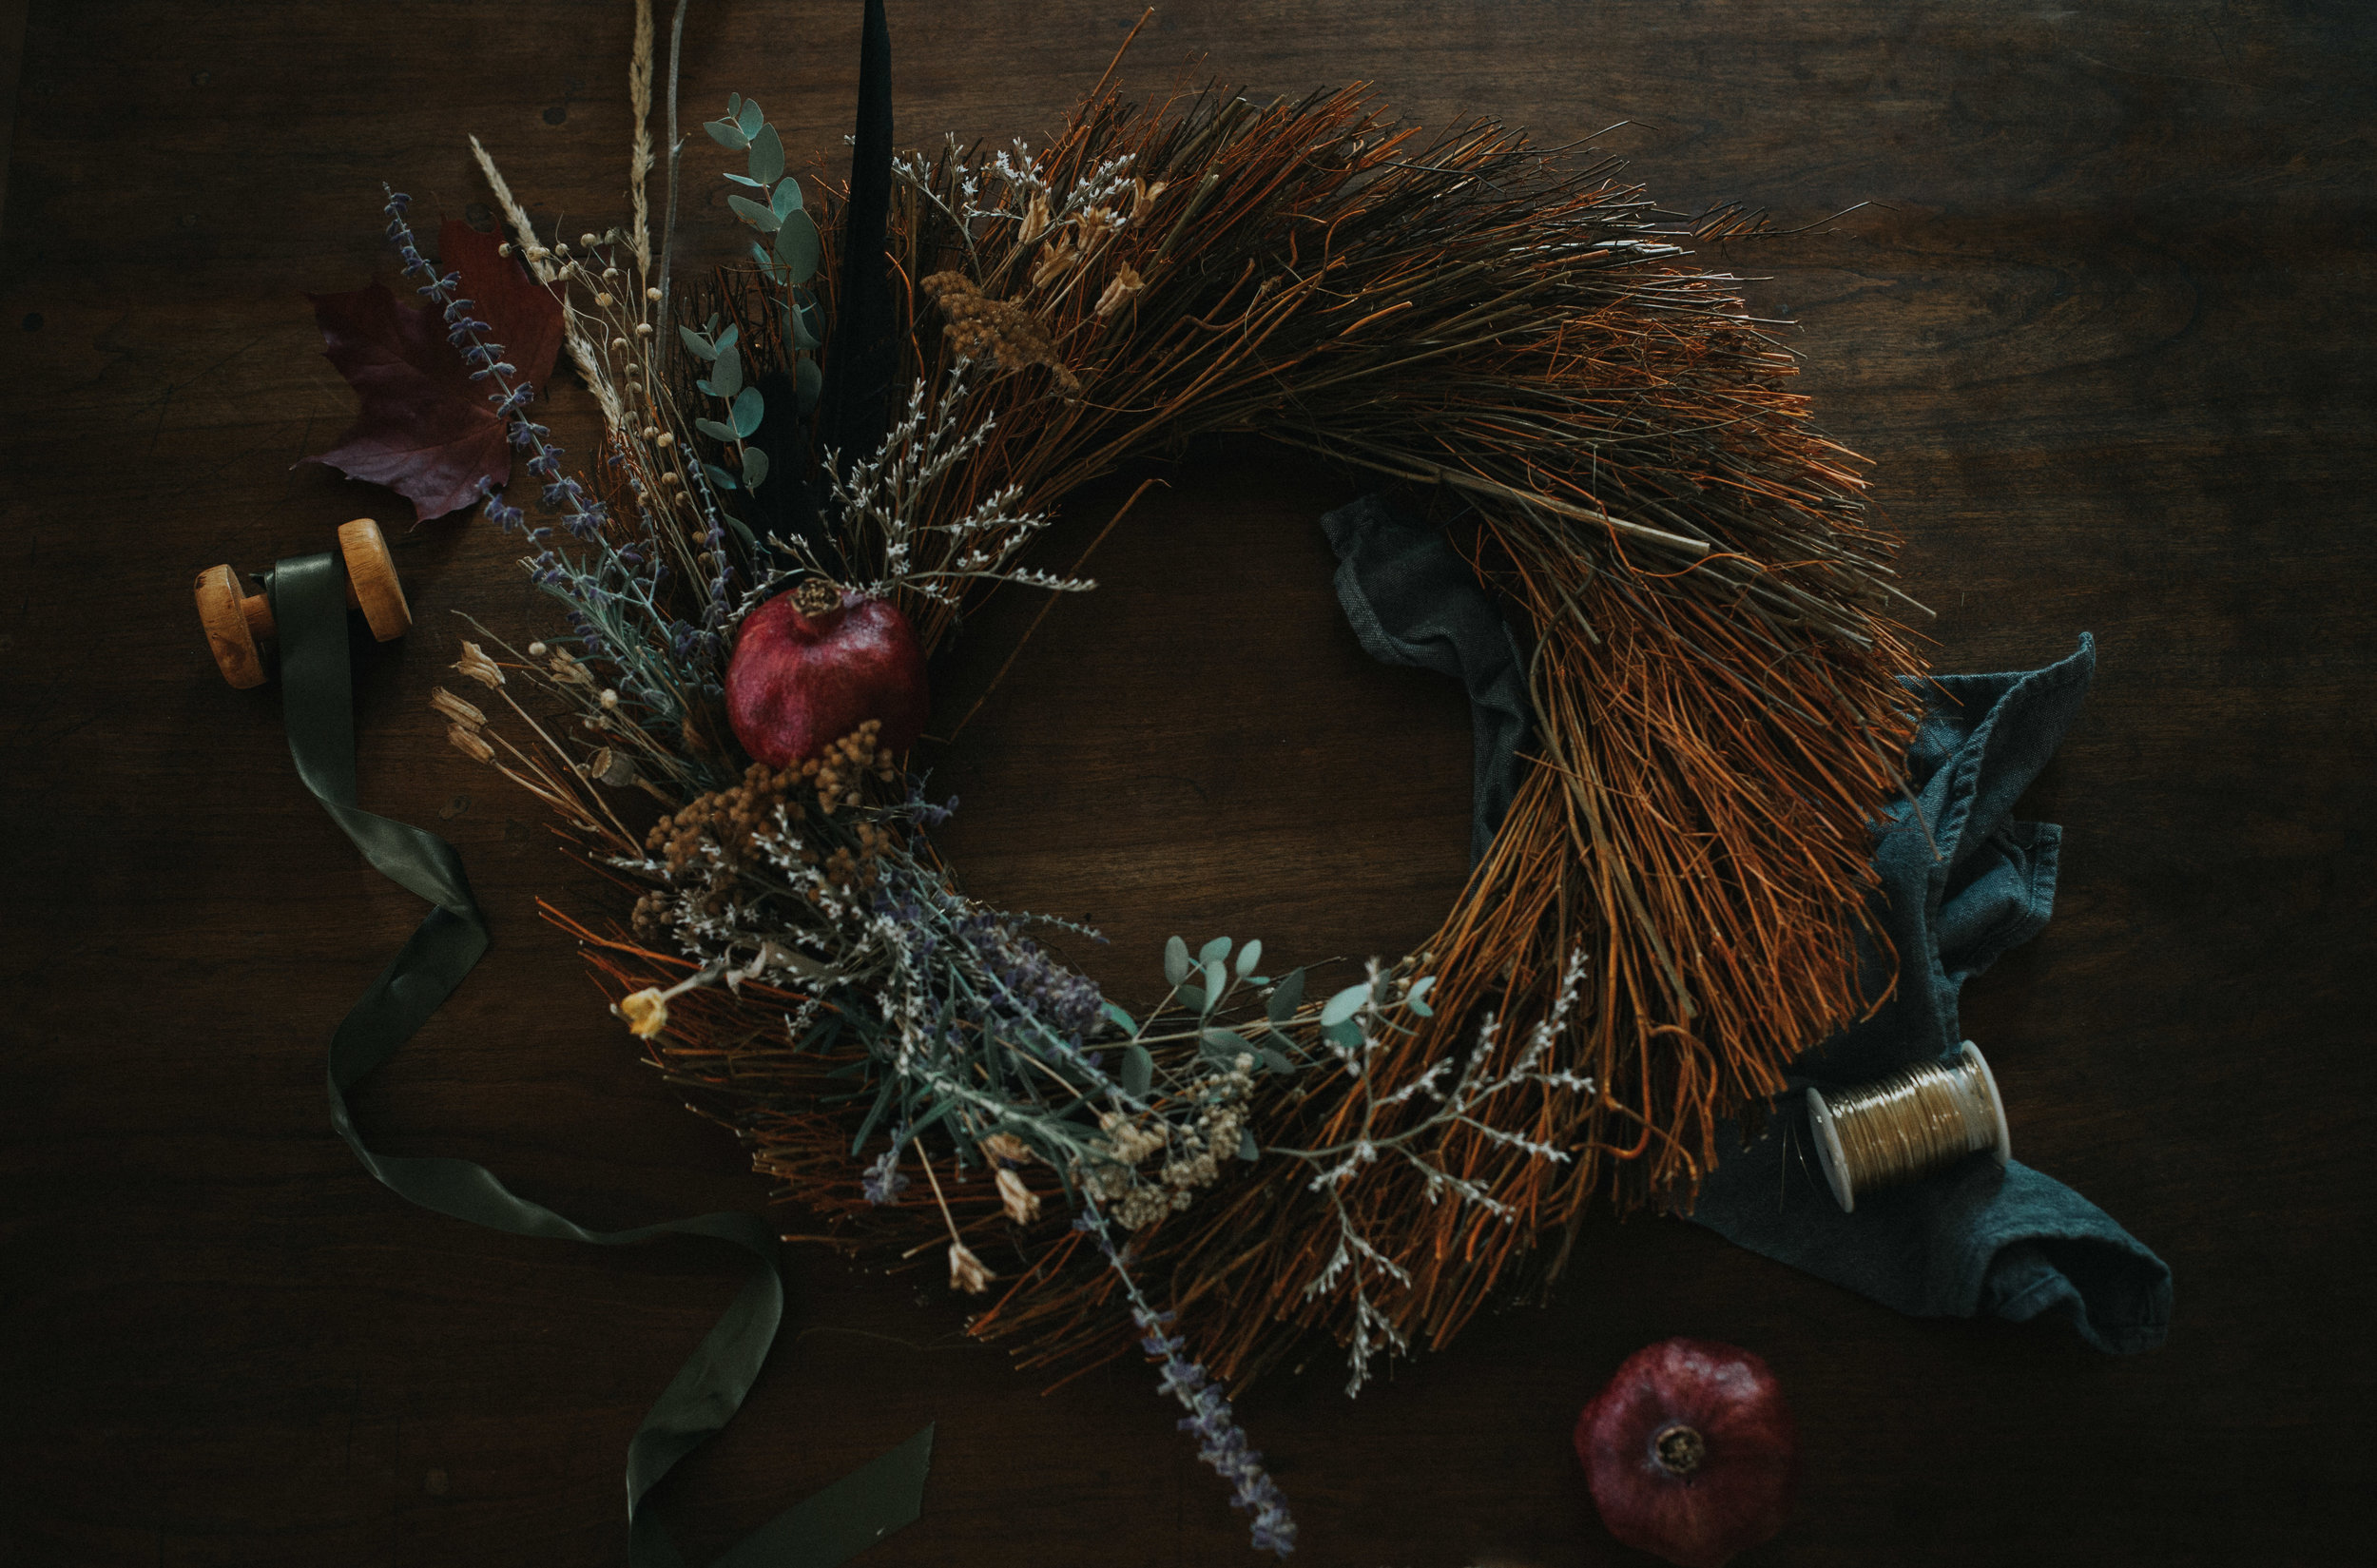
Homemade wreaths and swags have long been prescribed by folklore as talismans to protect the thresholds our homes. This simple wreath is a lovely way to enchant your space with protection and abundance for the darker days ahead, and to quietly honor the natural cycles of life and death.

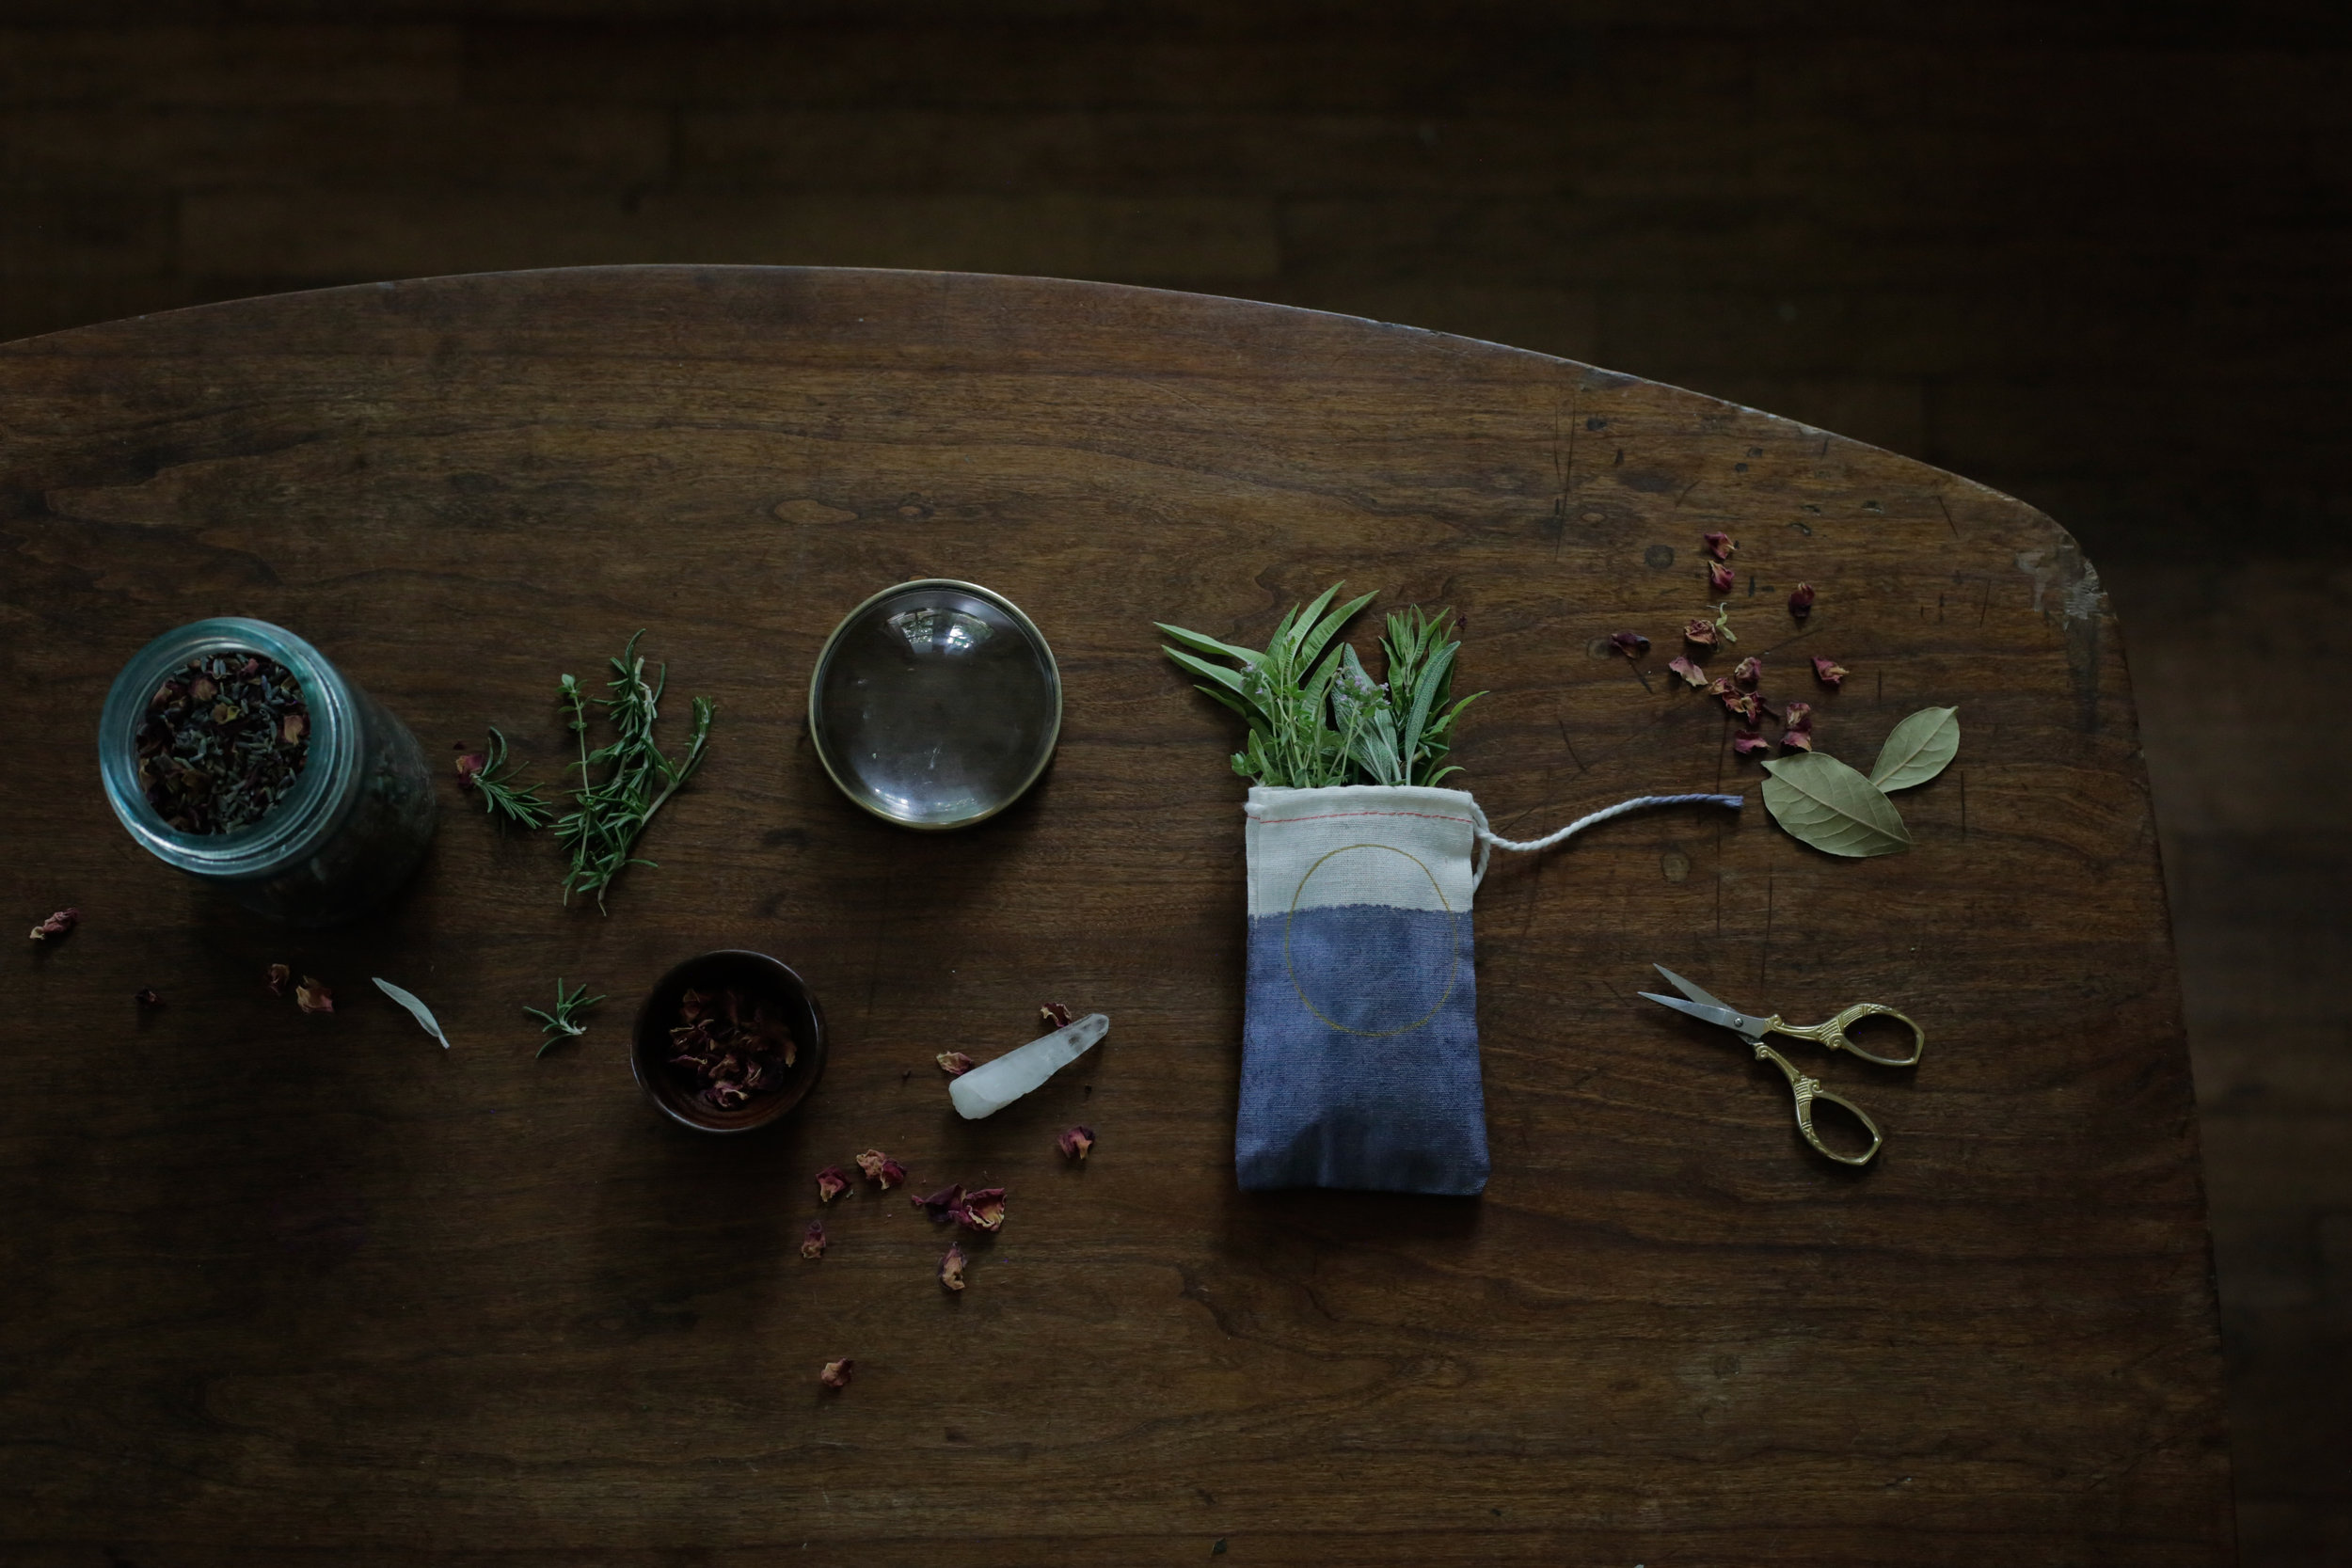
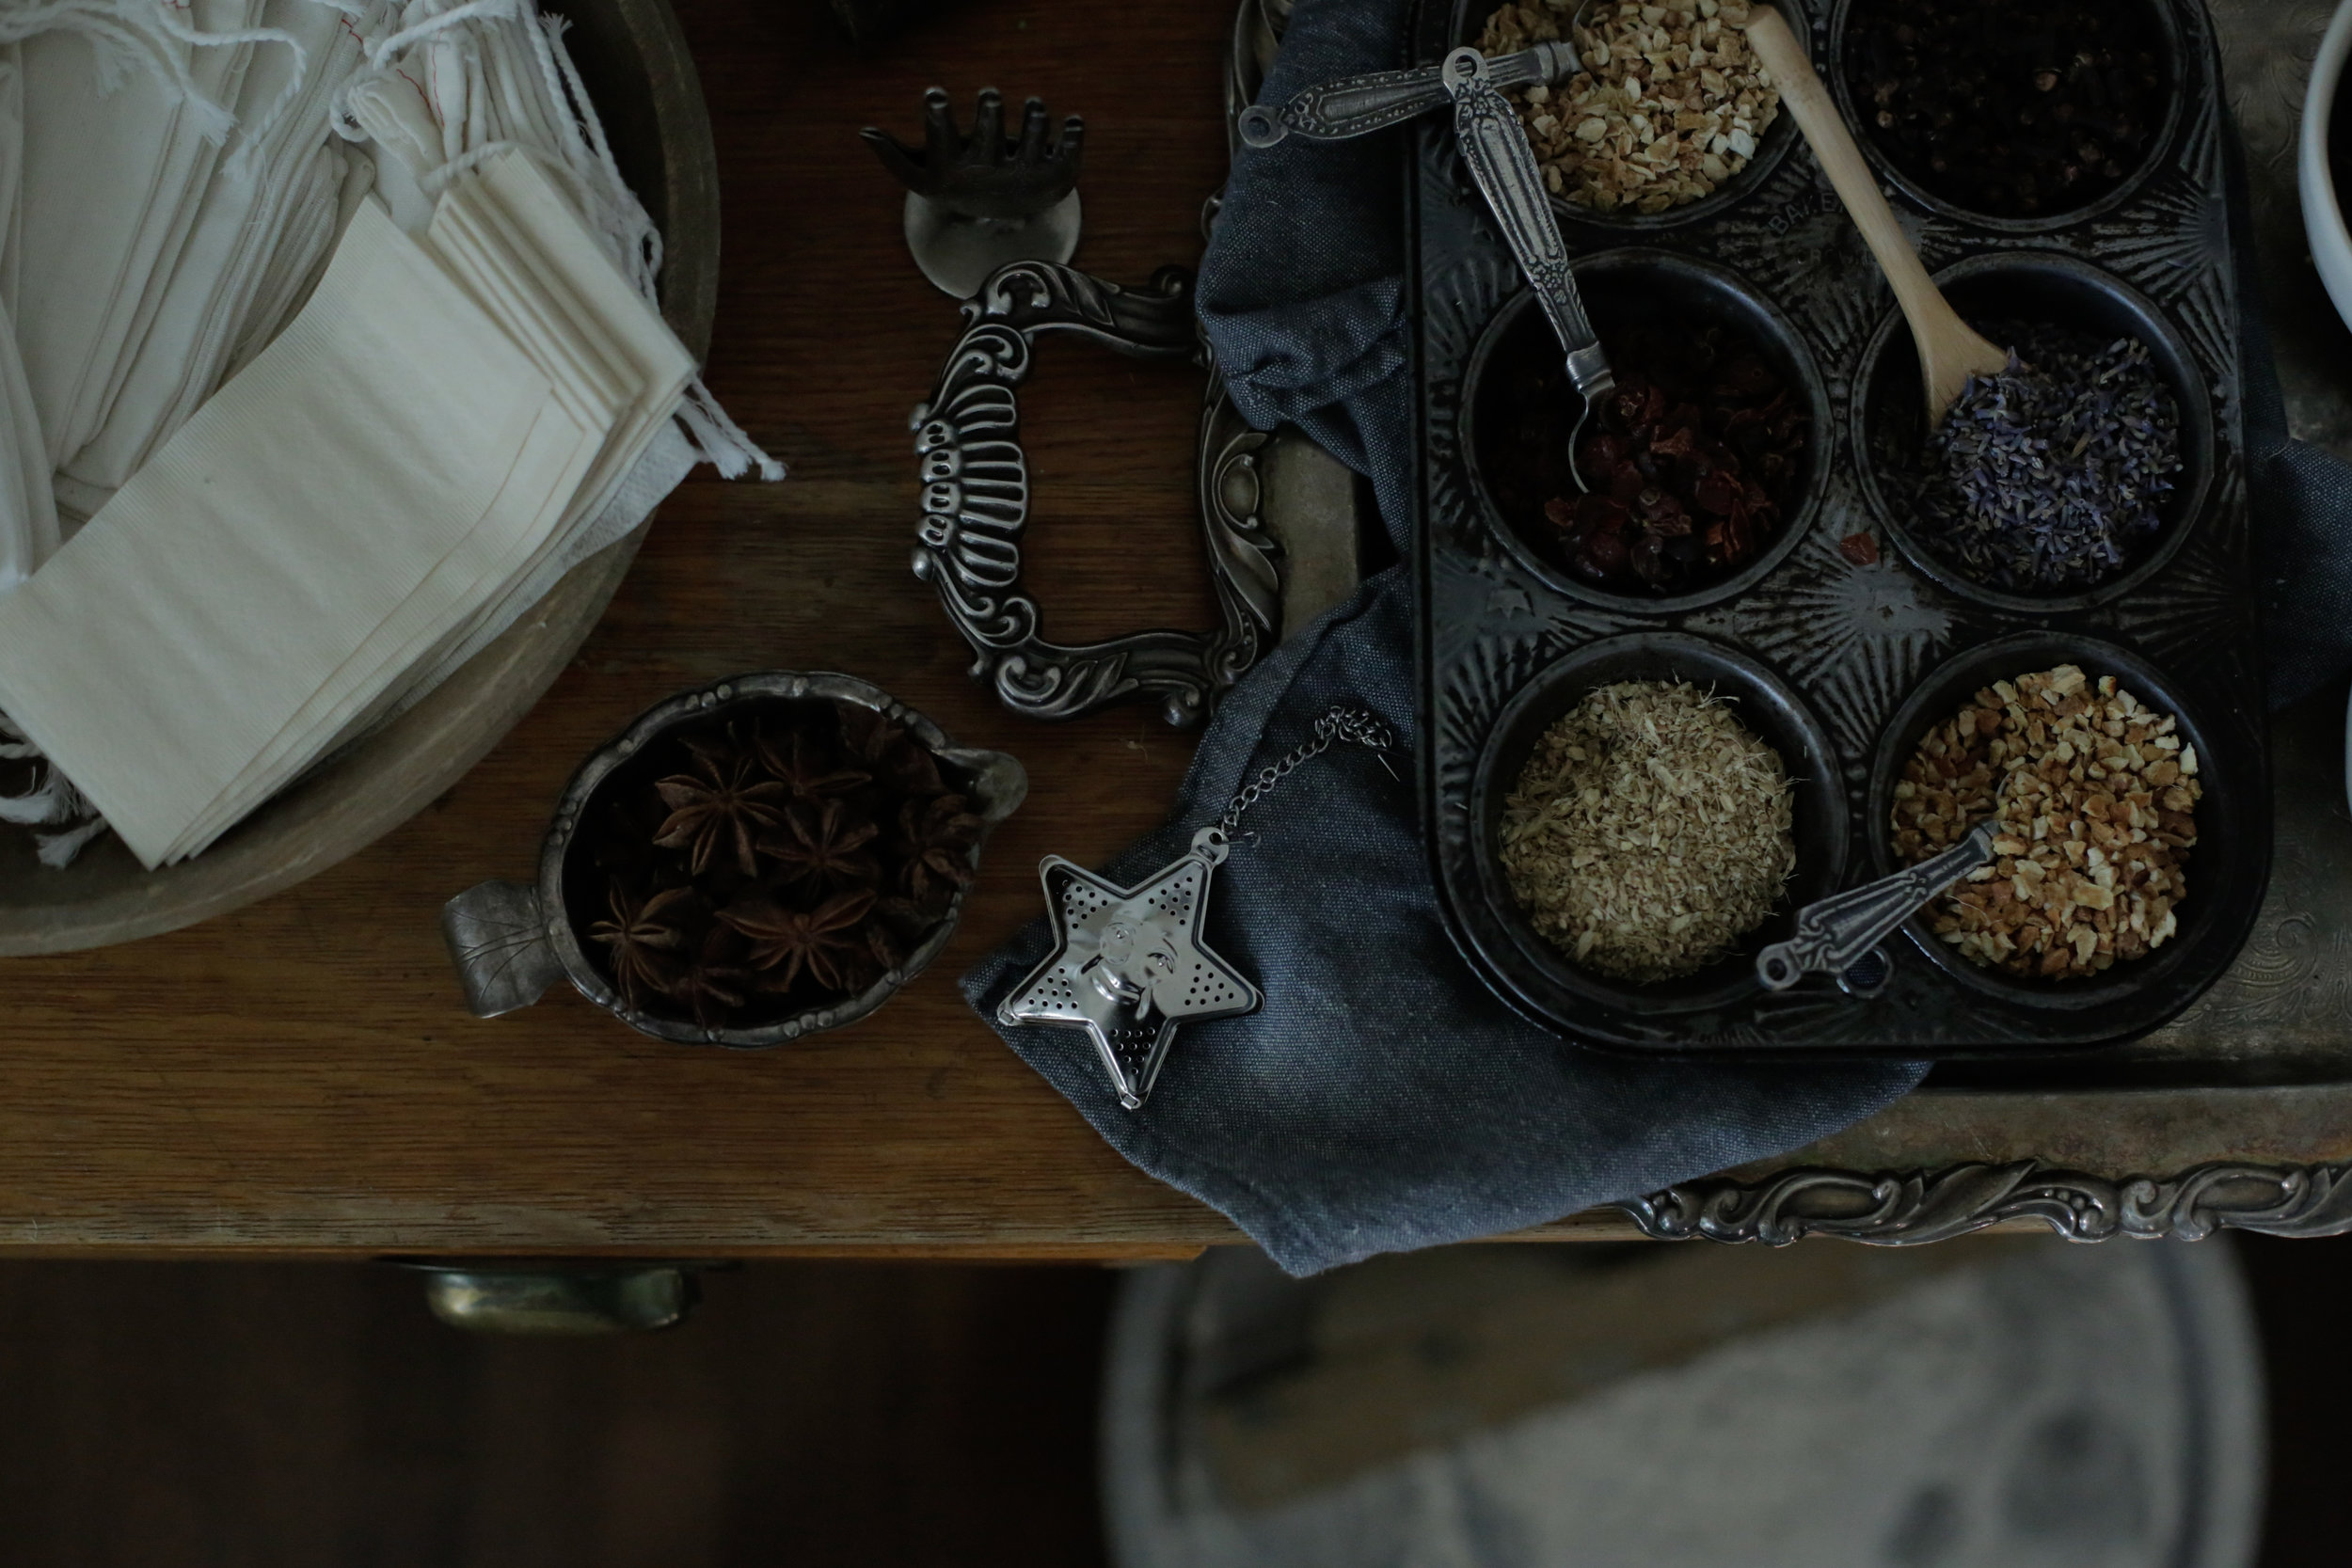
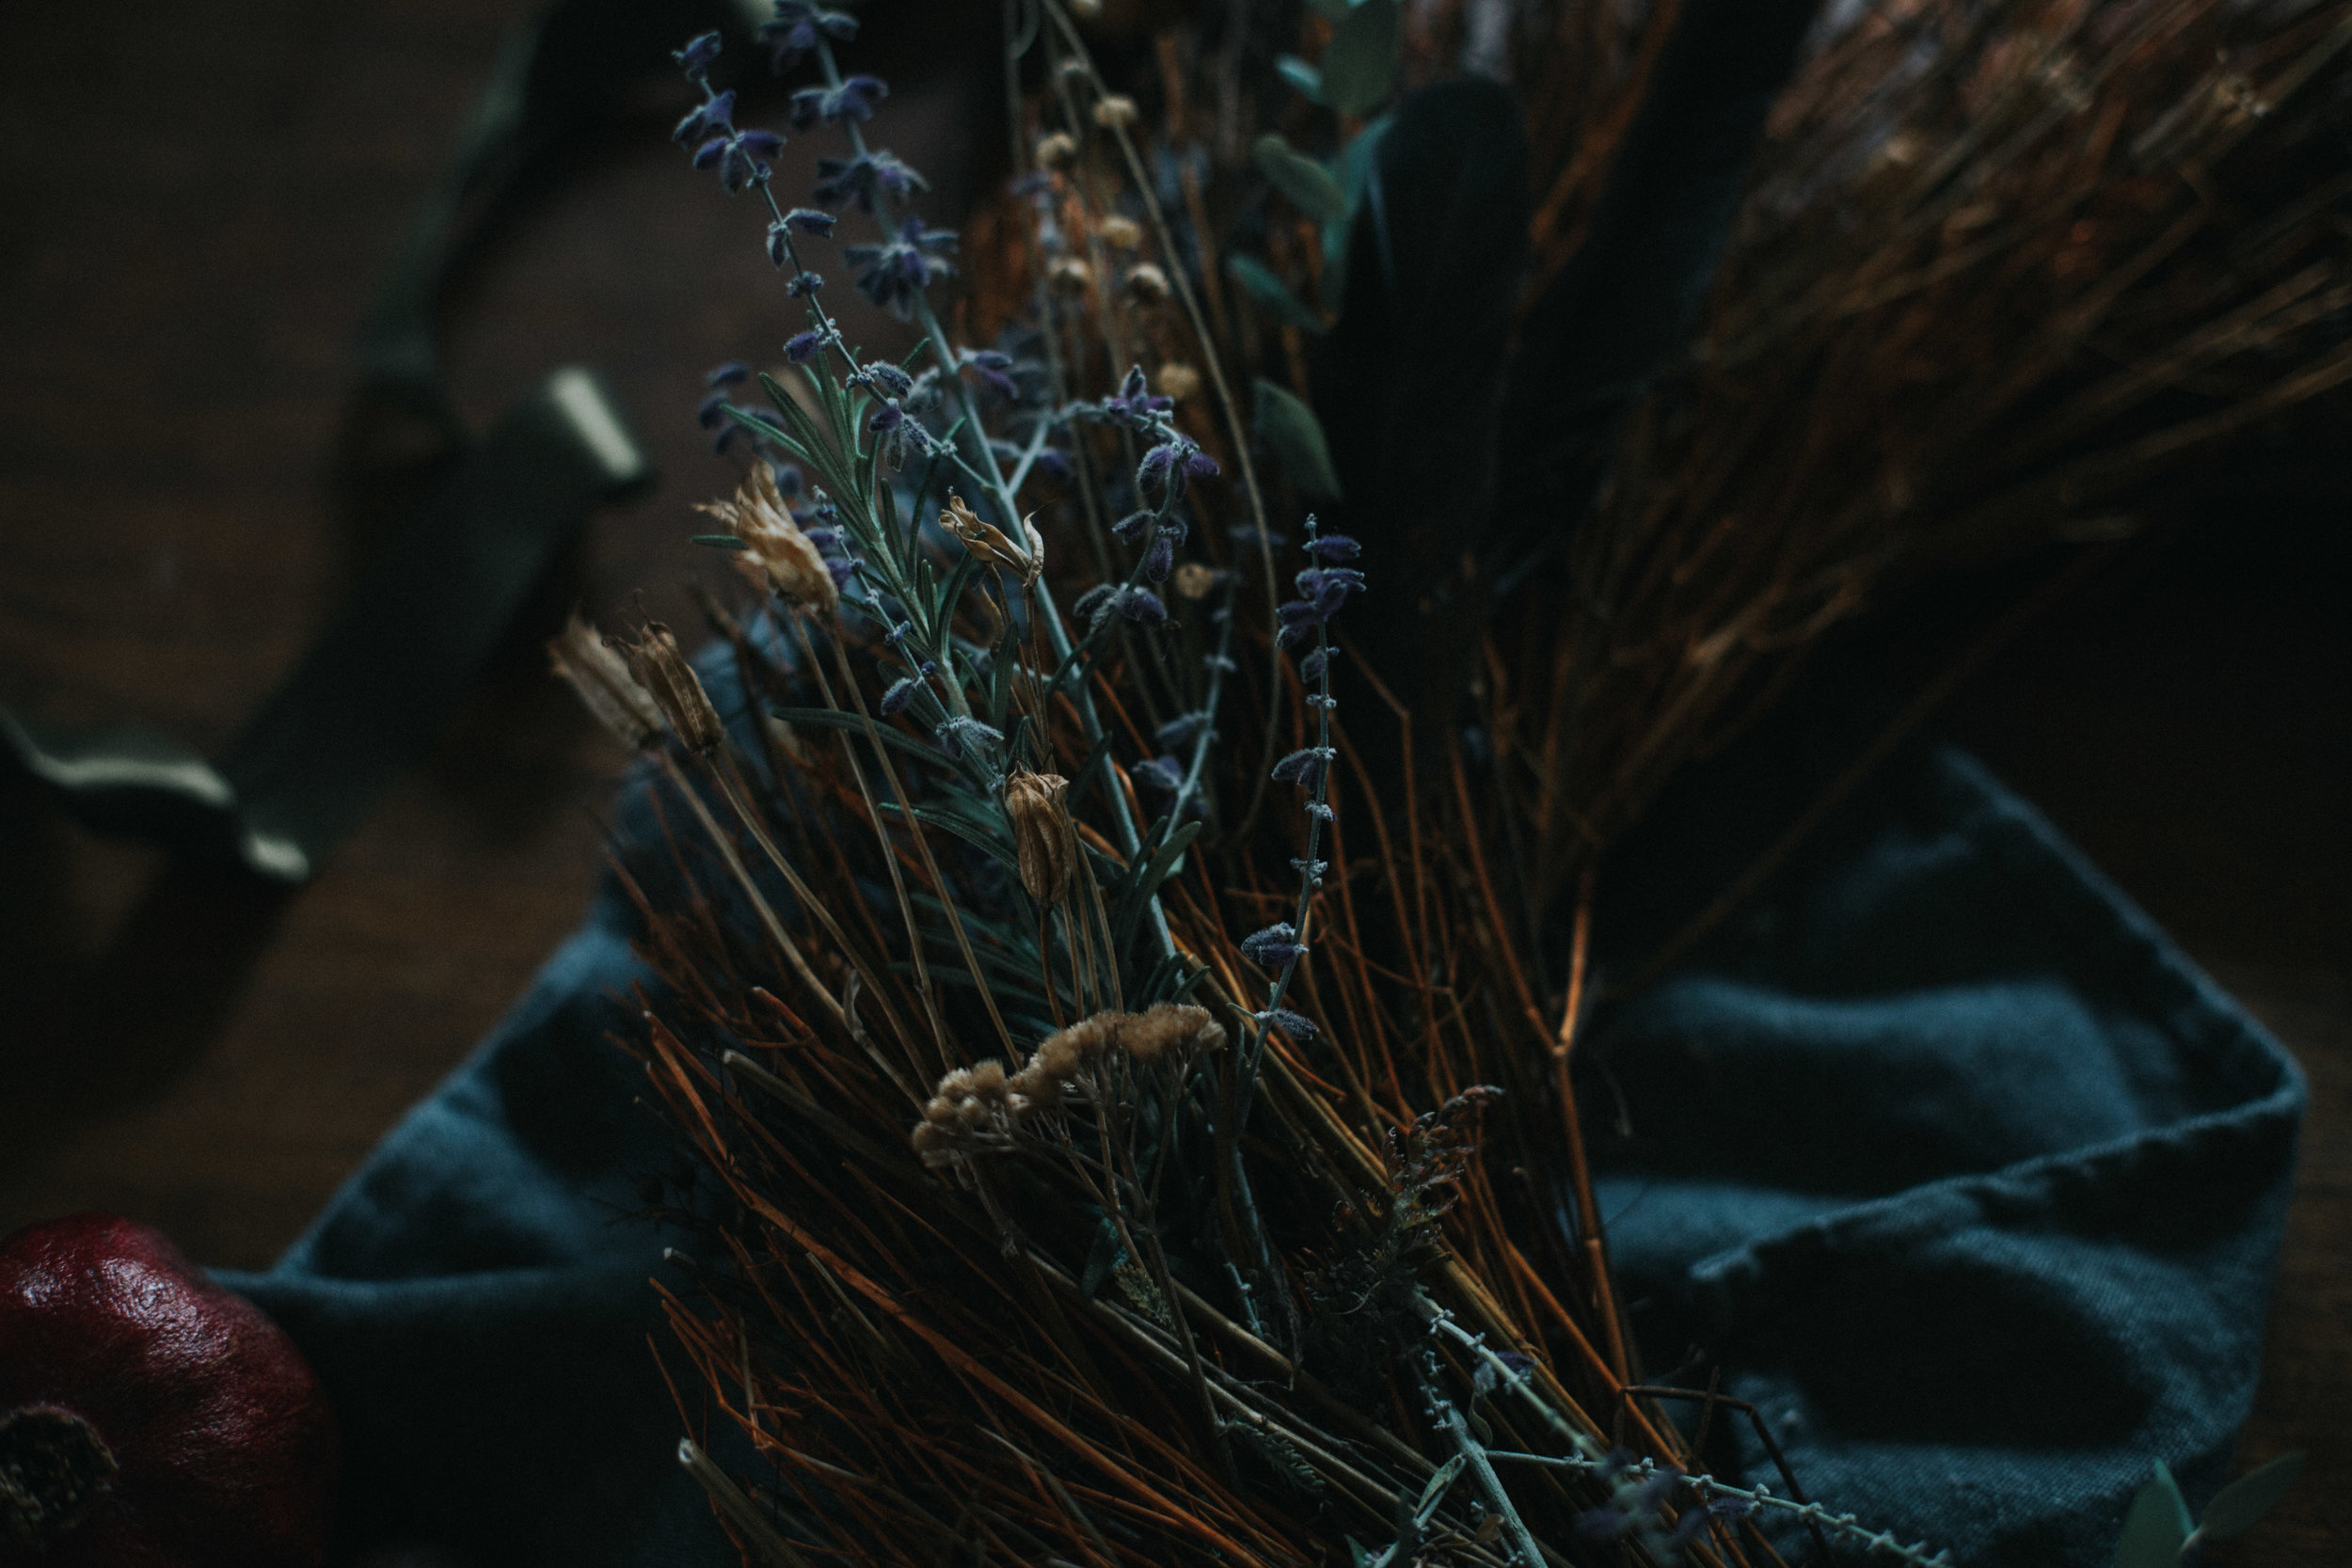
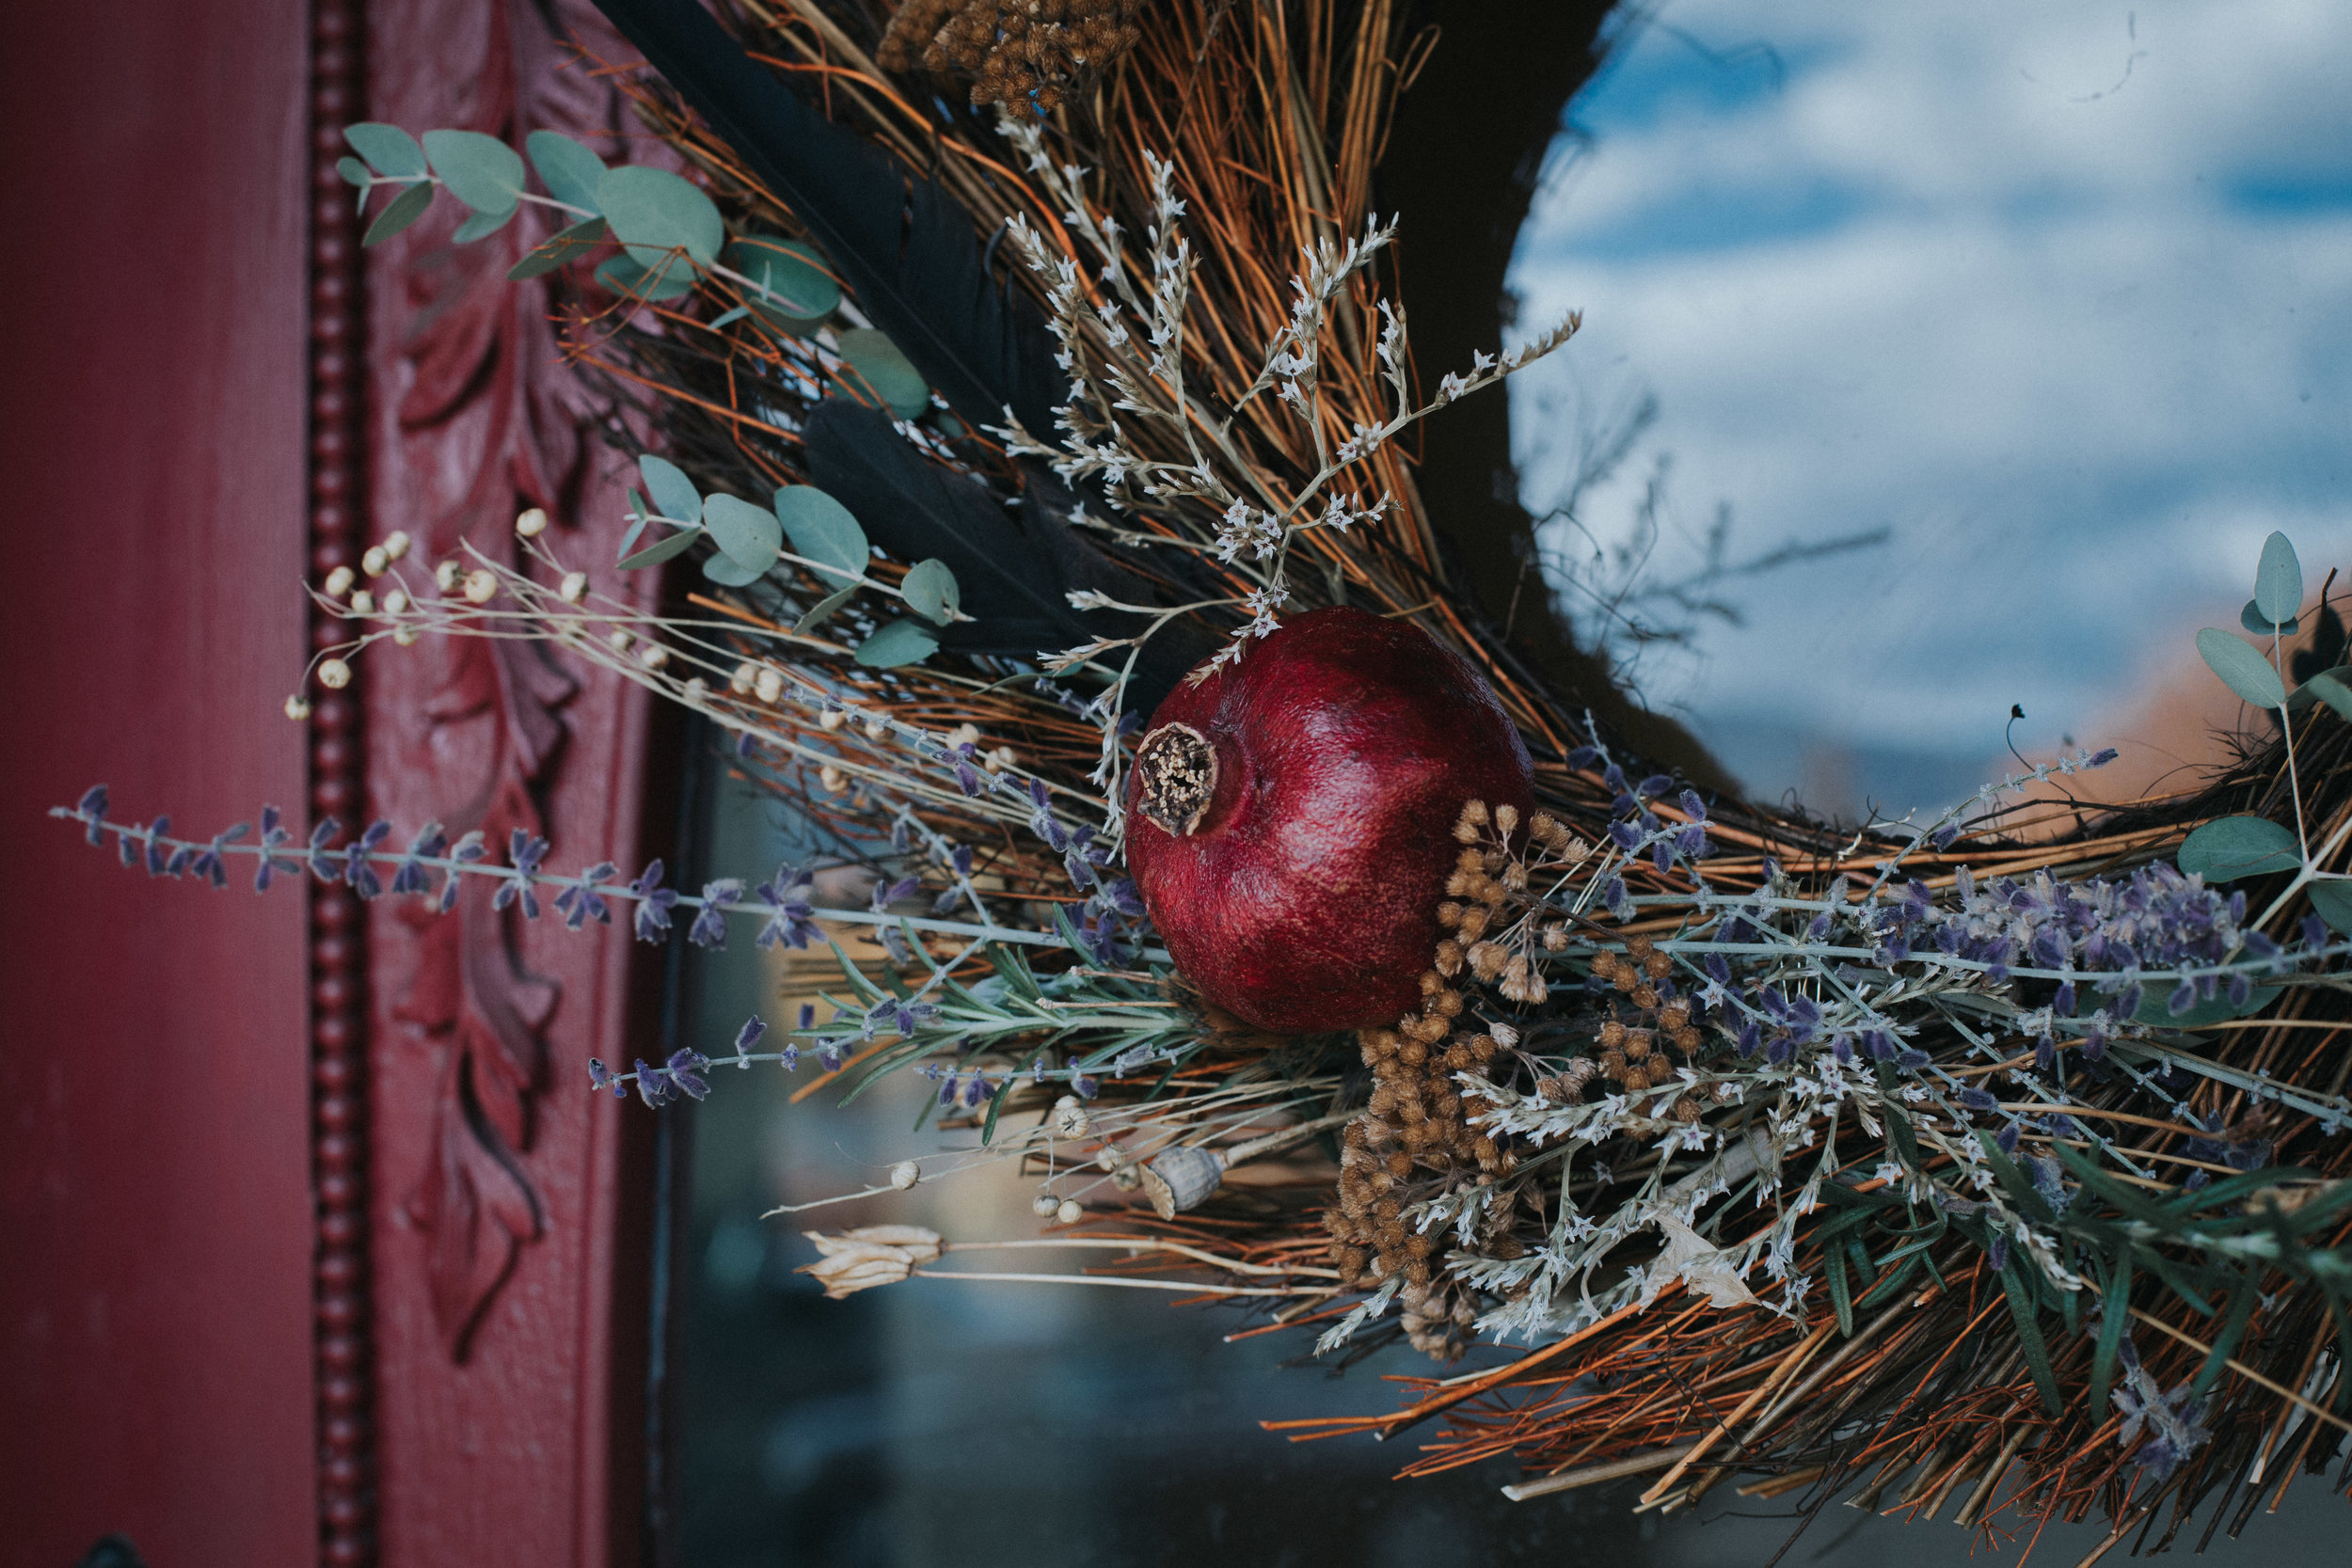
I spent a few minutes wandering through the garden, clipping hearty herbs that had managed to escape the morning frosts, and departed flowers that had dried on their stalks. I used whatever called out to me. Rosemary for remembrance and protection. Lavender for a restful hibernation. Yarrow to shield against melancholy. Eucalyptus to remove negativity. Black feathers because they just kept appearing in my path. I highly recommend wandering through your own yard or neighborhood and taking small clippings of whatever catches your eye. Let your intuition guide you. Don’t worry if they are dead or faded, they will look beautiful. I also had a few pomegranates rolling around our kitchen fruit bowl, which I included to honor Persephone’s decent into the Underworld.

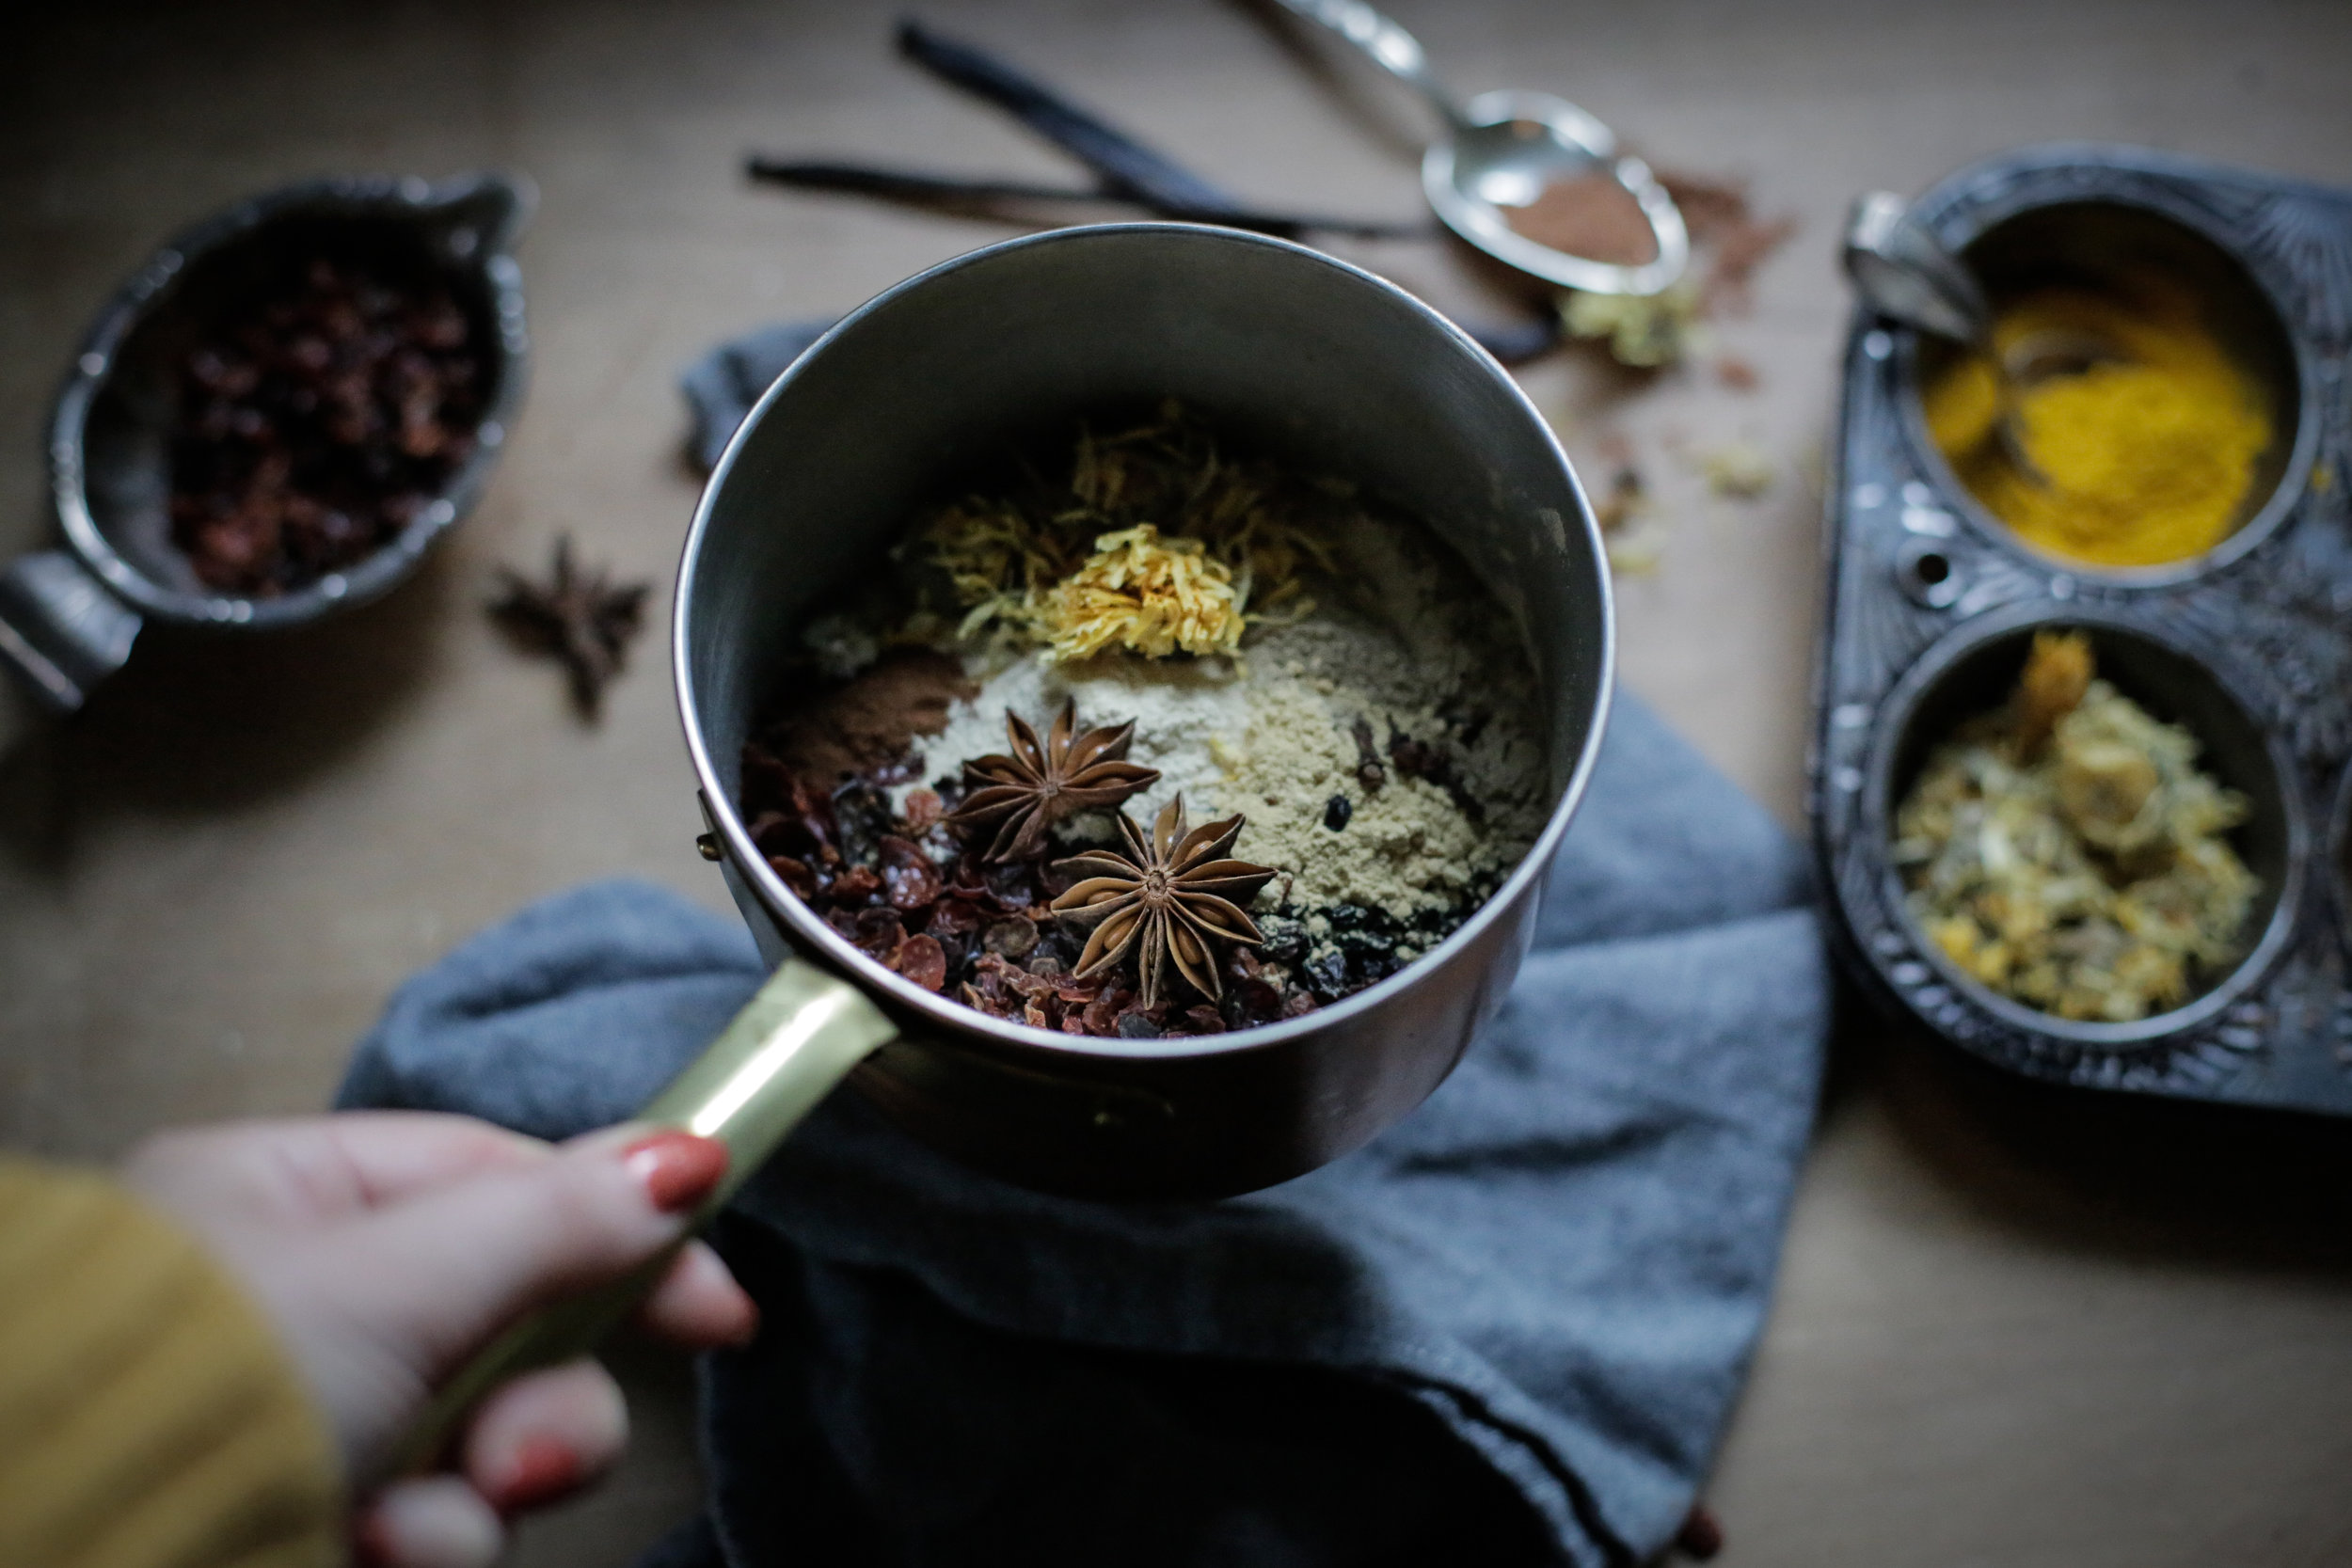
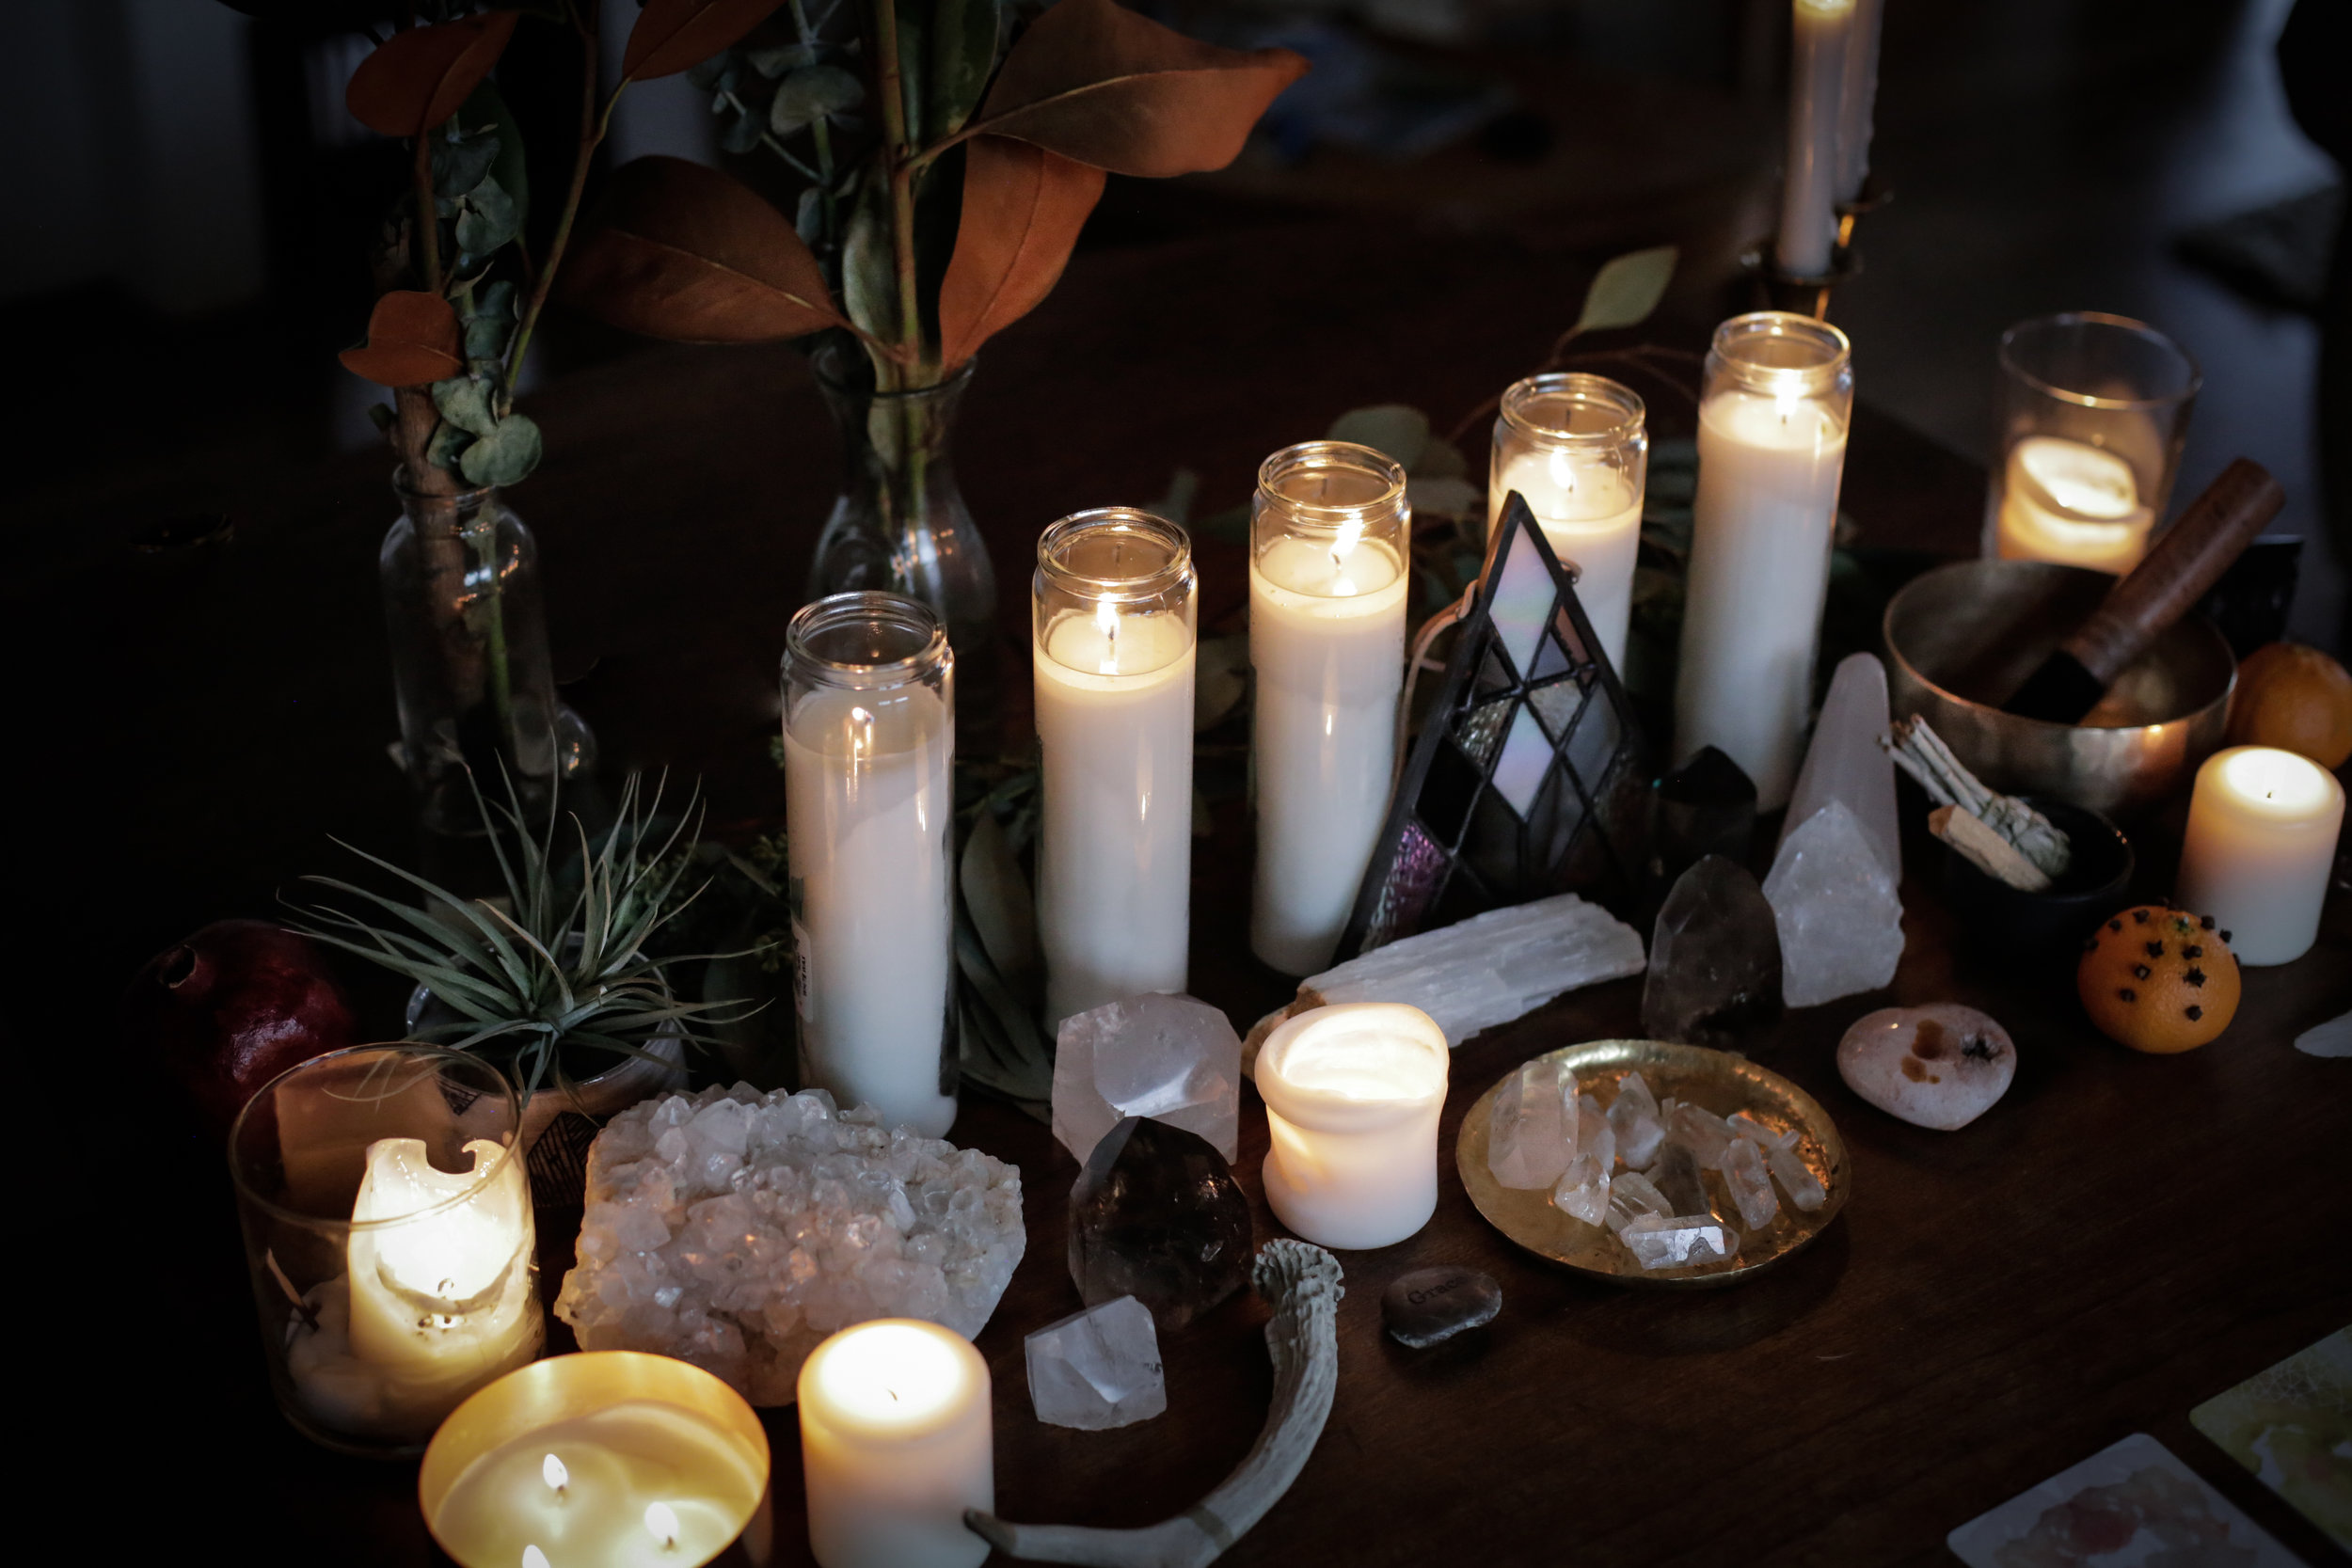
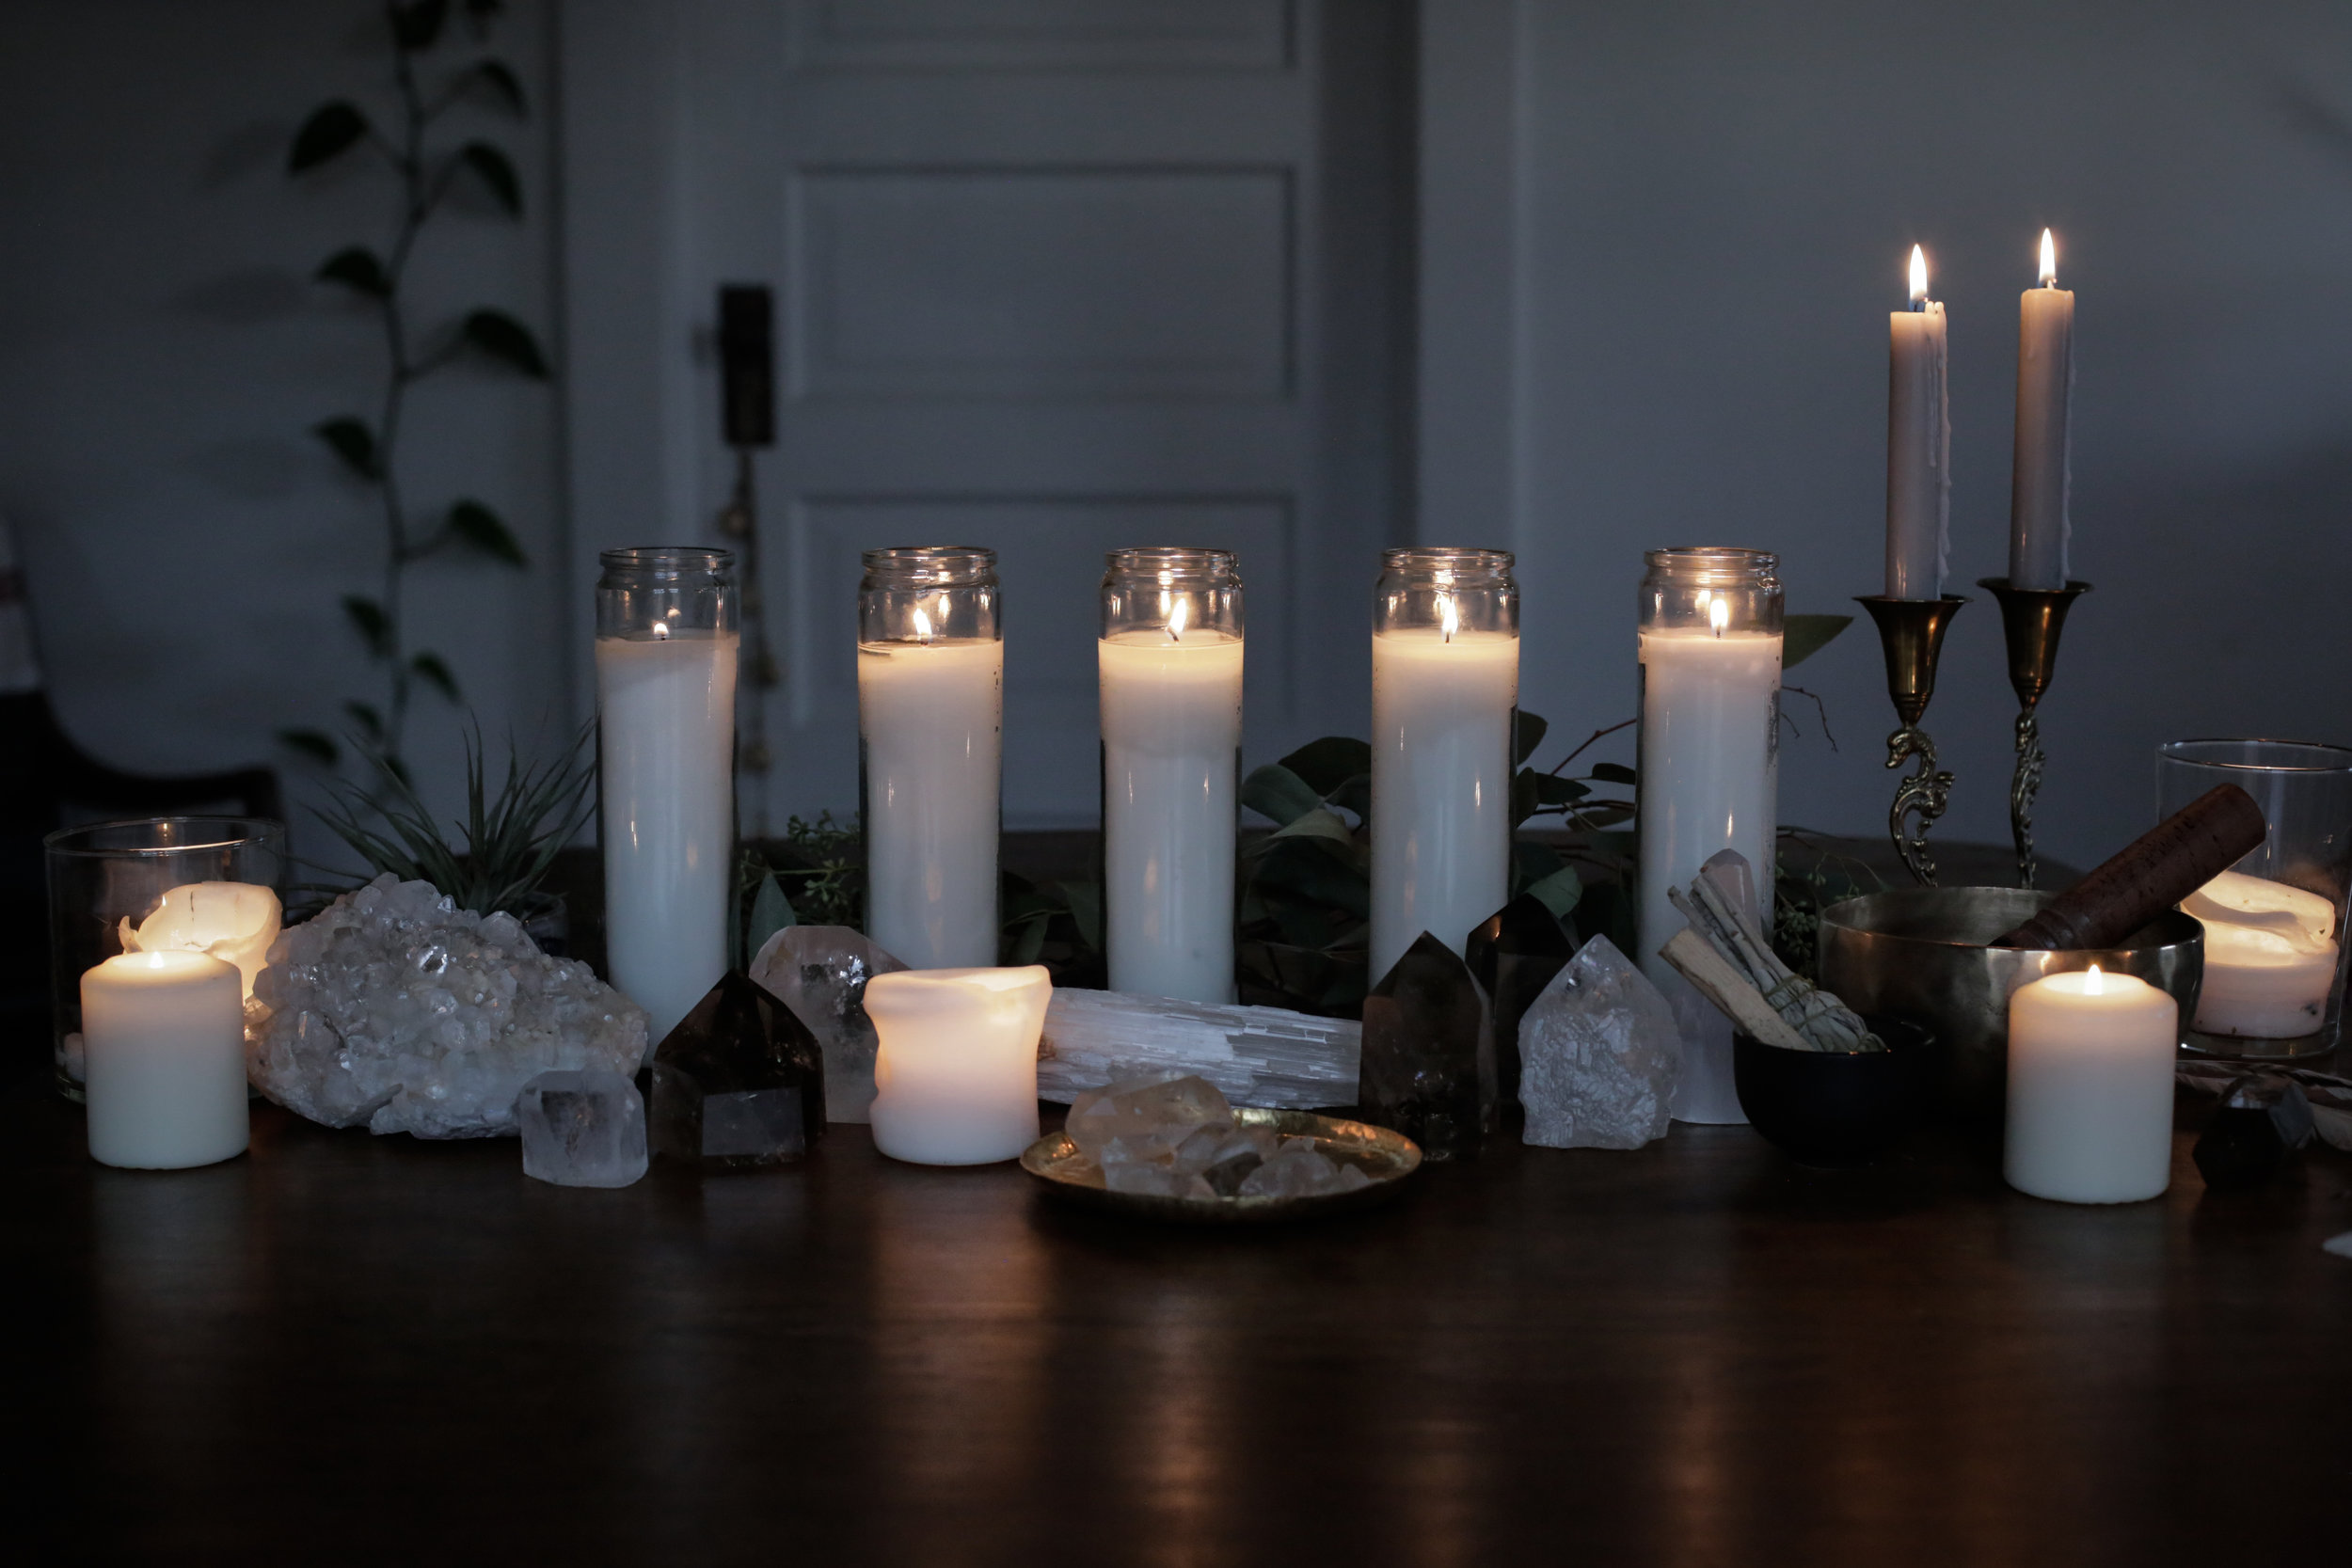
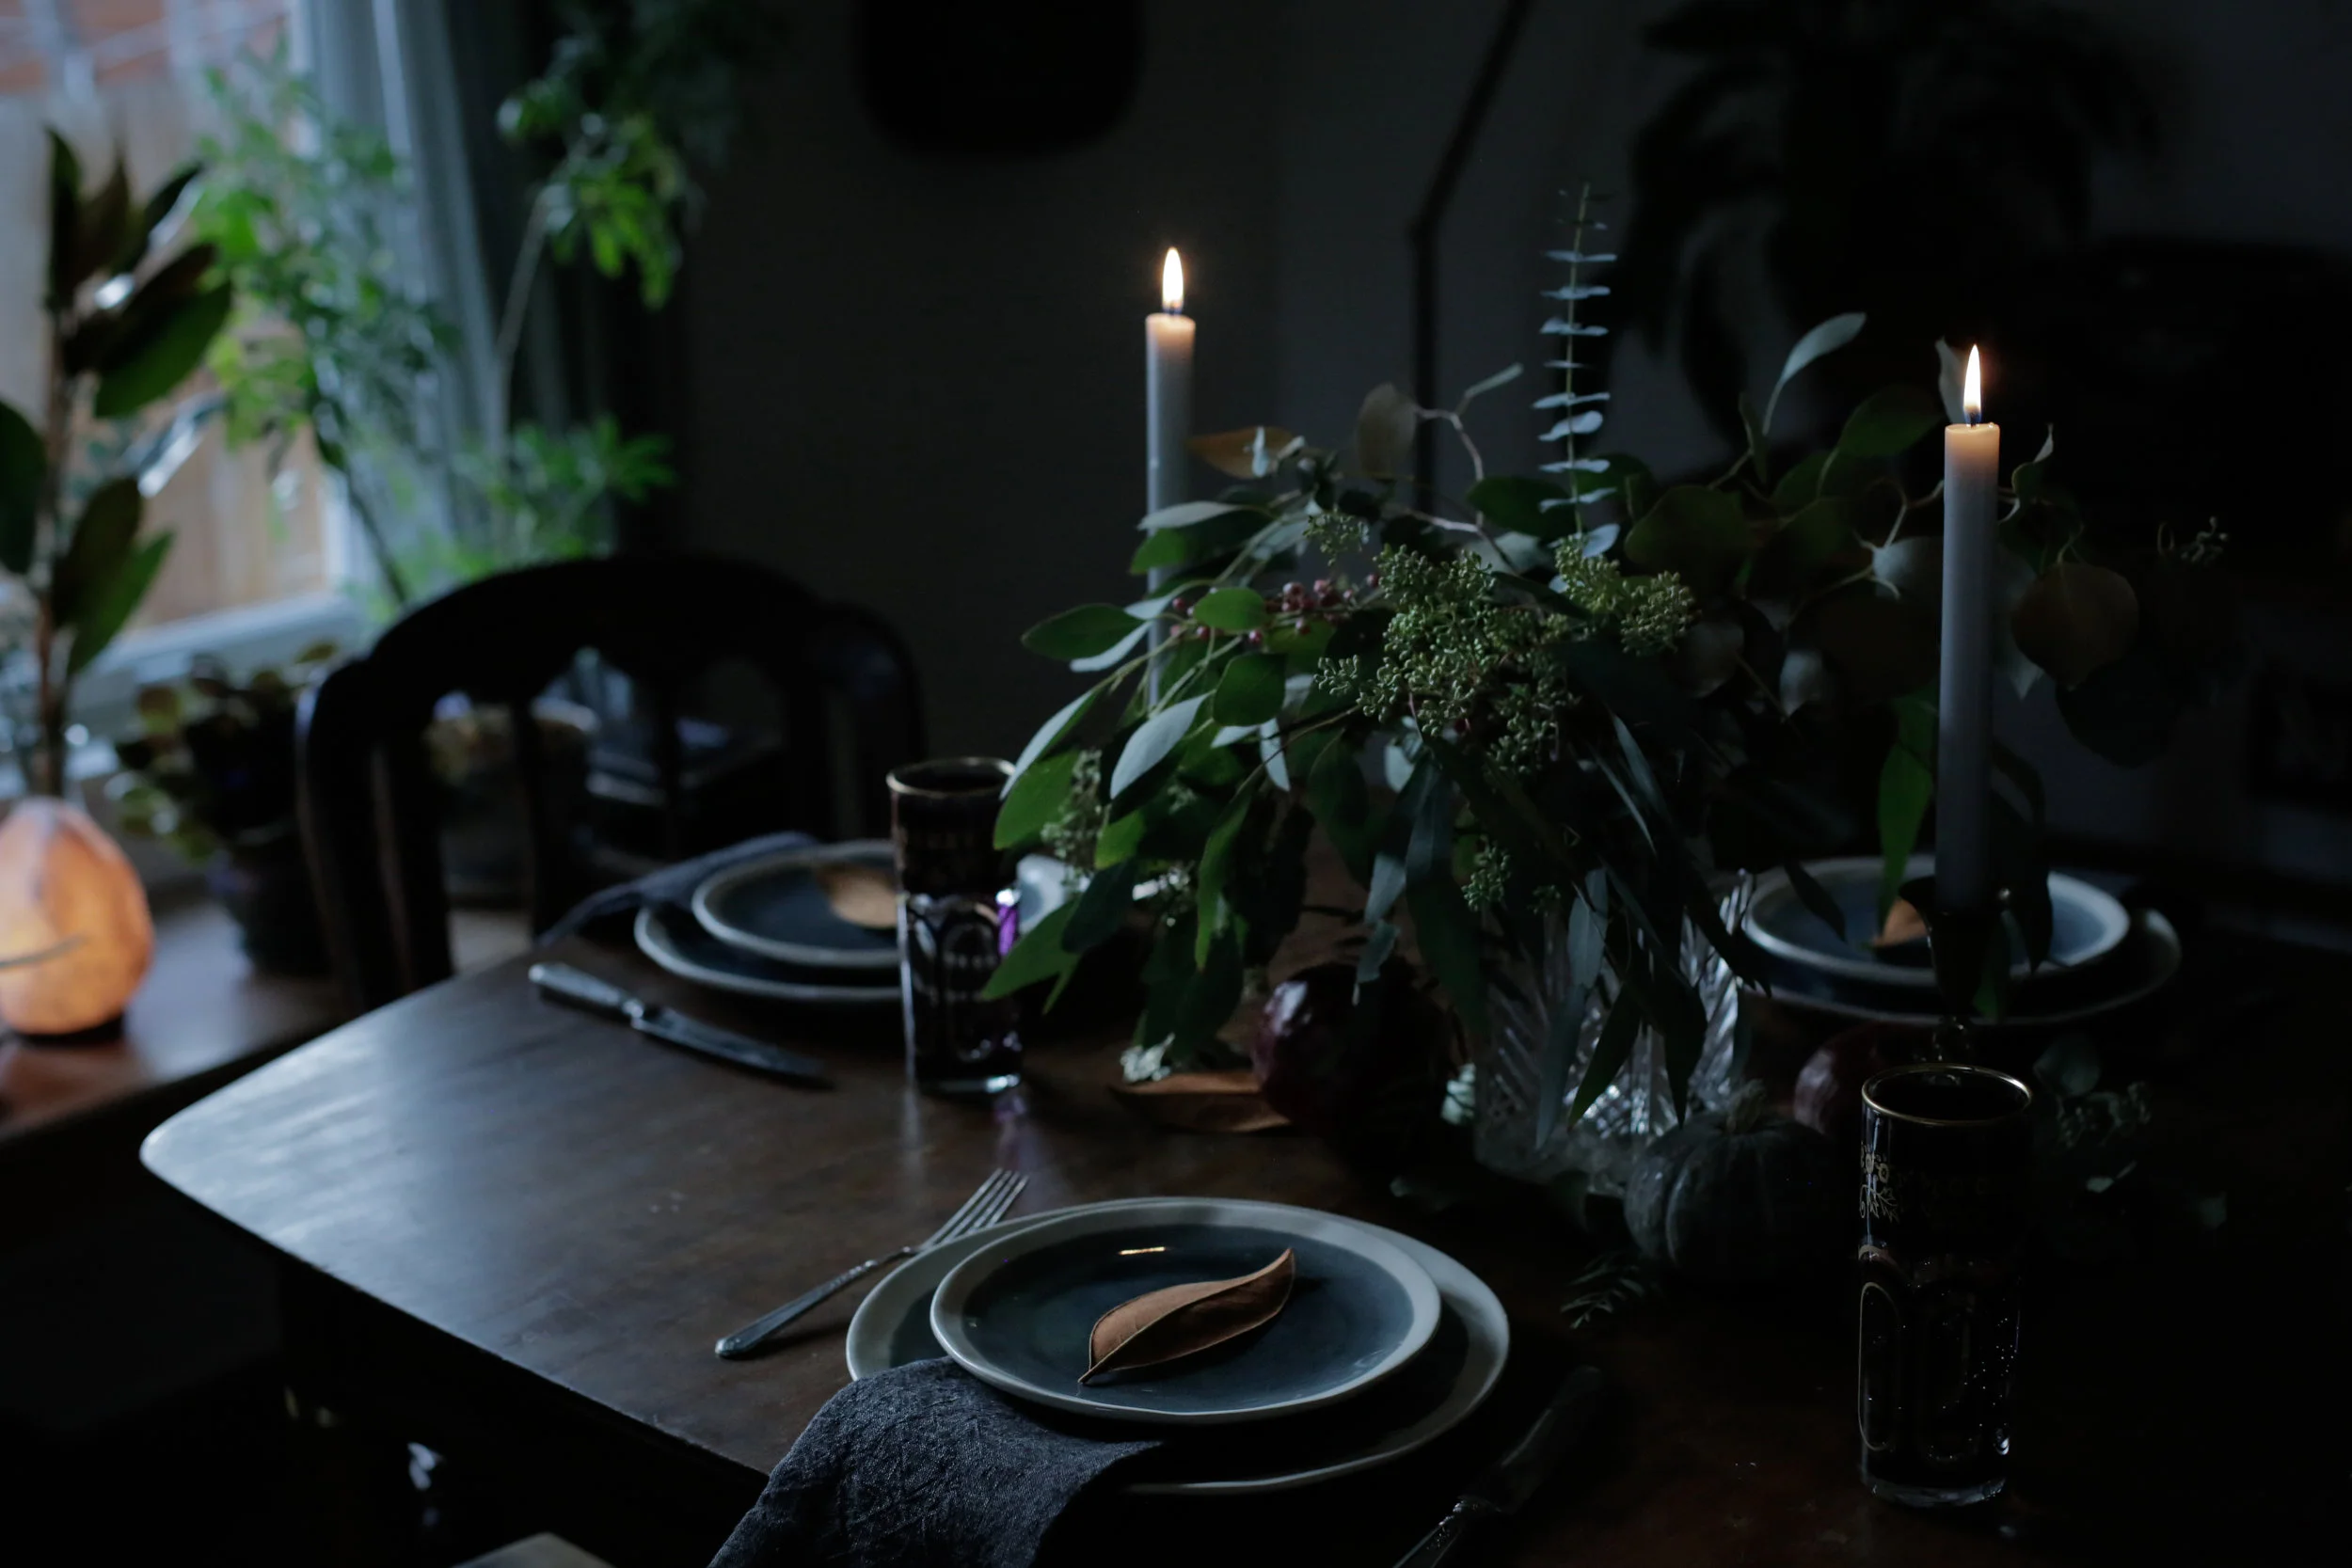
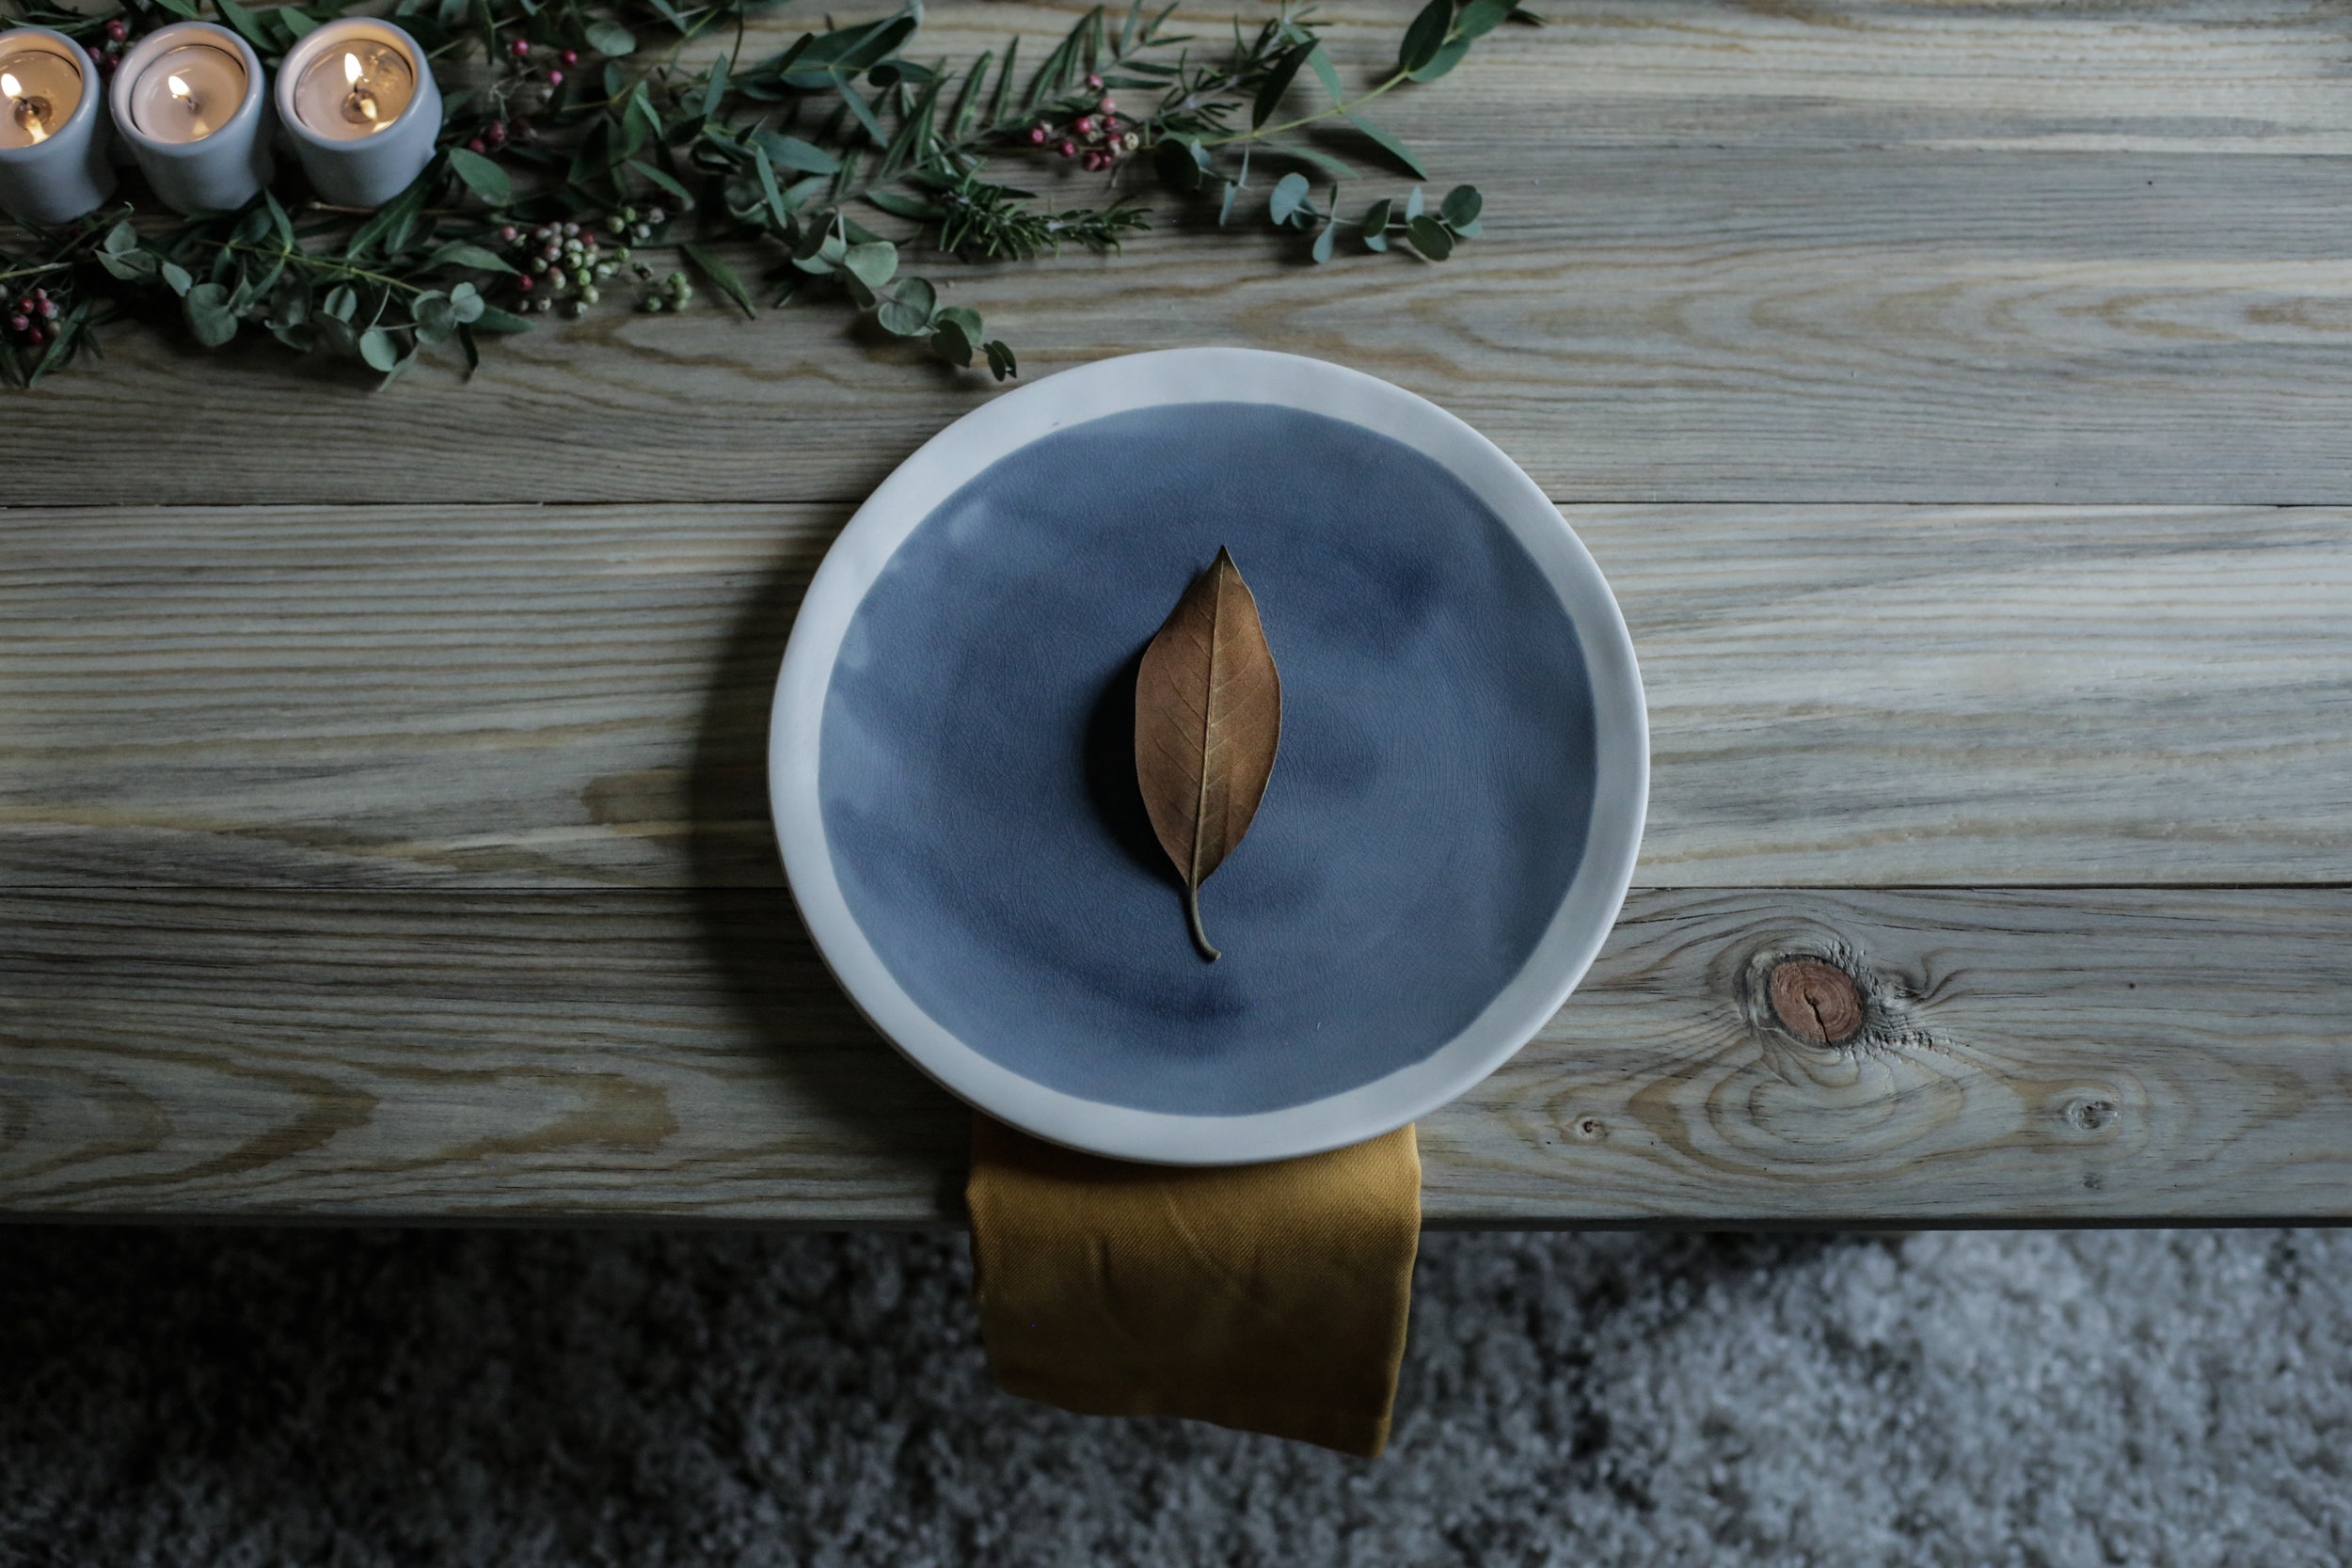
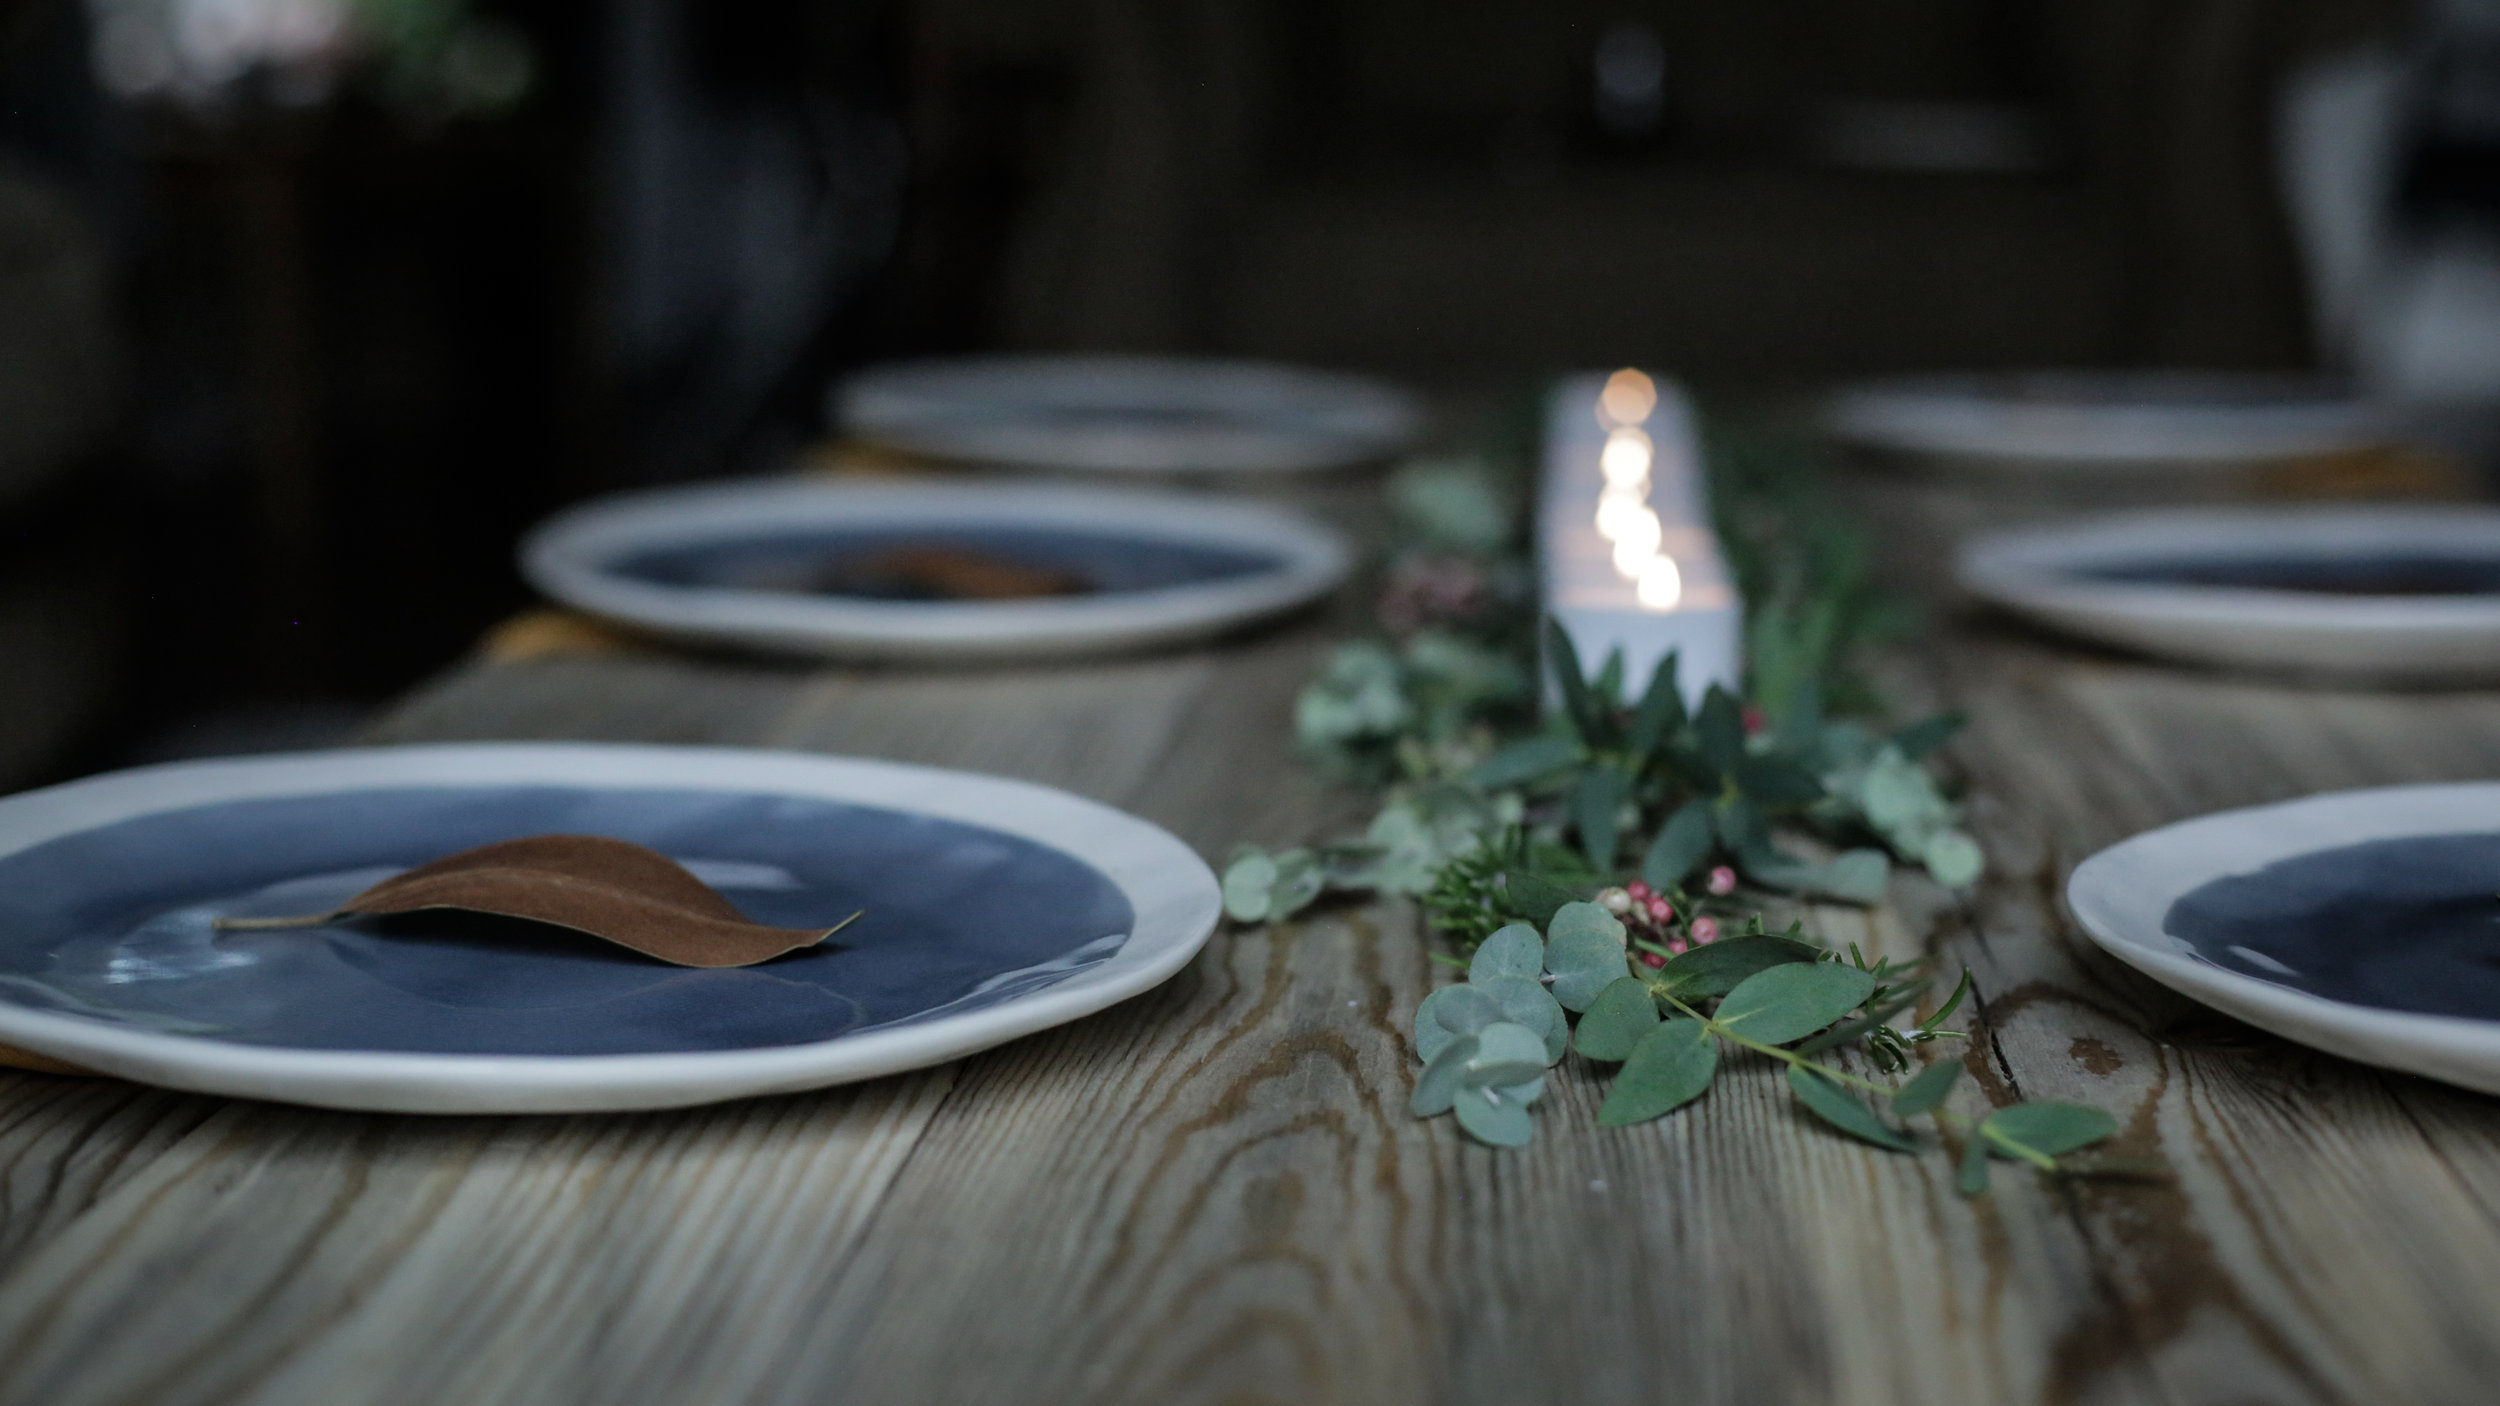
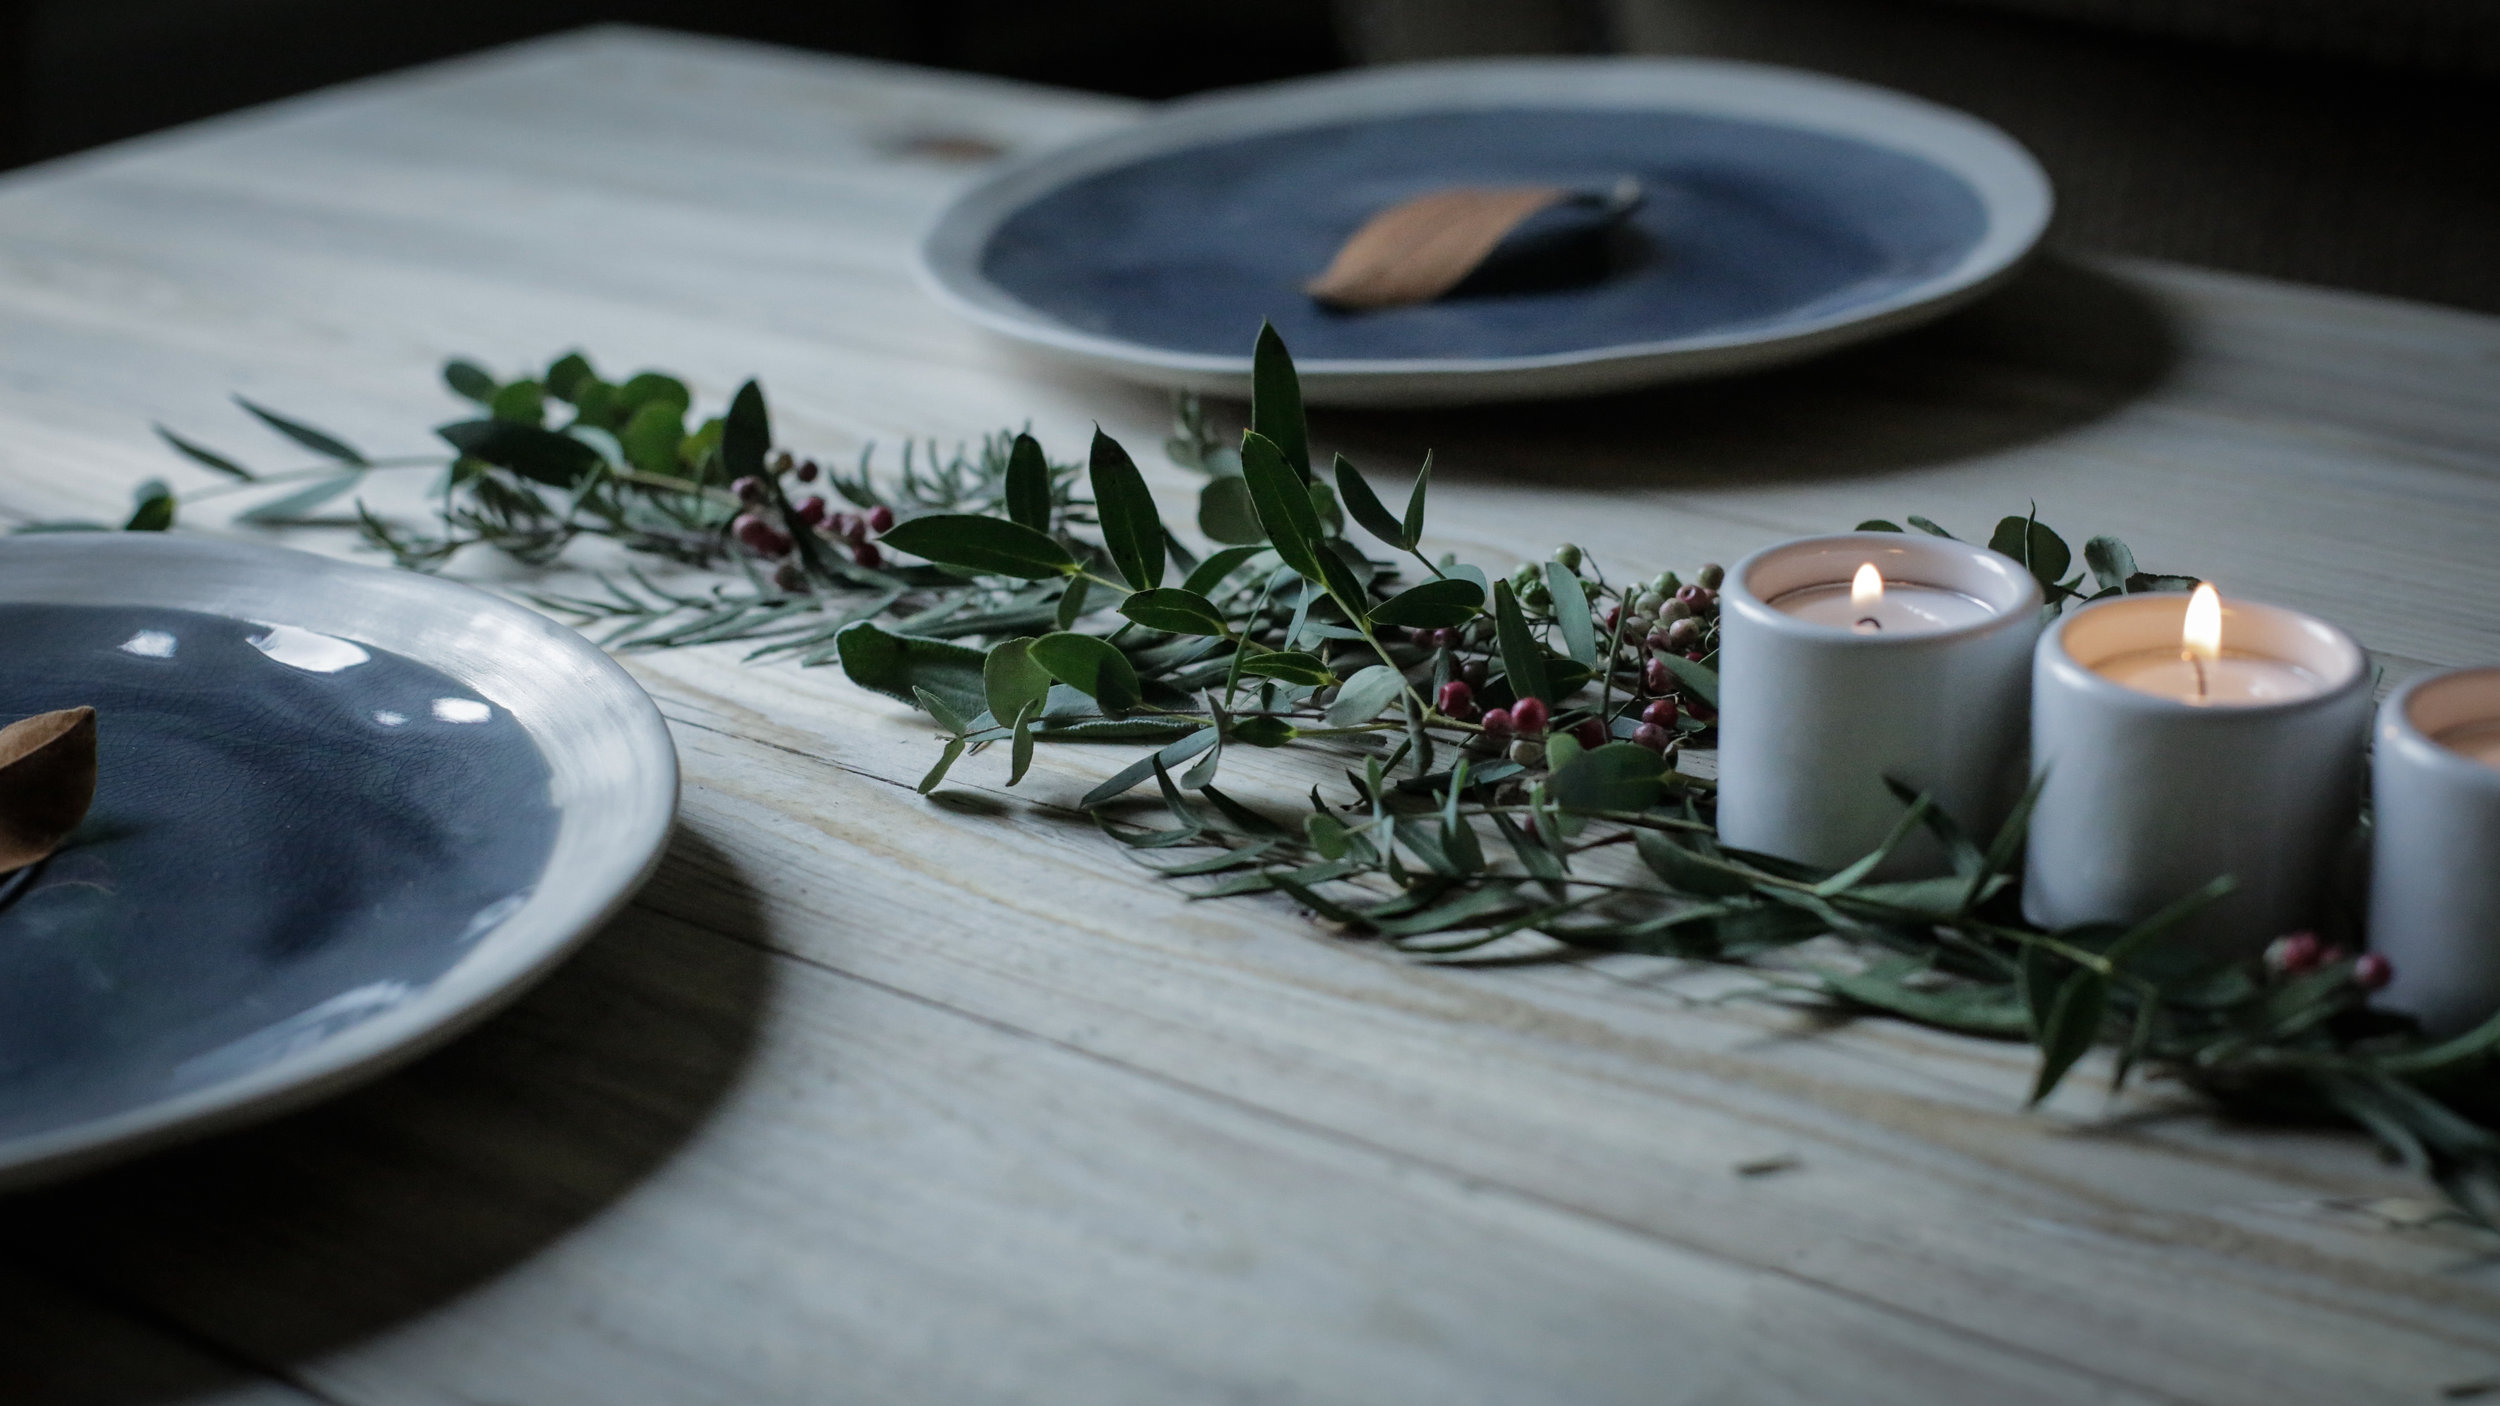
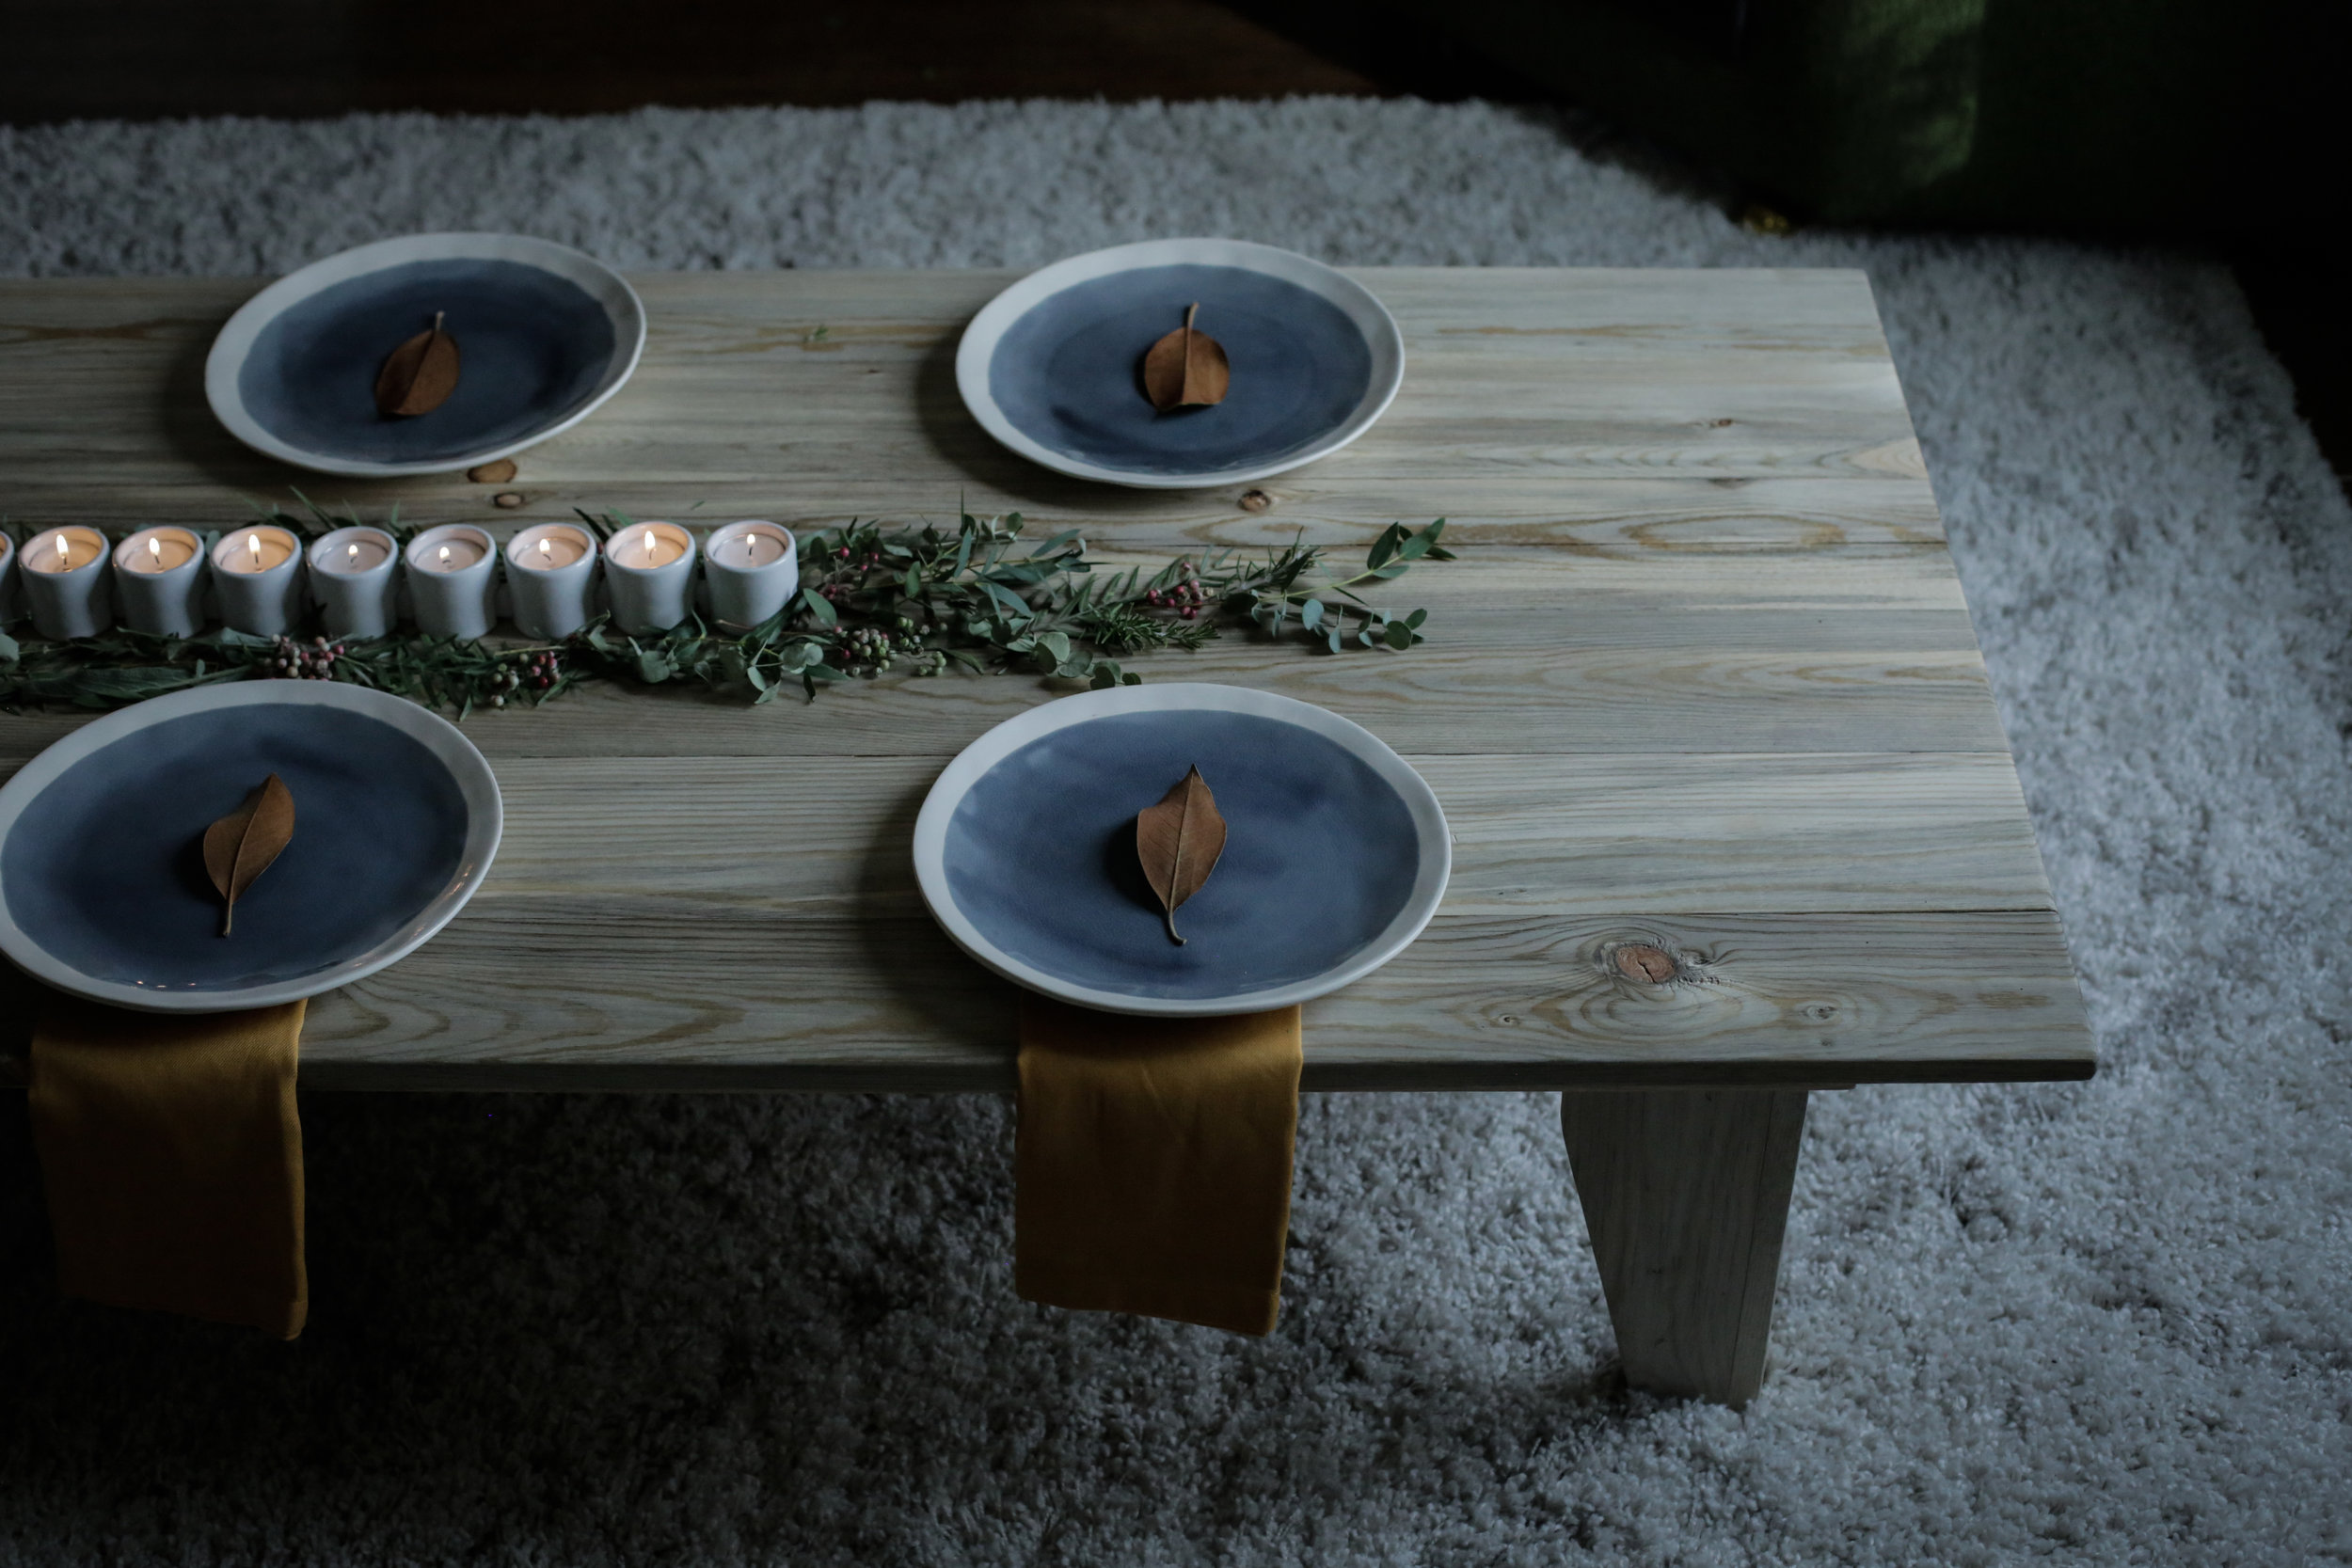
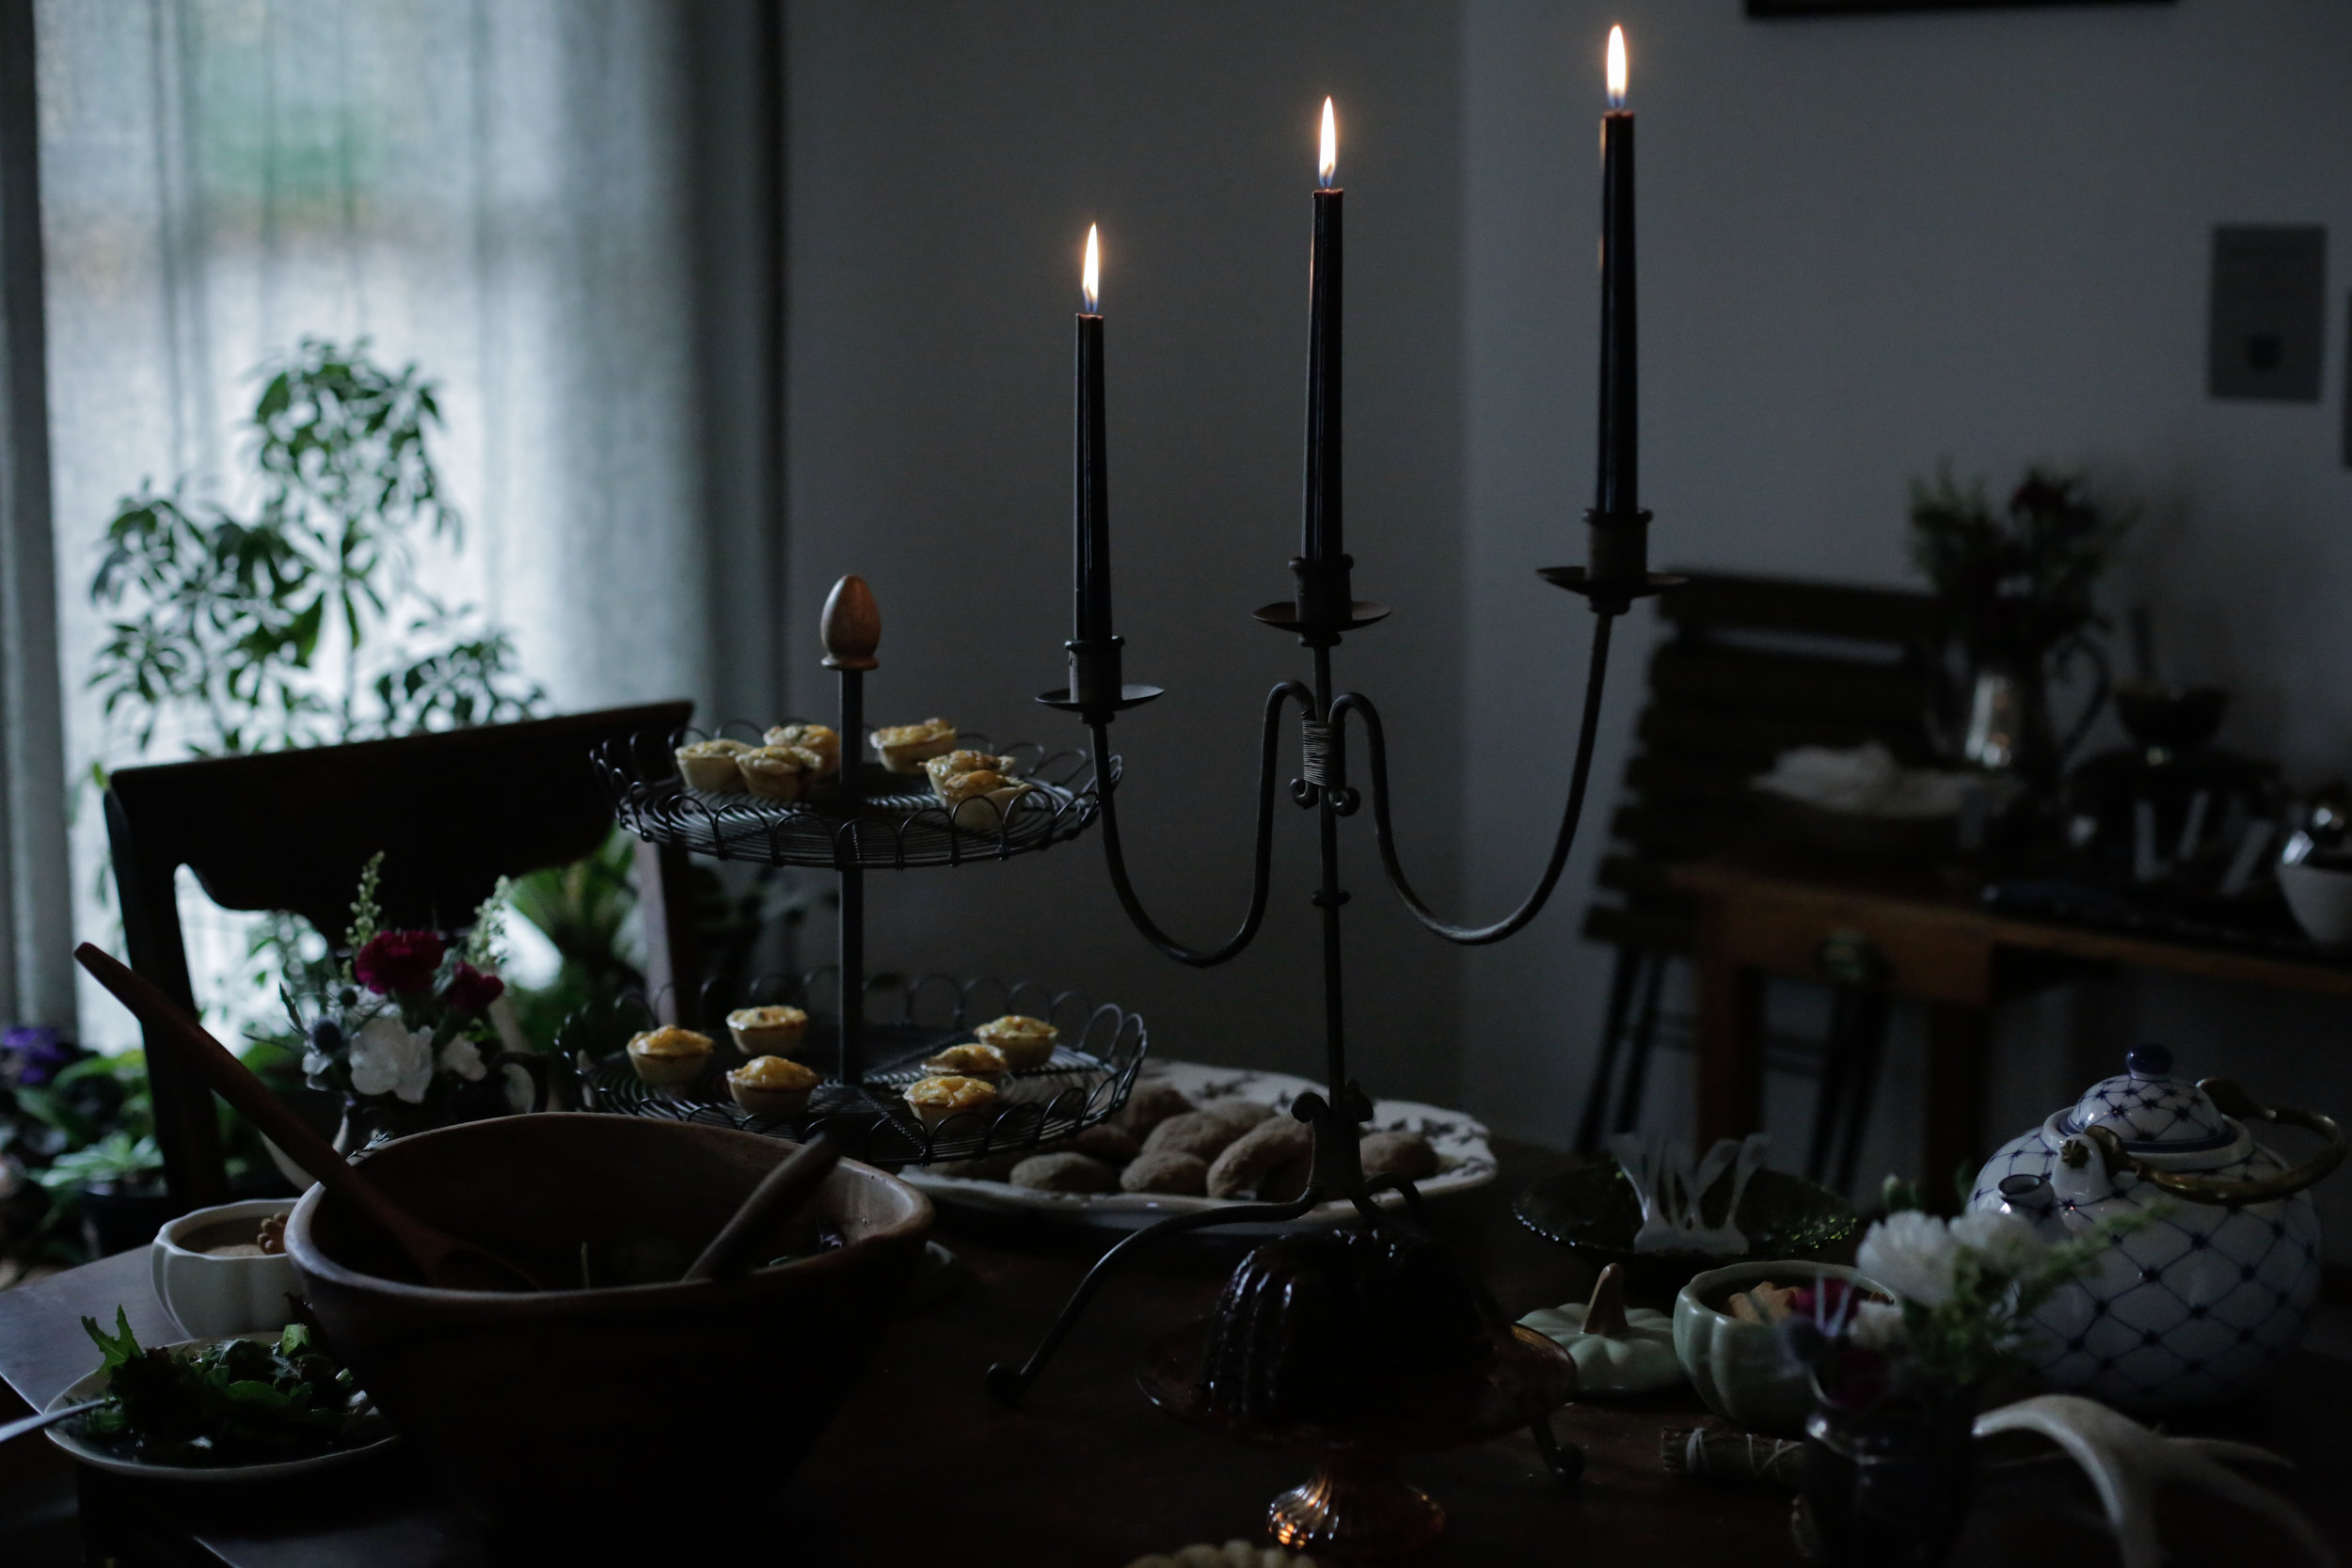
This quiet ritual takes just a few minutes and is best performed with a steaming pot of tea and a few glowing candles. There are no rules or complicated steps. No incantations to recite. Just plants and herbs and a few moments of quiet intention.

Wishing you all a magical, mystical Samhain, dear ones.

fallwreath-7200.jpg
Posttitle-Samhainblessingwreath.png
 

Supplies:

  • Wreath base (I picked this one up years ago for just a few dollars at a craft store. Every few months I change out the flowers and herbs to honor the changing seasons.)

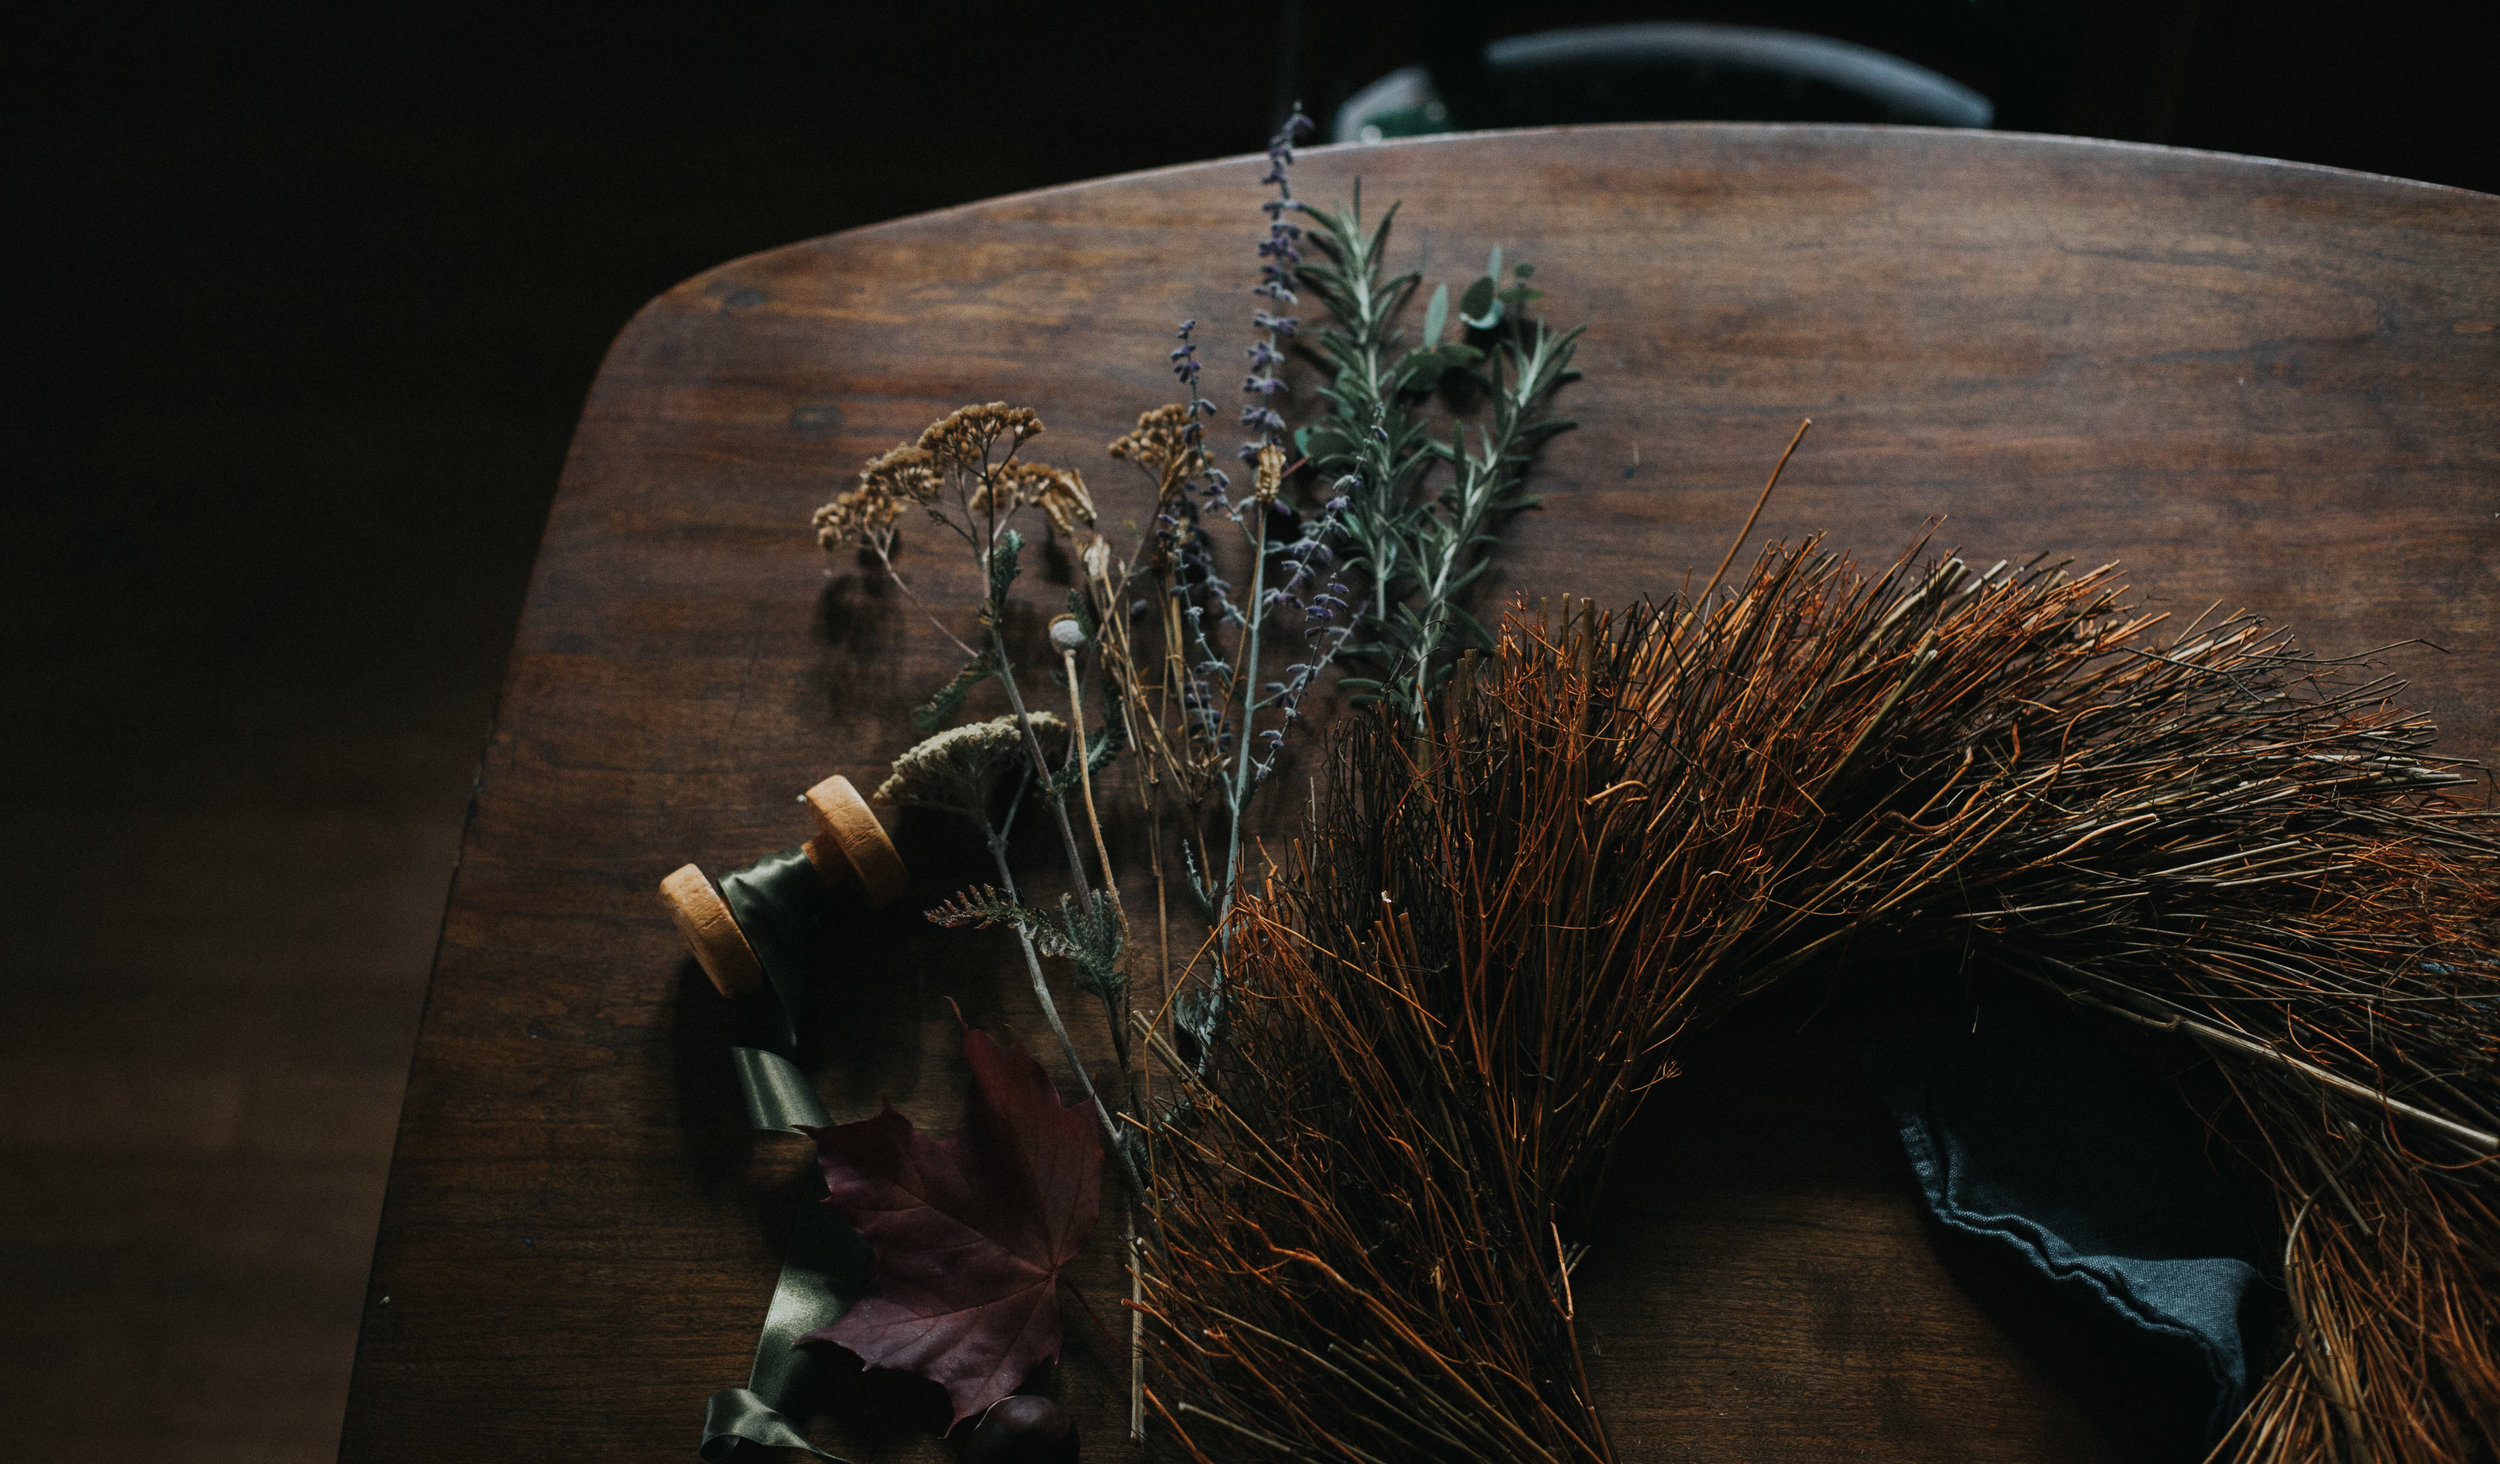
  • Foraged herbs and flowers

  • Pomegranate + small kabob dowel (optional)

  • Wire (whatever you have laying around.)

flowers-7192.jpg

Step 1:

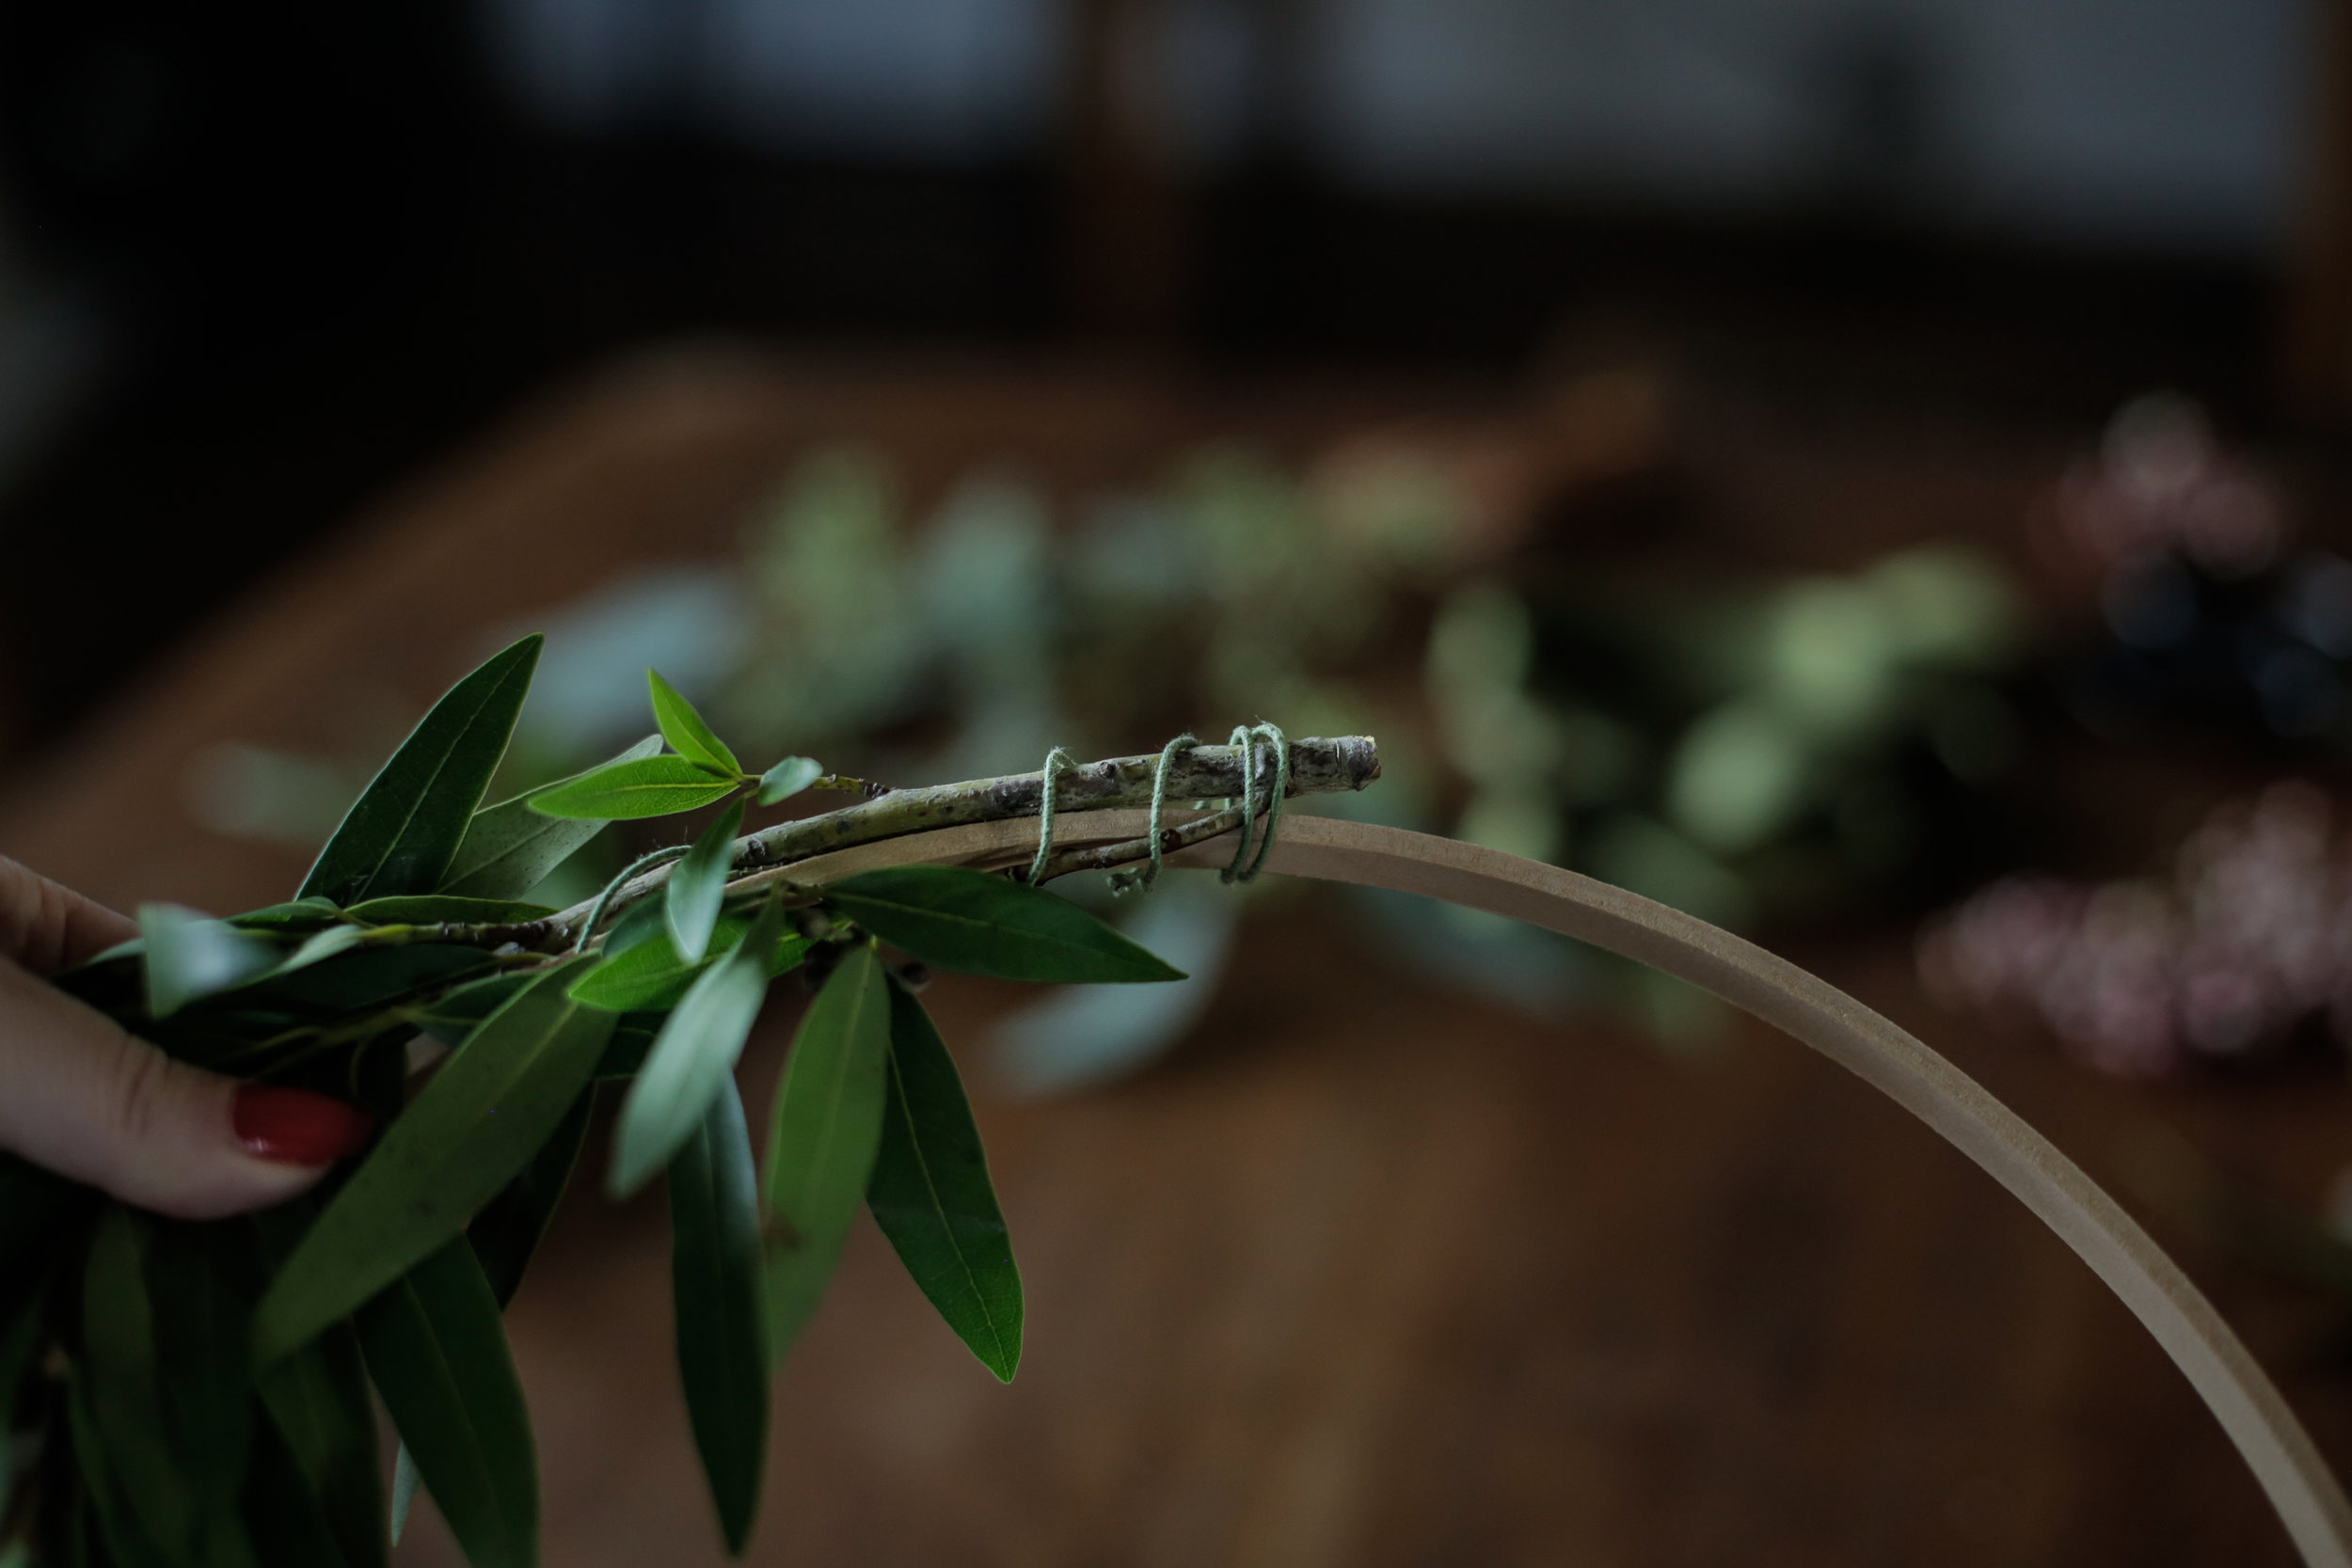
Once you have gathered your clippings, start by playing around with the overall layout for your design. At this point you can just loosely stick them into your wreath base (not securing them yet) so you can easily experiment with what looks good where. Trim the clippings to size if needed, leaving enough stem to secure them to the base later. I find it’s easiest to start with the larger elements, and then weave in the smaller clippings to fill in the gaps. Like I said, there are no rules here. Just play with combining colors and textures until it starts to feel right. As you are working, see if you can tap into the energy of each plant. Notice the beauty of weaving together the natural cycles of life and death.

fallwreath-7257.jpg
fallwreath-7230.jpg

Step 2:

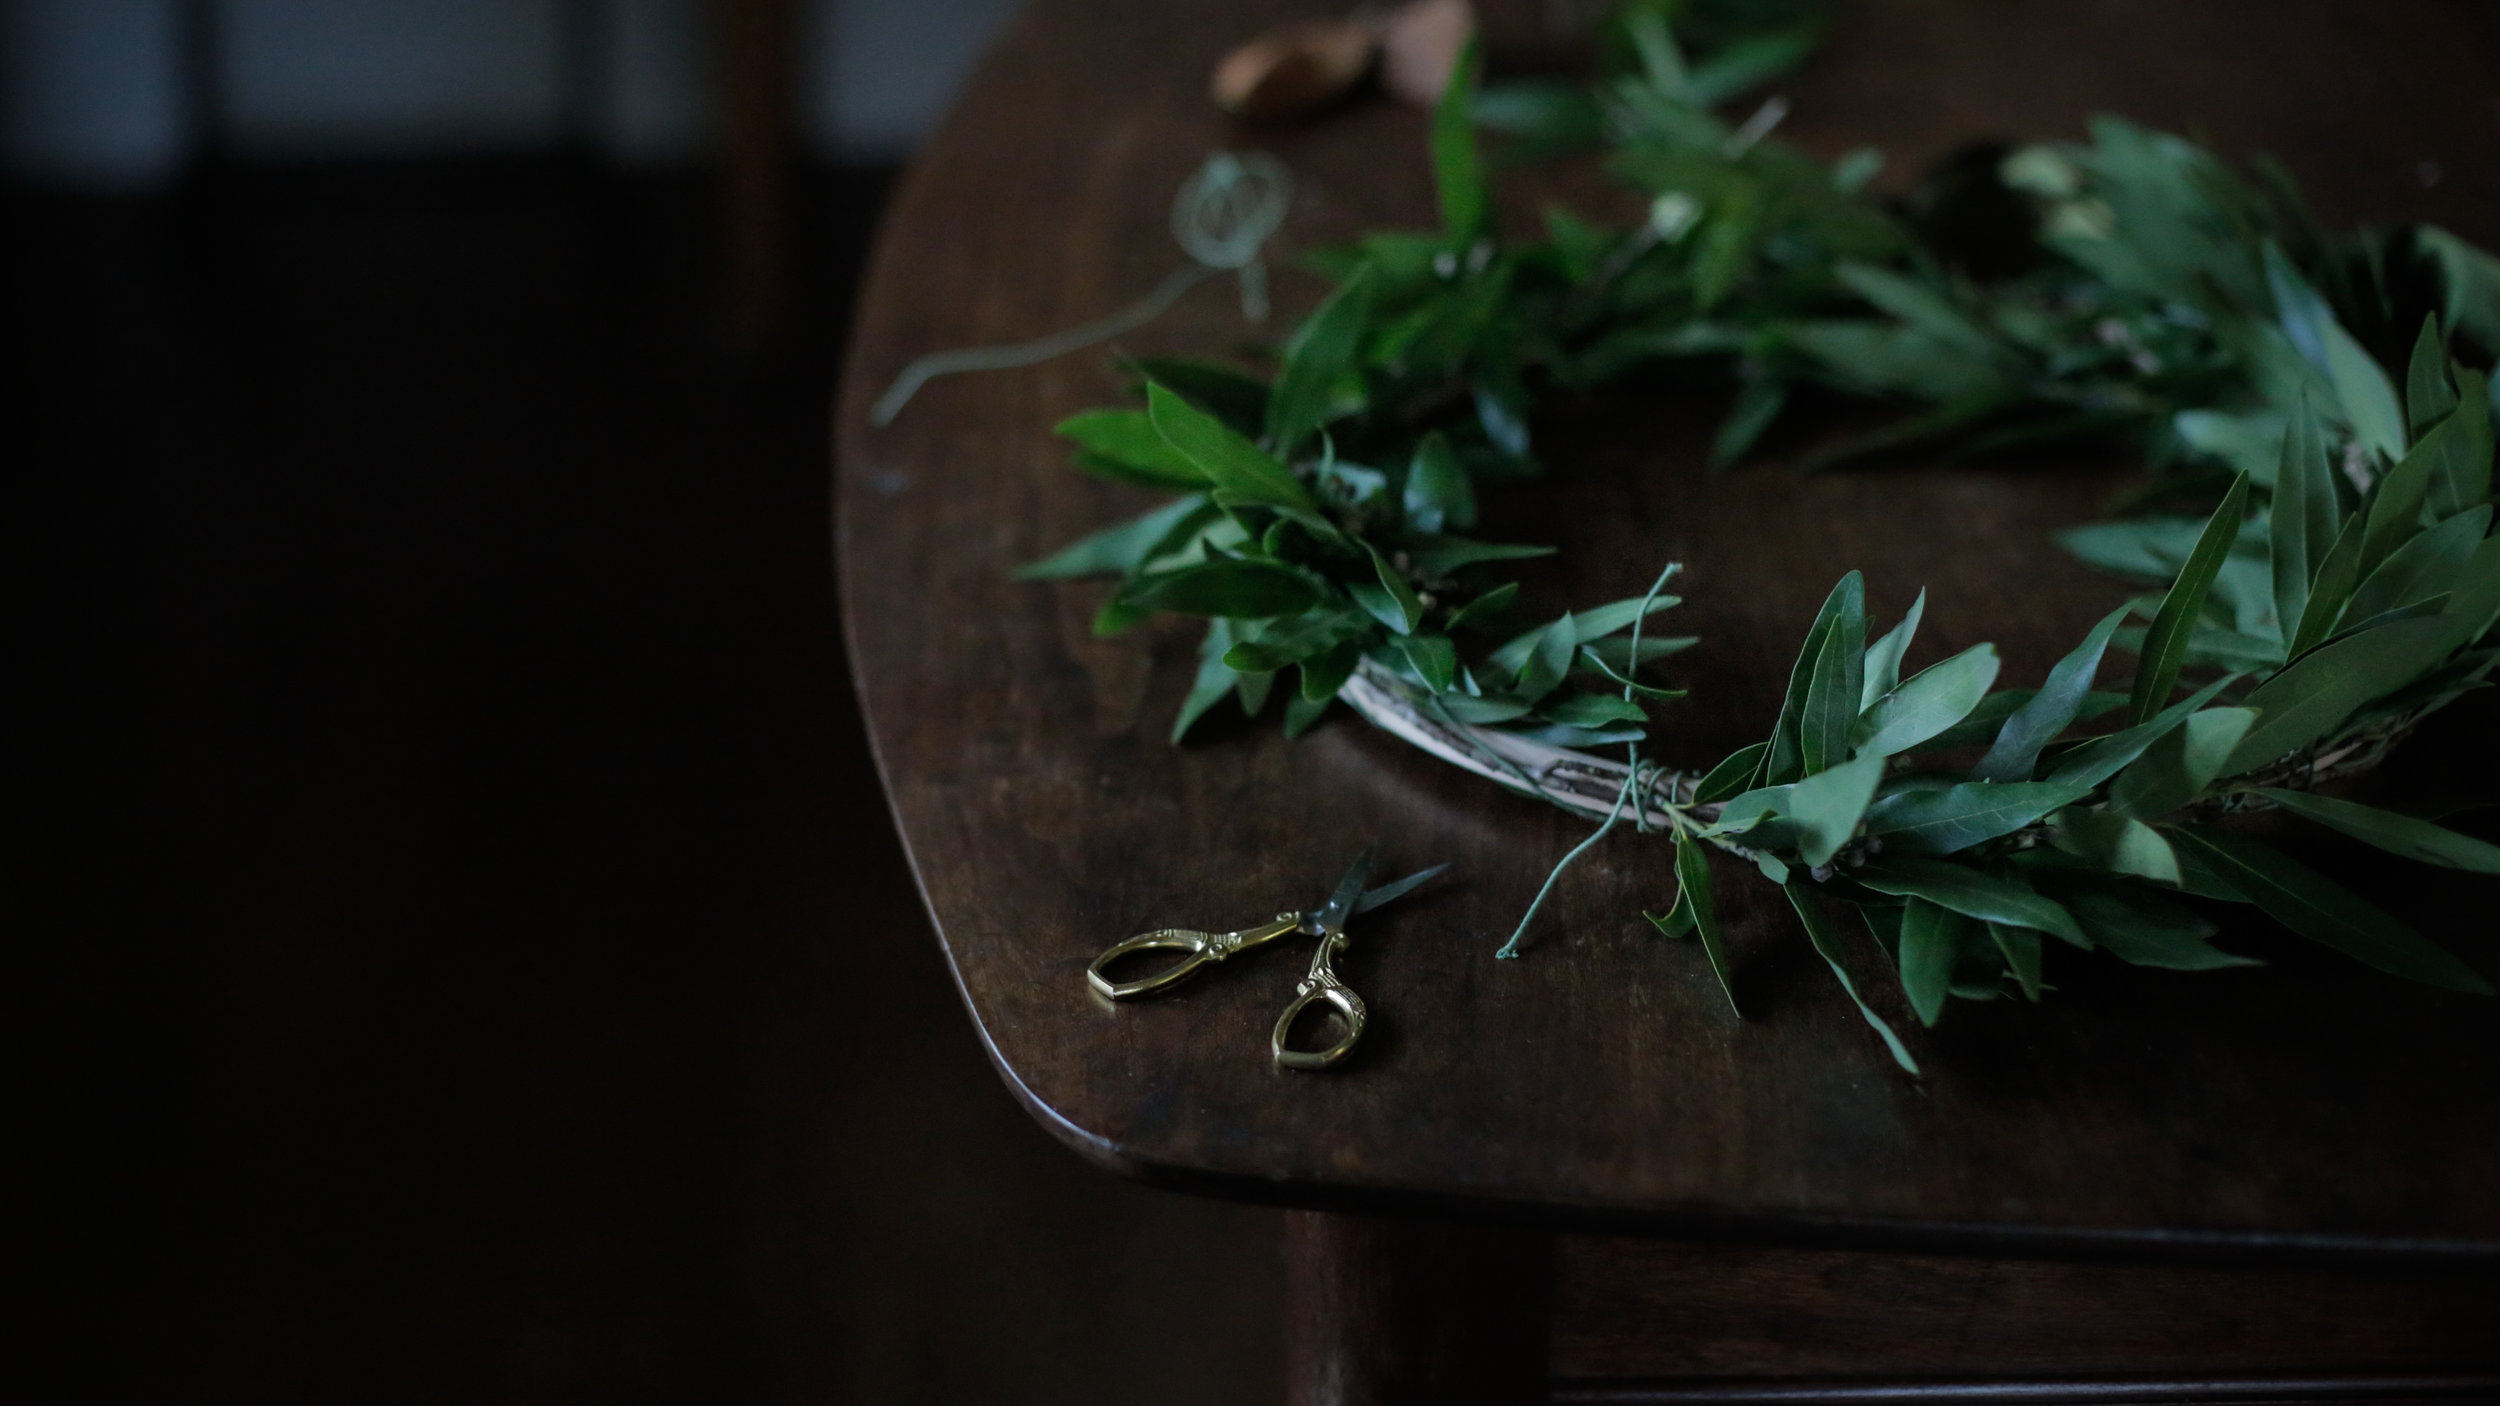
Once you have settled on the placement of your clippings, begin securing with wire as needed. With this particular style of wreath, I was able to secure most of the stems simply by pushing them firmly into the base as far as they would go. During this stage, I like to visualize the intentions and feelings I am calling in and weave them into my wreath. If you are calling in protection and abundance, for example, visualize yourself in your cozy home, safe from the wind and rain, with a cup of tea and everything you need.

fallwreath-7242-2.jpg

Step 3:

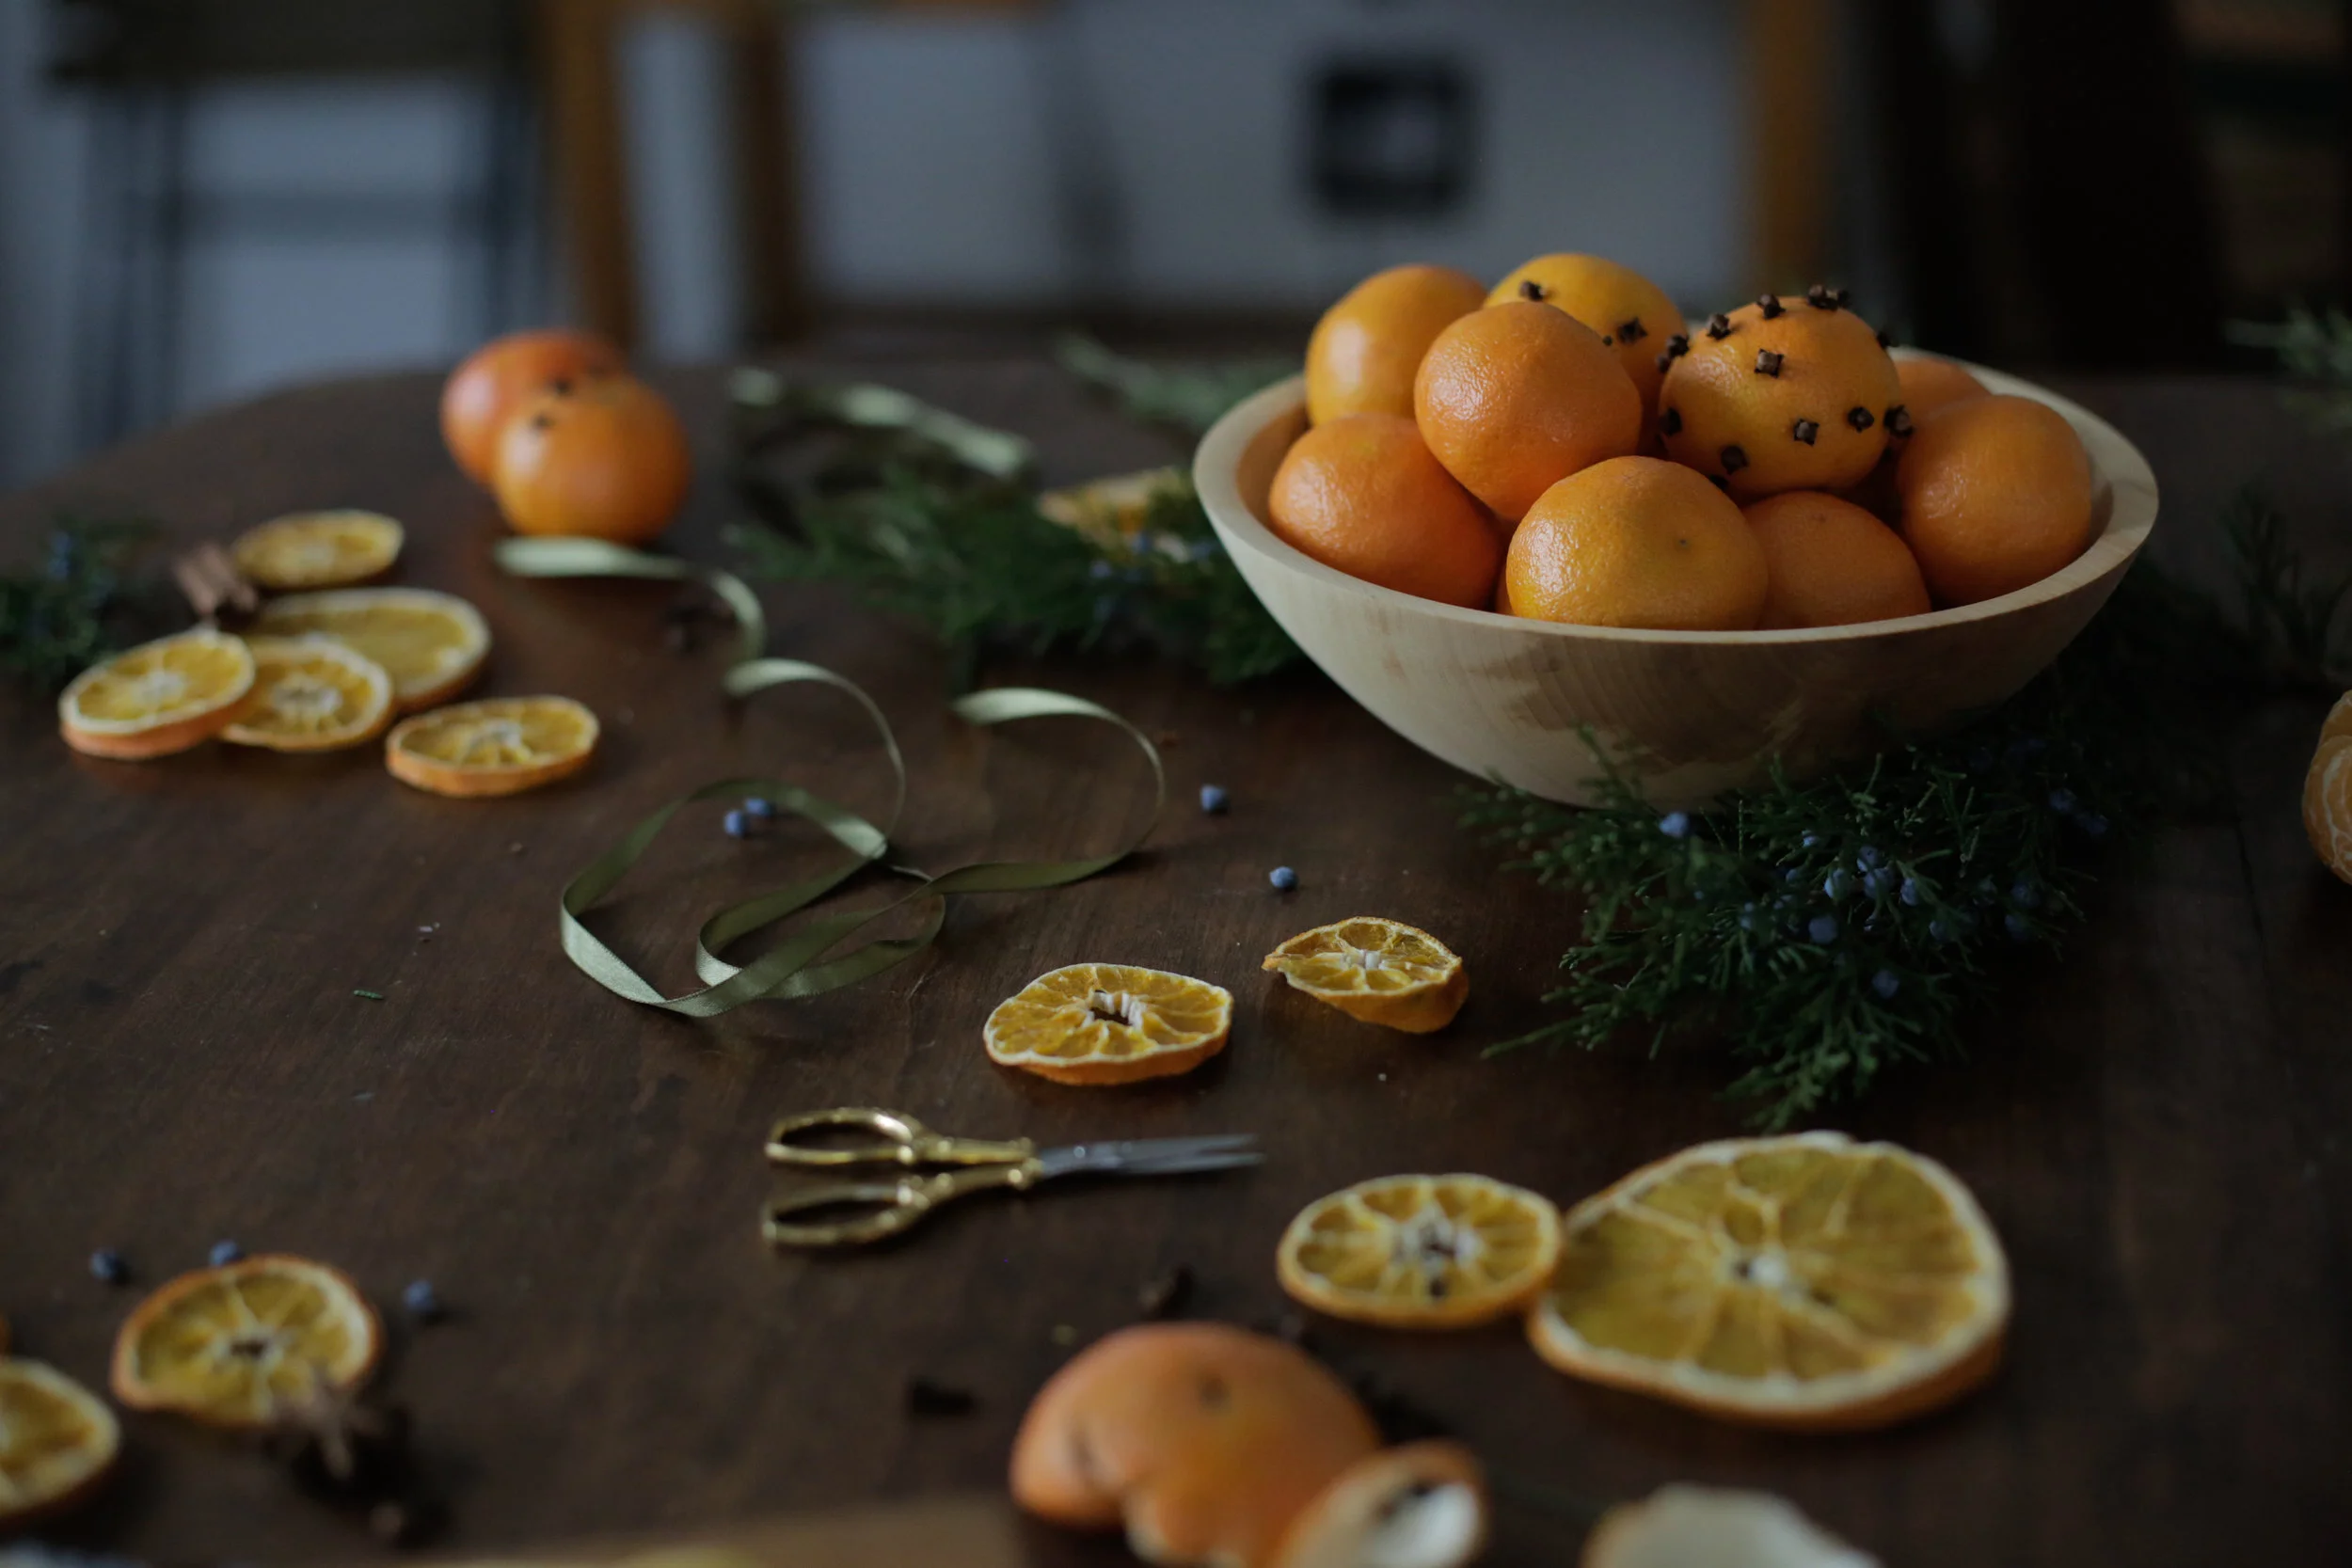
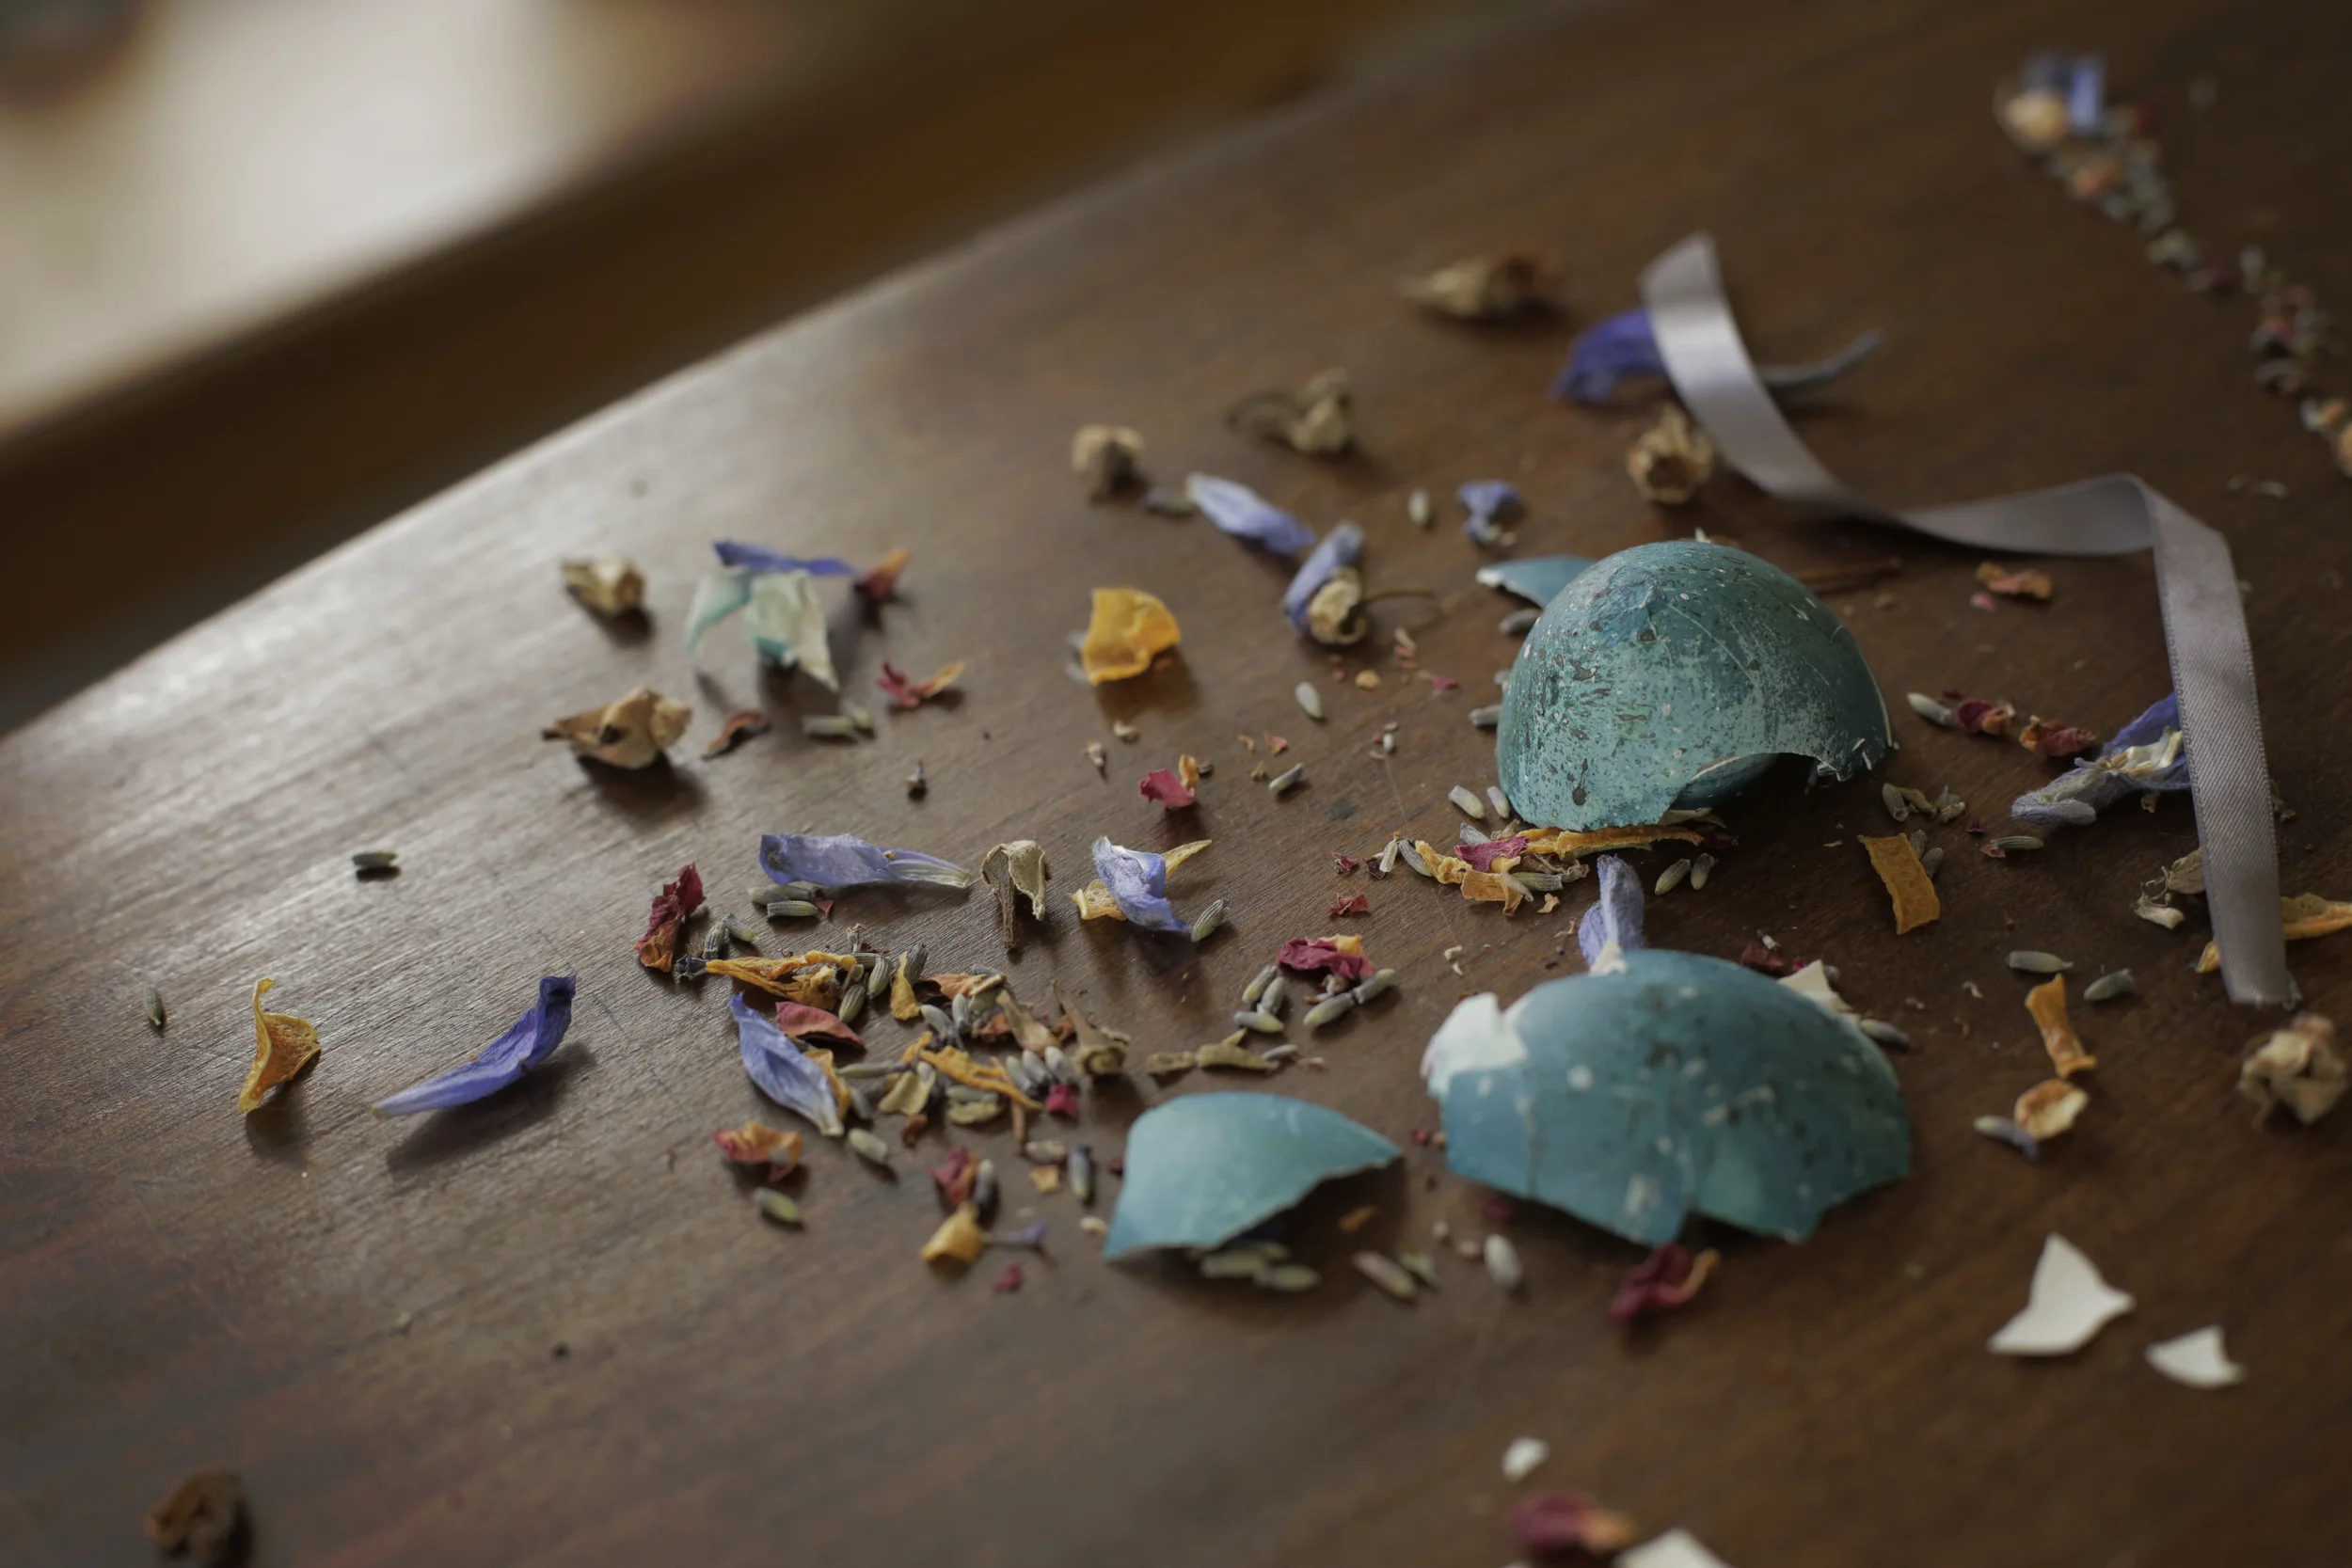
If you are attaching larger fruit like pomegranates or apples, insert the sharp side of the kabob dowel firmly into the bottom of the fruit. This gives the fruit a nice long stem to securely stick into the base of your wreath. Watch out for the few drops of pomegranate juice that may escape…they stain big time.

fallwreath-7253.jpg

Step 4:

Stick the doweled fruit into the base of your wreath. Cut about an arms length of wire and begin wrapping it around the dowel and the wreath base to secure it.

fallwreath-7260.jpg

Step 5:

As you are working, hold your wreath up from the top center point (where it will hang) every few minutes to make sure the weight and balance are evenly distributed. You may find as you do this that certain elements need to be additionally secured or moved to keep from falling out. I found that 2 pomegranites was simply too heavy and ended up removing one. Perhaps you use these moments to reflect on the balance in your own life. Does anything need to be adjusted or redistributed?

fallwreath-7289.jpg
fallwreath-7273.jpg

Step 6:

Once everything is safely secured, you are ready to hang your wreath. I like to visualize a shield of protection as I hang the wreath on my front door. Maybe ring a bell or blow out your candle to complete the ritual. Whatever feels right.

fallwreath-7268.jpg
fallwreath-7304.jpg

xo,

Haileysignature.png
 
fallwreath-7300.jpg
October 30, 2018 /Hailey Faust
samhain, halloween, diy, witchy, witch, craft, wreath, fall, autumn
:: Celebrate, :: Make, :: DIY
1 Comment
edited (1 of 1).jpg

The Language of Flowers :: DIY Love Spell Bouquet

February 13, 2018 by Hailey Faust in :: Celebrate, :: DIY

I have always been fascinated by the Victorian language of flowers. By the idea that a bundle of fragrant Narcissus left surreptitiously on a doorstep meant unrequited love, while a single sprig of Oleander was a clear warning that the recipient should be very cautious. Acacias were for friendship, Melianthus for secrets, Hyacinths to beg forgiveness. Red Roses only if you were really serious about someone.

In an era when courtship was largely relegated to calling cards and chaperoned dances, flowers provided a covert way for lovers to make their true feelings known. And though the Victorian's obsession with floriography played a major role in it's popularity, they were by no means the first to attribute symbolic meanings to different plants. Many ancient cultures, including the Greeks and Egyptians, documented complex systems and symbols associated with the flora around them. Even Shakespeare was fluent in the language of flowers, as we see time and time again, most notably in Ophelia's famous speech, "There’s rosemary, that’s for remembrance. Pray you, love, remember. And there is pansies, that’s for thoughts...There’s fennel for you, and columbines..." (if you haven't read it, she goes on to slowly unravel while dancing with flowers and it's pretty much my favorite scene in all of Shakespeare.)

So for this year for Valentines, I teamed up with the wonderful Melissa Emily of Earth Within Flowers to create a conscious and intentional love token. Melissa sources all of her flowers from local farmers in the summer months, then dries them by hand for winter bouquets. What a lovely and earth-friendly alternative to the standard cellophane wrapped blooms we so often see piled into supermarkets this time of year. 

We wanted to create an arrangement that held layered messages and deep symbolism. Something that was thoughtful and seasonal. A floral love spell, of sorts. Each of these plants was chosen for it's heart opening and protective properties. A secret message of love and protection for your parter / mom / lover / kids / sister / bestie / self. ❤

flowers-3970-2.jpg
flowers-3889.jpg
flowers-3937.jpg
Posttitle-Recovered.png
 

Please note that even though we used dried blooms, you could easily create a similar arrangement with live flowers if that's more your speed. Just look up the traditional meaning and symbolism behind each stem to create your own secret love spell. 

flowers-3914.jpg

Step 1 ::  Start by creating a horizontal, rounded shape with branching foliage. Here we used eucalyptus and locally foraged juniper, which are both believed to provide protection.

flowers-3944.jpg
flowers-3904.jpg

Step 2 :: Next, add in your filler flowers. Anything that has sprays of multiple buds on the same stem works beautifully for this. Try to fill in the gaps between your foliage.  We incorporated local yarrow for courage, lavender for serenity + devotion, and white larkspur for lightness + laughter.

flowers-3841.jpg

Step 3 :: Next, pop in your focal flowers. We chose these sweet little peach and pink spray roses for love + desire.

flowers-3888-2.jpg

Step 4 :: The final step is to add in your "sparkle" flowers. These are pointed or uniquely shaped blooms that add interest and texture to your piece. Here we chose tulip pods, traditionally associated with declarations of love, and poppy pods for magical dreams. And that's it, dear ones! All that's left is to bundle up your floral love spell with a simple ribbon and handwritten note with the symbolism of each bloom.

flowers-3881.jpg
flowers-3955.jpg
flowers-3932.jpg

So much love and gratitude to Melissa of Earth Within Flowers for sharing her magic with us. Be sure to visit earthwithin.com to order something lovely and learn more about her eco-friendly-flower mission. 

Wishing you all my love today and every day.
xoxo,

Haileysignature.png
 
flowers-3860.jpg
February 13, 2018 /Hailey Faust
valentines, diy, valentines diy, flowers, slow live, the art of slow living, bouquet, language of flowers, last minue, last minute, holiday, dried bouquet, earth within flowers, eucalyptus, secret message, victorian, flower language
:: Celebrate, :: DIY
2 Comments
9holidaygifts copy.jpg

9 Simple and Intentional DIY Holiday Gifts

December 18, 2017 by Hailey Faust in :: DIY, :: Celebrate, :: Apothecary

There's still time, dear ones! We have scoured the Lovely Wild archives for a few of our favorite DIYs this holiday season. From herbal beard oil to hand-painted moon phase flags, each of these simple and intentional gifts can be made in a single afternoon. A lovely excuse to slow down and breathe deep and work with your hands. All you need is a few supplies and a fresh cup of peppermint tea. Oh, and a few inches of fresh snow if you have it. 

Featured
Apothecary :: New Moon Herbal Dream Pillows
DIY :: Sandlewood Beard Oil with Rosemary and Cedarwood
steam_20170129-_85B8307.jpg
Apothecary :: Mood-Lifting Lemon + Rose Winter Tea
Apothecary :: Elderberry + Echinacea Syrup & Golden Turmeric Milk
DIY :: Hand Stamped Brass Bracelets
Apothecary :: DIY Lemon + Rosemary Sugar Scrub
Easy Homemade Maple Pecan Granola
DIY :: Watercolor Moon Phase Flags
Dark Chocolate Cherry Almond Biscotti

Sending all my love to you and yours, sweet friends. 

xo,

Haileysignature.png
 
December 18, 2017 /Hailey Faust
DIY, holiday gifts, diy christmas gifts, christmas, herbal, apothecary, the art of slow living, slow living, holiday decorations, easy, last minute, the lovely wild, moon phase
:: DIY, :: Celebrate, :: Apothecary
Comment
20171129-_85B1988-2.jpg

Release + Receive :: A Winter Solstice Ritual for the Month of December

November 30, 2017 by Hailey Faust in :: Celebrate

What is it about darkness that can make us so uneasy? Perhaps it's the thought of what might be lurking in the shadows. Or an instinctive impulse not to stray too far from the safety of the fire. Maybe it's simply a deeply-rooted, deeply-human fear of the unknown. Of that which we cannot see.

But there is great healing to be found in the dark, if we are willing to step into it. If we allow our eyes to adjust and our senses to heighten. It's where we dream, after all. And incubate. And rest. And look towards the stars. It's a place of deep transformation and magic. 

The Winter Solstice marks the darkest point in the year for those of us in the Northern Hemisphere. A time that asks us to send our energy downward. Underground. Into our roots. To tap into the wealth of nutrients and healing that lay beneath the surface. 

This beautiful ritual was created and shared with me by the lovely Bridget Ambrose of becrowbe. Bridget is an Intuitive Reiki Master, Integrated CranioSacral Practitioner, Energy Medicine Healer and all around modern mystic. What I love about her ceremony is that it is practiced the entire month of December. A wonderful way to stay conscious and mindful during the holiday season. To clear out any residual negativity and make space for the abundance of the new year. To honor the darkness, and welcome back the light.

The only thing you really need for this ritual is five large white candles. Everything else is totally optional. Bridget and I have put together a list of suggested stones, scents, and rituals to work with each week, but also encourage you to follow your intuition. Your ceremonies can be as simple or elaborate as you wish. You do you, loves. 

Each week, we invite you to light the candle for that week, as well as all the candles from the previous weeks. Sit in quiet meditation for a few minutes with the associated mantra. Maybe do some gentle journaling, or pull a card if you feel called to. Make a special cup of herbal tea. Practice self-care. Whatever feels good to you and your body. By the Winter Solstice on December 21, you will have all five candles burning. Continue to light all the candles every night, from Solstice through New Years Eve. 

20171129-_85B2223.jpg
20171129-_85B1909.jpg
20171129-_85B1882.jpg
wekk1b.png
 

December 1 - 7. This first week you will actually light two candles, one to release that which is no longer serving you, and another to call in love and healing. You can choose to light both these candles on the same day, or to separate them into different ceremonies. This is a lovely way to ground and cleanse your space as you initiate the Solstice Ritual. 

20171129-_85B1914.jpg

Release Meditation:  I am grateful for my shadow teachers and I surrender the patterns that are no longer serving me…

Focus on clearing any negative energy you no longer want in your life.  If you feel you need a fresh start or want to clear the air of any heaviness, start the process by burning this candle. Visualize it burning and composting that which is no longer serving you. I sometimes like to sweep the house or work with cleansing herbs.

20171129-_85B1966.jpg

Receiving Meditation: I open my heart to receiving love freely from self and others and I honor those walking this earth with me…

For the second candle, focus on opening your heart to give and receive love.  This candle surrounds you with the essence of love and harmony.  It can also be used to create passion or love possibilities and allow self-love to flow freely. This can also be used as a energetic candle, choosing to light it for a period of time when a love energy in your space is desired.

Altar Suggestions: Red or pink, rose quartz, rose oil, rose petals, ylang ylang to elevate the affectionate energy. Sage, cedar, celenite to cleanse.

Ritual Suggestion: Call in cleansing energy and loving self care with a candlelit herbal bath or shower. We recommend sprinkling in epsom salts, lavendar or sage for cleansing, and rose petals for love. Turn off all the lights and bathe by candlelight. Pour yourself a glass of lemon water. Let the healing water melt away any negativity or tension you may be holding on to.

20171129-_85B1901.jpg

week2.png
 

December 8 - 14. This week you will light the third candle, as well as the first two which were lit last week.

20171129-_85B1988-2.jpg

Meditation: I open myself up to the infinite source of creativity and inspiration from spirit and honor the impulse to follow where it leads. Every day I am creating healthy cells, vitality and a wonderful life...
 

Focus on unlocking a creative flow and accessing a confident source of inspiration from the Universe. Imagine it flowing into your being effortlessly. Use this candle to stimulate an artistic venture and create a visionary perspective.

Altar Suggestions: Orange, orange calcite crystals, oranges, bergamot essential oil, art supplies, or images that inspire you.

Ritual Suggestion: The second chakra responds to all of your wild, wonderful and difficult emotions. Its real essence is creativity or change. The moment we think of something different to do, we are creating. If you always walk or drive the same route to work, purposefully pick another route. Even playing music or dancing stimulates the creative center. You can dial up the creative energy in your space by creating these simple Dried Orange Garlands or Cloved Pomanders. The scent of oranges is also believed to inspire happiness and positivity.

20171129-_85B2000.jpg
20161211-_85B7467.jpg

week3.png
 

December 15 - 21. This week you will light the fourth candle, as well as the three previous.

20171129-_85B2019.jpg

Meditation: I open myself up to receiving from the infinite universe as I am worthy of prosperity and abundance…

Focus on manifesting success and good fortune into your life and creating a world of unlimited possibilities. Envision an endless river of abundance and prosperity flowing towards you. This is the perfect candle to burn to attract a new opportunity in your life or accelerate your desires.

Altar Suggestions: Green, patchouli, jade, citrine, green aventurine, incense, cash or coins, healthy plants.

Ritual Suggestion: Abundance Journaling :: Pour yourself a special drink and find a quiet place to journal. Light some candles. Get cozy. Practice feeling grateful for the places you have already been, and for the circumstances that brought you to where you are in life. It’s never too late to realize your dreams. Now is the perfect time to begin. Commit to the adventure of you. Imagine what you want and feel that you have it. Appreciate your life as if everything you want has already happened. It doesn't matter what it looks like. Fall in love with the feeling, not the how. Find even small things about yourself and others to appreciate. Maybe you can appreciate the way your morning coffee smells, or the warmth of a coat or the way a person holds a child’s hand. Begin jotting these down in your journal.

Here are some examples of what you might write to manifest your own abundance:
I’m a happy, healthy person and I will always be successful.
I am wealthy beyond measure.
My life is transforming in important ways.
True happiness lives in my life now.
I now allow the universe to send its unlimited treasures my way.

20171129-_85B2043.jpg

Week4.png
 

December 21 (Winter Solstice) - 31. This week you will light all five candles.

20171129-_85B2101.jpg

Meditation: I love and honor my connection to spirit and the Universe…

Reinforce your spiritual connection with a white light of purification and peace. Use this candle to express love and gratitude toward the Universe. This can also be used as a energetic candle, choosing to light it only for a period of time when a spiritual connection in your space is desired, perfect for meditation.

Altar Suggestions: White, quartz, amethyst, frankincense, feathers, antlers, cedar, representations of light + dark, cranberries, evergreens, elements from previous weeks altars.

Ritual Suggestion: Gather with dear ones around a fire (or just the five solstice candles.) Make a special hot cocoa for kiddos or this lovely golden turmeric milk for adults. On a small slip of paper, have everyone write down one thing they would like to release for the coming year. Safely burn the slips of paper in the fire, releasing them to the dark.

Keep lighting the candles every night from Solstice through New Years to close the ritual.

So much love and gratitude to Bridget Ambrose for sharing her magic. To schedule a healing session with Bridget, (which I highly, highly recommend) please reach out to healing@becrowbe.com. You can also follow her everyday sacredness on ig @themysticbecrowbe and @becrowbe. 

20171129-_85B2119.jpg

Happy December, dear ones.
xoxo,

Haileysignature.png
 
20171129-_85B2134.jpg
November 30, 2017 /Hailey Faust
winter solstice, solstice, ritual, slow living, christmas, holiday, witch, pagan, the art of slow living, becrowbe, holiday decorations, natural, altar, meditation, candle magic, ceremony, the lovely wild, darkness, oracle cards, december, personal ritual, energy healing, magic, holiday decor, diy
:: Celebrate
Comment
20171122-_85B1765.jpg

Setting the Table :: the Art of Everyday Ritual

November 23, 2017 by Hailey Faust in :: Celebrate, :: DIY

As we retreat into the darker days of winter, I find myself deeply drawn to daily rituals. To simple acts like steeping and sweeping and setting the table. Making the bed. Stirring a pot of simmering soup. Perhaps it's the long dark nights, or the primal need to cozy in and hibernate. To turn inward. To retreat into our little burrows. Whatever it is, my homebody tendencies are off the charts right now. 

It's a little ironic that in this season of rest and retreat, it's so easy to get swept up in the cult of busy. To rush from place to place, laptop and presents and to-do lists in tow. To convince ourselves we don't have the time or space for slow living. I'm constantly reminding myself that all it takes is a little intention to transform daily chores into personal rituals. It doesn't need to be anything fancy. Quietly meditate while your tea steeps. Focus on clearing negativity as you sweep the kitchen floor. Light some candles on a weeknight. Start a gratitude journal. It can literally be anything. Whatever it looks like for you, finding ways to incorporate a little intention and ritual into daily habits can be a lovely way to stay nourished and grounded during the holiday bustle. 

One of my favorite personal rituals is setting the table. I love to weave in a little symbolism. To play with herbs. Light a few candles. Maybe break out the nice napkins. It's my way of creating sacred space for dear ones to gather. An altar to honor togetherness. This winter pomegranate and eucalyptus tablescape is admittedly much fancier than I would normally attempt on a weeknight, but hey, it's the holidays. Pomegranates have long symbolized the decent of Persephone into the underworld and the seasonal transition into winter. They are associated with abundance and prosperity. Eucalyptus is believed to ward off arguments and clear any negative energy. Grey candles promote balance. Magnolia leaves for relaxation. A secret spell to bless our table.

Sending you all love and light and lots of hygge today (and everyday.) I am so grateful for each and every one of you. 

20171122-_85B1773.jpg
20171122-_85B1662.jpg
20171122-_85B1588.jpg
20171122-_85B1669.jpg
20171122-_85B1739.jpg
20171122-_85B1544.jpg
20171122-_85B1761.jpg
20171122-_85B1731.jpg

xo,

Haileysignature.png
 
20171122-_85B1836.jpg
November 23, 2017 /Hailey Faust
the art of slow living, holiday, decoration, decor, Diy, tablescape, natural, organic, eucalyptus, christmas, table, thanksgiving, ritual, slow living, hygge
:: Celebrate, :: DIY
Comment

Flower Moon Shortbread with Earl Grey + Lemon

May 10, 2017 by Hailey Faust in :: Celebrate, :: Eat

I love how every full moon has a slightly different magic. A special energy. A unique personality derived from the sign and the season and the astrological climate. Tonight marks May's Full Moon. The Flower Moon, to be exact. A moon to honor the season of abundance and fertility and floral magic that is springtime. A moon that buzzes with growth and transformation.

Marking the new and full moons with a small ritual has become one of my favorite ways to tap into the natural cycles. To reconnect to a time when we relied on the moon as our primary calendar. To a time when we lived by her seasons. The moon affects everything from female fertility to animal migrations, so it makes perfect sense that for much of human existence, tracking her progress across the heavens was an essential part of daily life.  It's only been the past few centuries, with the advent of electric lights and 10-day forecasts, that we have started to move away these intrinsic cycles. And I have a sneaking suspicion we are missing her...our sister moon. That we feel her pulling on the tides of our bodies and yearn to mark her phases. To remember the old rituals. The forgotten songs embedded in our DNA. She control's the tides, after all, and what are we if not mostly water?

So to honor tonight's lovely Flower Moon, I filled a basket with the first delicate pansies from the garden and whipped up a batch of these super simple shortbread cookies. The earl grey is subtle and earthy, while the lemon adds a cheerful brightness that feels like spring. And who doesn't love eating flowers? It always makes me feel extra goddessey.

These little guys came together in about 30 mins and I pretty much made up the recipe as I went. Like I said, the primary goal here was eating flowers. Oh, and finding and excuse to use this sweet little vintage moon cookie cutter from my sister. Pansies are indeed edible, but make sure you are only harvesting where you know no nasty chemicals have been sprayed. A happy afternoon of flower foraging is an essential part of the process.

So pour yourself a cup of tea and gather a few fresh blooms, sweet friends. Tonight's moon feels extra sparkly. 

Wishing you love and flowers and full moon blessings.


Ingredients: 

- zest from 1/2 a lemon

- juice from 1/2 a lemon

- 1 tsp earl grey tea

- 1/2 cup butter

- 1 cup flour

- 1/3 cup powdered sugar

- 2 TBS granulated sugar

- 1 tsp vanilla extract

- 1/4 tsp salt

- 2 tsp meringue powder

- a few fresh organic edible pansies (picked from a location that hasn't been sprayed with anything nasty)

Instructions:

1. Preheat oven to 350° F.

2. Using a mortar and pestle, crush the earl grey tea into a coarse powder. Finely chop the zest from half a lemon.

3. In a small bowl, combine 1/2 of the chopped lemon zest with the granulated sugar. Mix together until fragrant.

4. In a mixing bowl, beat together the remaining lemon zest, earl grey, butter, flour, powdered sugar, vanilla extract and salt until combined. 

5. Keep beating and slowly add in the flour until the dough starts to come together. It will still be a bit crumbly, so add in the lemon juice until a fragrant dough is formed.

6. Form into a round of dough and wrap in plastic wrap. Chill in fridge for 30 mins to firm it up a bit.

7. On a lightly floured surface (you don't want to add too much flour if you can help it), roll out the dough to 1/4" thickness. Sprinkle the top of the dough with a bit of the lemon sugar you have set aside and lightly roll with the rolling pin to help it adhere.

8. Using a cookie cutter of your choice, cut out cookies and place on a parchment lined baking sheet.

9. Chill baking sheets with cookies in fridge for additional 10 mins to keep cookies from spreading.

10. Bake at 350° F for 10 - 12 mins or until edges begin to barely brown. (Decorating instructions below.)

Decorating:

1. While cookies are still barely warm, use a chopstick to make a little indentation in the center of each cookie. This will be used to help "sink" the back of the flower and help it lay flat.

2. Wash flowers and allow to air dry on a clean towel.

3. Allow cookies to cool completely. In a small bowl, mix 2 tsp meringue powder with 2 tsp water until a paste is formed.

4. Decorate cookies one at a time. Using a new clean paintbrush, paint the top of the cookie with the meringue paste. I like to put a little extra paste in the indentation to help secure the flower. Paint the back side of one pansy as well.

5. Using your fingers, gently press the back of the flower into the indentation, then delicately press each petal onto the cookie. 

6. Sprinkle with a bit of lemon sugar for extra sparkle. The meringue paste will help it adhere. 

7. Allow meringue paste to dry and enjoy!

xo,

 
May 10, 2017 /Hailey Faust
:: Celebrate, :: Eat
1 Comment
20161211-_85B7405-2.jpg

DIY :: Dried Orange Garland and Cloved Pomanders

December 13, 2016 by Hailey Faust in :: DIY, :: Celebrate

When I think back on childhood holidays, my earliest memories are wrapped in the warm glow of white candles. I see baskets of apples and hot waffles with jam and garlands of happy gingerbread men in the window. My father teaching me to ski in our driveway. Making salt dough ornaments in a cozy mountain hytte with my mom and siblings. Long nights and endless snow. We left Norway when I was only seven, but the quiet simplicity of a Scandinavian Christmas planted deep seeds I still carry. 

The Norwegian concept of koselig, similar to the Danish hygge, is one that has no direct translation. It can be used as both a noun and a verb and essentially captures the cozy contentedness you feel when you warm chilly feet by the fire or gather with dear ones over a candlelit dinner at home. Koselig is simple and handmade and nurturing. It values the little things. The important things. Like fresh coffee and good friends and cozy slippers. In many ways, koselig is the original art of slow living.

When it comes to the holidays, I love to make our home feel warm and welcoming and koselig. I tend to keep decorations simple and handmade. Foraged juniper boughs. Straw ornaments. Endless white candles....you get the idea. I always make a few batches of these dried orange garlands to hang in windows and gift to friends. The winter light shines through them like little stained glass windows and makes me smile. Little drops of sunshine to brighten the dark winter days.

This year I also took a stab at making simple orange pomander balls to bring in the scents of winter. You guys - I don't know how I have never tried these before! First off, they smell incredible. Warm and spicy and Christmasy. And the super complicated DIY instructions? Stick some cloves in an orange. That's it. Done. They look lovely hanging on the tree or in a happy bowl on the kitchen table (where I may or may not have grabbed one as I rushed out the door for a last minute hostess gift.) Everybody wins. 

Some years it's all too easy to get lost in the hustle of the holidays. To get overwhelmed by the commercialization and travel itineraries and endless to-do lists. To lose sight of the quiet moments that make this season magical. I think we could all benefit from slowing down and cozying in and lighting a few more candles. It's the most koselig time of the year.

Happy Holidays, lovelies. Hope your week is warm and fuzzy. 


Supplies

- Oranges or mandarins

- Wooden or metal dowel

- Twine or ribbon

Instructions

1. Cut the oranges into very thin slices (about 1/4" if you can). Some will be thicker than others. Just remember, the thinner the slices, the less time they will take to dry.

2.  If you don't have a food dehydrator, I can't recommend them enough. It has quickly become my favorite kitchen tool. I purchased this one on Amazon a few years ago and we get a ton of use out of it for everything from kale chips and fruit leather, to dried herbs and sun-dried tomatoes. This thing pays for itself in time and deliciousness. 

Dehydrator: Place the orange slices on the drying racks of your dehydrator. Set the temperature to 135° F and leave to dry for 12 - 14 hours. Flip after about 8 hours. You'll know they are done when you press your fingernail into the slices and they crack or crunch a bit. Make sure they are fully dry and not sticky or soft. 

Oven: Preheat the oven to 170° F or as low temp as it will go. Place the oranges on a parchment lined baking sheet and place in the oven, leaving the door propped open a few inches. Bake for 3 hours, then flip oranges. Continue to bake until they fully dry out (usually about 8 hours.) I would recommend checking in every hour near the end until they reach the desired texture and lose their stickiness.
Note: I haven't used the oven method in years since we purchased our dehydrator. You may need to add or decrease baking time depending on the size of your slices and your oven. It goes without saying, but always babysit the oven when it is on for extended periods like this. 

3. Once the oranges are fully dry, use a wooden or metal dowel to poke one hole on the left and right side of the orange. Make sure they are parallel, as you will be threading the twine through them later. I like to place mine in the top third of the orange.  

4. Weave your twine through the holes to string the orange slices together. I like to hide my stitch on the back side of the orange.

5. Hang in a window where the winter light can shine through. I also hang any extra slices on the tree or use them to spruce up my wrapping!


Supplies

- Orange or mandarin

- Whole cloves

- Ribbon to hang (optional)

Instructions

1. Push the sharp end of the cloves through the skin of the orange or mandarin. Create a simple design by studding the cloves around the orange.

2. Hang to dry with ribbon. As the orange dries out, it will fill the house with a spicy, wintery aroma.

xo,

 
December 13, 2016 /Hailey Faust
orange, orange garland, christmas, diy, the lovely wild, the art of slow living, lifestyle blog, holiday, decoration, organic, pomander
:: DIY, :: Celebrate
1 Comment

DIY :: Bay Laurel Eucalyptus Wreath & the Dark Days of Winter

December 01, 2016 by Hailey Faust in :: DIY, :: Celebrate, :: Make

For thousands of years, the approach of winter was a dire, fearful time for humans. It meant famine and illness and death were on the horizon. That the world would be plunged into relentless cold and darkness and that not everyone would survive. It was a time to huddle together. To batten down the hatches. To hide away and hold on till spring.

December (and the winter solstice specifically), marked the pinnacle of this desolate season. But many cultures also used this as a time to celebrate life and light in the face of the encroaching darkness. To gather with loved ones around the fire. To feast and sing and share what little we had squirreled away. To celebrate the simple fact that we were still alive. Now don't get me wrong, humans have plenty of flaws, but I think there is something deeply beautiful about that. That on the longest, coldest nights of the year, when all was quiet and frozen and bleak, we shined our flickering lights into the vast darkness and found joy. 

I love that you can still find remnants of these ancient rituals in our modern holiday traditions. Little echoes of forgotten customs. We still hang lights in dark windows. We feast and sing. We bring in evergreens that don't mind the cold. Perhaps one of the most ubiquitous of these symbols is the humble wreath. There are many theories on the origin of this tradition, but my personal favorite is that the hearty evergreens and circular shape represent eternal life in the face of winter. We hang them in our doors and windows to remind our neighbors, "It's alright, friends. Even on the darkest days of the year, something green remains." What a lovely thought.

I made this simple wreath with bay laurel and eucalyptus and an old embroidery hoop. Nothing too fancy. Just simple supplies, a little time and a cup of peppermint tea. It felt good to slow down and breathe deep and play with plants for a while. A nice slow segue into the bustle of the holiday season. 

Happy December, dear ones. Here's to sharing and celebrating and shining our little lights. So much love to you. 


Supplies

- Hearty greens (I used branches of bay laurel as my base. They hold up nicely and smell amazing)

- Smaller greens & berries for texture (I used gunny, blue and seeded eucalyptus as well as a few dried pepper berries)

- Embroidery hoop of any size

- Floral wire

- Ribbon

Instructions

1. Start by cutting your bay laurel branches into more manageable lengths. I cut mine into roughly 1 foot sections. The size of these will depend on the size of your embroidery hoop. I set aside a few small sprigs to fill in any sparse spots later.

2. Play with the natural curve of the branches to find where they want to lay on the hoop. Word to the wise: don't try to fight the natural curve of the branches. Let them lay how they want to lay and work around their natural shape. Bay laurel lends itself beautifully to a circular wreath. Using segments of floral wire, begin wrapping the branches in segments around the hoop. It's okay if the wire is visible or there are some bare spots. You can cover these will smaller greens later. Use small lengths of wire to attach each branch in 2 - 3 spots.

3. Once you have your base greenery secured around the hoop you can start playing with the smaller greens. I wove in blue and seeded eucalyptus to fill in bare spots and cover any exposed wire. I also added a few more sprigs of bay laurel here and there. Even some pheasant feathers would be cool. There is no right answer here! Have fun and play with finding the right balance. I tend to like things a little more organic and unfussy so I left mine a bit wild. You can easily tame it with some additional floral wire if thats more your style. It helps to hold the wreath up to the wall now and then to get perspective and make sure the weight is balanced.

4. Tie a pretty ribbon or twine around the top of the wreath. You can either use this to hang it, or if you have a wreath hanger you could opt for the traditional bow. As a finishing touch, I wove in a few dried pepper berries left over from our Thanksgiving table. Those little guys last forever. 

5. Hang and enjoy! You can definitely hang these little loves outside, but I couldn't bare to be parted with the spicy, earthy aroma of the bay leaves. I opted to display ours in our front window so it can be seen from the street, but we can still smell it in the house. Everybody wins.

xo,

 
Follow my blog with Bloglovin
December 01, 2016 /Hailey Faust
wreath, christmas, celebrate, the lovely wild, slow living, lifestyle, craft, holiday, decoration, diy, eucalyptus, homemade, organic, natural, apothecary, the art of slow living, handmade, simple christmas decorations
:: DIY, :: Celebrate, :: Make
3 Comments

A Foraged Thanksgiving Table & Frost Kissed Cranberries

November 22, 2016 by Hailey Faust in :: Celebrate, :: DIY

There is one spot in our home we always seem to gravitate to. A warm little corner perfectly suited for morning coffees and late night cribbage and quiet moments alone. For simple evenings spent with good friends, sharing food and stories. Laughing. Being together. They say the kitchen is the heart of the home, but I have a sneaking suspicion it's actually the table. 

For years we all crammed around our tiny kitchen table, bumping elbows and balancing toddlers on laps. It was close and cozy, but often left someone standing at the counter or retreating to the couch in search of a seat. So my ever-talented husband built this gorgeous blue spruce coffee / dining / everything table, which has quickly become the centerpiece of our household. He made this in like an afternoon, you guys. He's like a little wood gnome, that one. And I am totally smitten with the result. There is something so grounding about sitting on the floor. Down-to-earth in the most literal sense. And lord knows I love to set a pretty table.

Setting a table can feel like something of a lost art these days. A relic of a bygone era of stuffy place cards and pickle forks. But I think there's something deeply satisfying about creating a lovely space for dear ones to gather. To set the vibe. To make things a little special. So this Thanksgiving, I wanted to create a table that felt simple and balanced and seasonal. Pretty and inviting and unfussy. 

I started by foraging through the garden and chilly neighborhood alleys for the heartiest herbs. The ones that have managed to survive early morning frosts and howling November winds. I returned with pink ears and cheeks and a fragrant bouquet of rosemary, sage, thyme, and eucalyptus. I supplemented with aromatic pepper berries and magnolia leaves from Habitat, my favorite little neighborhood flower shop, and mixed them in with this simple candle train I found for pennies at the flea market. The whole display cost less than a bag of coffee and smelled amazing.

I also whipped up this classic pumpkin pie with frost kissed cranberries (because c'mon, what's Thanksgiving without pumpkin pie?) I thought about writing a whole DIY on the sugared cranberries, but they are so embarrassingly easy it seemed like overkill. Simply dissolve 1 cup sugar with 2 cups water on the stovetop. Pour the mixture over a bowl of cranberries and refrigerate overnight. In the morning, drain the cranberries and lay them out on parchment paper. Roll them in fresh sugar and let dry for 2 hours. They taste delicious and look sparkly and festive on the table. Easy. Peasy. 

Hope you all have a lovely, restful holiday weekend filled with love and food and gratitude. I am thankful for each and every one of you. Happy Thanksgiving, dear ones! 

20161120-_85B0539.jpg
20161120-_85B0269.jpg

xo,

 
November 22, 2016 /Hailey Faust
thanksgiving, table, tablescape, the art of slow living, christmas, holiday, diy, natural, hygge, organic
:: Celebrate, :: DIY
Comment

All Hallows High Tea :: The Secret Gathering

October 31, 2016 by Hailey Faust in :: Celebrate

Happy Halloween, my lovelies!

Yesterday marked the New Moon in Scorpio. The Witch's New Year. A time to honor our ancestors and make offerings and lift the thinning veil between worlds. A time to meditate on the natural cycles of life and death as we step from the final glowing days of fall into the long night of winter. A time to get a little witchy and burn herbs and gather with our chosen ones.

To celebrate the darkness of the New Moon and the coming season, my creative partner and co-conspirator, Lindy McKay, and I hosted little gathering. We mixed herbs and sipped tea and read tarot. We spoke of the stars and our pasts and our presents and our futures. We swirled tea leaves and watched the black candles burn low. It was a magical space and time to connect with some of the women in my life I rarely see.

I think we, as a society, are really starved for these moments of communion and ritual. There are few things I love more than setting a beautiful space for people to gather. To slow down. To connect. All Hallows High Tea was the first in a series of seasonal pop-up events Lindy and I will be manifesting in the coming months to do just that. This new project is called The Secret Gathering. If you are interested in attending future gatherings, be sure to subscribe below. I'll make sure to let you know when the next event is brewing. 

Have a lovely All Hallows Eve my witchy ones! 

xo,

 
October 31, 2016 /Hailey Faust
halloween, tablescape, tea, tea party, tarot, occult, tea leaves, the secret gathering
:: Celebrate
2 Comments

Apothecary :: Solstice Sun Tea

June 20, 2016 by Hailey Faust in :: Eat, :: Apothecary, :: Celebrate

Happy Midsummer dear ones! 

There is a special kind of celestial magic in the air today. Not only is today the Summer Solstice, but it also just so happens to coincide with the full moon. The Strawberry Moon to be exact. The last time this happened was in 1967 - the summer of love. I don't know about you, but that just makes my heart go pitter-patter. 

I couldn't resist whipping up a quick batch of sun tea to honor the longest day of the year and absorb a little bit of this lovely cosmic energy raining down on us. I think I will let it continue to steep in the light of the full moon as well - just for good measure. 

Oh and it also helps if you make a flower crown and float around the yard in a linen kaftan. Trust me on this. 

Please note - this is really more of a suggestion than a recipe. You can use whatever you have to hand. A quick traipse through the garden, some loose leaf tea and a large jar are all you need. 


Ingredients

- 3 TBS black or herbal tea. My favorite blend is called "Rose Congou" from the herb shop down the street

- 1 tsp organic edible rose petals

- 2 sprigs organic edible lavender 

- 1 sprig (or a few leaves) fresh lemon verbena

Instructions

Add all ingredients into a large tea strainer. Fill the largest jar you have with clean water. Place tea strainer inside and let steep in direct sun for at least 5 hours, or until desired color is reached. Add ice and enjoy. 

xo,

 
June 20, 2016 /Hailey Faust
sun tea, recipes, herbal remedies, self care, solstice
:: Eat, :: Apothecary, :: Celebrate
Comment

DIY :: Red Cabbage Dyed Robin Eggs for Spring

March 26, 2016 by Hailey Faust in :: DIY, :: Celebrate

Hello lovelies!

How is it Saturday already? This week went by in a blur of meetings and deadlines and taxes and paperwork and left me daydreaming about running away into the forest or throwing my phone into the river. Or both.

Do you ever have times when you just feel completely overwhelmed with being "plugged-in" every second of every day? That is totally where I am at right now. So this morning I decided to gift myself the time and space to step away from my inbox and get my hands a little dirty. That always seems to help.

One of my nearest and dearest, Kendra Potter of Brooklyn Light, introduced me to the wonders of using red cabbage to dye eggs. You guys, this is crazy. Who would have thought the humble red cabbage would create such a gorgeous deep cyan dye? It feels a little bit like magic. 

These little guys can be hidden by your resident bunny or gifted to a friend or placed in a nest as a lovely spring centerpiece. Kendra and I even filled some with intentions for Tuesday's full moon. Who says Easter has a monopoly on eggs? I plan on keeping mine out long after the holiday to welcome the coming season.


Supplies:

- Eggs

- 1/2 of a red cabbage

- 3 TBS white vinegar

- Flower petals 

- Black / White paint (I used watercolors)

- Paper 

- Blue tissue paper

- Glue

Step 1: Making the Dye

Start by chopping up about half of a red cabbage. 

Step 2: Making the Dye

Add the cabbage to a medium sized pot with about 5 cups of water. Bring to a boil then turn down the temperature and simmer for 45 minutes. Remove from heat and add in 3 TBS white vinegar. Let cool and strain cabbage out with a collendar, collecting the dye in a jar or bowl.

Step 3: Dying the Eggs

Add your uncooked eggs to the dye and let sit for at least 3 hours. Keep an eye on them and remove when you have reached your desired shade of blue. I left mine overnight in the fridge to get this lovely deep cyan color. 

Step 4: Blowing out the Eggs

Using a needle or metal skewer, poke a small hole in the top and a slightly larger hole in the bottom of the egg. Then put your lips to the smaller hole and gently blow out the inside of the egg into a bowl. This will leave you with an empty egg shell. Rinse the shell out and allow to dry on a clean towel.

Step 5: Painting the Speckles

To create the speckled Robin's egg effect, I used an old tooth brush and flicked black and white paint onto the hollowed egg shells. 

Step 6: Filling the Eggs

Next I filled the eggs with a natural confetti made of rose petals, lavender and dried lemon peel as well as little love notes and fortunes for spring. Gently push the flower petals through the larger hole in the bottom of the egg. To insert the note, simply roll it up as tightly as you can and slip it into the egg after the flower petals. 

Step 7: Sealing the Hole

I just happened to have a little bit of peacock blue tissue paper which worked perfectly to seal up the holes in the top and the bottom of the eggs. Serendipity! I just used a dot of Elmers glue on the tissue and smoothed it over the holes.

Step 8: Break the Eggs!

Make sure your recipient knows to break open the egg to find the surprises you have hidden inside!

Happy Easter everyone! Wishing you a happy, restful weekend.

xo, 

 
March 26, 2016 /Hailey Faust
:: DIY, :: Celebrate
Comment

Valentines Day :: Golden Eggs and Sweet Nothings

February 14, 2016 by Hailey Faust in :: Celebrate, :: DIY

A quiet morning spent exchanging sweet nothings over coffee. 

Whether you are spending today with your partner, mom, lover, kids, sister, bestie or on a marathon of self-care, I wish you so much love. 

Happy Valentines Day, dear ones. 

For Rooster this year, I made this gold leaf egg filled with flower petals and a secret love note. Full DIY on these lovelies coming soon. 

R brought me back a collection of natural baubles from his recent desert journey. This man knows me so well. 

Have a lovely Sunday darlings. 

xo, 

 
February 14, 2016 /Hailey Faust
DIY, Gifts, Valentines, eggs, love
:: Celebrate, :: DIY
Comment

Mardi Gras King Cake

February 09, 2016 by Hailey Faust in :: Eat, :: Celebrate


I'll be the first to admit that, if a recipe takes longer than 40 minutes, I'm probably not going to tackle it. I'm an instant gratification baker. I like recipes that are quick and easy and rustic enough to hide my slapdash kitchen tendencies.

I'm gonna warn you right from the get-go: This King Cake is not one of those recipes. It takes some time and some kneading and not one, but two rises. But it's Mardi Gras. And Valentines. And Chinese New Year! And if that isn't reason enough to bake a cake, I don't know what is. 

A King Cake is really more of a brioche than an actual "cake." A tea-ring / cinnamon roll of sorts with a sweet bready texture that makes it totally acceptable to eat for breakfast. Traditionally made only in the days between twelfth night and  Mardi Gras, King Cakes have a ton of fun rituals and traditions associated. The baker hides a bean or a tiny plastic baby in the cake after baking, and whoever finds the baby in their slice is king or queen of the party. They then have to throw the next Mardi Gras party and procure the next King Cake. Everybody wins. 

This year, I made the traditional cinnamon sugar King Cake, as well as a braided strawberry cream cheese variation. My first time tackling my mother's tried and true recipe from when we lived in New Orleans. The smell of these baking in the oven instantly takes me back to stirring jambalaya on a stool in my Mom's kitchen.  

It's worth the kneading. 

Laissez les bons temps rouler!

dough.jpg
 

Ingredients

(Makes 2 rings)

1/4 c. butter

16 oz sour cream

1/3 c. sugar

1 tsp salt

2 pkgs active dry yeast

1 TBS sugar

1/2 c. warm water

2 eggs

5 cups all purpose flour

Filling:

1/4 c. strawberry preserves  

1/4 c. cream cheese

or

1.5 tsp cinnamon

 1/2 c. sugar and

1/3 c. softened butter

Instructions

1. Combine first four ingredients in a sauce pan. Heat until butter melts, stirring occasionally. Cool mixture to 105 - 115°F. 

2. Dissolve yeast and 1 TBS sugar in warm water and let stand 5 - 10 mins. Add butter mixture, eggs and 2 cups flour. Beat at medium speed with electric mixer for 2 - 3 mins or until smooth. Gradually mix in enough remaining flour to make a soft dough. 

3. Turn dough out on a floured surface and knead until smooth and elastic (10 - 15 mins.) Place in a well greased bowl, turning once to grease top. Cover and let rise in a warm place (about 85°) with no drafts for about an hour or until dough has doubled in size. 

4. Punch dough down gently and divide into two equal parts. On a lightly floured surface, roll one portion out into a 28" x 10" rectangle. 

5. Mix cinnamon and sugar in small bowl. Spread the softened butter over the dough, followed by the cinnamon sugar mixture. If you are using cream cheese and jam instead, spread a thin layer of each on your dough. Then roll the down (from the long side) jelly roll style, to create one long roll. Bring the ends of the roll together to form an oval. Repeat with second cake. Place on a greased cookie sheet.

6. Let rise again, covered in a warm area for about 30 mins.

7. Bake at 375° for 15 - 20 mins or until golden brown.

8. Optional: Let cool and ice with a simple powdered sugar icing. If you want to be super traditional, decorate with purple, gold and green sugar. Just shake a few drops of food coloring in a small mason jar with some sugar. Slip a plastic baby in from the bottom of the cake, so it's hidden within. 

* Note: I haven't included instructions for the braided version as I haven't quite perfected the technique yet. This attempt was a little uneven and lost some of the filling. Will update as soon as I nail it!

xo,


February 09, 2016 /Hailey Faust
Mardi Gras, Holiday, King Cake, Celebrate, recipes
:: Eat, :: Celebrate
1 Comment

Subscribe

Subscribe below to keep up on all the lovely!
We promise to never send spam or share your info with anyone else. For realzies. xo

We respect your privacy and will not share your information with any third parties. 

Thank you!

© 2016 HAILEY FAUST LLC. ALL RIGHTS RESERVED.