the Lovely Wild

  • Blog
  • Archive
    • :: Archive
    • :: Apothecary
    • :: Celebrate
    • :: DIY
    • :: Eat
    • :: Wander
  • About
  • Design
  • Contact
fallwreath-7271.jpg

House Spells :: DIY Samhain Blessing Wreath

October 30, 2018 by Hailey Faust in :: Celebrate, :: Make, :: DIY

And now we step into the darker side of the wheel. Into the days of roots and stones and antlers and bones. A time to shed what we no longer need to carry, and to squirrel away what will carry us through the cold months ahead.

Samhain, Hallowe’en, Witches New Year…there are many names for this liminal time. For these in-between days when the veils are thinnest. We are now exactly half-way between the Fall Equinox and the Winter Solstice. This is a potent time of magic and transformation. A time that asks us to send our energy downward. Into our roots. Into the Underworld.

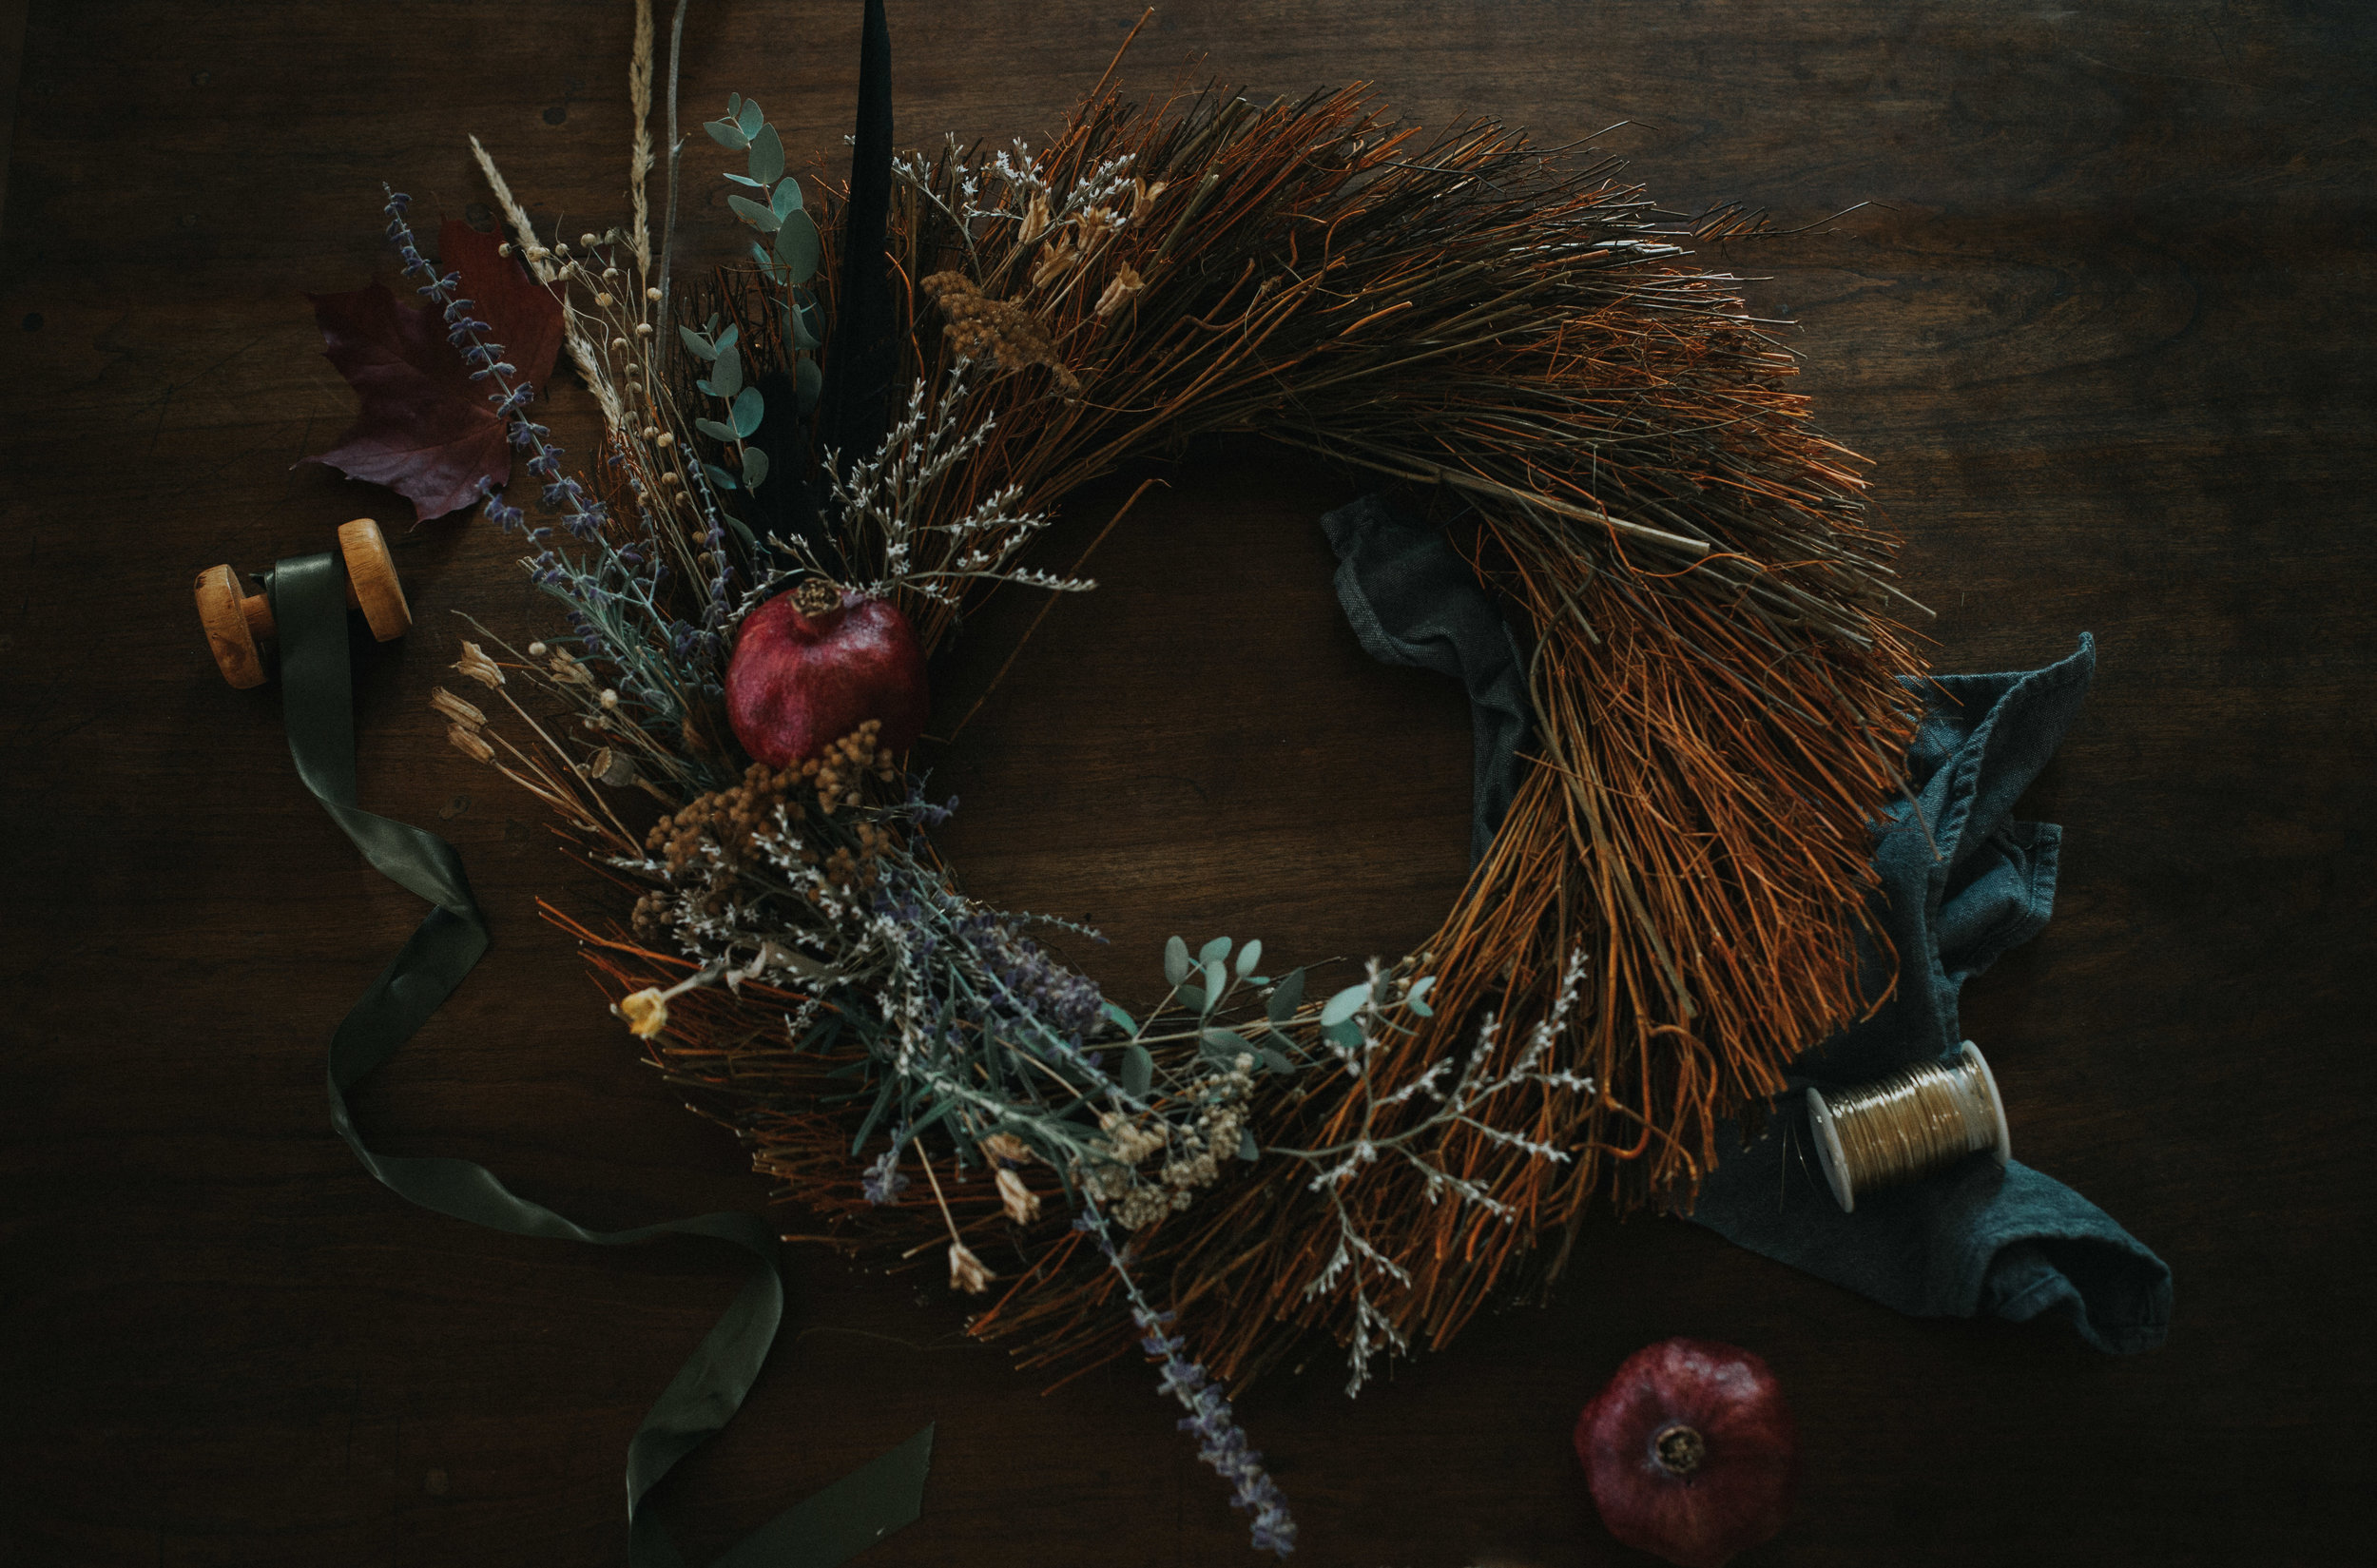
Homemade wreaths and swags have long been prescribed by folklore as talismans to protect the thresholds our homes. This simple wreath is a lovely way to enchant your space with protection and abundance for the darker days ahead, and to quietly honor the natural cycles of life and death.

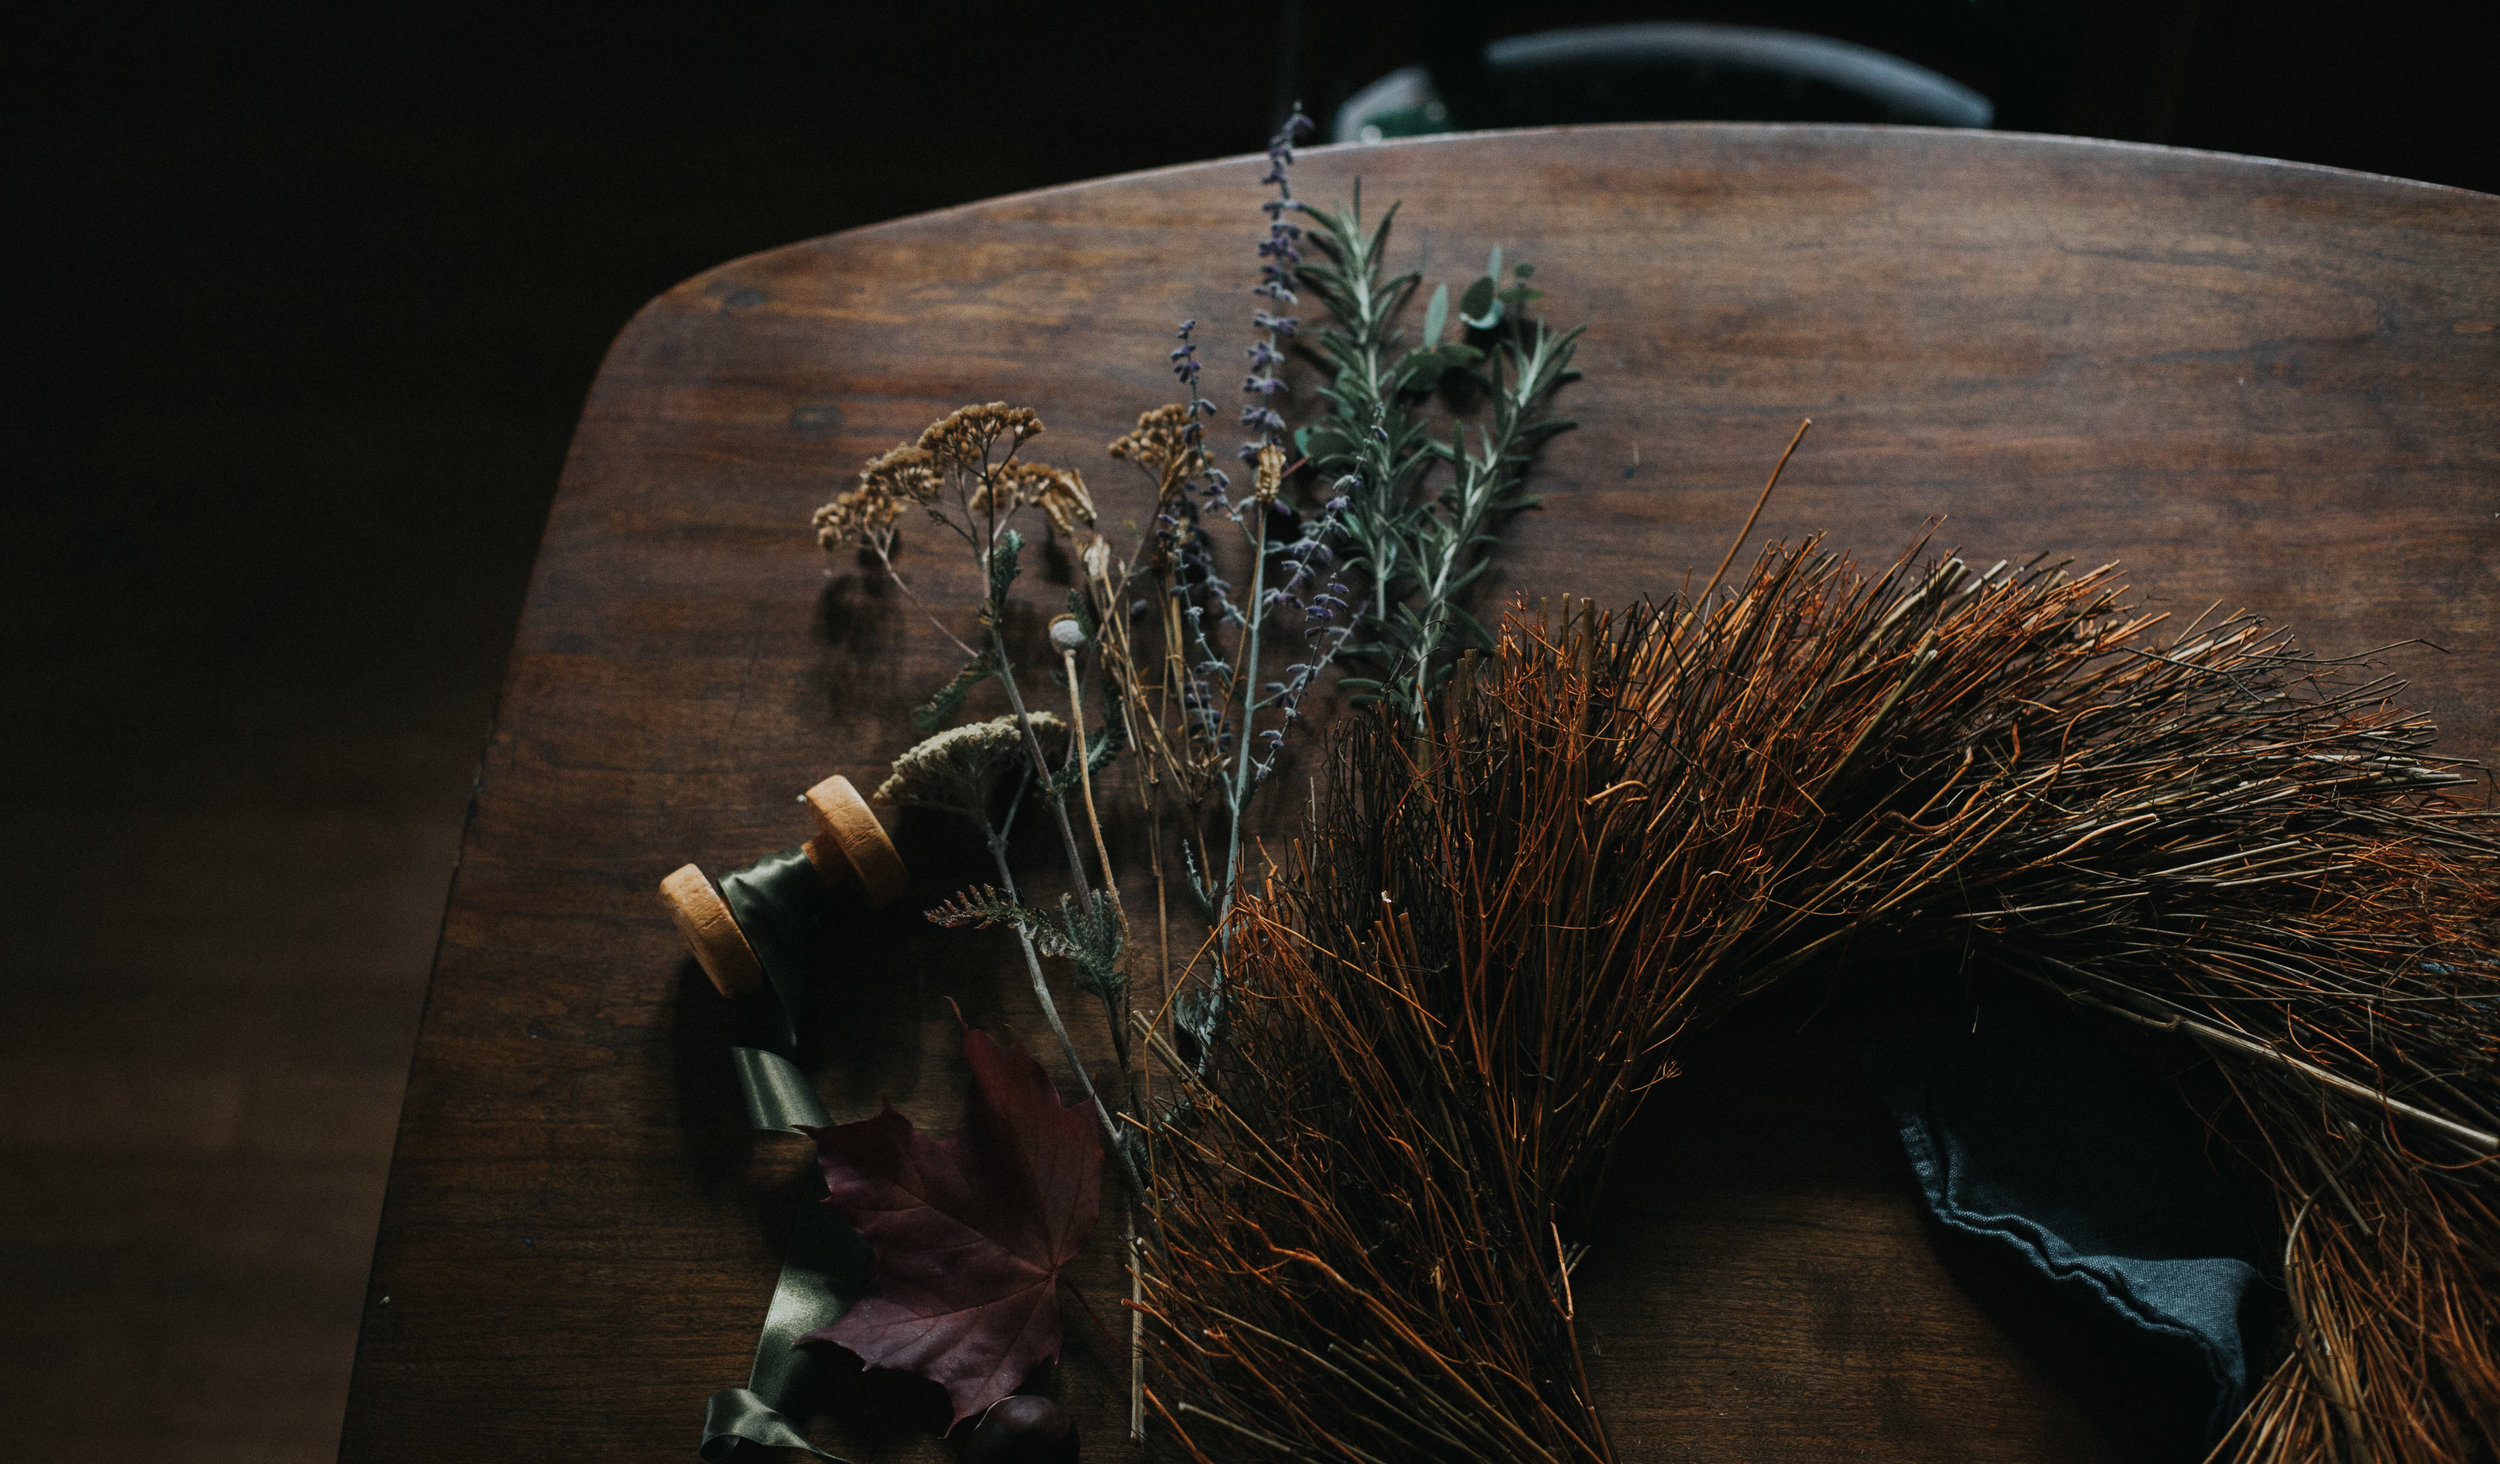
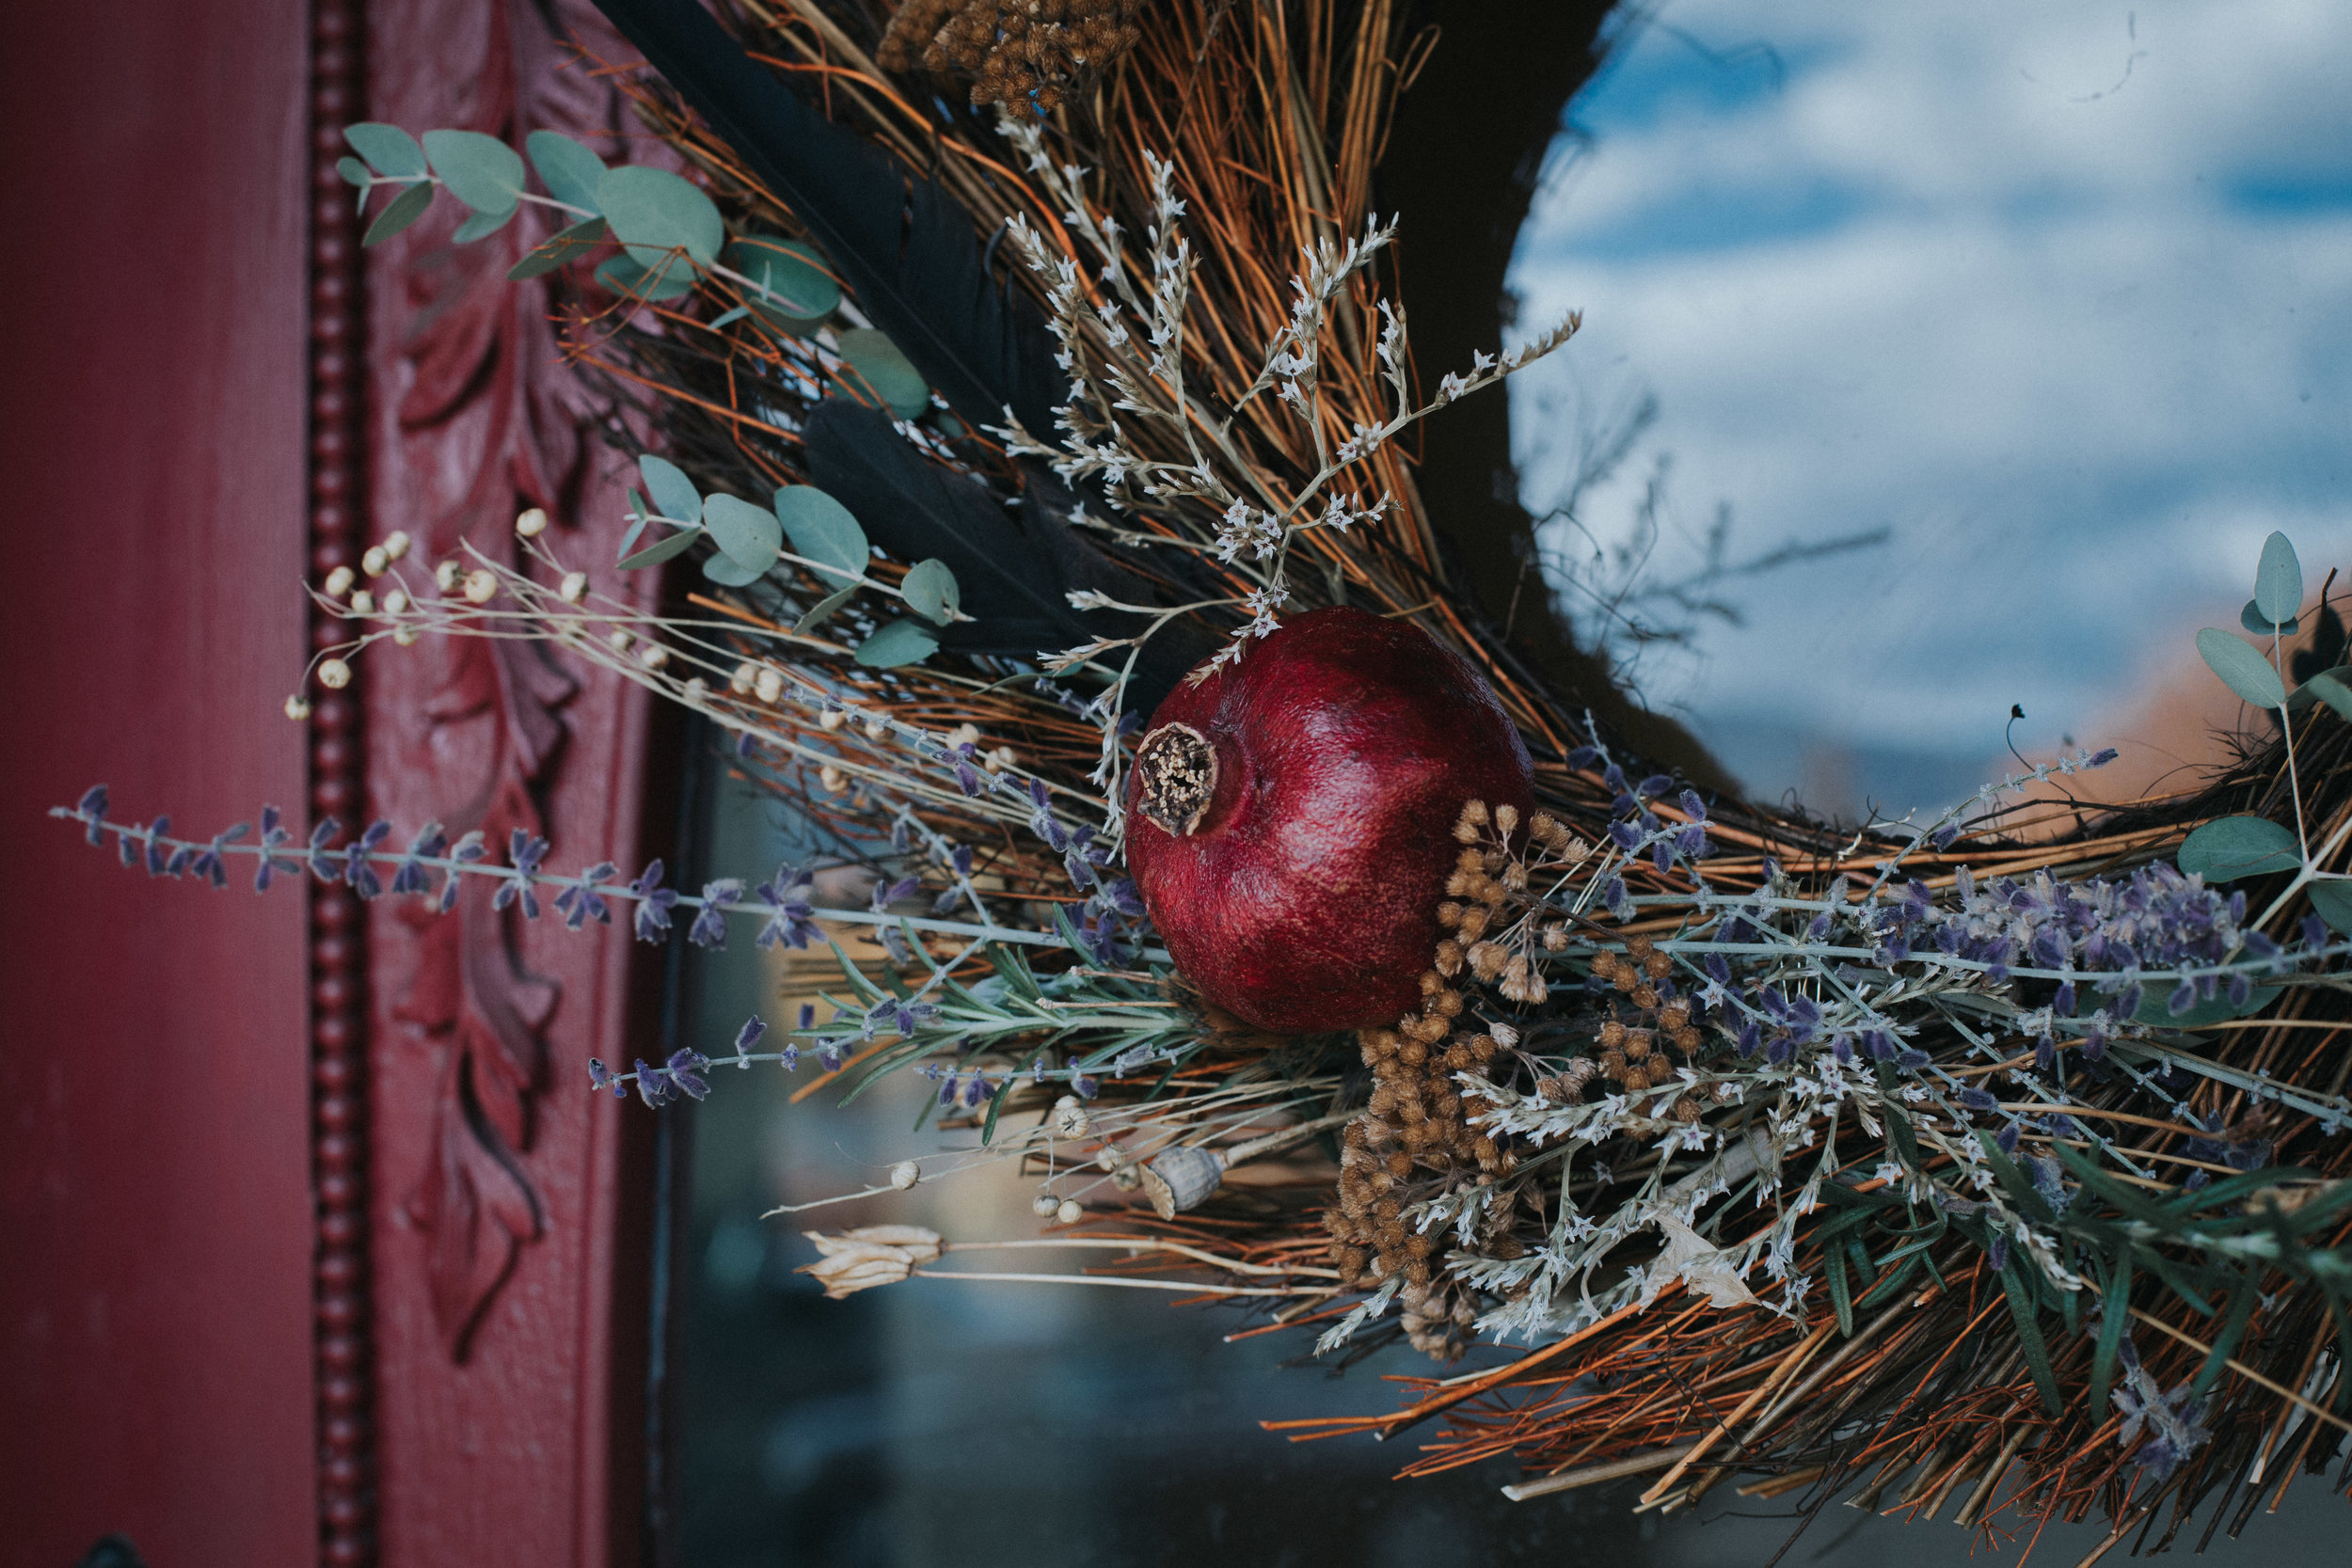
I spent a few minutes wandering through the garden, clipping hearty herbs that had managed to escape the morning frosts, and departed flowers that had dried on their stalks. I used whatever called out to me. Rosemary for remembrance and protection. Lavender for a restful hibernation. Yarrow to shield against melancholy. Eucalyptus to remove negativity. Black feathers because they just kept appearing in my path. I highly recommend wandering through your own yard or neighborhood and taking small clippings of whatever catches your eye. Let your intuition guide you. Don’t worry if they are dead or faded, they will look beautiful. I also had a few pomegranates rolling around our kitchen fruit bowl, which I included to honor Persephone’s decent into the Underworld.

This quiet ritual takes just a few minutes and is best performed with a steaming pot of tea and a few glowing candles. There are no rules or complicated steps. No incantations to recite. Just plants and herbs and a few moments of quiet intention.

Wishing you all a magical, mystical Samhain, dear ones.

fallwreath-7200.jpg
Posttitle-Samhainblessingwreath.png
 

Supplies:

  • Wreath base (I picked this one up years ago for just a few dollars at a craft store. Every few months I change out the flowers and herbs to honor the changing seasons.)

  • Foraged herbs and flowers

  • Pomegranate + small kabob dowel (optional)

  • Wire (whatever you have laying around.)

flowers-7192.jpg

Step 1:

Once you have gathered your clippings, start by playing around with the overall layout for your design. At this point you can just loosely stick them into your wreath base (not securing them yet) so you can easily experiment with what looks good where. Trim the clippings to size if needed, leaving enough stem to secure them to the base later. I find it’s easiest to start with the larger elements, and then weave in the smaller clippings to fill in the gaps. Like I said, there are no rules here. Just play with combining colors and textures until it starts to feel right. As you are working, see if you can tap into the energy of each plant. Notice the beauty of weaving together the natural cycles of life and death.

fallwreath-7257.jpg
fallwreath-7230.jpg

Step 2:

Once you have settled on the placement of your clippings, begin securing with wire as needed. With this particular style of wreath, I was able to secure most of the stems simply by pushing them firmly into the base as far as they would go. During this stage, I like to visualize the intentions and feelings I am calling in and weave them into my wreath. If you are calling in protection and abundance, for example, visualize yourself in your cozy home, safe from the wind and rain, with a cup of tea and everything you need.

fallwreath-7242-2.jpg

Step 3:

If you are attaching larger fruit like pomegranates or apples, insert the sharp side of the kabob dowel firmly into the bottom of the fruit. This gives the fruit a nice long stem to securely stick into the base of your wreath. Watch out for the few drops of pomegranate juice that may escape…they stain big time.

fallwreath-7253.jpg

Step 4:

Stick the doweled fruit into the base of your wreath. Cut about an arms length of wire and begin wrapping it around the dowel and the wreath base to secure it.

fallwreath-7260.jpg

Step 5:

As you are working, hold your wreath up from the top center point (where it will hang) every few minutes to make sure the weight and balance are evenly distributed. You may find as you do this that certain elements need to be additionally secured or moved to keep from falling out. I found that 2 pomegranites was simply too heavy and ended up removing one. Perhaps you use these moments to reflect on the balance in your own life. Does anything need to be adjusted or redistributed?

fallwreath-7289.jpg
fallwreath-7273.jpg

Step 6:

Once everything is safely secured, you are ready to hang your wreath. I like to visualize a shield of protection as I hang the wreath on my front door. Maybe ring a bell or blow out your candle to complete the ritual. Whatever feels right.

fallwreath-7268.jpg
fallwreath-7304.jpg

xo,

Haileysignature.png
 
fallwreath-7300.jpg
October 30, 2018 /Hailey Faust
samhain, halloween, diy, witchy, witch, craft, wreath, fall, autumn
:: Celebrate, :: Make, :: DIY
1 Comment

Sun Dried Garden Tomatoes

August 23, 2016 by Hailey Faust in :: Eat

Change is in the air. 

Do you feel it? There's a subtle shift in the quality of light. In the direction of the wind. In the early morning chill. 

Fall. She's coming for us, friends. 

And with her comes the promise of crisp air and wool slippers and thermoses upon thermoses of steaming coffee. If I'm honest, I am looking forward to the change. To the cold. To the opportunity to turn my attention inward and set intentions and slow down. As a certified homebody, there are few things I love more than the idea of stockpiling the root cellar for a few months of cozy hibernation. 

Putting up the summer's harvest is a lovely way to mentally (and practically) prepare for the coming season. While I love the idea of flitting around the kitchen, canning every ounce of the garden's bounty, my crippling fear of botulism keeps my aspirations at bay. Dehydrating has become one of my favorite ways to preserve seasonal food without the fear of accidentally poisoning all my friends and family. That's what you call a win-win. 

I normally put this recipe to work on the hundreds of sweet cherry tomatoes bursting from the garden this time of year, but getting married in July put a serious damper on our garden time and the harvest has been pretty meager. A trip to the local farmer's market was necessary to supplement our few lonely tomatoes, (and, admittedly, as an excuse to traipse around with this gorgeous new market basket we received as a wedding present from our dear friends at Rabbit Rung Puppetry and Love Yoga. It makes me feel like I am in a provincial fairy tale, which I am pretty sure is my natural state of being.)

Full disclosure: these tomatoes aren't actually "sun-dried." They are oven or dehydrator dried. But I promise they taste (almost) as good as if they were painstakingly turned for days under the mediterranean sun. And your kitchen will smell like a Tuscan delicatessen. So there's that. 

These little beauties only take about 10 mins of hands-on time and keep wonderfully in the fridge. They are perfect for tossing into everything from pastas and salads, to cheeseboards and omelets. So pour yourself a splash of lemoncello and roll up your sleeves. Tomato season is upon us! But not for long...


Note: This is really more of a suggestion than a recipe. No specific measurements are provided as it is one of those "season to taste" types of projects. Feel free to supplement and experiment with your favorite spices. 

Ingredients:

- Cherry tomatoes (other varieties will work as well, but cherry tomatoes are my personal fav)

- Olive oil

- Kosher Salt

- Pepper

- Dried thyme

- Dried basil 

Instructions:

1. Cut the cherry tomatoes in halves or quarters depending on size. The larger the pieces, the longer they will take to dry. 

2. Add the sliced tomatoes to a large bowl. Add enough olive oil to lightly coat all the tomatoes (usually about 1 TBS). Season to taste with salt, pepper, thyme and basil. I sometimes throw in a splash of balsamic vinegar as well. 

3.  If you don't have a food dehydrator, I can't recommend them enough. They are seriously my favorite kitchen tool. I purchased this one on Amazon a few years ago and we get a ton of use out of it for everything from kale chips and fruit leather, to dried herbs and oranges. This thing pays for itself in time and deliciousness. 

Dehydrator: Place the tomato slices skin down, cut side up on the drying racks of your dehydrator. Set the temperature to 140° F and leave to dry for 8 - 10 hours. Flip after about 6 hours. Texture is all a matter of preference, I like mine a bit crispier so I dry them for the full 10 hours. I would recommend checking in a few times until they reach your desired texture. They should be leathery and dry. 

Oven: Preheat the oven to 170° F or as low temp as it will go. Place the tomatoes on a parchment lined baking sheet and place in the oven, leaving the door propped open a few inches. Bake for 3 hours, then flip tomatoes. Continue to bake until they reach your desired texture (usually about 8 hours.) I would recommend checking in every hour near the end until they reach your desired texture. They should be leathery and dry. 
Note: I haven't used the oven method in years since we purchased our dehydrator. You may need to add or decrease baking time depending on the size of your tomatoes and your oven. It goes without saying, but always babysit the oven when it is on for extended periods like this. 

4. Store in the fridge in an airtight container. 

Have a lovely week dear ones. 

xo,

 
August 23, 2016 /Hailey Faust
blog, sun dried tomatoes, garden, preserve, fall, the art of slow living
:: Eat
Comment

Subscribe

Subscribe below to keep up on all the lovely!
We promise to never send spam or share your info with anyone else. For realzies. xo

We respect your privacy and will not share your information with any third parties. 

Thank you!

© 2016 HAILEY FAUST LLC. ALL RIGHTS RESERVED.