the Lovely Wild

  • Blog
  • Archive
    • :: Archive
    • :: Apothecary
    • :: Celebrate
    • :: DIY
    • :: Eat
    • :: Wander
  • About
  • Design
  • Contact
VanillaExtract2-8326.jpg

DIY :: Homemade Vanilla Extract

November 09, 2020 by Hailey Faust in :: Apothecary, :: DIY, :: Eat

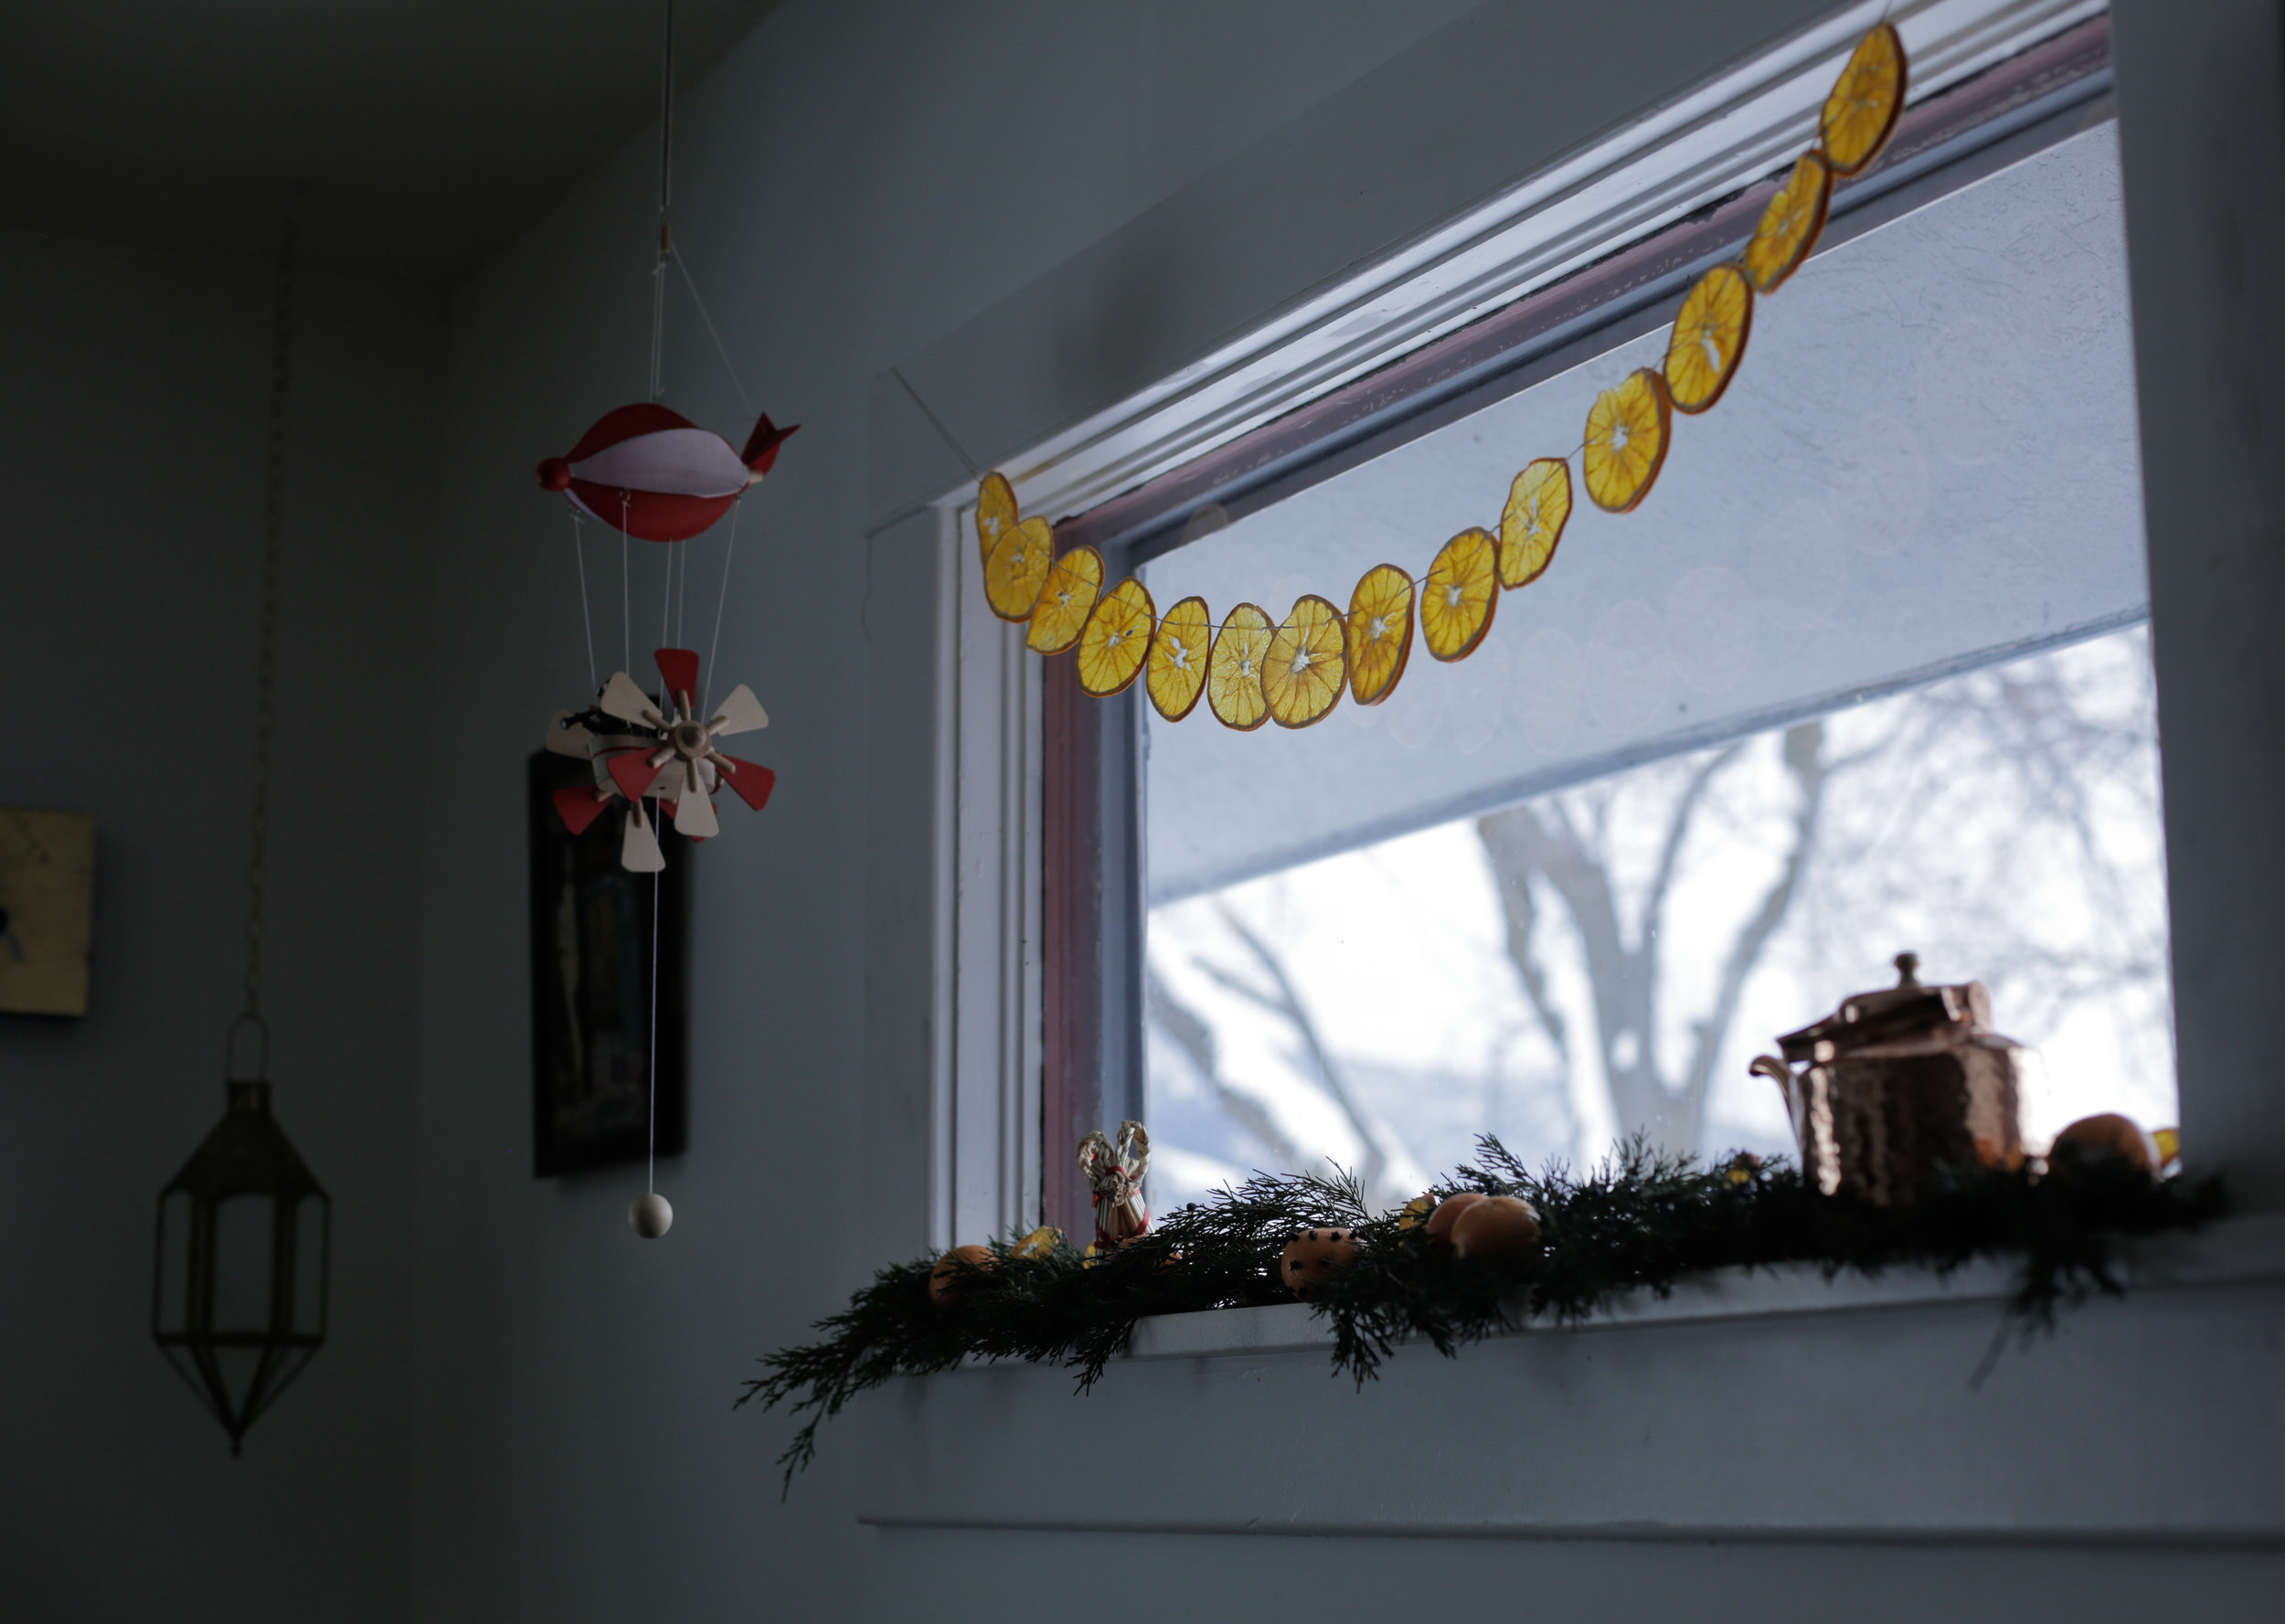
As we step gently into the darker side of the year, I have been finding deep comfort in preparing our little den for hibernation. In frosted kitchen windows and folded flannels and pots simmering contentedly on the stove. Bell jars pinging on the counter. Dough rising and dishes stacked neatly in the cupboard. The quiet productivity that settles in as winter descends.

There is something deeply soothing about working gently with my hands and turning inward this time of year. One of my favorite autumn rituals is infusing a big batch of this simple homemade vanilla extract and dreaming of all the sweet things it will soon become. Cherry Almond Biscotti with hot coffee on a snowy evening. Homemade Maple Pecan Granola with our little family piled around the kitchen table. Grandma’s famous Christmas Tea Ring with cinnamon and maraschinos.

Extracts take time to infuse. Like all things, they need space to rest and integrate. So this is a lovely project to start now and have ready just in time for winter baking and gifting. It only takes about 15 minutes of hands-on time, and then a little darkness and a little patience. There are few things more magical than reaching for this sweet little amber bottle in the back of the cupboard when the time comes. Truly.

To say it’s been a strange year is a massive understatement. But when nothing seems certain, and every day brings new terrain to navigate, taking time to quietly prepare for the colder days ahead can be oddly comforting.

 Sending you warmth and love and peace of mind, dear friends.

VanillaExtract-8412.jpg
VanillaExtract-8348.jpg
VanillaExtract.png
 

Supplies:

  • Small amber jars (any size will do. I used 5oz.)

  • Organic vanilla beans (about 2 - 3 beans per small jar)

  • Bourbon - at least 80 proof (vodka also works well, but I prefer the sweet notes of bourbon)

  • Optional: Sealing wax and wax seal for packaging

VanillaExtract-8275.jpg

Step 1:

Begin by washing and sterilizing your jars and caps. You can do this with boiling water, or in a high temp dishwasher. After the jars are sterilized, allow them to air dry on a clean towel.

VanillaExtract-8281.jpg

Step 2:

Using a sharp knife, cut your vanilla beans lengthwise to expose the seeds inside. Then cut the beans in half vertically so they can easily fit into your jars with a little headspace left over.

VanillaExtract-8285.jpg

Step 3:

Place the equivalent of 2 - 3 whole vanilla beans (4 - 6 cut halves) in each clean bottle.

VanillaExtract-8308.jpg

Step 4:

Fill each bottle with bourbon or vodka, ensuring that the beans are completely submerged.
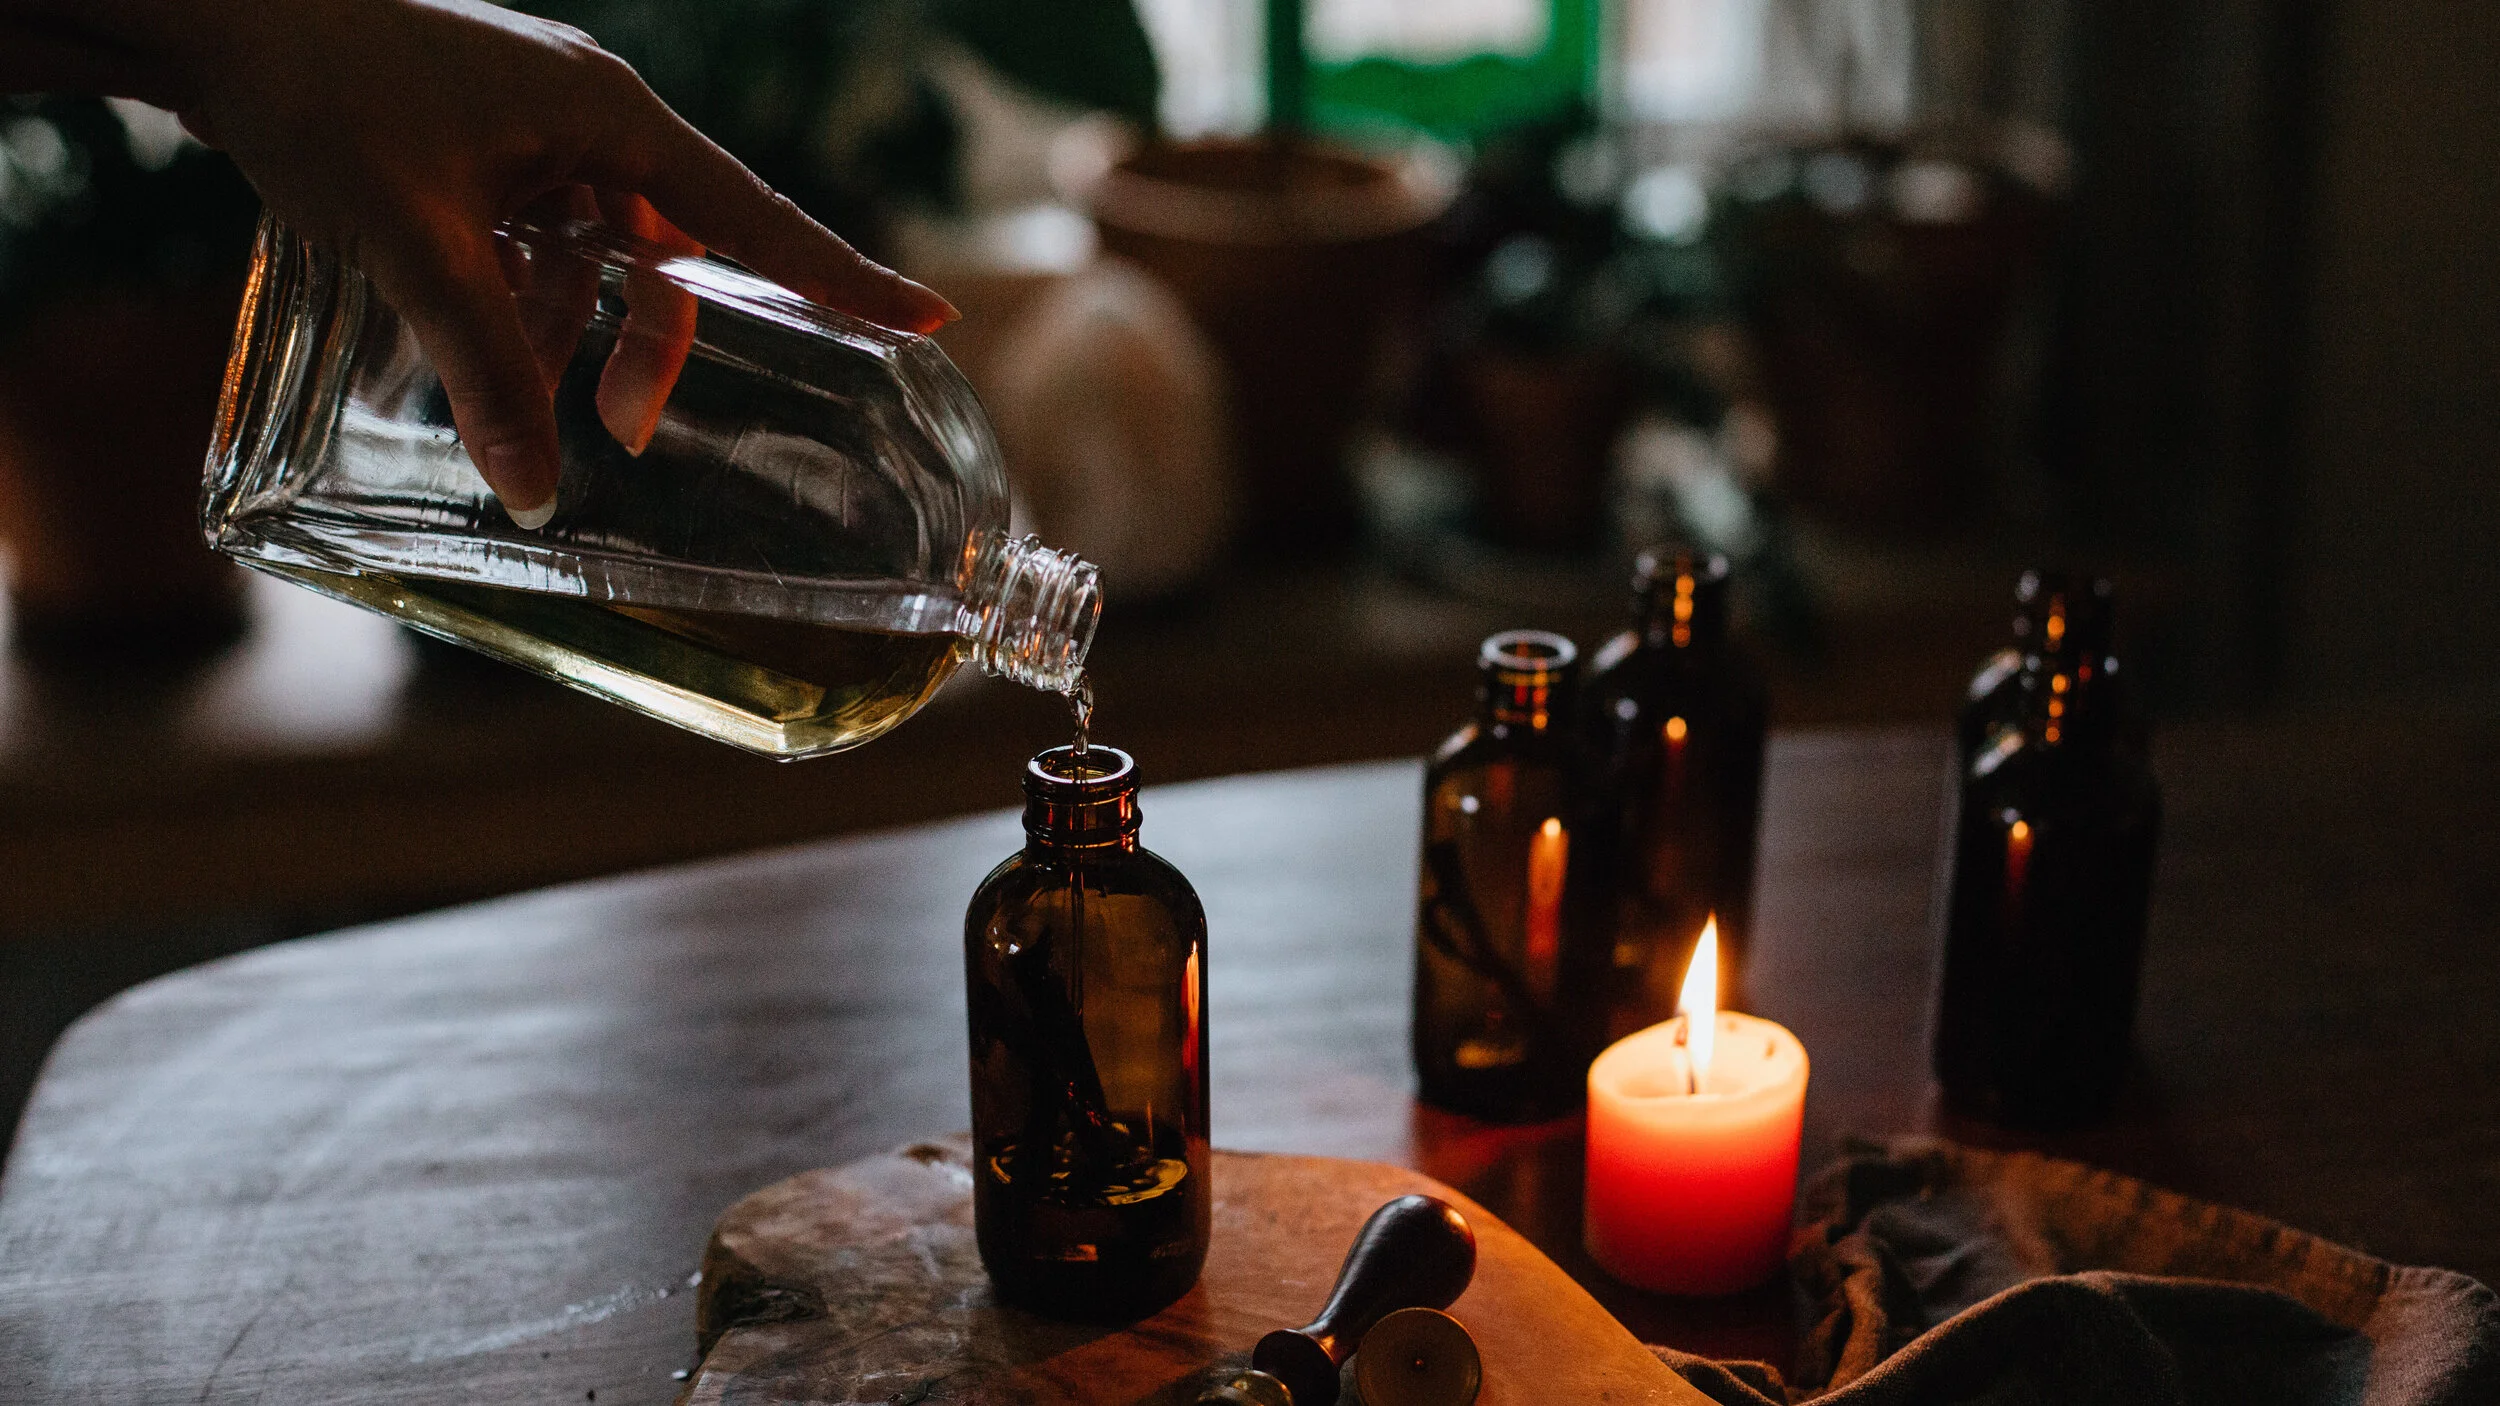
VanillaExtract-8331.jpg

Step 5:

Cap bottles and place them in a dark cupboard for 5 - 8 weeks. I like to gently shake mine every day or two for the first few weeks to help the vanilla integrate.

Though you can start using the extract as soon as 5 weeks, the flavor will continue to deepen and improve with time. No need to remove the vanilla beans! You can continue to refresh the bourbon and add more beans to the jar as needed to ensure you have a perpetual supply of vanilla magic in the cupboard.

VanillaExtract-8361.jpg

Packaging:

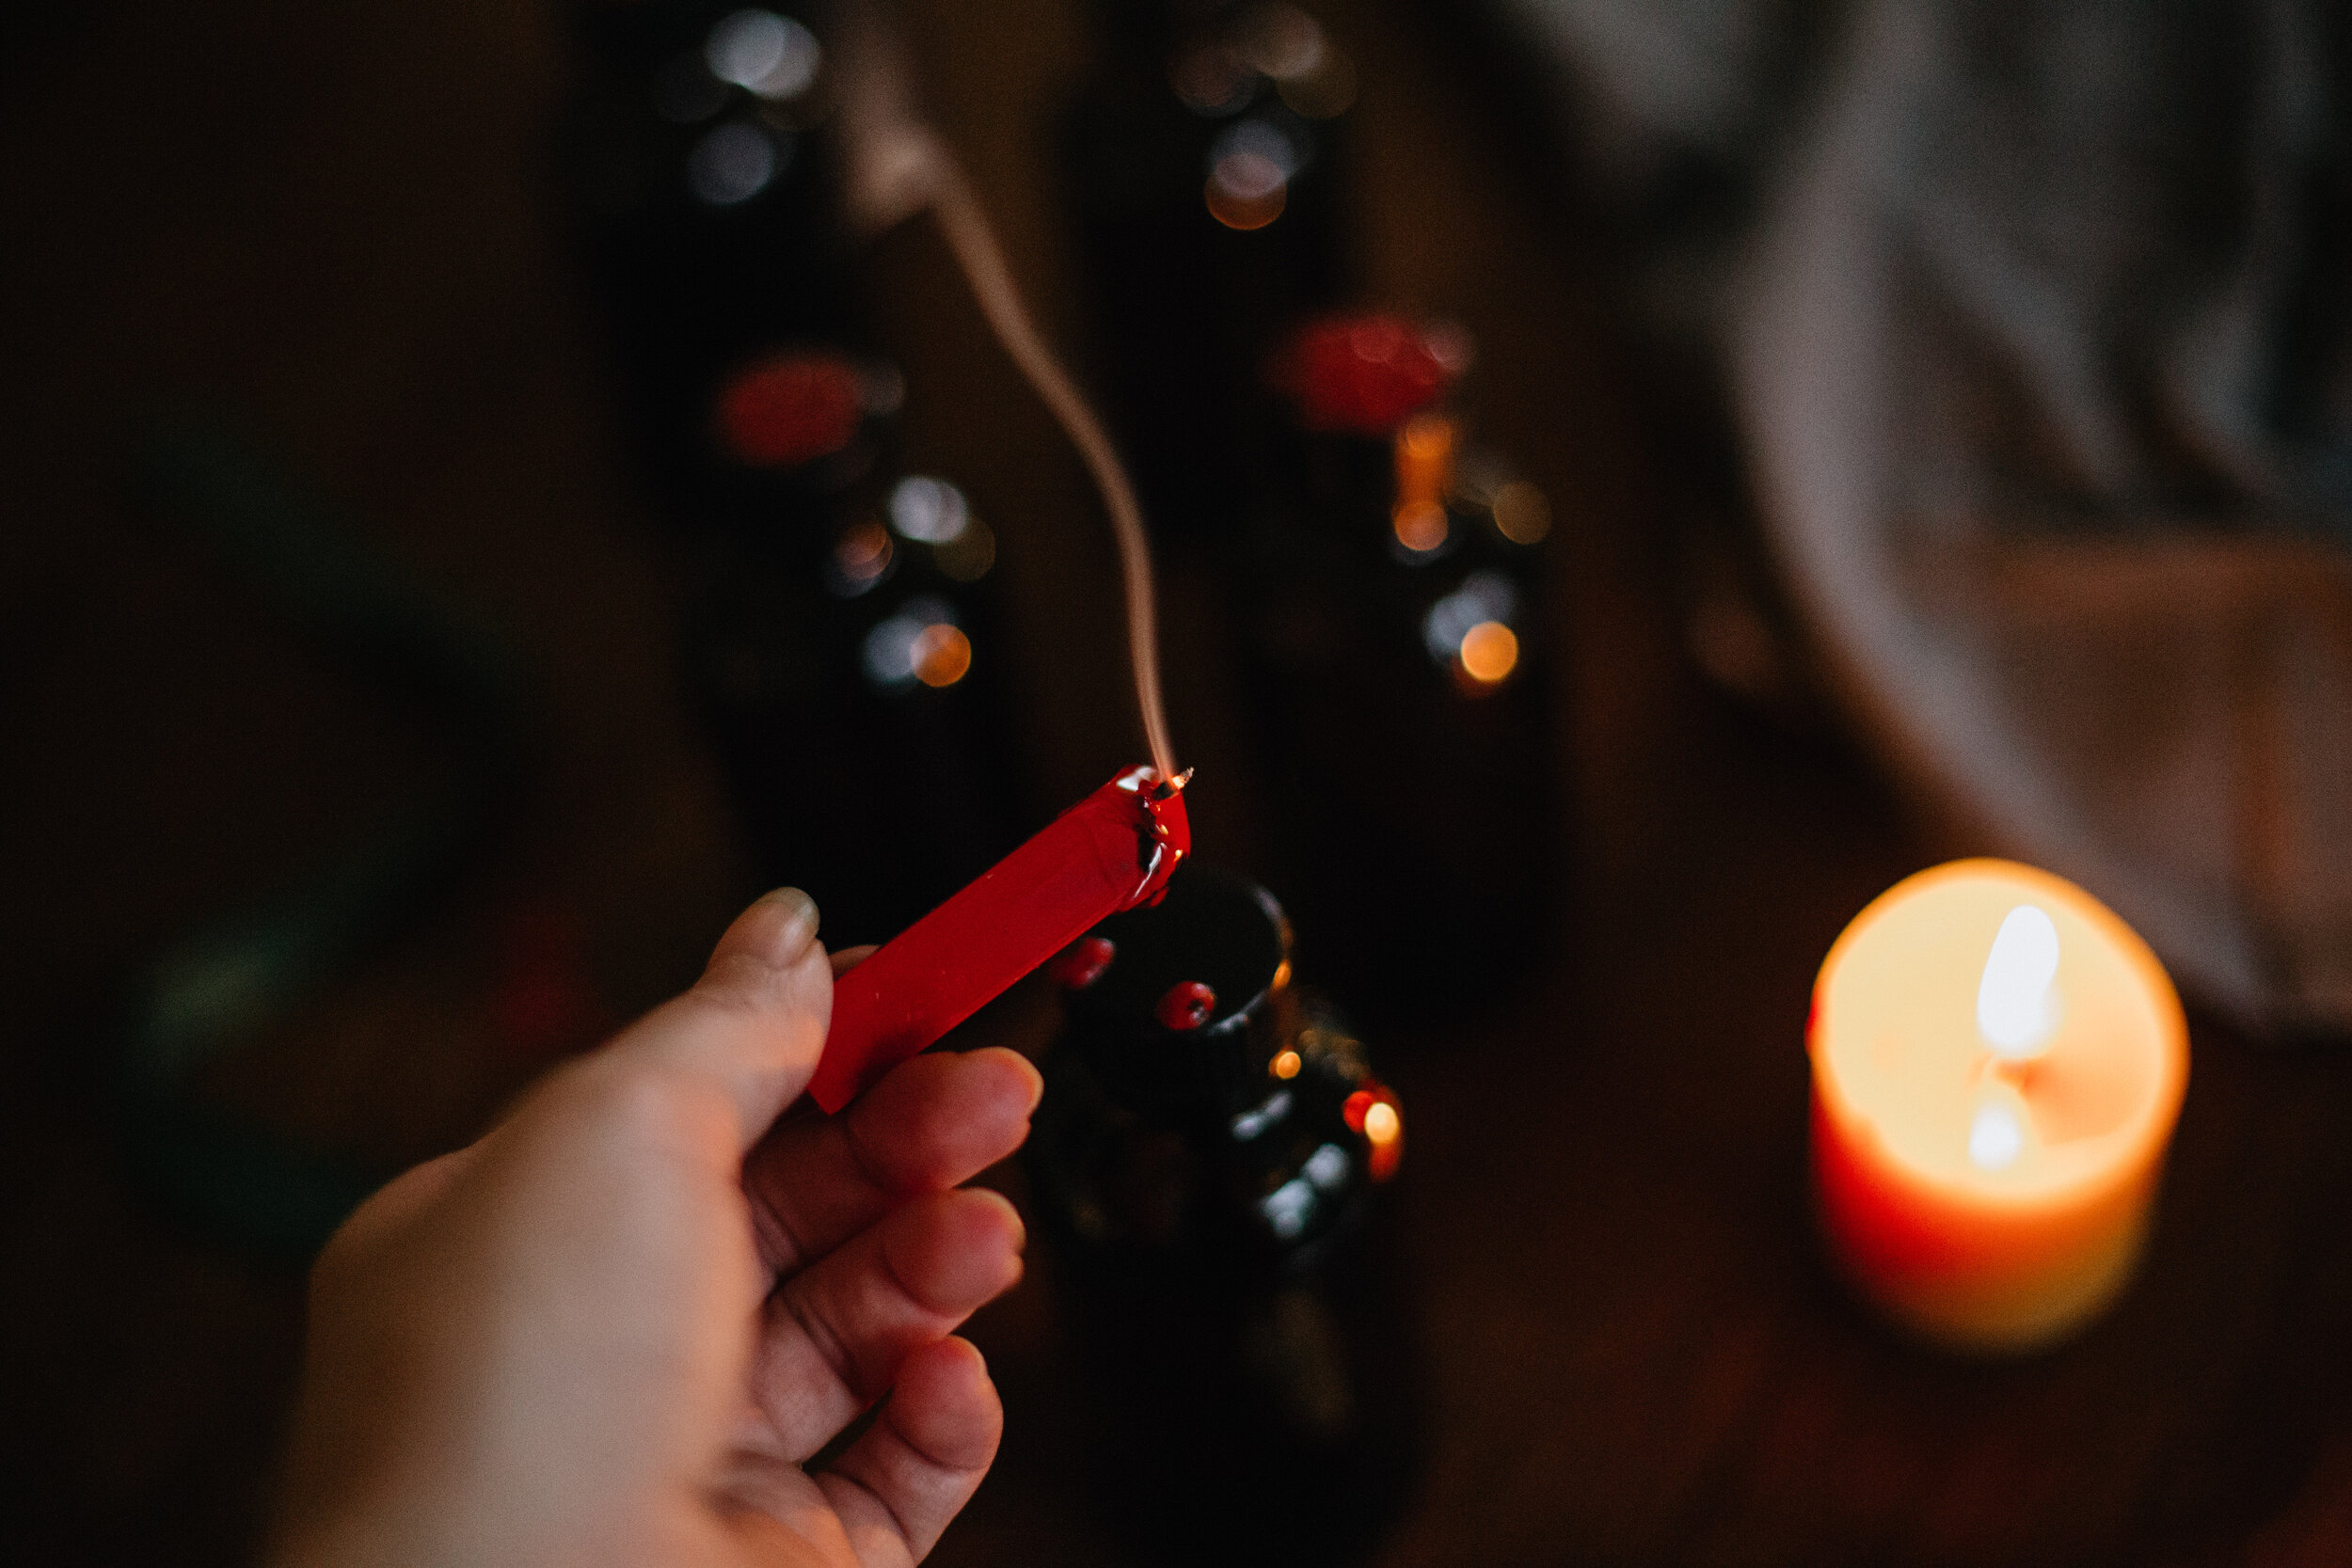
Since I will be gifting most of my bottles, I wanted to elevate the presentation a bit. I kept the packaging simple by melting a little red sealing wax onto each lid, and pressing firmly with a metal seal. I would love to try submerging the entire lid and neck of the bottle in wax to truly seal in the old world magic…but the light was fading and the baby was fussing, so this quick alternative did the trick in a pinch.

VanillaExtract-8371.jpg
VanillaExtract-8394.jpg
VanillaExtract-8380.jpg
VanillaExtract-8362.jpg

xo,

Haileysignature.png
 
VanillaExtract-8445.jpg
November 09, 2020 /Hailey Faust
homemade christmas gifts, vanilla extract, diy, diy vanilla extract, diy holiday, vanilla bean, urban homesteading, easy diy gifts, hygge, homemade, christmas, orange garland
:: Apothecary, :: DIY, :: Eat
Comment
20161211-_85B7405-2.jpg

DIY :: Dried Orange Garland and Cloved Pomanders

December 13, 2016 by Hailey Faust in :: DIY, :: Celebrate

When I think back on childhood holidays, my earliest memories are wrapped in the warm glow of white candles. I see baskets of apples and hot waffles with jam and garlands of happy gingerbread men in the window. My father teaching me to ski in our driveway. Making salt dough ornaments in a cozy mountain hytte with my mom and siblings. Long nights and endless snow. We left Norway when I was only seven, but the quiet simplicity of a Scandinavian Christmas planted deep seeds I still carry. 

The Norwegian concept of koselig, similar to the Danish hygge, is one that has no direct translation. It can be used as both a noun and a verb and essentially captures the cozy contentedness you feel when you warm chilly feet by the fire or gather with dear ones over a candlelit dinner at home. Koselig is simple and handmade and nurturing. It values the little things. The important things. Like fresh coffee and good friends and cozy slippers. In many ways, koselig is the original art of slow living.

When it comes to the holidays, I love to make our home feel warm and welcoming and koselig. I tend to keep decorations simple and handmade. Foraged juniper boughs. Straw ornaments. Endless white candles....you get the idea. I always make a few batches of these dried orange garlands to hang in windows and gift to friends. The winter light shines through them like little stained glass windows and makes me smile. Little drops of sunshine to brighten the dark winter days.

This year I also took a stab at making simple orange pomander balls to bring in the scents of winter. You guys - I don't know how I have never tried these before! First off, they smell incredible. Warm and spicy and Christmasy. And the super complicated DIY instructions? Stick some cloves in an orange. That's it. Done. They look lovely hanging on the tree or in a happy bowl on the kitchen table (where I may or may not have grabbed one as I rushed out the door for a last minute hostess gift.) Everybody wins. 

Some years it's all too easy to get lost in the hustle of the holidays. To get overwhelmed by the commercialization and travel itineraries and endless to-do lists. To lose sight of the quiet moments that make this season magical. I think we could all benefit from slowing down and cozying in and lighting a few more candles. It's the most koselig time of the year.

Happy Holidays, lovelies. Hope your week is warm and fuzzy. 


Supplies

- Oranges or mandarins

- Wooden or metal dowel

- Twine or ribbon

Instructions

1. Cut the oranges into very thin slices (about 1/4" if you can). Some will be thicker than others. Just remember, the thinner the slices, the less time they will take to dry.

2.  If you don't have a food dehydrator, I can't recommend them enough. It has quickly become my favorite kitchen tool. I purchased this one on Amazon a few years ago and we get a ton of use out of it for everything from kale chips and fruit leather, to dried herbs and sun-dried tomatoes. This thing pays for itself in time and deliciousness. 

Dehydrator: Place the orange slices on the drying racks of your dehydrator. Set the temperature to 135° F and leave to dry for 12 - 14 hours. Flip after about 8 hours. You'll know they are done when you press your fingernail into the slices and they crack or crunch a bit. Make sure they are fully dry and not sticky or soft. 

Oven: Preheat the oven to 170° F or as low temp as it will go. Place the oranges on a parchment lined baking sheet and place in the oven, leaving the door propped open a few inches. Bake for 3 hours, then flip oranges. Continue to bake until they fully dry out (usually about 8 hours.) I would recommend checking in every hour near the end until they reach the desired texture and lose their stickiness.
Note: I haven't used the oven method in years since we purchased our dehydrator. You may need to add or decrease baking time depending on the size of your slices and your oven. It goes without saying, but always babysit the oven when it is on for extended periods like this. 

3. Once the oranges are fully dry, use a wooden or metal dowel to poke one hole on the left and right side of the orange. Make sure they are parallel, as you will be threading the twine through them later. I like to place mine in the top third of the orange.  

4. Weave your twine through the holes to string the orange slices together. I like to hide my stitch on the back side of the orange.

5. Hang in a window where the winter light can shine through. I also hang any extra slices on the tree or use them to spruce up my wrapping!


Supplies

- Orange or mandarin

- Whole cloves

- Ribbon to hang (optional)

Instructions

1. Push the sharp end of the cloves through the skin of the orange or mandarin. Create a simple design by studding the cloves around the orange.

2. Hang to dry with ribbon. As the orange dries out, it will fill the house with a spicy, wintery aroma.

xo,

 
December 13, 2016 /Hailey Faust
orange, orange garland, christmas, diy, the lovely wild, the art of slow living, lifestyle blog, holiday, decoration, organic, pomander
:: DIY, :: Celebrate
1 Comment

Subscribe

Subscribe below to keep up on all the lovely!
We promise to never send spam or share your info with anyone else. For realzies. xo

We respect your privacy and will not share your information with any third parties. 

Thank you!

© 2016 HAILEY FAUST LLC. ALL RIGHTS RESERVED.