the Lovely Wild

  • Blog
  • Archive
    • :: Archive
    • :: Apothecary
    • :: Celebrate
    • :: DIY
    • :: Eat
    • :: Wander
  • About
  • Design
  • Contact
20171122-_85B1765.jpg

Setting the Table :: the Art of Everyday Ritual

November 23, 2017 by Hailey Faust in :: Celebrate, :: DIY

As we retreat into the darker days of winter, I find myself deeply drawn to daily rituals. To simple acts like steeping and sweeping and setting the table. Making the bed. Stirring a pot of simmering soup. Perhaps it's the long dark nights, or the primal need to cozy in and hibernate. To turn inward. To retreat into our little burrows. Whatever it is, my homebody tendencies are off the charts right now. 

It's a little ironic that in this season of rest and retreat, it's so easy to get swept up in the cult of busy. To rush from place to place, laptop and presents and to-do lists in tow. To convince ourselves we don't have the time or space for slow living. I'm constantly reminding myself that all it takes is a little intention to transform daily chores into personal rituals. It doesn't need to be anything fancy. Quietly meditate while your tea steeps. Focus on clearing negativity as you sweep the kitchen floor. Light some candles on a weeknight. Start a gratitude journal. It can literally be anything. Whatever it looks like for you, finding ways to incorporate a little intention and ritual into daily habits can be a lovely way to stay nourished and grounded during the holiday bustle. 

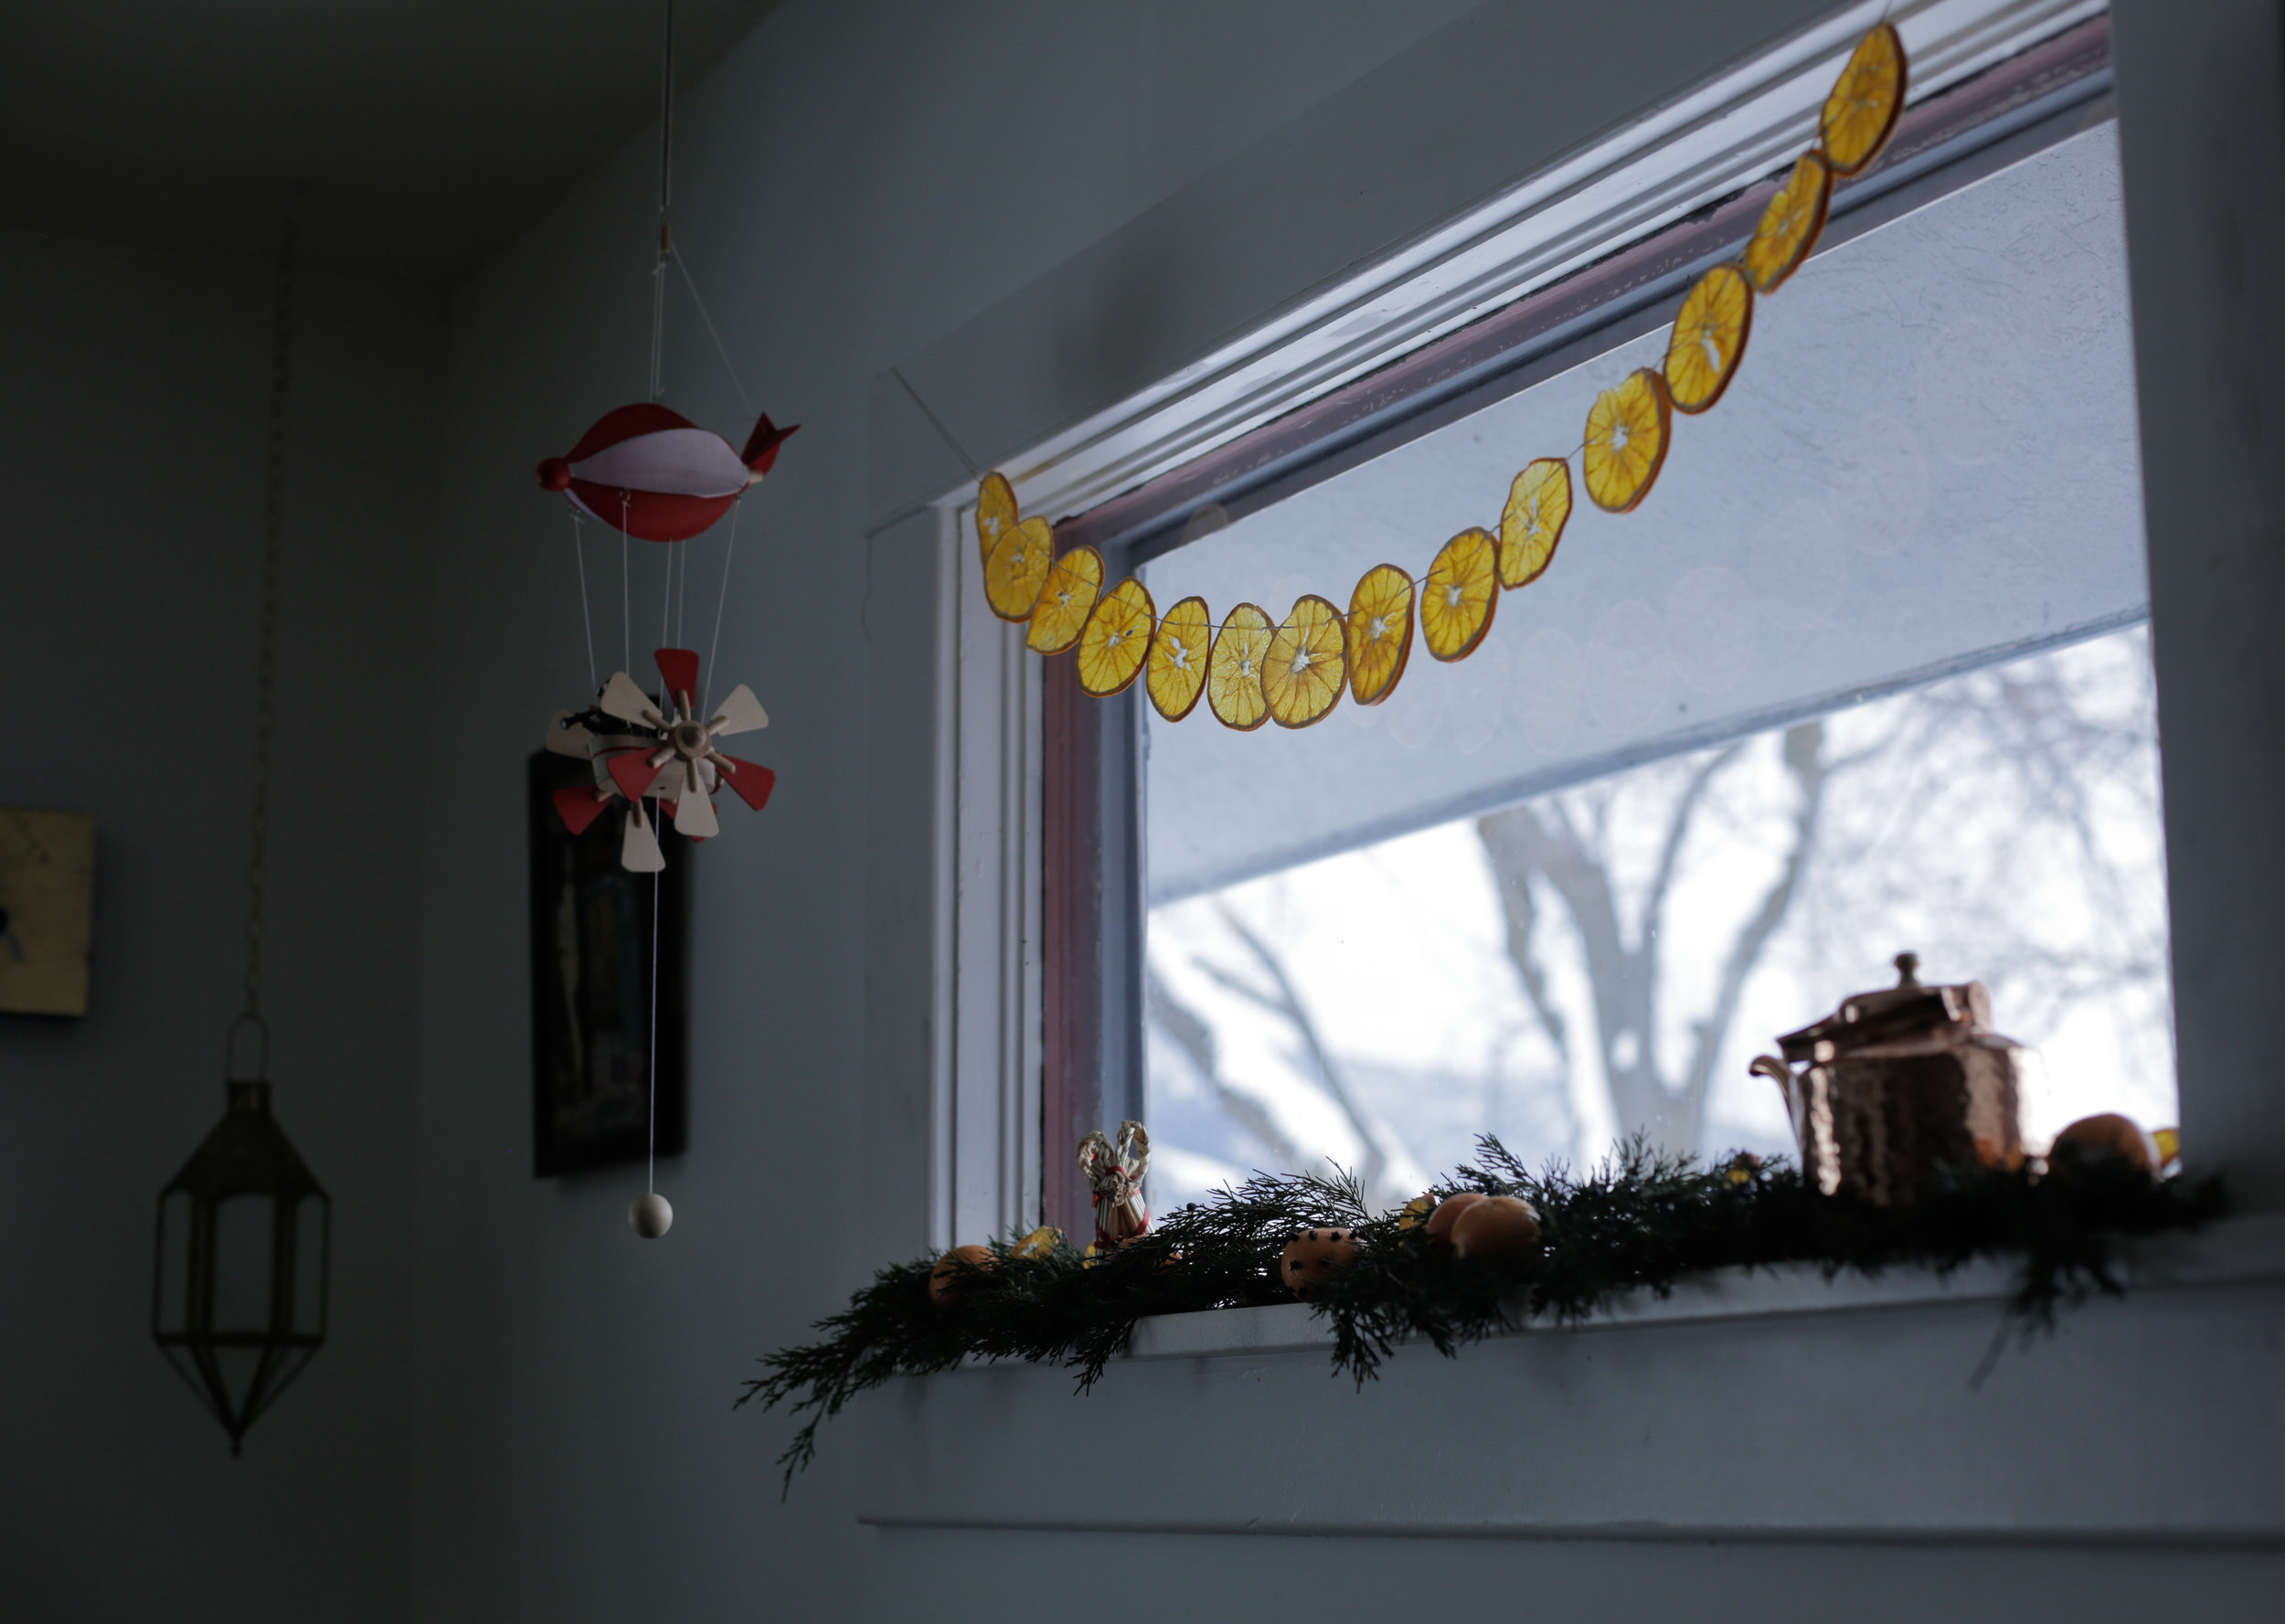
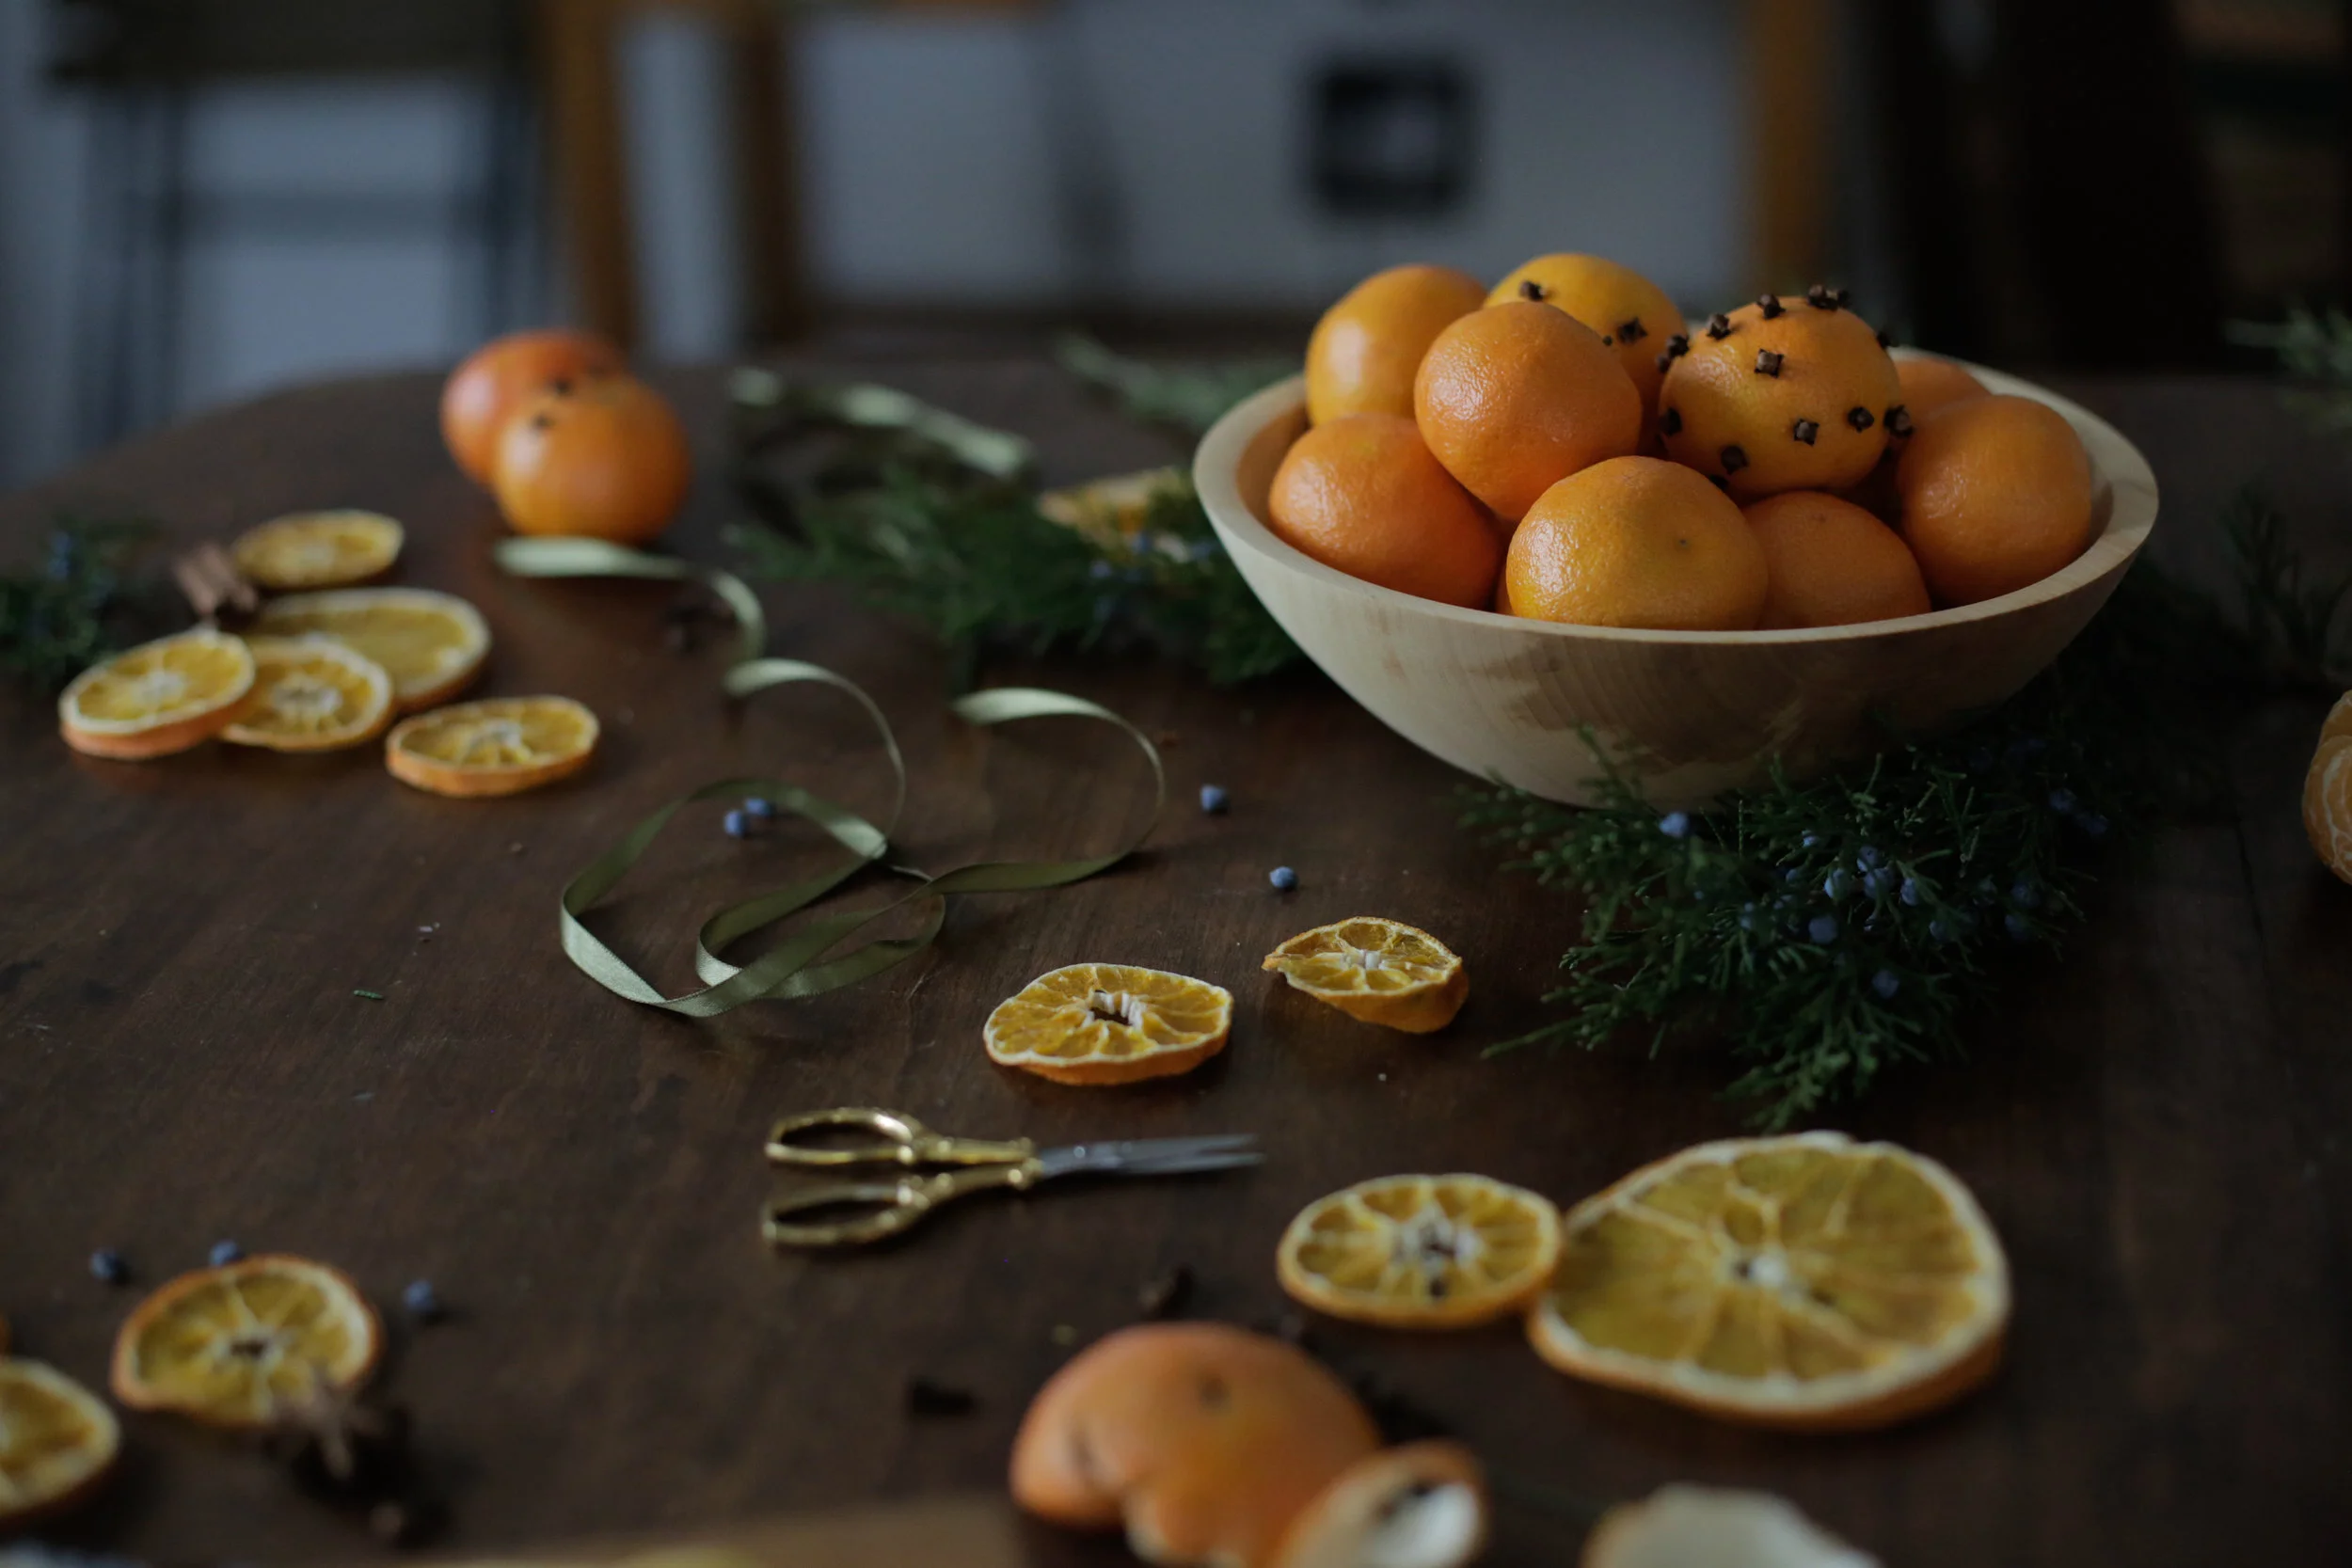
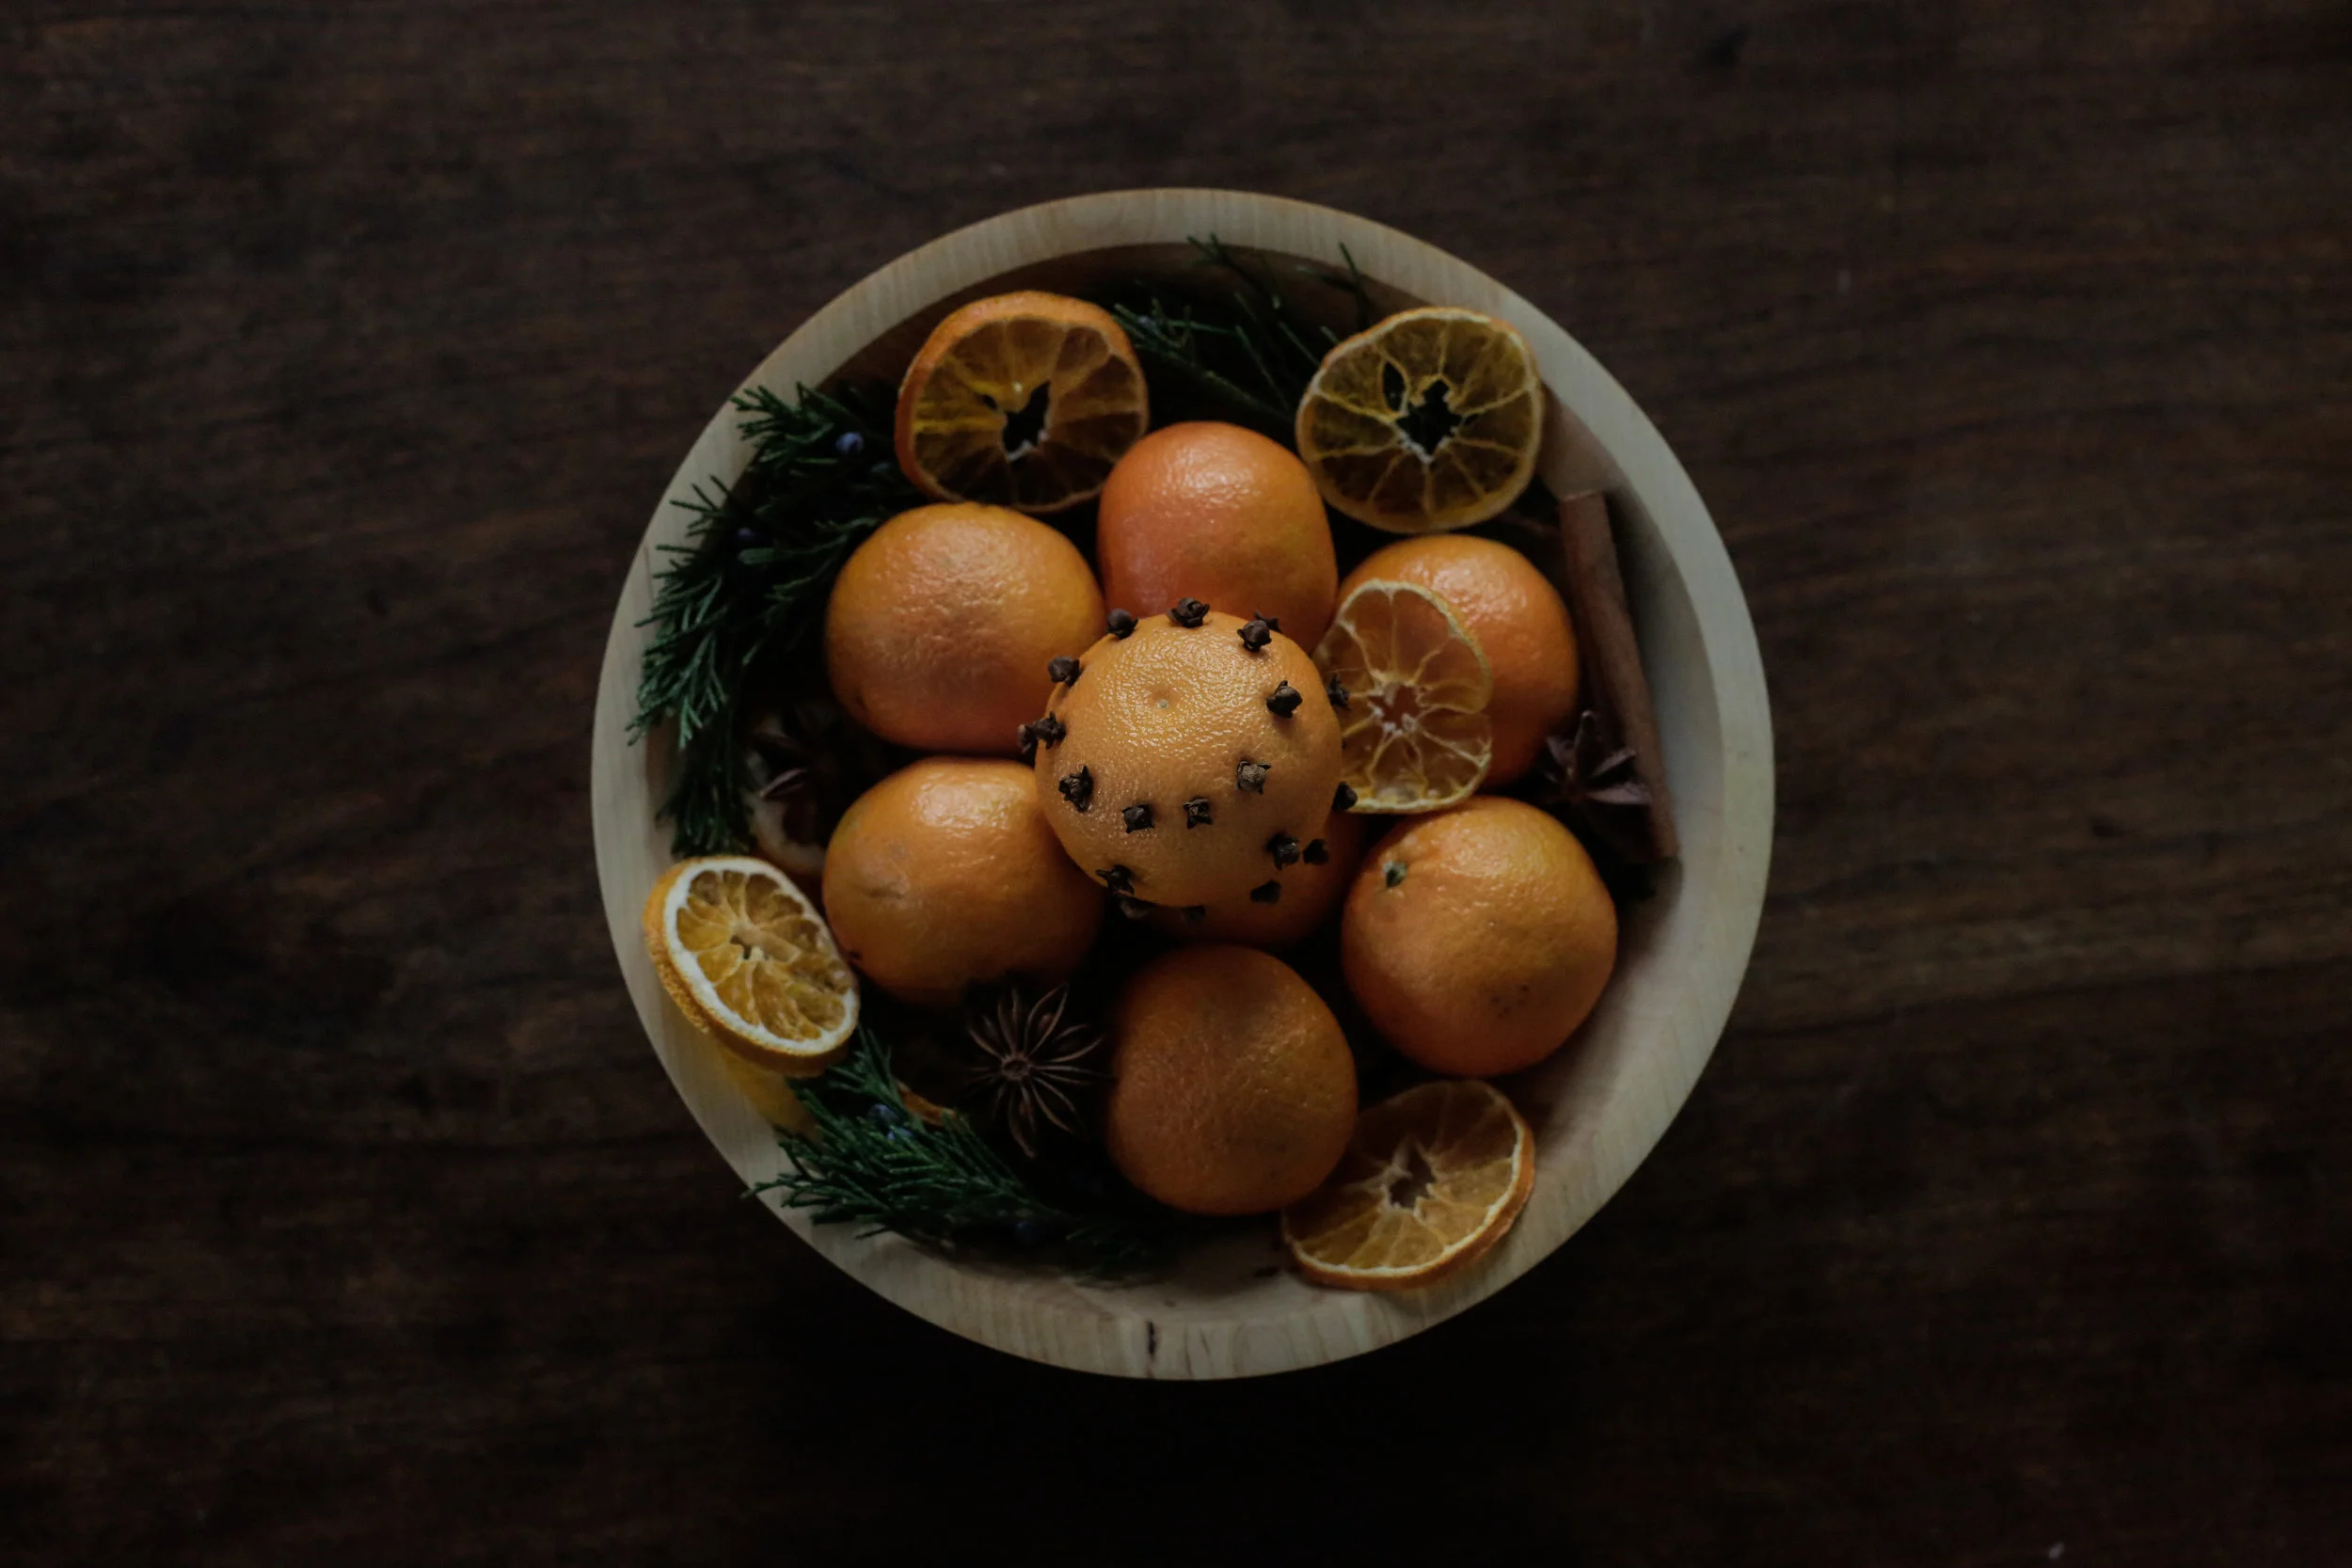
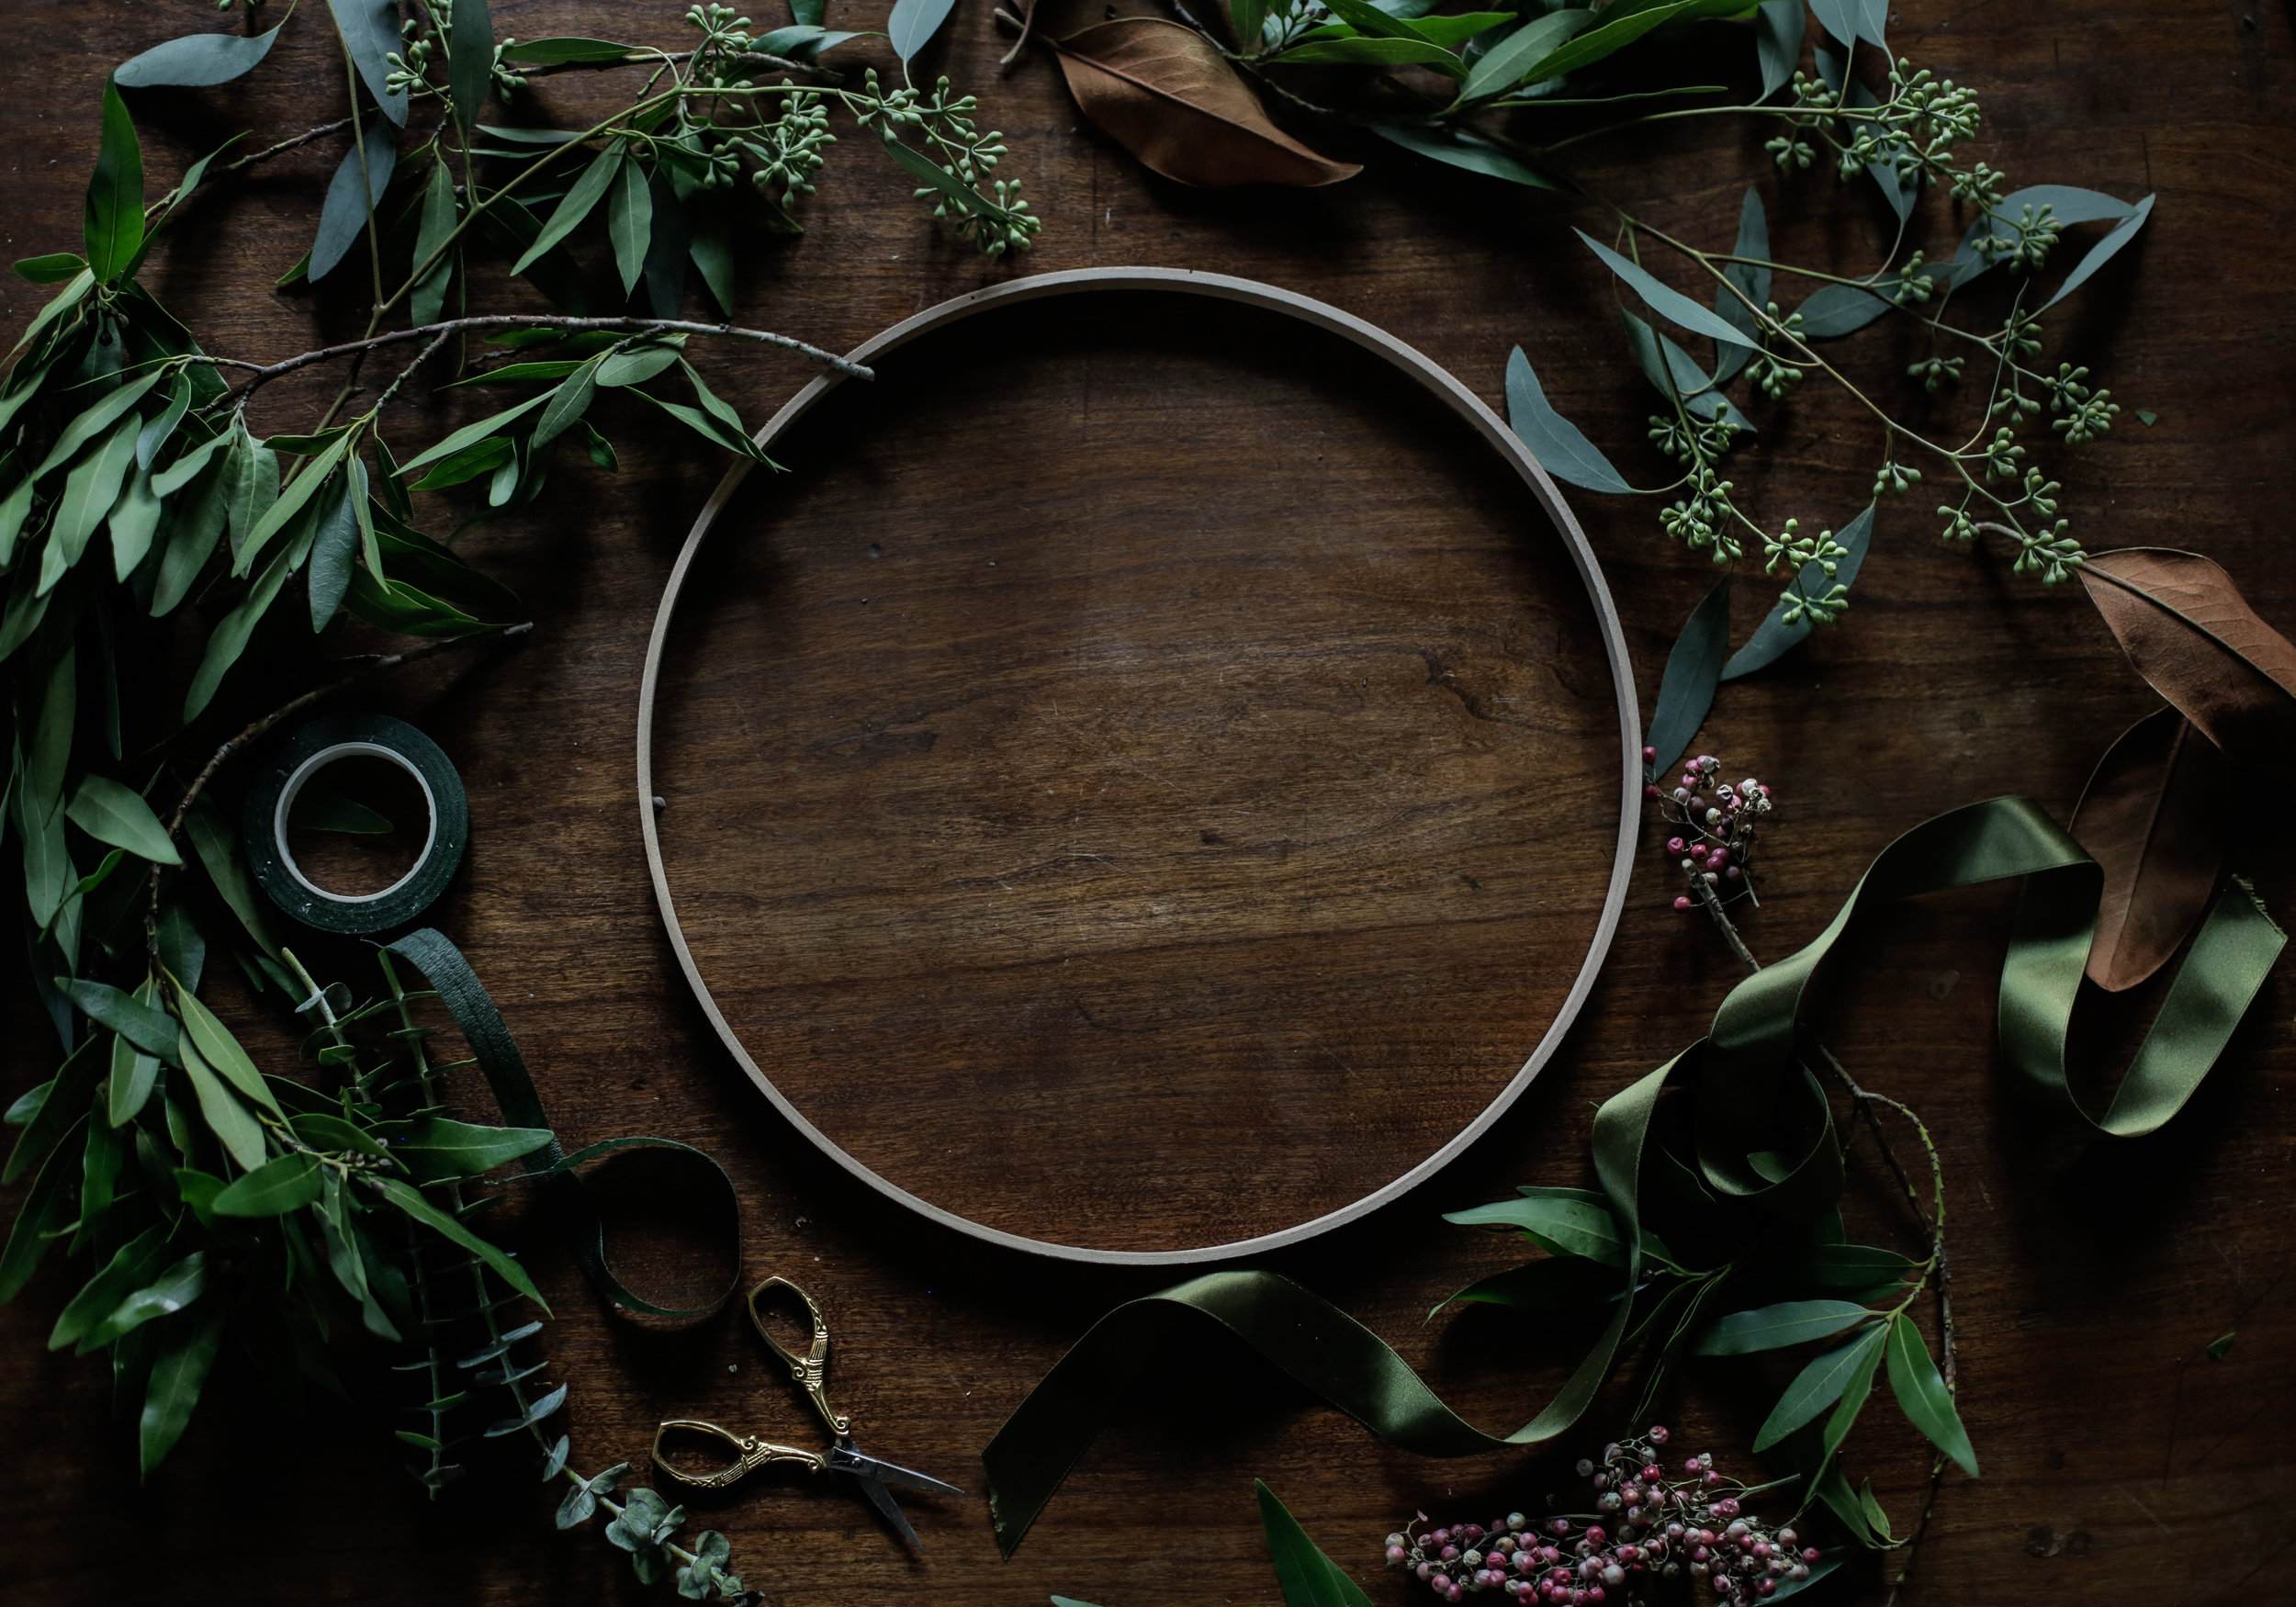
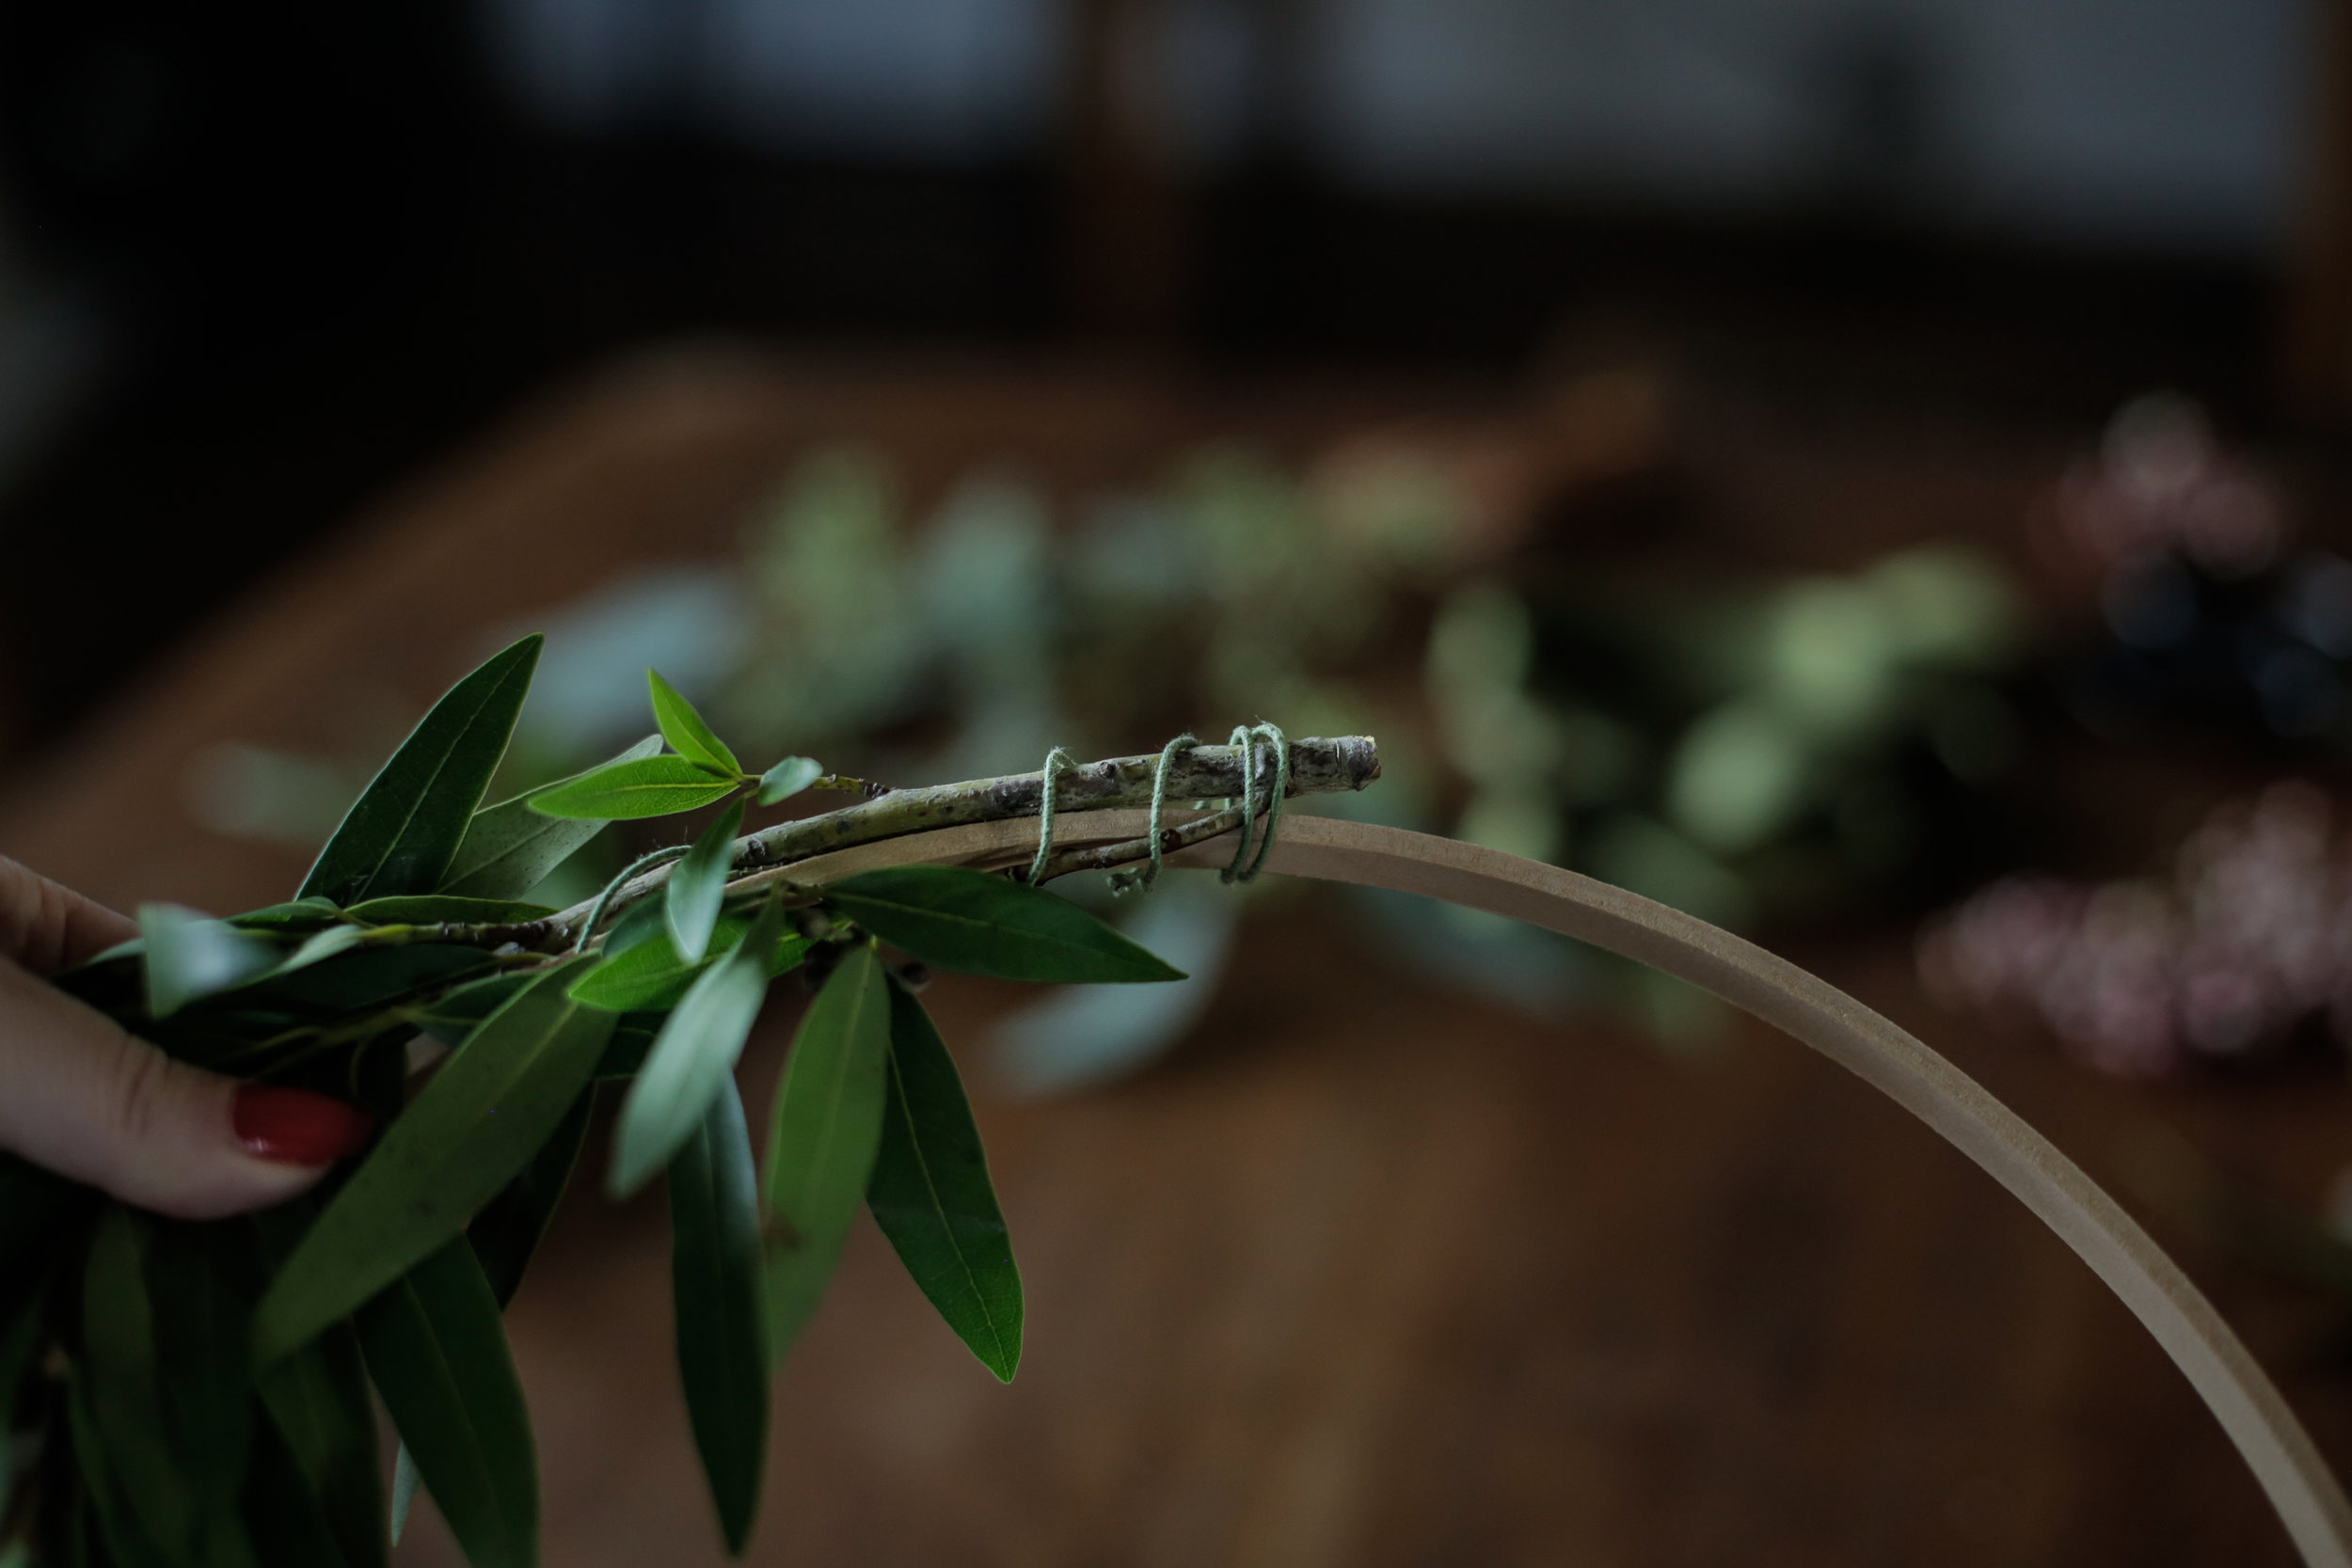
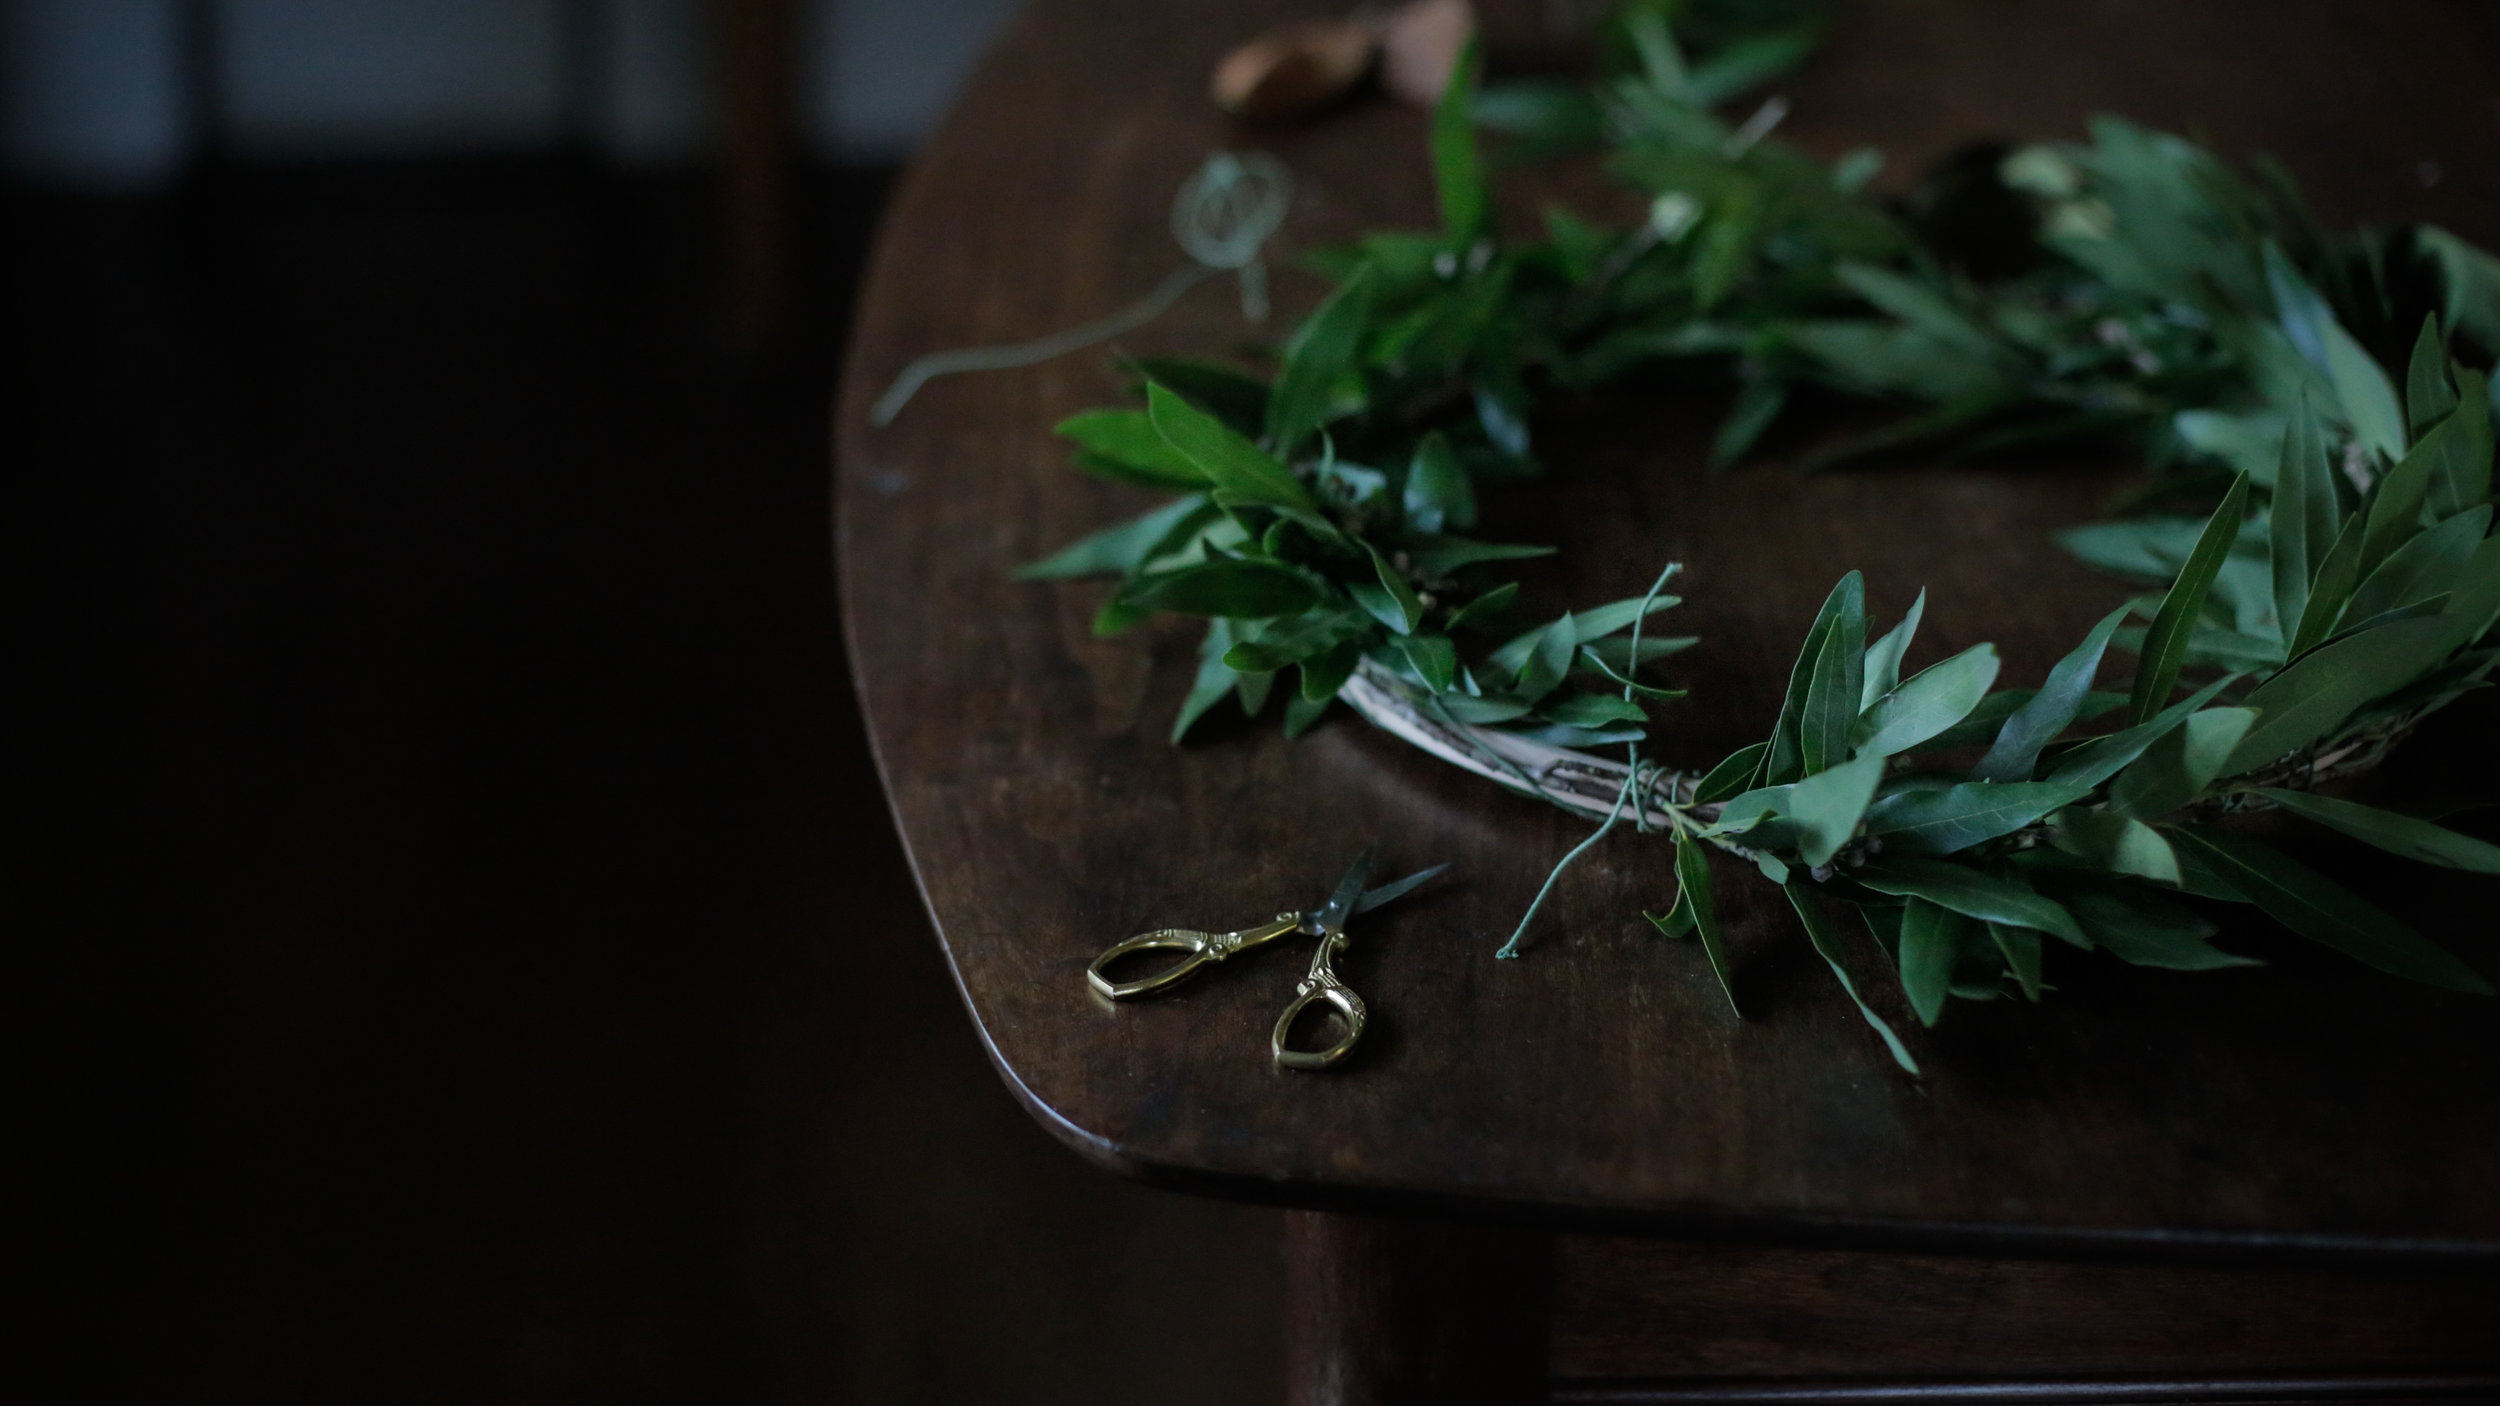
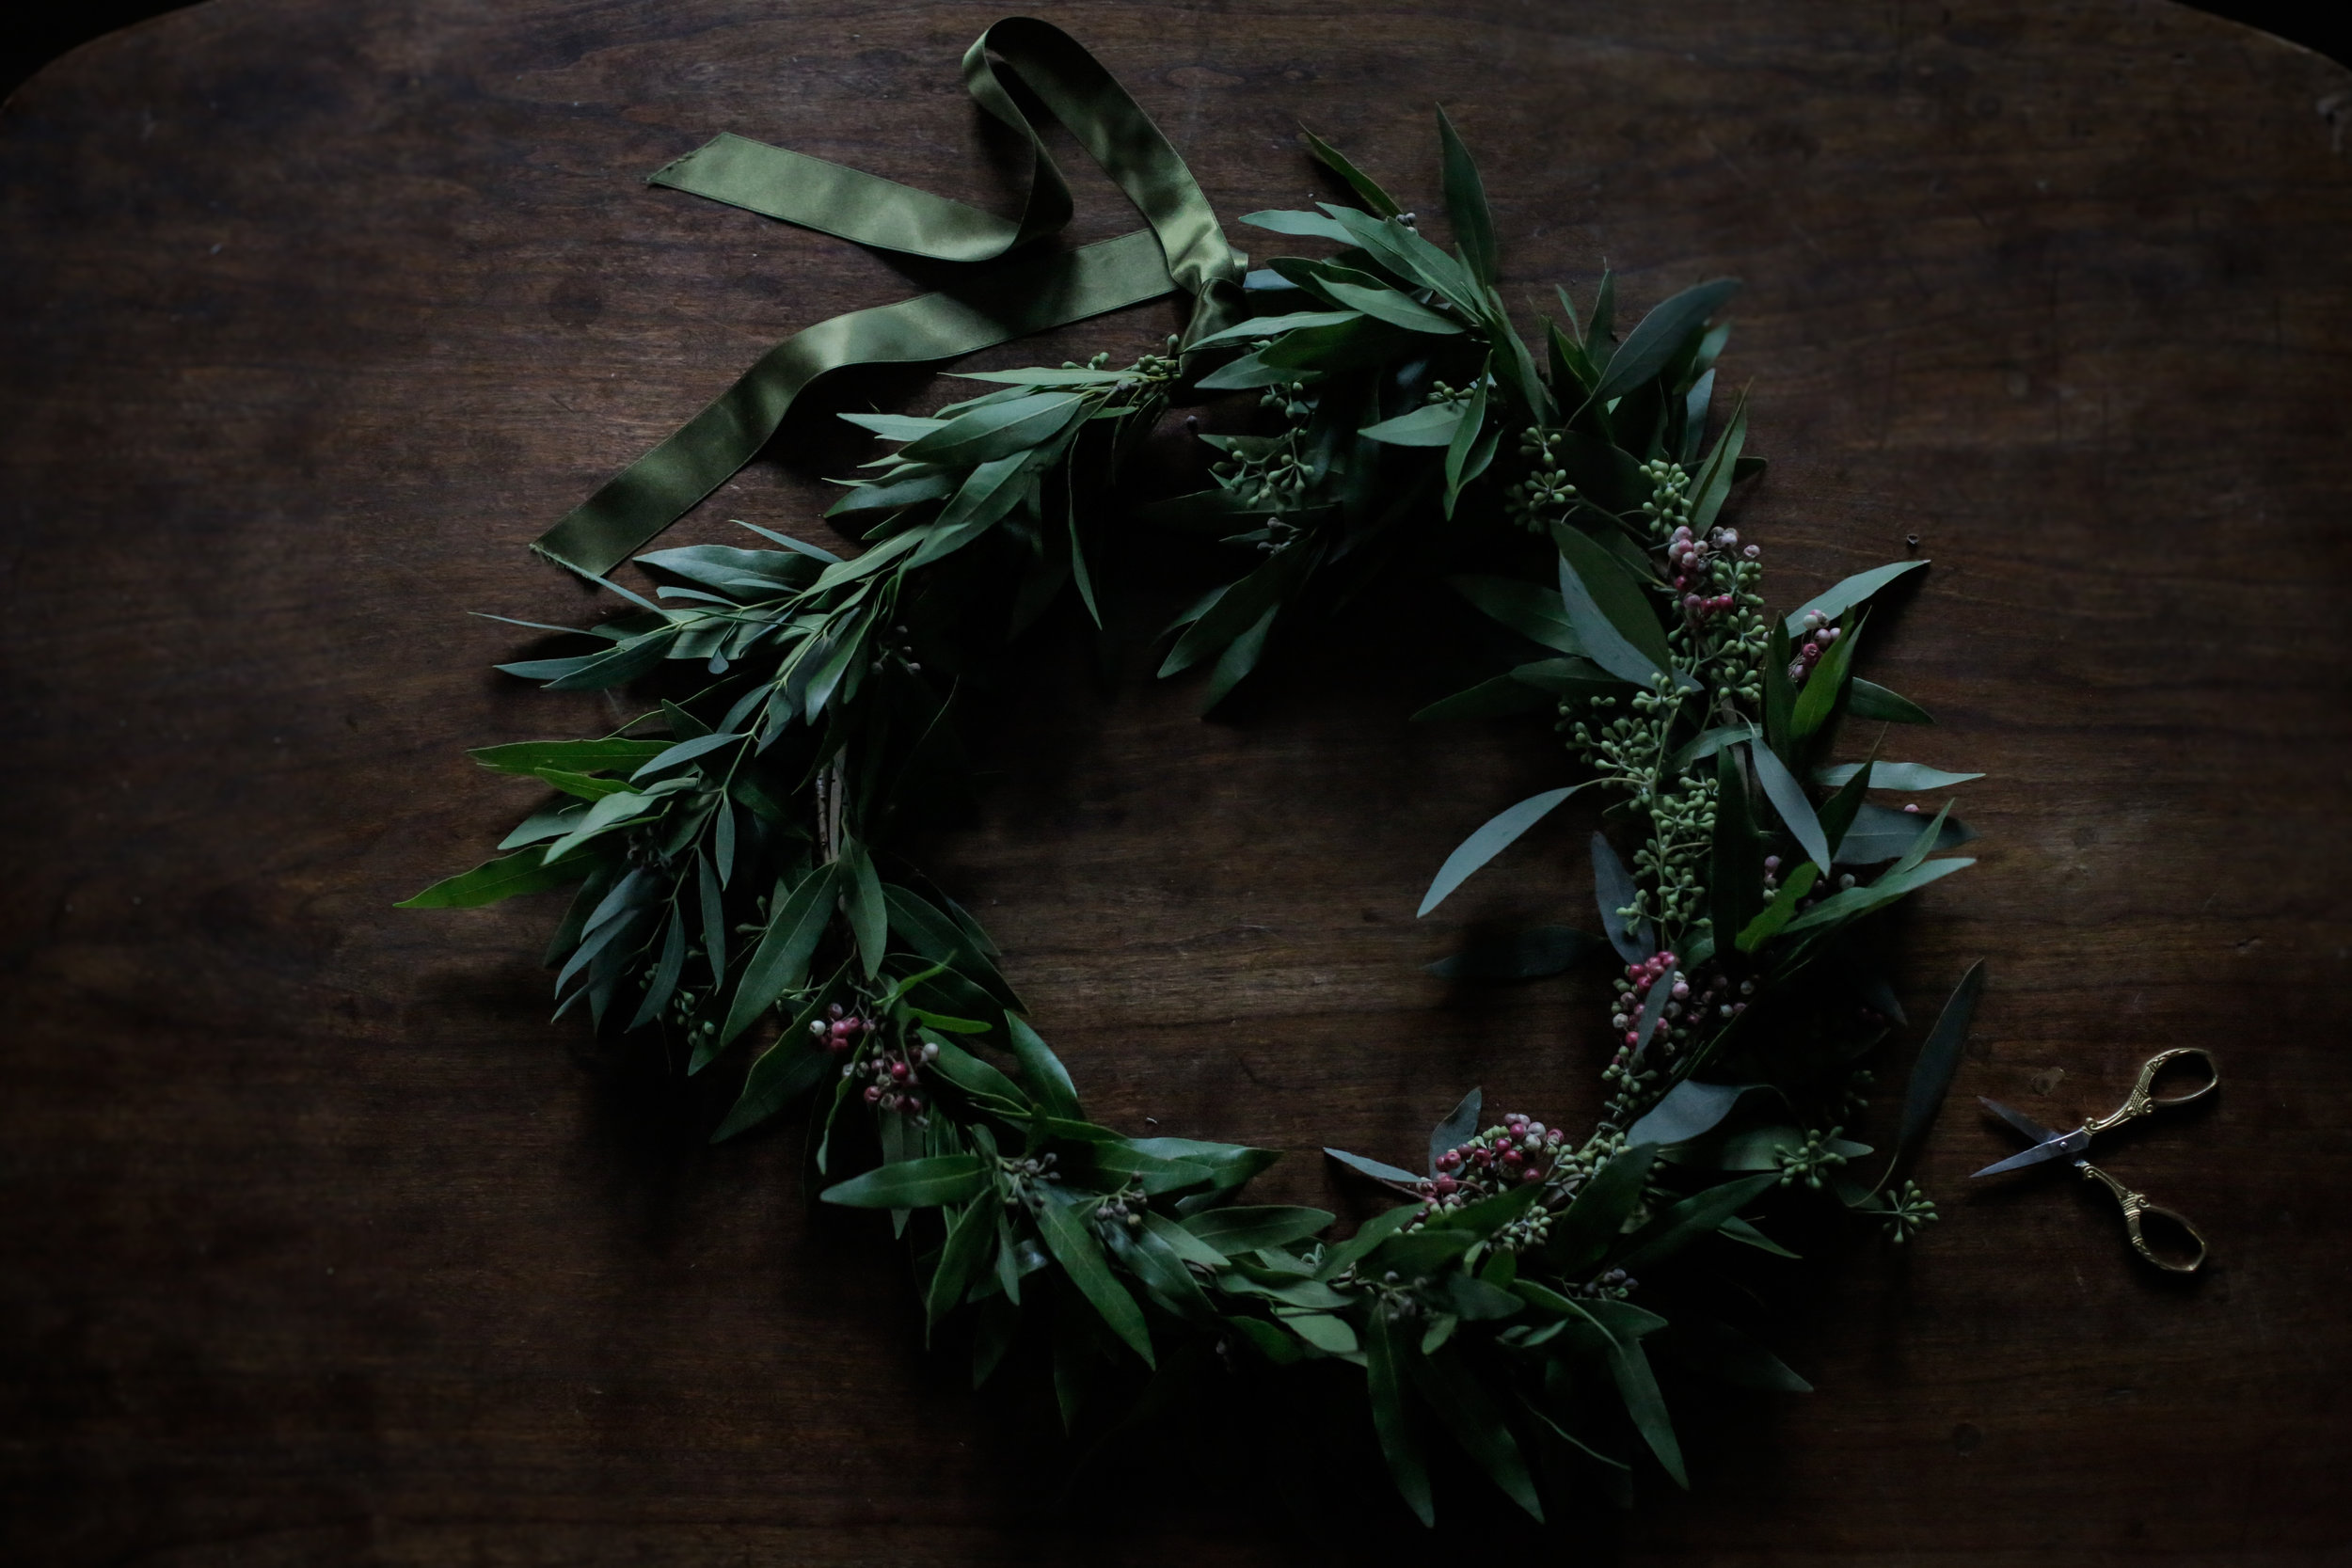
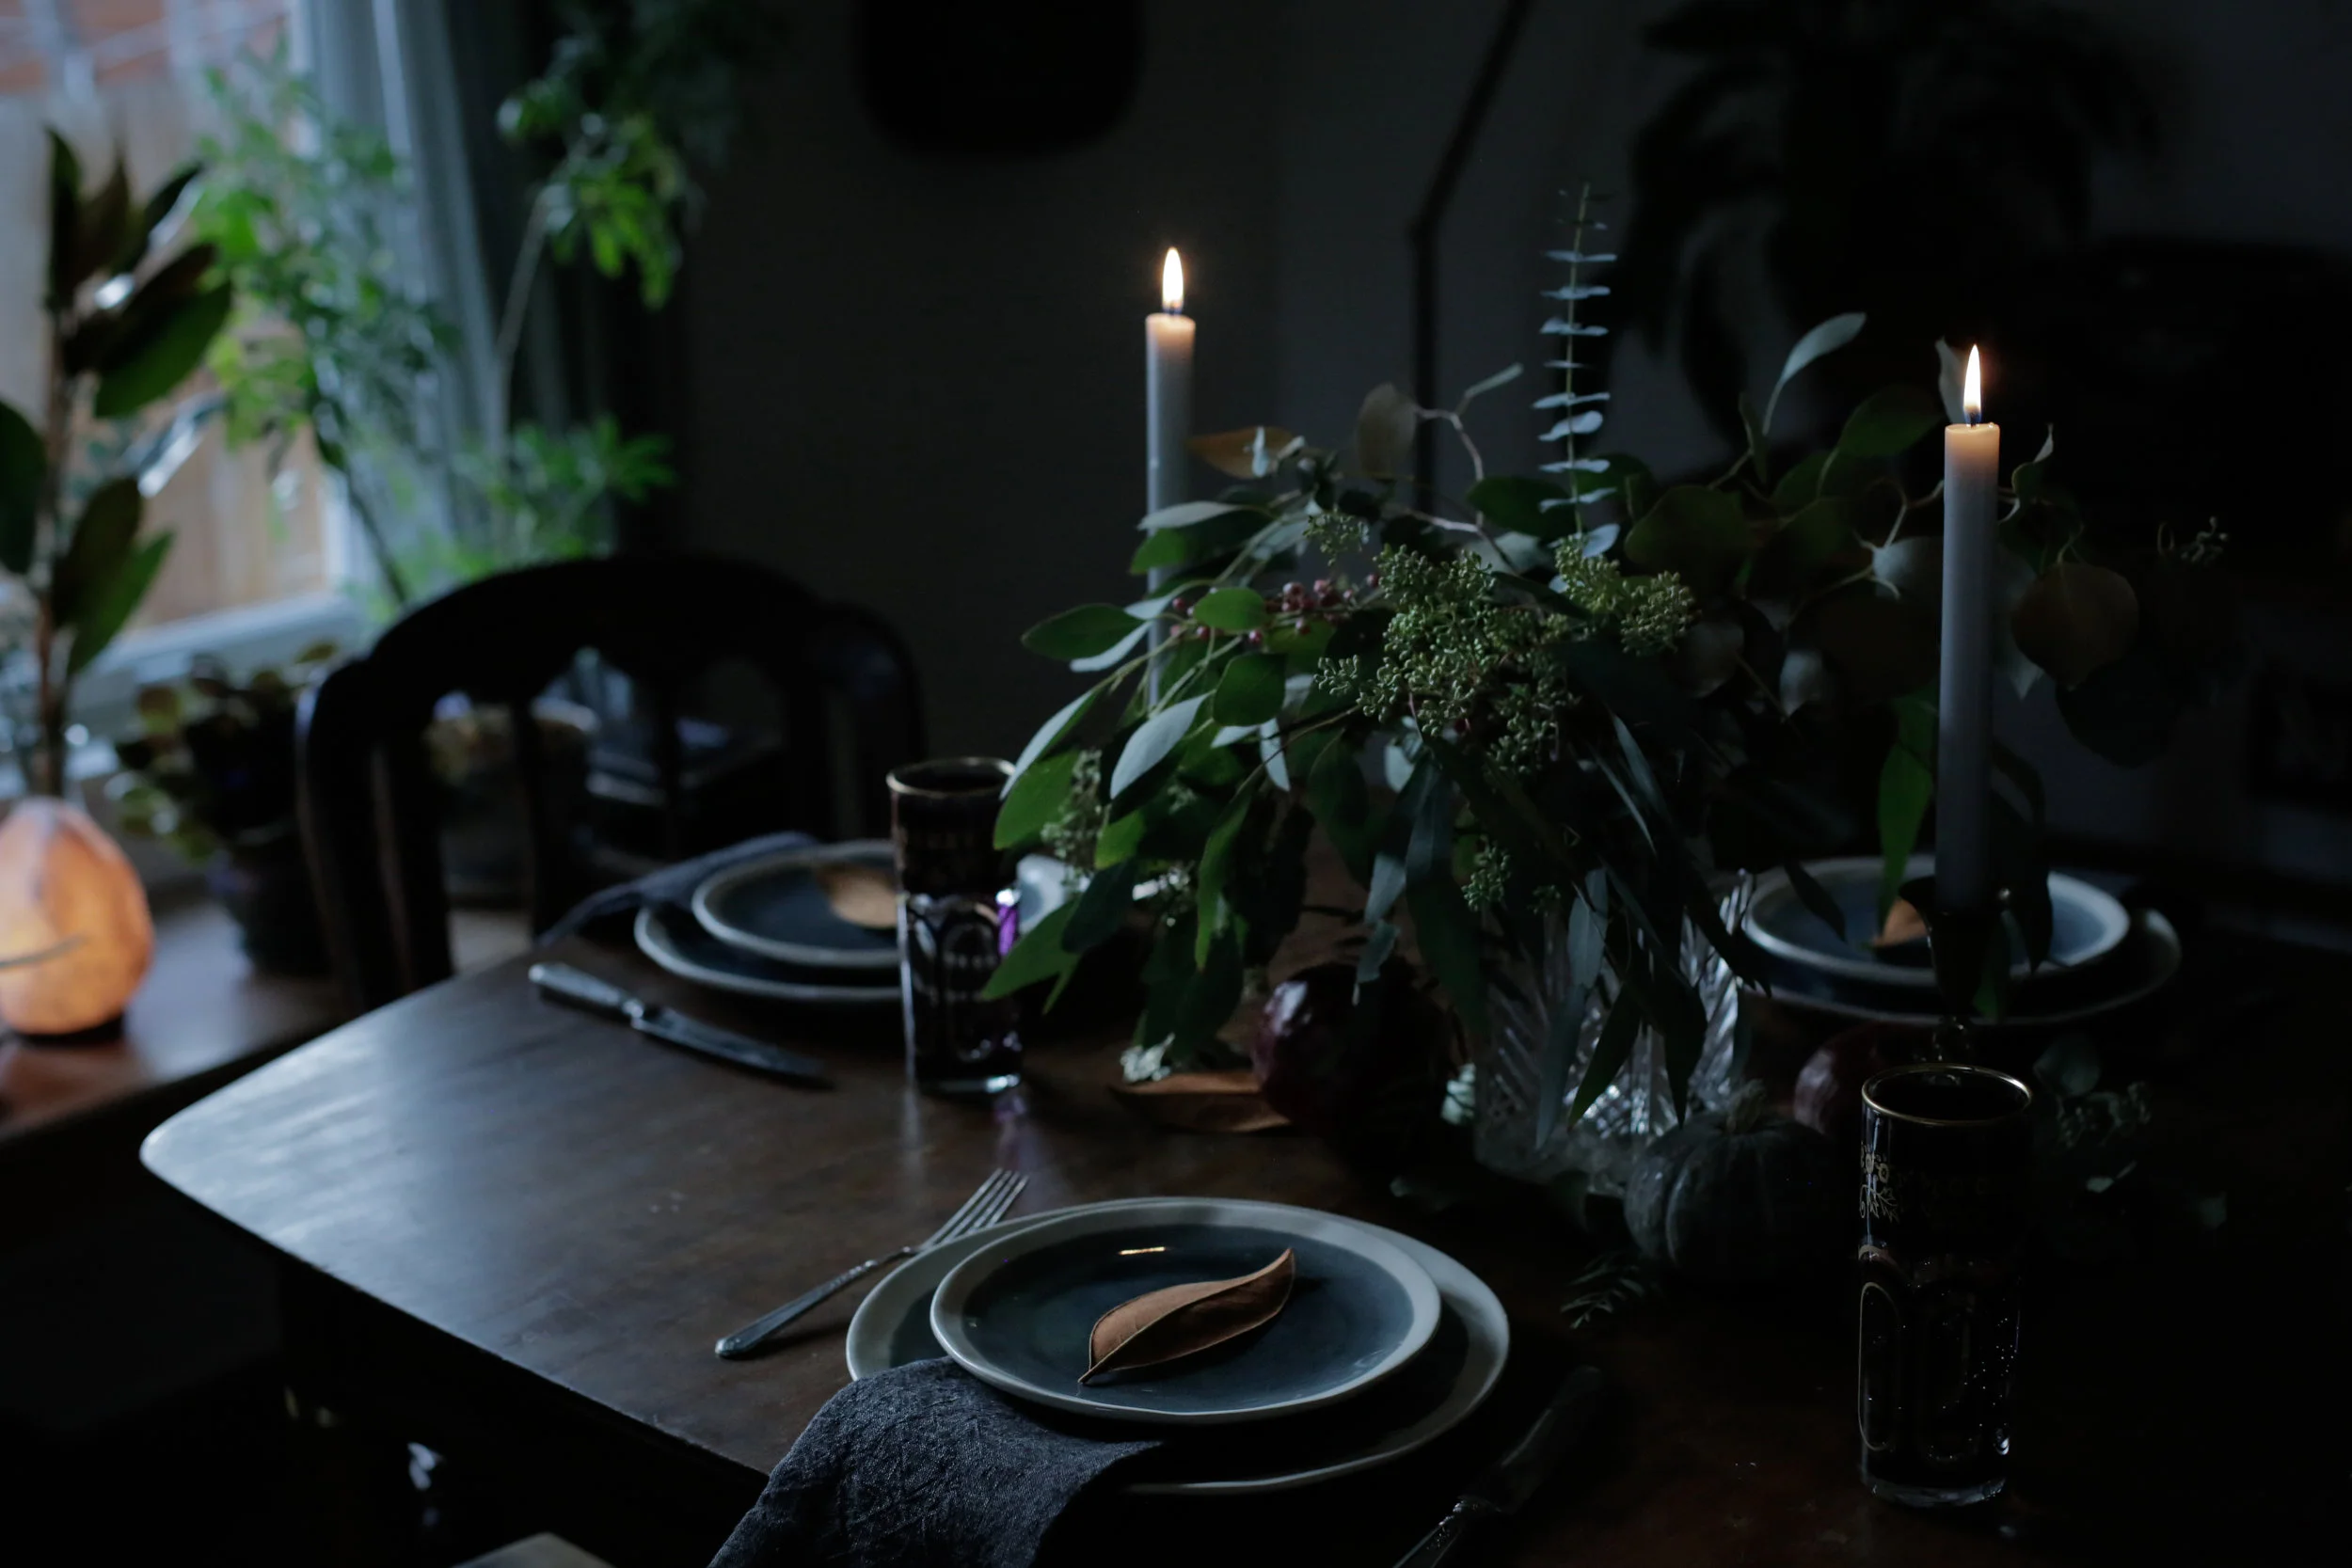
One of my favorite personal rituals is setting the table. I love to weave in a little symbolism. To play with herbs. Light a few candles. Maybe break out the nice napkins. It's my way of creating sacred space for dear ones to gather. An altar to honor togetherness. This winter pomegranate and eucalyptus tablescape is admittedly much fancier than I would normally attempt on a weeknight, but hey, it's the holidays. Pomegranates have long symbolized the decent of Persephone into the underworld and the seasonal transition into winter. They are associated with abundance and prosperity. Eucalyptus is believed to ward off arguments and clear any negative energy. Grey candles promote balance. Magnolia leaves for relaxation. A secret spell to bless our table.

Sending you all love and light and lots of hygge today (and everyday.) I am so grateful for each and every one of you. 

20171122-_85B1773.jpg
20171122-_85B1662.jpg
20171122-_85B1588.jpg
20171122-_85B1669.jpg
20171122-_85B1739.jpg
20171122-_85B1544.jpg
20171122-_85B1761.jpg
20171122-_85B1731.jpg

xo,

Haileysignature.png
 
20171122-_85B1836.jpg
November 23, 2017 /Hailey Faust
the art of slow living, holiday, decoration, decor, Diy, tablescape, natural, organic, eucalyptus, christmas, table, thanksgiving, ritual, slow living, hygge
:: Celebrate, :: DIY
Comment
20161211-_85B7405-2.jpg

DIY :: Dried Orange Garland and Cloved Pomanders

December 13, 2016 by Hailey Faust in :: DIY, :: Celebrate

When I think back on childhood holidays, my earliest memories are wrapped in the warm glow of white candles. I see baskets of apples and hot waffles with jam and garlands of happy gingerbread men in the window. My father teaching me to ski in our driveway. Making salt dough ornaments in a cozy mountain hytte with my mom and siblings. Long nights and endless snow. We left Norway when I was only seven, but the quiet simplicity of a Scandinavian Christmas planted deep seeds I still carry. 

The Norwegian concept of koselig, similar to the Danish hygge, is one that has no direct translation. It can be used as both a noun and a verb and essentially captures the cozy contentedness you feel when you warm chilly feet by the fire or gather with dear ones over a candlelit dinner at home. Koselig is simple and handmade and nurturing. It values the little things. The important things. Like fresh coffee and good friends and cozy slippers. In many ways, koselig is the original art of slow living.

When it comes to the holidays, I love to make our home feel warm and welcoming and koselig. I tend to keep decorations simple and handmade. Foraged juniper boughs. Straw ornaments. Endless white candles....you get the idea. I always make a few batches of these dried orange garlands to hang in windows and gift to friends. The winter light shines through them like little stained glass windows and makes me smile. Little drops of sunshine to brighten the dark winter days.

This year I also took a stab at making simple orange pomander balls to bring in the scents of winter. You guys - I don't know how I have never tried these before! First off, they smell incredible. Warm and spicy and Christmasy. And the super complicated DIY instructions? Stick some cloves in an orange. That's it. Done. They look lovely hanging on the tree or in a happy bowl on the kitchen table (where I may or may not have grabbed one as I rushed out the door for a last minute hostess gift.) Everybody wins. 

Some years it's all too easy to get lost in the hustle of the holidays. To get overwhelmed by the commercialization and travel itineraries and endless to-do lists. To lose sight of the quiet moments that make this season magical. I think we could all benefit from slowing down and cozying in and lighting a few more candles. It's the most koselig time of the year.

Happy Holidays, lovelies. Hope your week is warm and fuzzy. 


Supplies

- Oranges or mandarins

- Wooden or metal dowel

- Twine or ribbon

Instructions

1. Cut the oranges into very thin slices (about 1/4" if you can). Some will be thicker than others. Just remember, the thinner the slices, the less time they will take to dry.

2.  If you don't have a food dehydrator, I can't recommend them enough. It has quickly become my favorite kitchen tool. I purchased this one on Amazon a few years ago and we get a ton of use out of it for everything from kale chips and fruit leather, to dried herbs and sun-dried tomatoes. This thing pays for itself in time and deliciousness. 

Dehydrator: Place the orange slices on the drying racks of your dehydrator. Set the temperature to 135° F and leave to dry for 12 - 14 hours. Flip after about 8 hours. You'll know they are done when you press your fingernail into the slices and they crack or crunch a bit. Make sure they are fully dry and not sticky or soft. 

Oven: Preheat the oven to 170° F or as low temp as it will go. Place the oranges on a parchment lined baking sheet and place in the oven, leaving the door propped open a few inches. Bake for 3 hours, then flip oranges. Continue to bake until they fully dry out (usually about 8 hours.) I would recommend checking in every hour near the end until they reach the desired texture and lose their stickiness.
Note: I haven't used the oven method in years since we purchased our dehydrator. You may need to add or decrease baking time depending on the size of your slices and your oven. It goes without saying, but always babysit the oven when it is on for extended periods like this. 

3. Once the oranges are fully dry, use a wooden or metal dowel to poke one hole on the left and right side of the orange. Make sure they are parallel, as you will be threading the twine through them later. I like to place mine in the top third of the orange.  

4. Weave your twine through the holes to string the orange slices together. I like to hide my stitch on the back side of the orange.

5. Hang in a window where the winter light can shine through. I also hang any extra slices on the tree or use them to spruce up my wrapping!


Supplies

- Orange or mandarin

- Whole cloves

- Ribbon to hang (optional)

Instructions

1. Push the sharp end of the cloves through the skin of the orange or mandarin. Create a simple design by studding the cloves around the orange.

2. Hang to dry with ribbon. As the orange dries out, it will fill the house with a spicy, wintery aroma.

xo,

 
December 13, 2016 /Hailey Faust
orange, orange garland, christmas, diy, the lovely wild, the art of slow living, lifestyle blog, holiday, decoration, organic, pomander
:: DIY, :: Celebrate
1 Comment

DIY :: Bay Laurel Eucalyptus Wreath & the Dark Days of Winter

December 01, 2016 by Hailey Faust in :: DIY, :: Celebrate, :: Make

For thousands of years, the approach of winter was a dire, fearful time for humans. It meant famine and illness and death were on the horizon. That the world would be plunged into relentless cold and darkness and that not everyone would survive. It was a time to huddle together. To batten down the hatches. To hide away and hold on till spring.

December (and the winter solstice specifically), marked the pinnacle of this desolate season. But many cultures also used this as a time to celebrate life and light in the face of the encroaching darkness. To gather with loved ones around the fire. To feast and sing and share what little we had squirreled away. To celebrate the simple fact that we were still alive. Now don't get me wrong, humans have plenty of flaws, but I think there is something deeply beautiful about that. That on the longest, coldest nights of the year, when all was quiet and frozen and bleak, we shined our flickering lights into the vast darkness and found joy. 

I love that you can still find remnants of these ancient rituals in our modern holiday traditions. Little echoes of forgotten customs. We still hang lights in dark windows. We feast and sing. We bring in evergreens that don't mind the cold. Perhaps one of the most ubiquitous of these symbols is the humble wreath. There are many theories on the origin of this tradition, but my personal favorite is that the hearty evergreens and circular shape represent eternal life in the face of winter. We hang them in our doors and windows to remind our neighbors, "It's alright, friends. Even on the darkest days of the year, something green remains." What a lovely thought.

I made this simple wreath with bay laurel and eucalyptus and an old embroidery hoop. Nothing too fancy. Just simple supplies, a little time and a cup of peppermint tea. It felt good to slow down and breathe deep and play with plants for a while. A nice slow segue into the bustle of the holiday season. 

Happy December, dear ones. Here's to sharing and celebrating and shining our little lights. So much love to you. 


Supplies

- Hearty greens (I used branches of bay laurel as my base. They hold up nicely and smell amazing)

- Smaller greens & berries for texture (I used gunny, blue and seeded eucalyptus as well as a few dried pepper berries)

- Embroidery hoop of any size

- Floral wire

- Ribbon

Instructions

1. Start by cutting your bay laurel branches into more manageable lengths. I cut mine into roughly 1 foot sections. The size of these will depend on the size of your embroidery hoop. I set aside a few small sprigs to fill in any sparse spots later.

2. Play with the natural curve of the branches to find where they want to lay on the hoop. Word to the wise: don't try to fight the natural curve of the branches. Let them lay how they want to lay and work around their natural shape. Bay laurel lends itself beautifully to a circular wreath. Using segments of floral wire, begin wrapping the branches in segments around the hoop. It's okay if the wire is visible or there are some bare spots. You can cover these will smaller greens later. Use small lengths of wire to attach each branch in 2 - 3 spots.

3. Once you have your base greenery secured around the hoop you can start playing with the smaller greens. I wove in blue and seeded eucalyptus to fill in bare spots and cover any exposed wire. I also added a few more sprigs of bay laurel here and there. Even some pheasant feathers would be cool. There is no right answer here! Have fun and play with finding the right balance. I tend to like things a little more organic and unfussy so I left mine a bit wild. You can easily tame it with some additional floral wire if thats more your style. It helps to hold the wreath up to the wall now and then to get perspective and make sure the weight is balanced.

4. Tie a pretty ribbon or twine around the top of the wreath. You can either use this to hang it, or if you have a wreath hanger you could opt for the traditional bow. As a finishing touch, I wove in a few dried pepper berries left over from our Thanksgiving table. Those little guys last forever. 

5. Hang and enjoy! You can definitely hang these little loves outside, but I couldn't bare to be parted with the spicy, earthy aroma of the bay leaves. I opted to display ours in our front window so it can be seen from the street, but we can still smell it in the house. Everybody wins.

xo,

 
Follow my blog with Bloglovin
December 01, 2016 /Hailey Faust
wreath, christmas, celebrate, the lovely wild, slow living, lifestyle, craft, holiday, decoration, diy, eucalyptus, homemade, organic, natural, apothecary, the art of slow living, handmade, simple christmas decorations
:: DIY, :: Celebrate, :: Make
3 Comments

Subscribe

Subscribe below to keep up on all the lovely!
We promise to never send spam or share your info with anyone else. For realzies. xo

We respect your privacy and will not share your information with any third parties. 

Thank you!

© 2016 HAILEY FAUST LLC. ALL RIGHTS RESERVED.