the Lovely Wild

  • Blog
  • Archive
    • :: Archive
    • :: Apothecary
    • :: Celebrate
    • :: DIY
    • :: Eat
    • :: Wander
  • About
  • Design
  • Contact
20170401-_85B9108.jpg

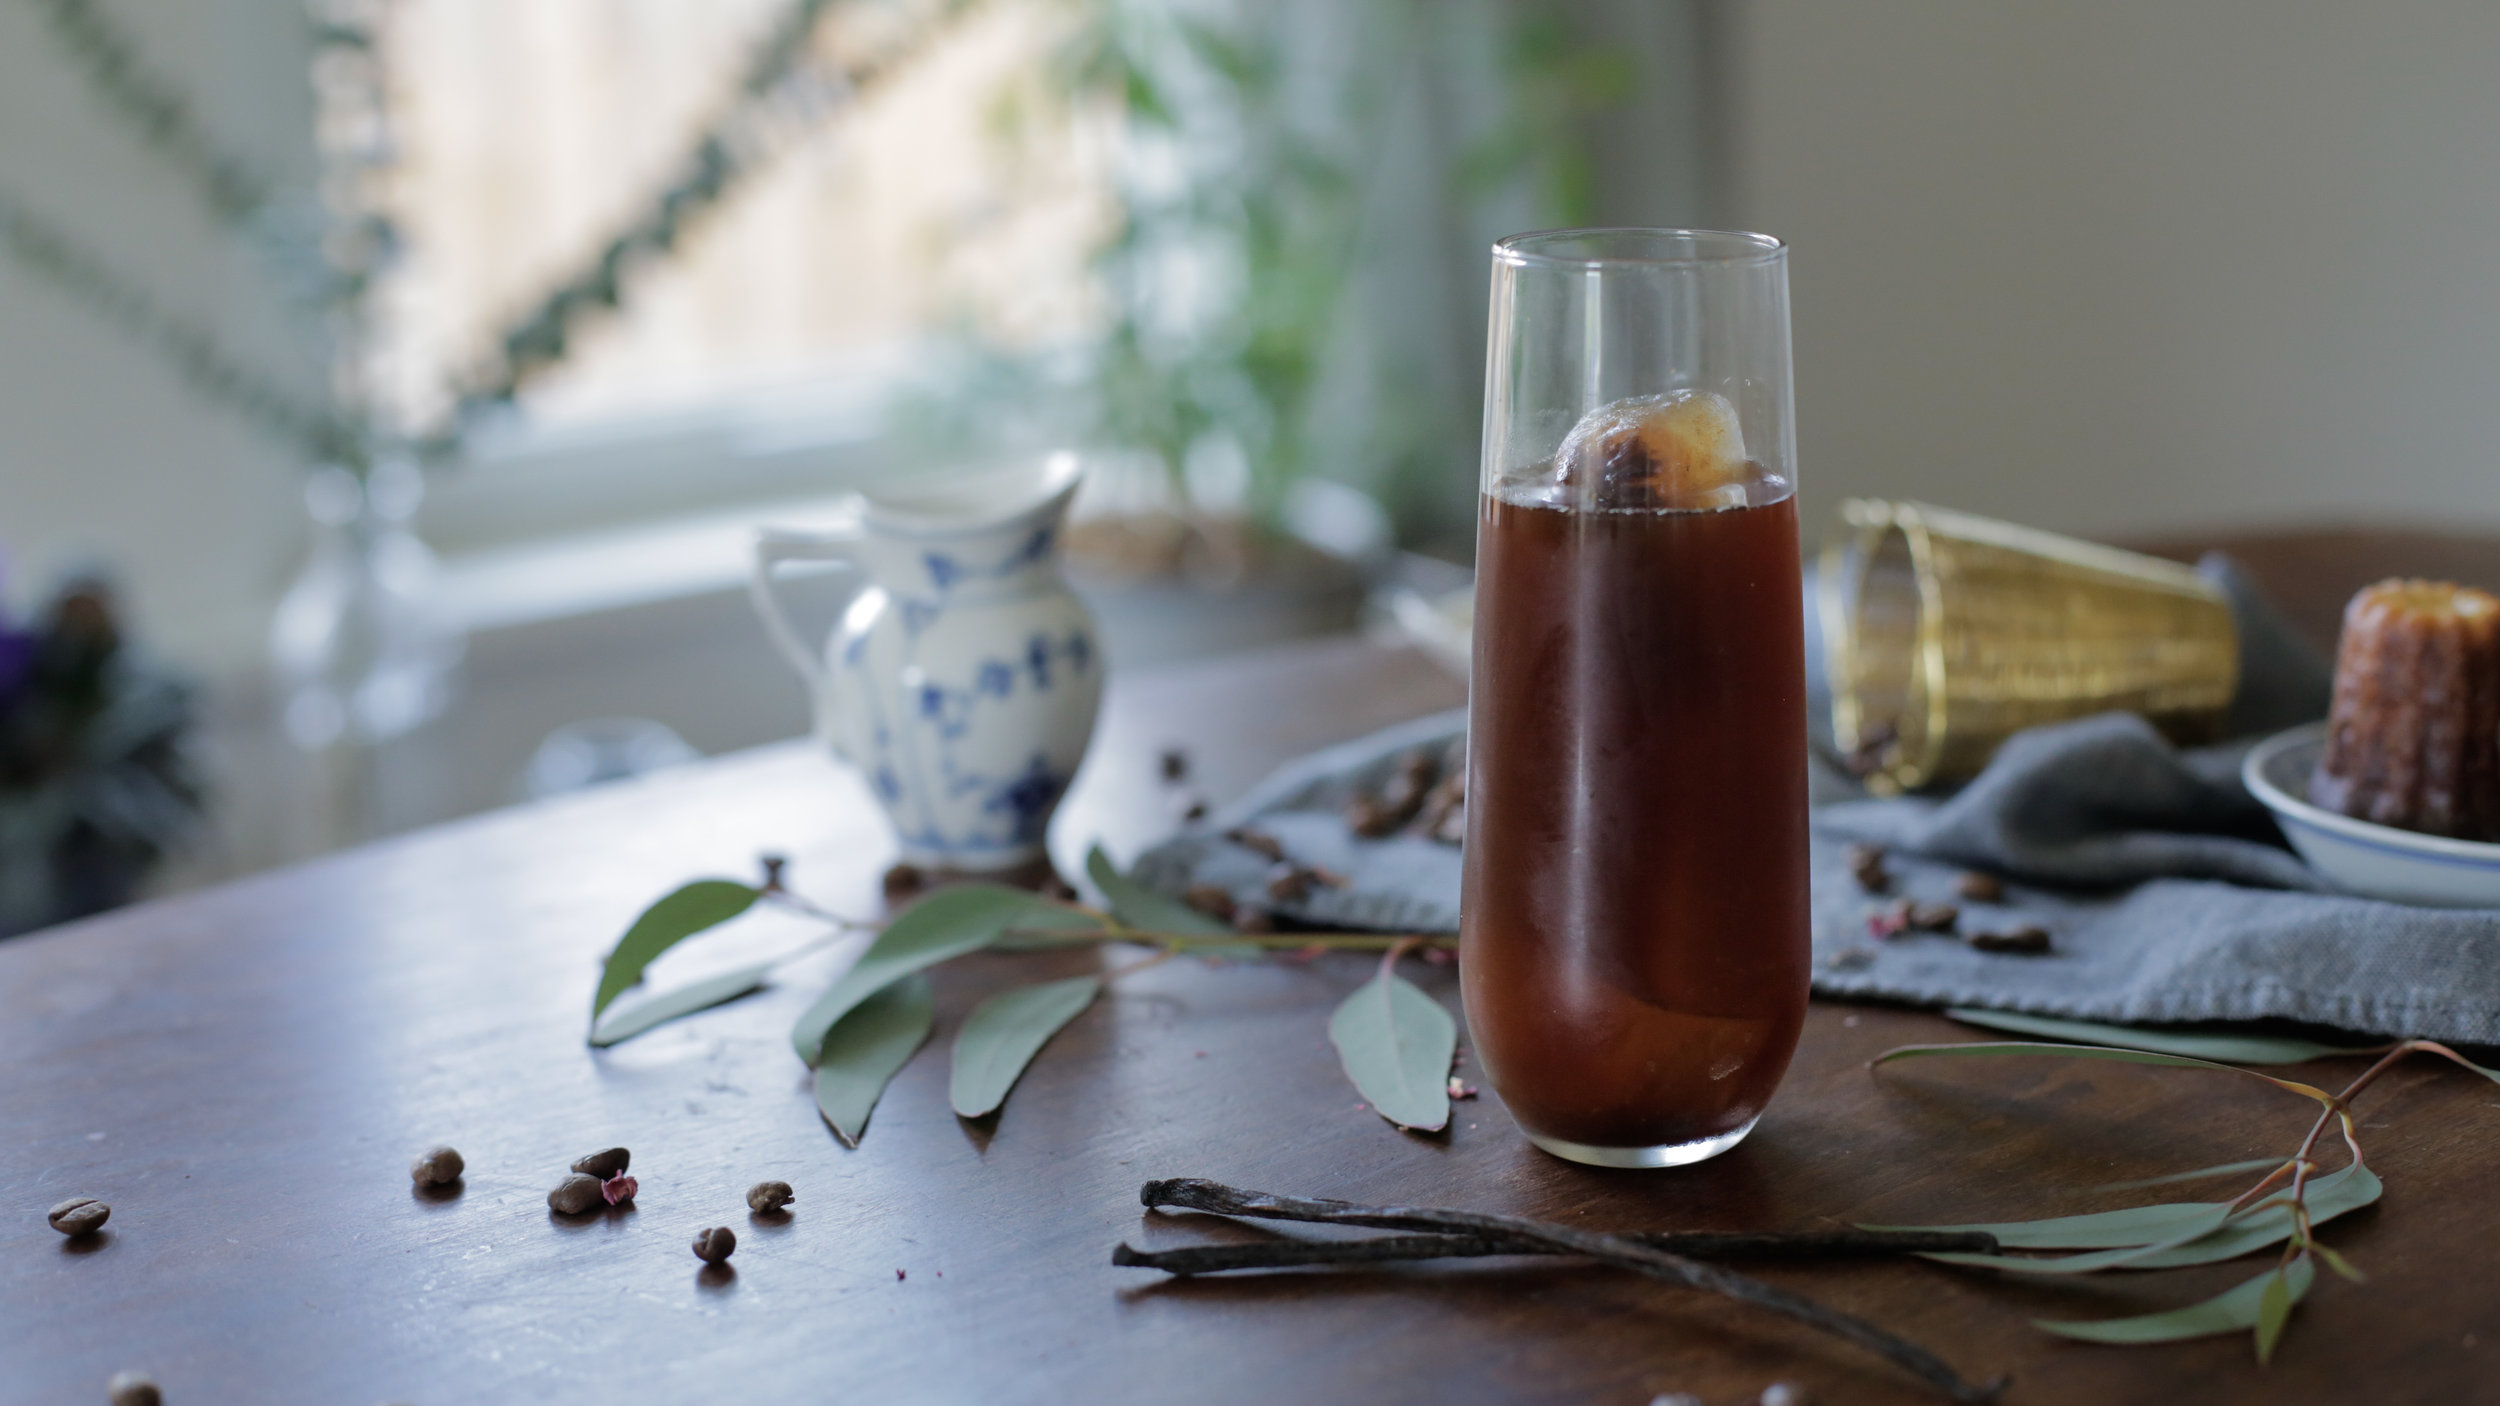
Slow Coffee :: Homemade Rose + Vanilla Bean Iced Lattes

April 11, 2017 by Hailey Faust in :: Eat

I have been thinking a lot about time lately. How we spend it. How we value it. How we never seem to have enough of it.

We live in a culture that idolizes "busy" and pencils in happiness for a later date...for some fabled time in the distant future when the work is done and the bills are paid and the to-do lists have finally been conquered. It's so easy to forget that we are only allotted a few fleeting hours on this planet. That they will pass no matter how we choose to spend them. That time is a precious and non-renewable resource.

Lately, I have been falling into the trap of "busy." Hook, line, and sinker. Days have been blurring into weeks, and weeks into months, and it isn't until a friend sincerely asks, "What's new?" that I realize I haven't been making time for any of the things that bring me joy. That I have nothing to say except, "Oh, you know...just working a lot." That I have been so caught up in the day-to-day grind, that I have forgotten to actually enjoy life.

So for my birthday this year, I am promising myself the gift of time and committing to carving out a little space, each and every day, to live slowly and mindfully. To start manifesting the creative projects that have been rolling around in the quiet corners of my mind for the past few months. To make things by hand. To play. To plant. To make room for the quiet daily joys I so often rush past. 

And this means I'm going to need to get real cozy with the word "no" (something I have historically been terrible at.) I'm starting to realize that slow living is as much about saying "no" to things that don't serve you, as it is about saying "yes" to things that do. Prioritizing, lovelies. Cutting out what's not essential. Simplifying. Like Marie Kondo-ing your closet, but with your planner. 

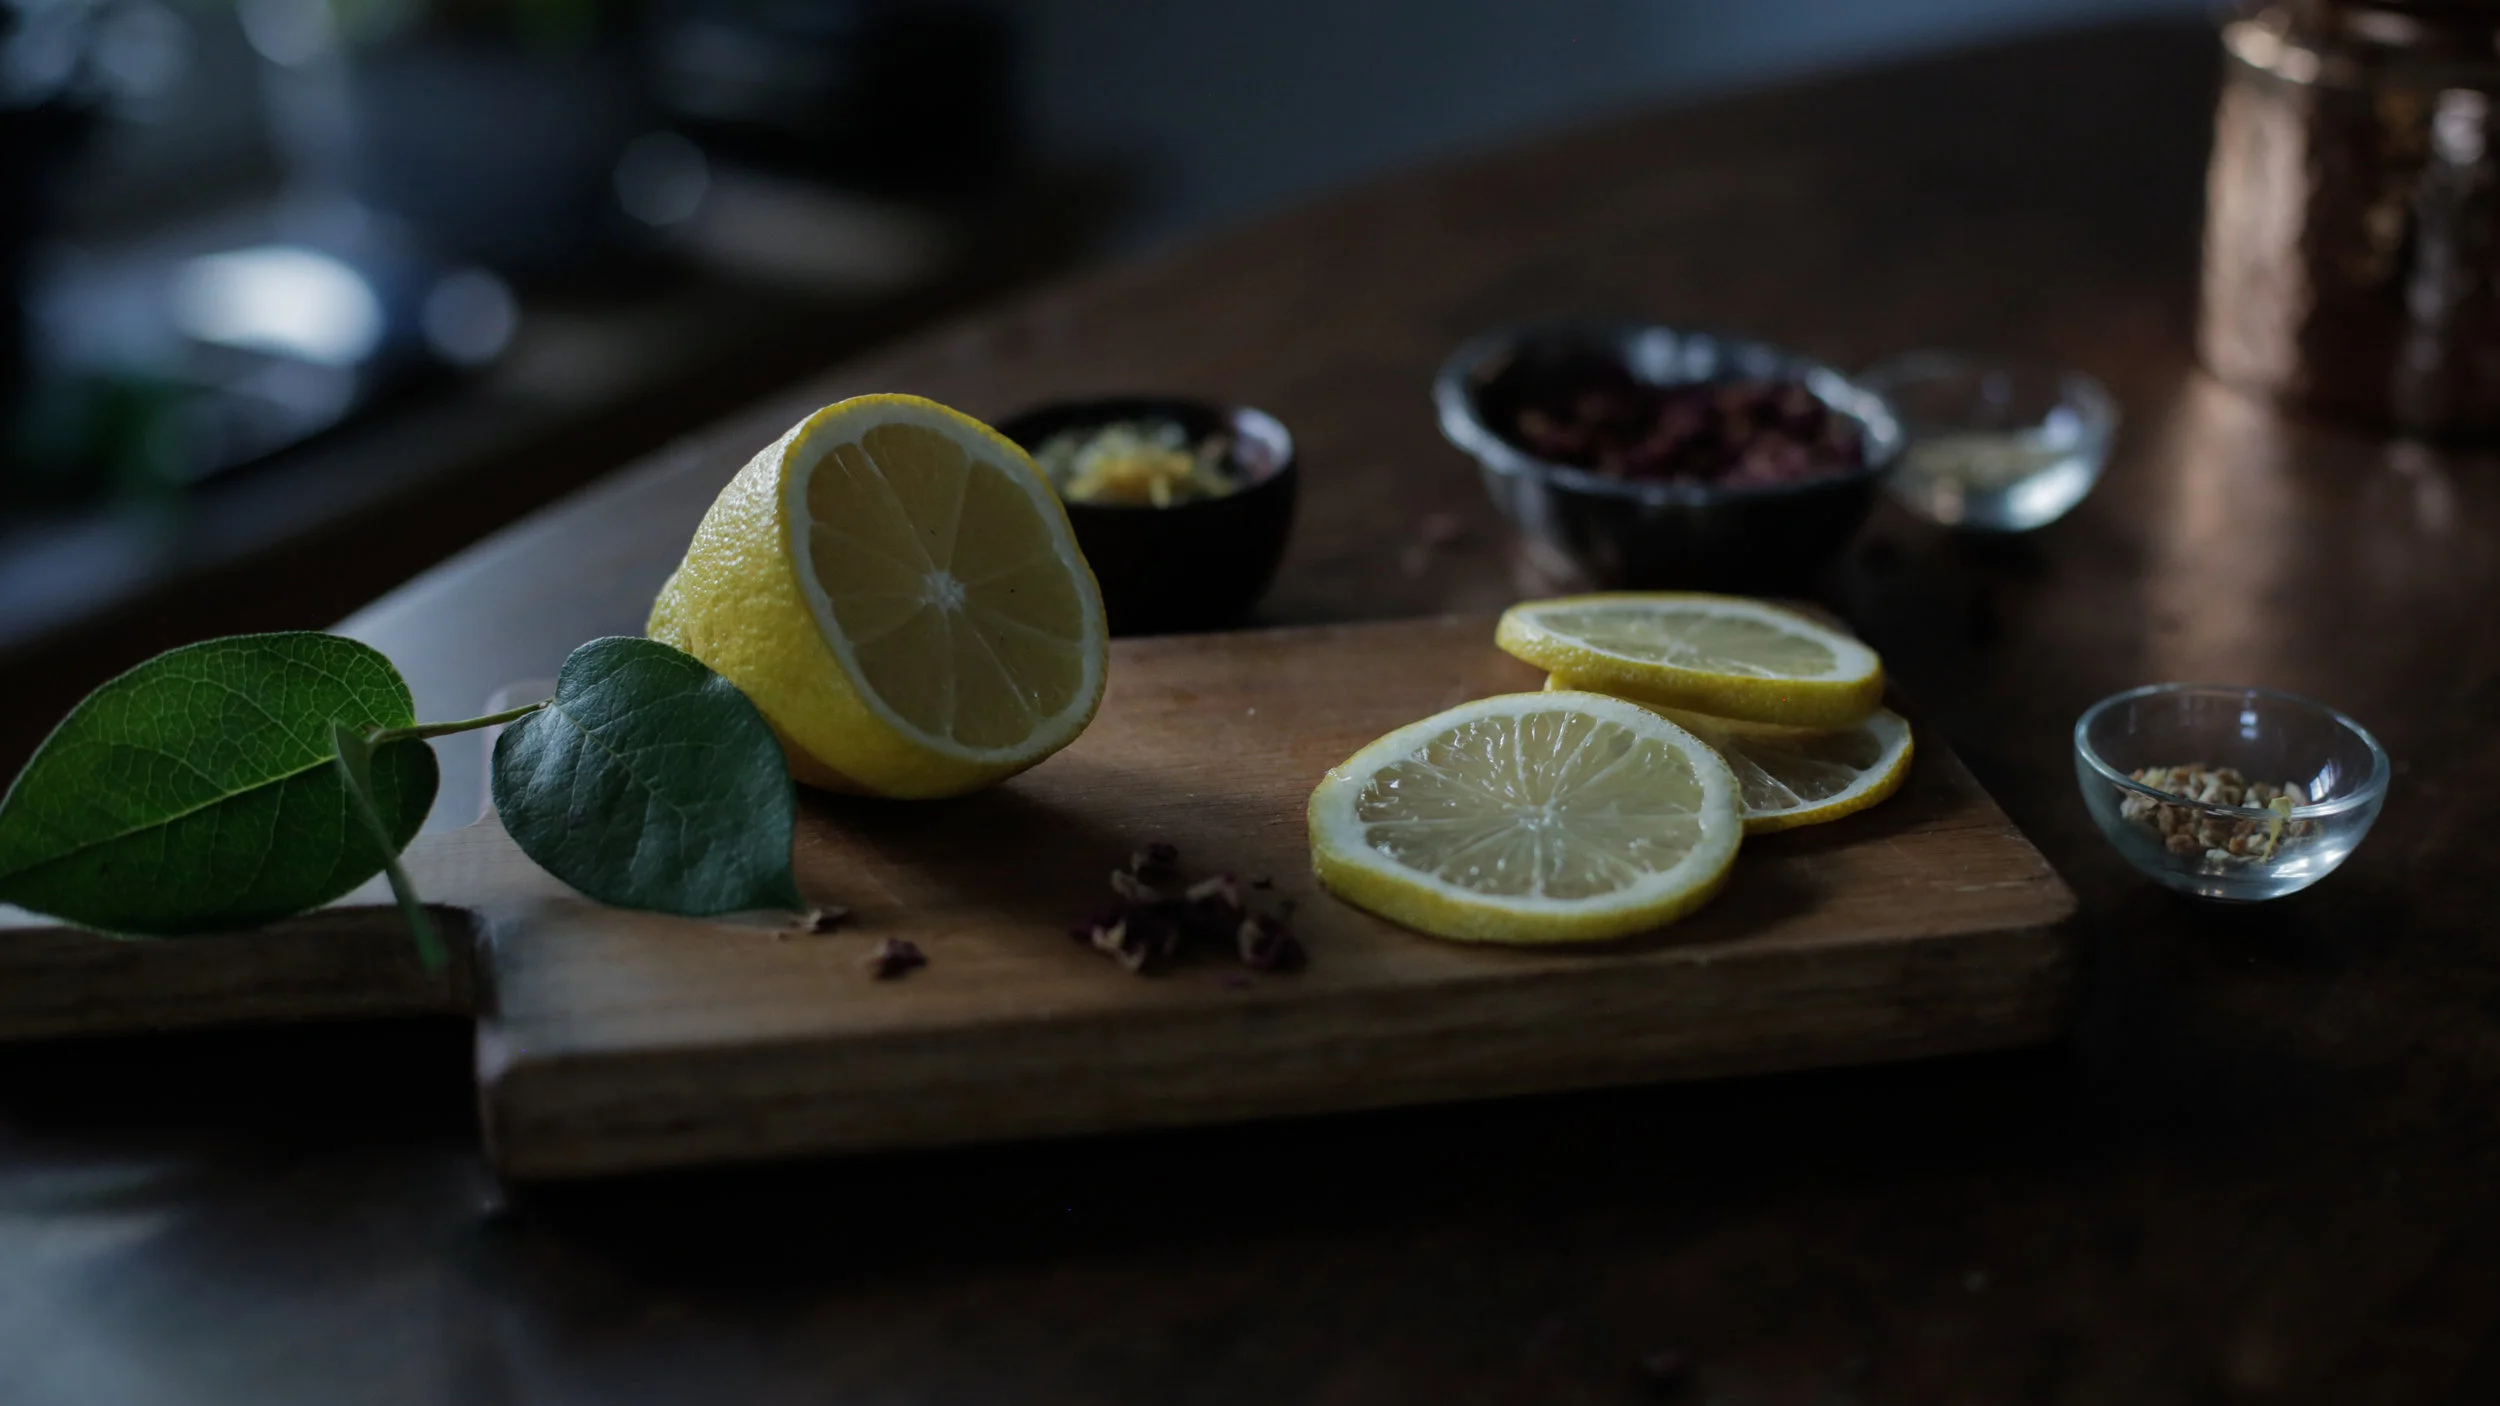
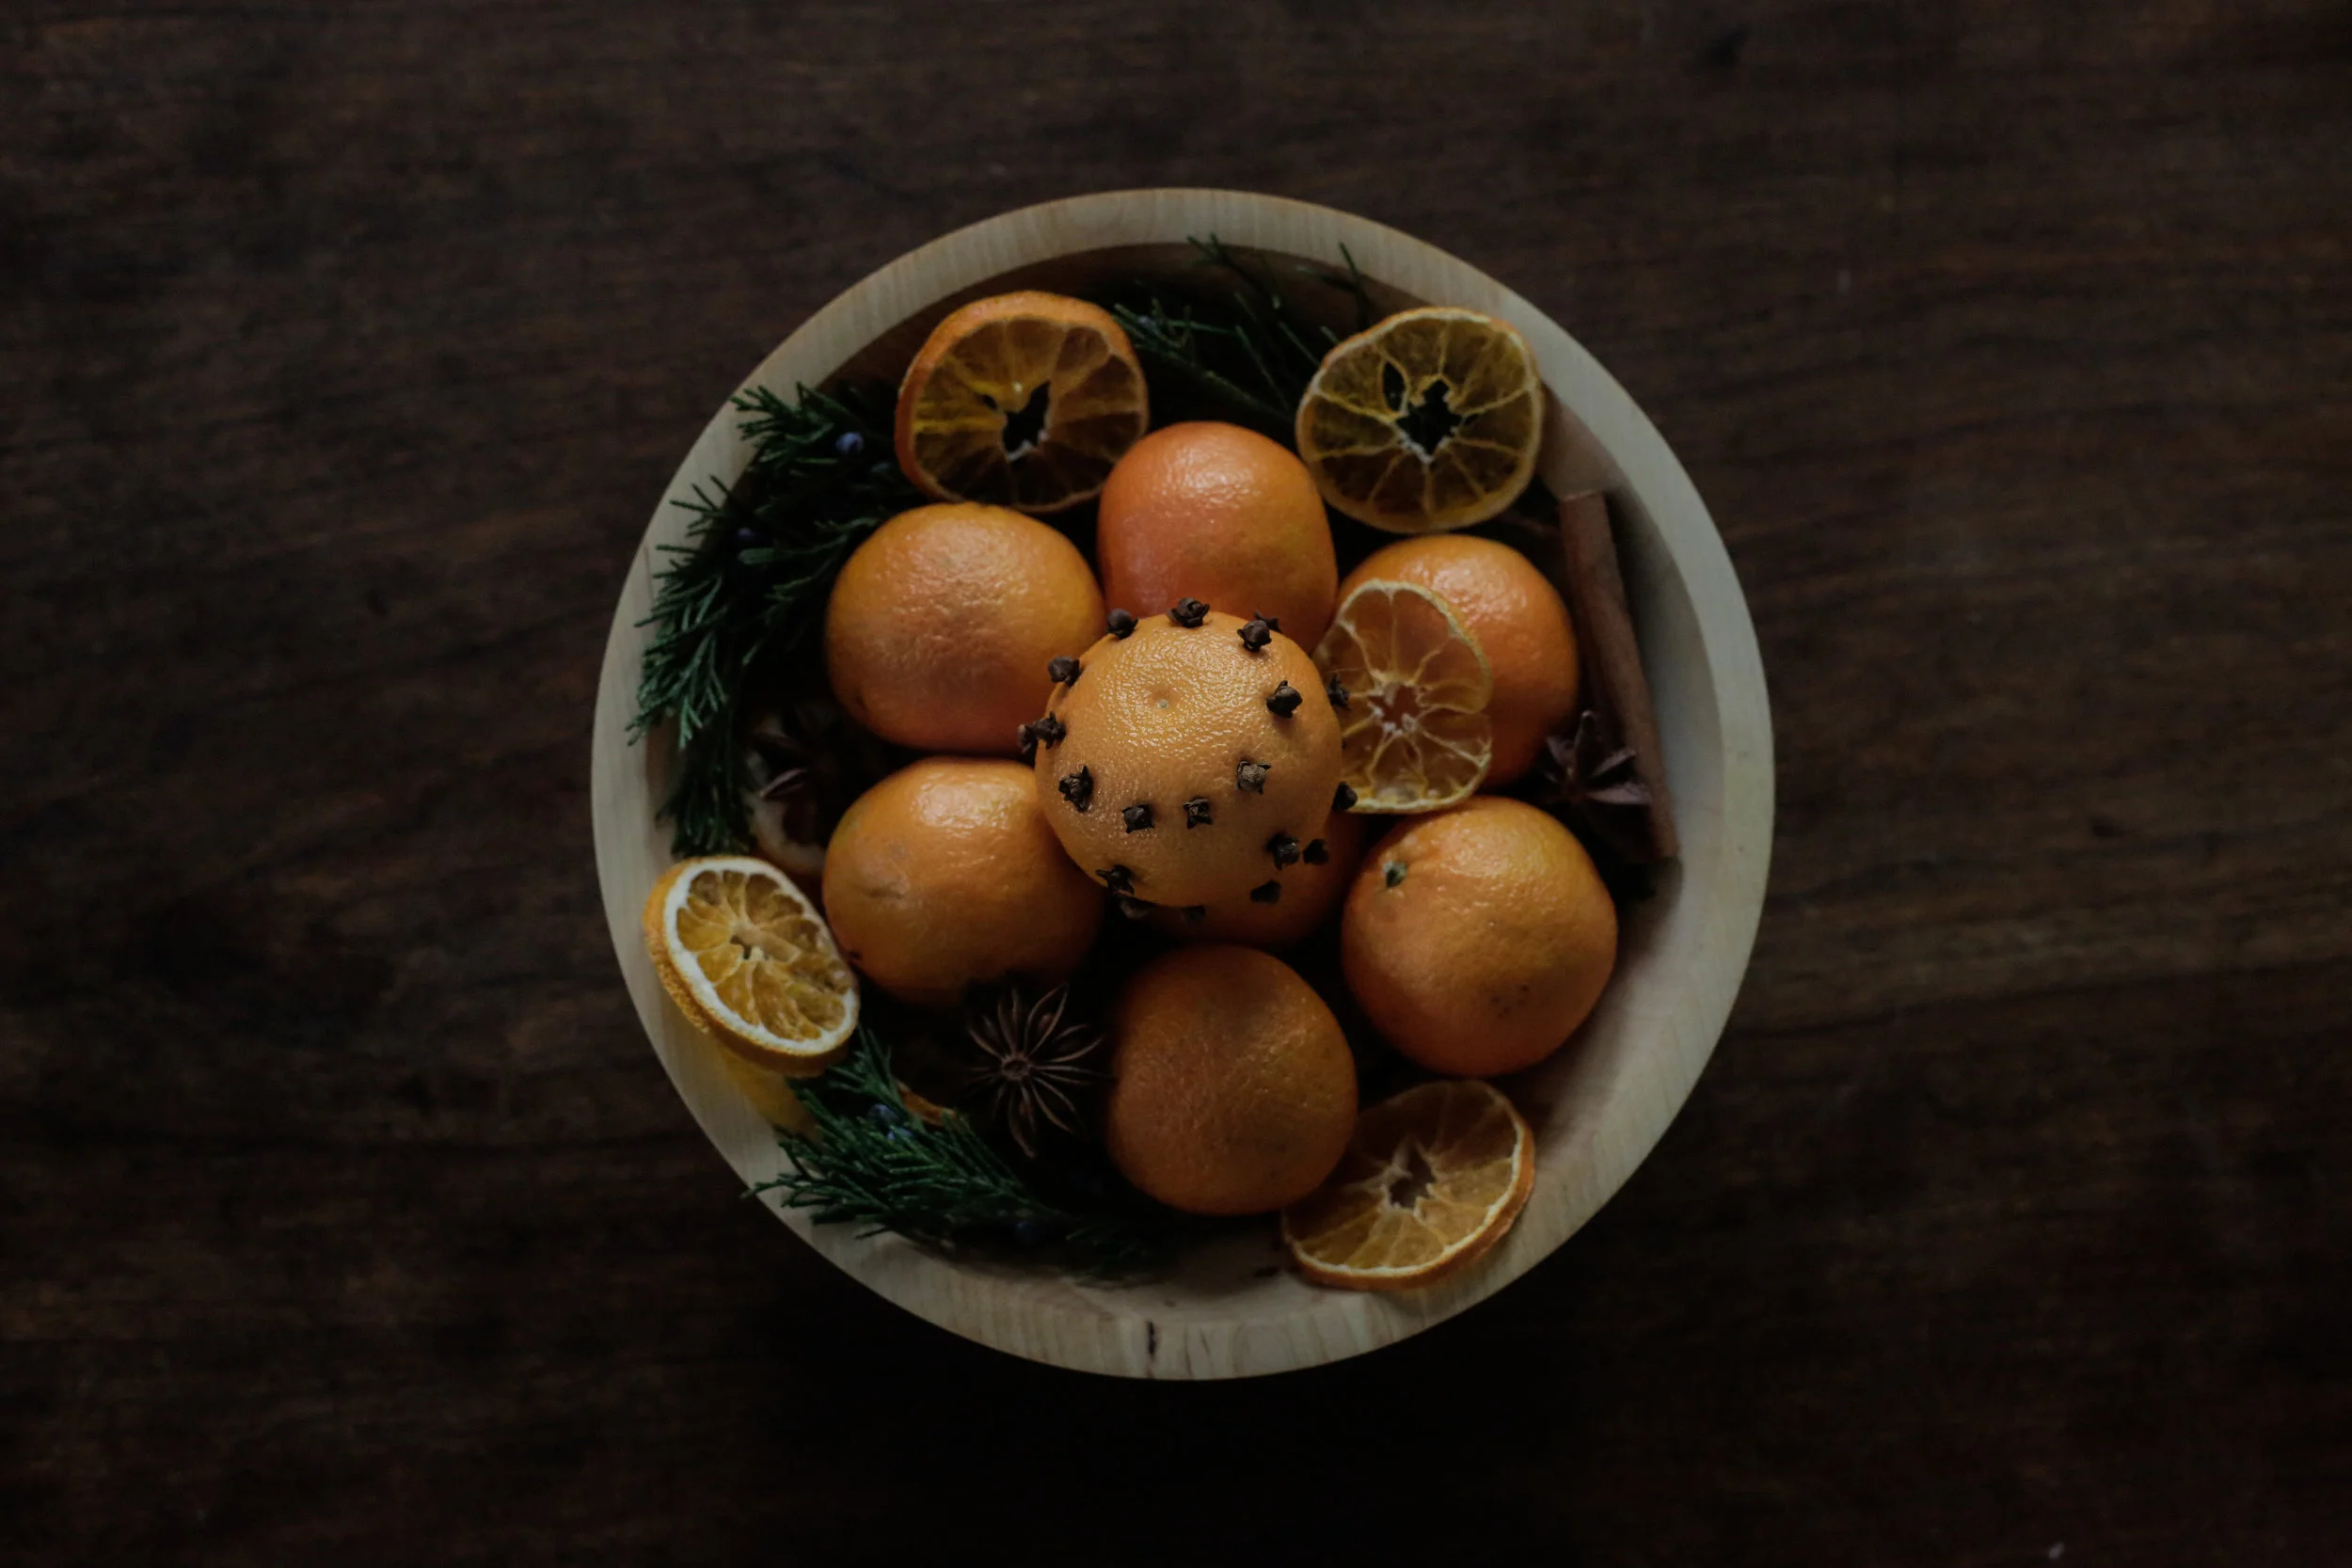
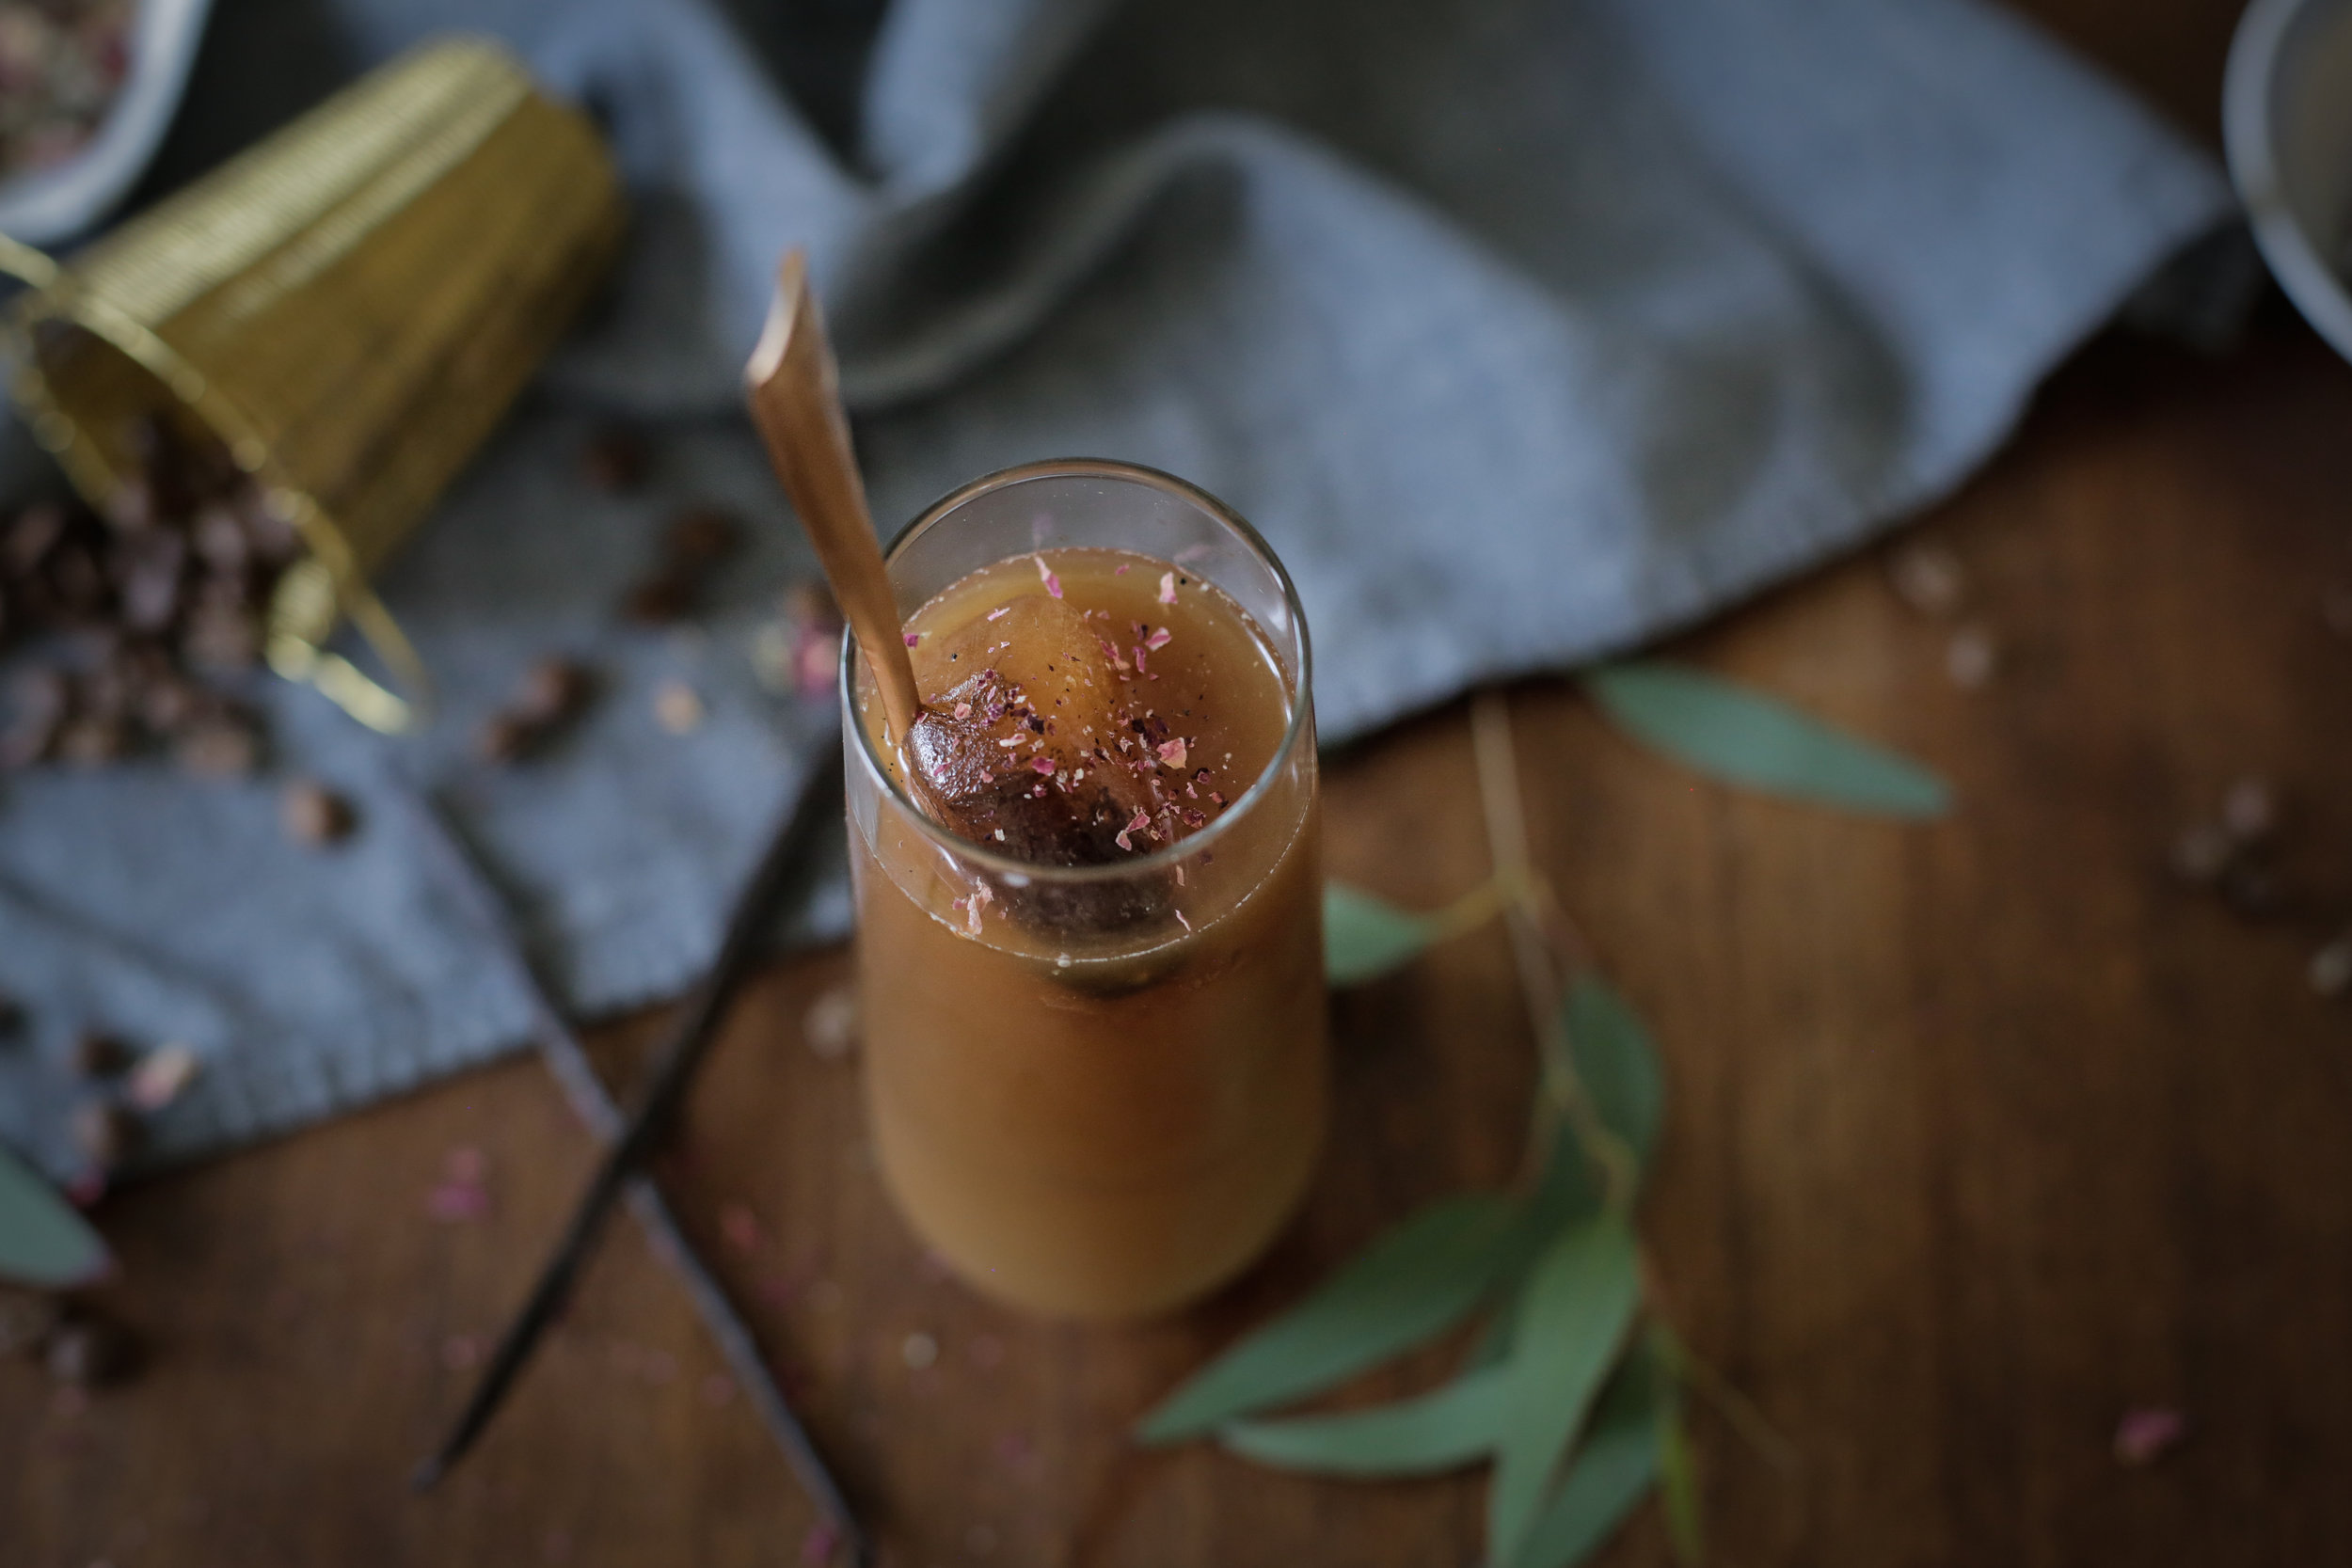
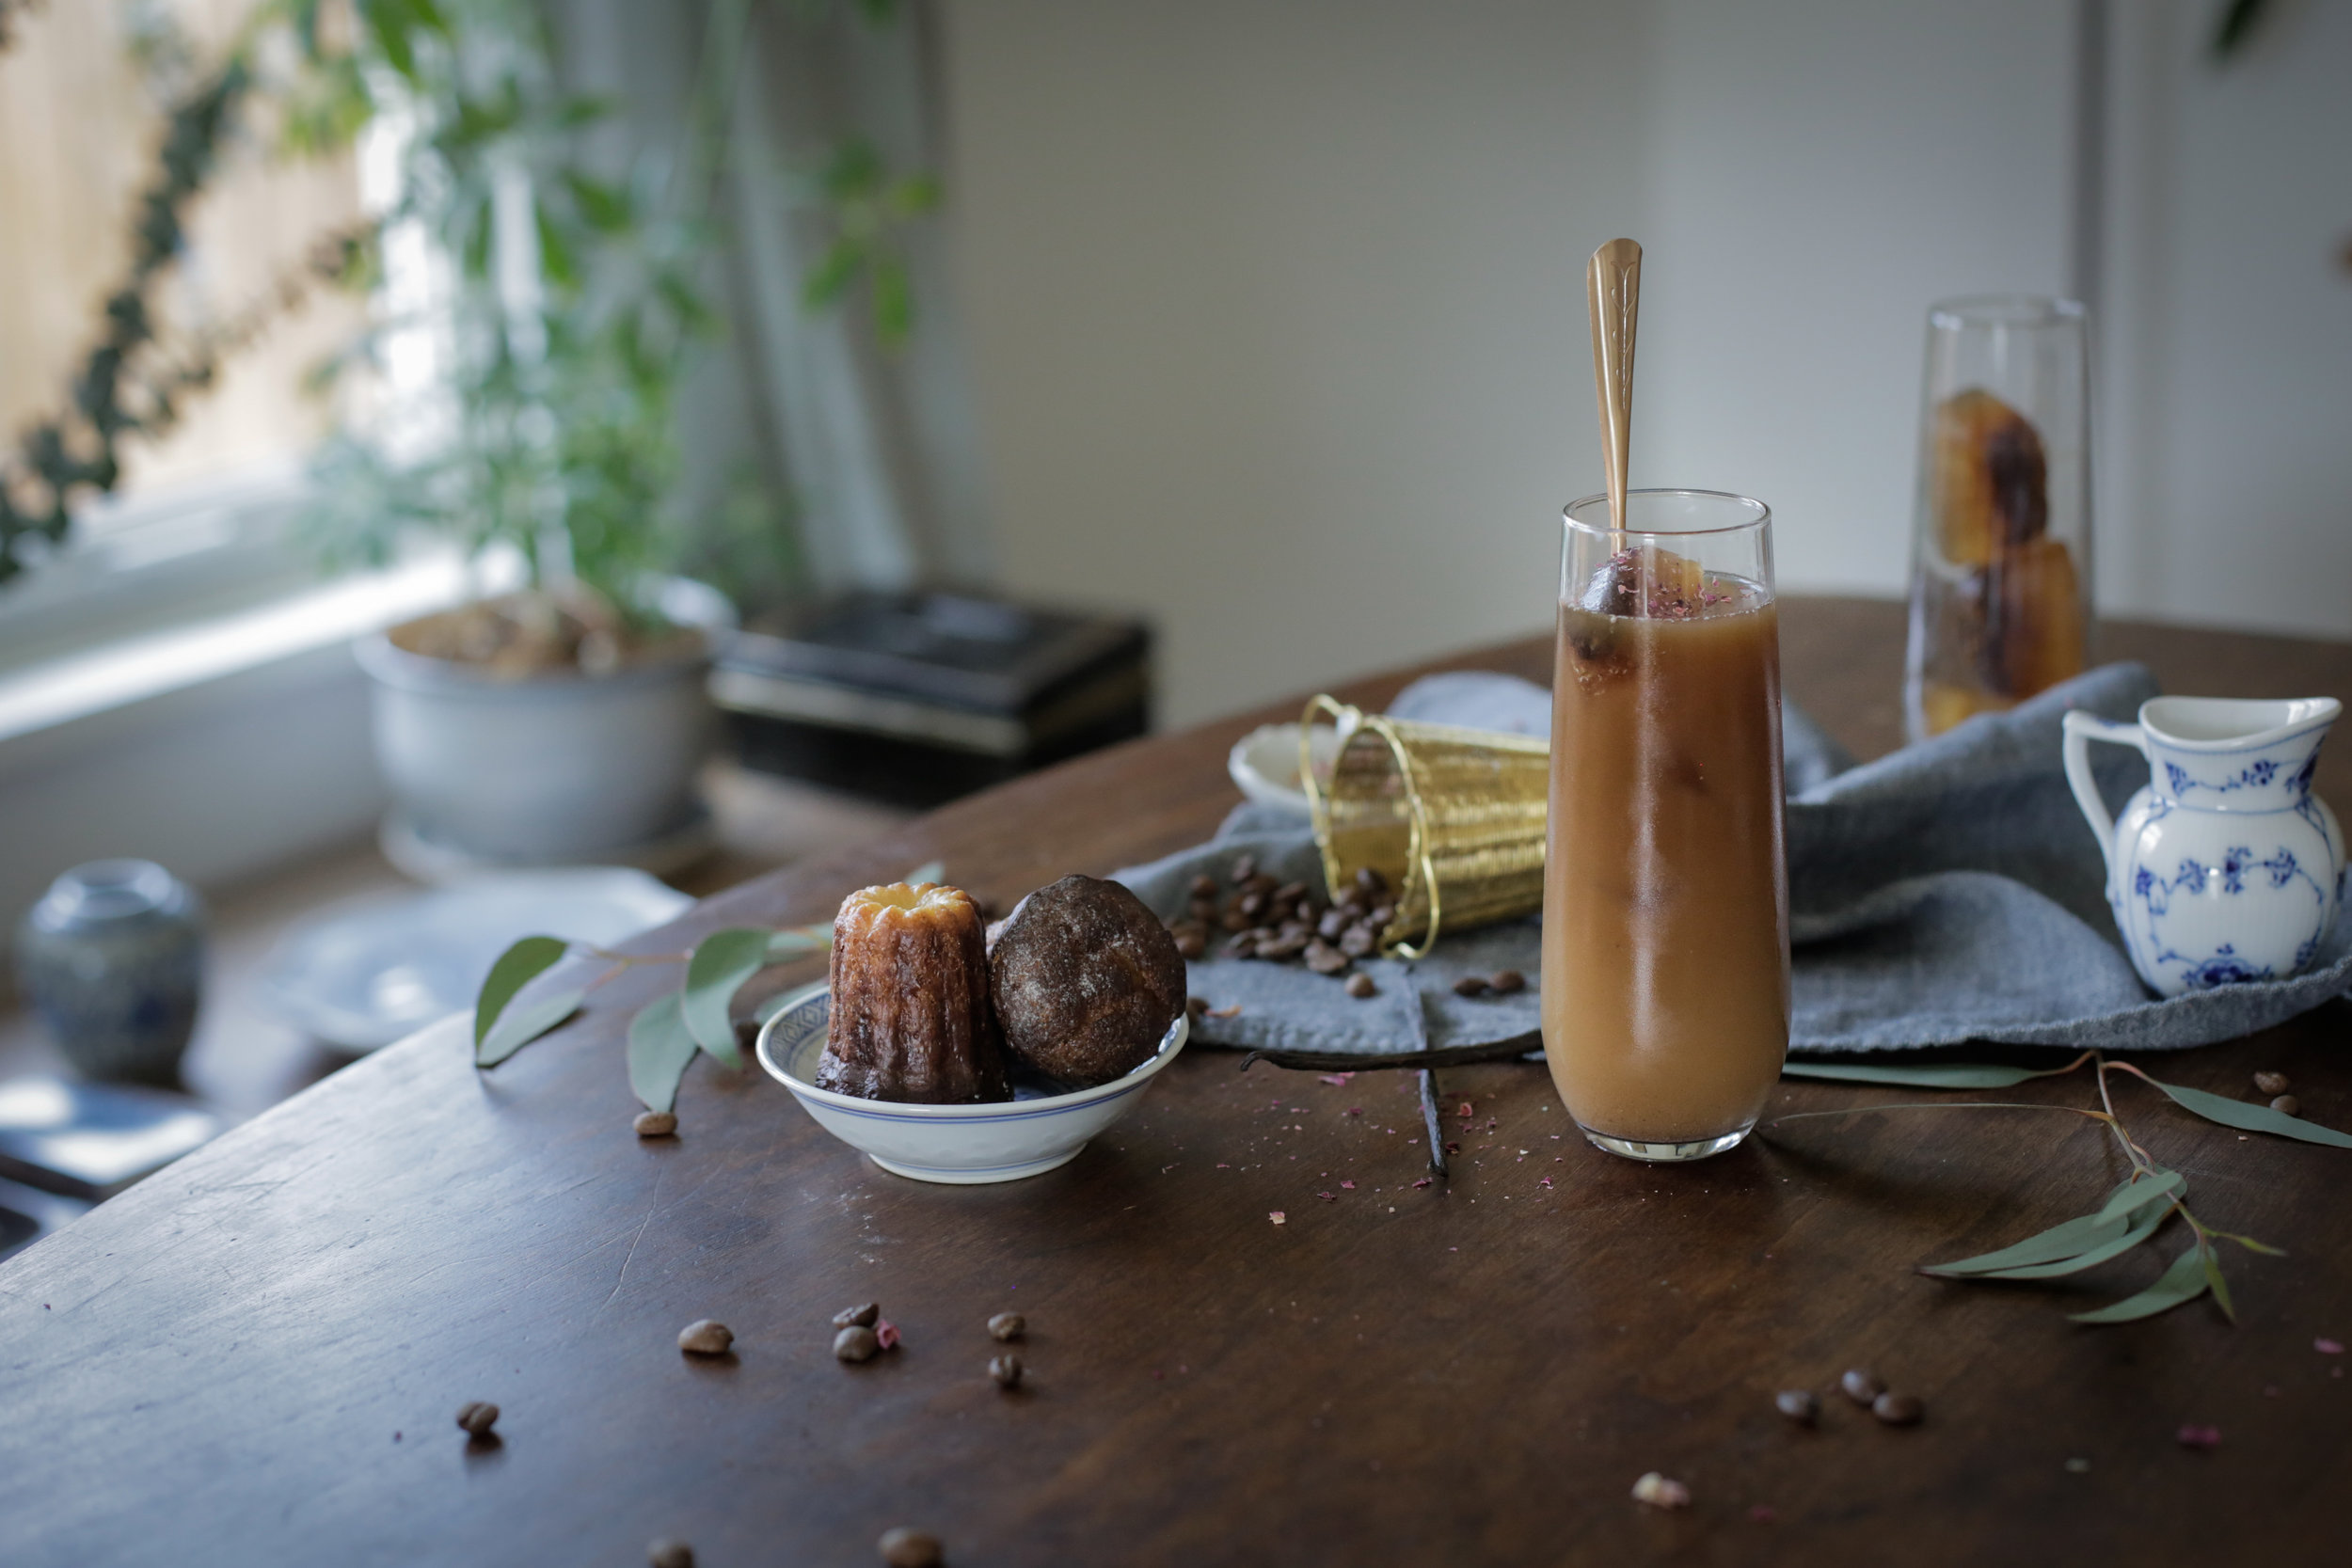
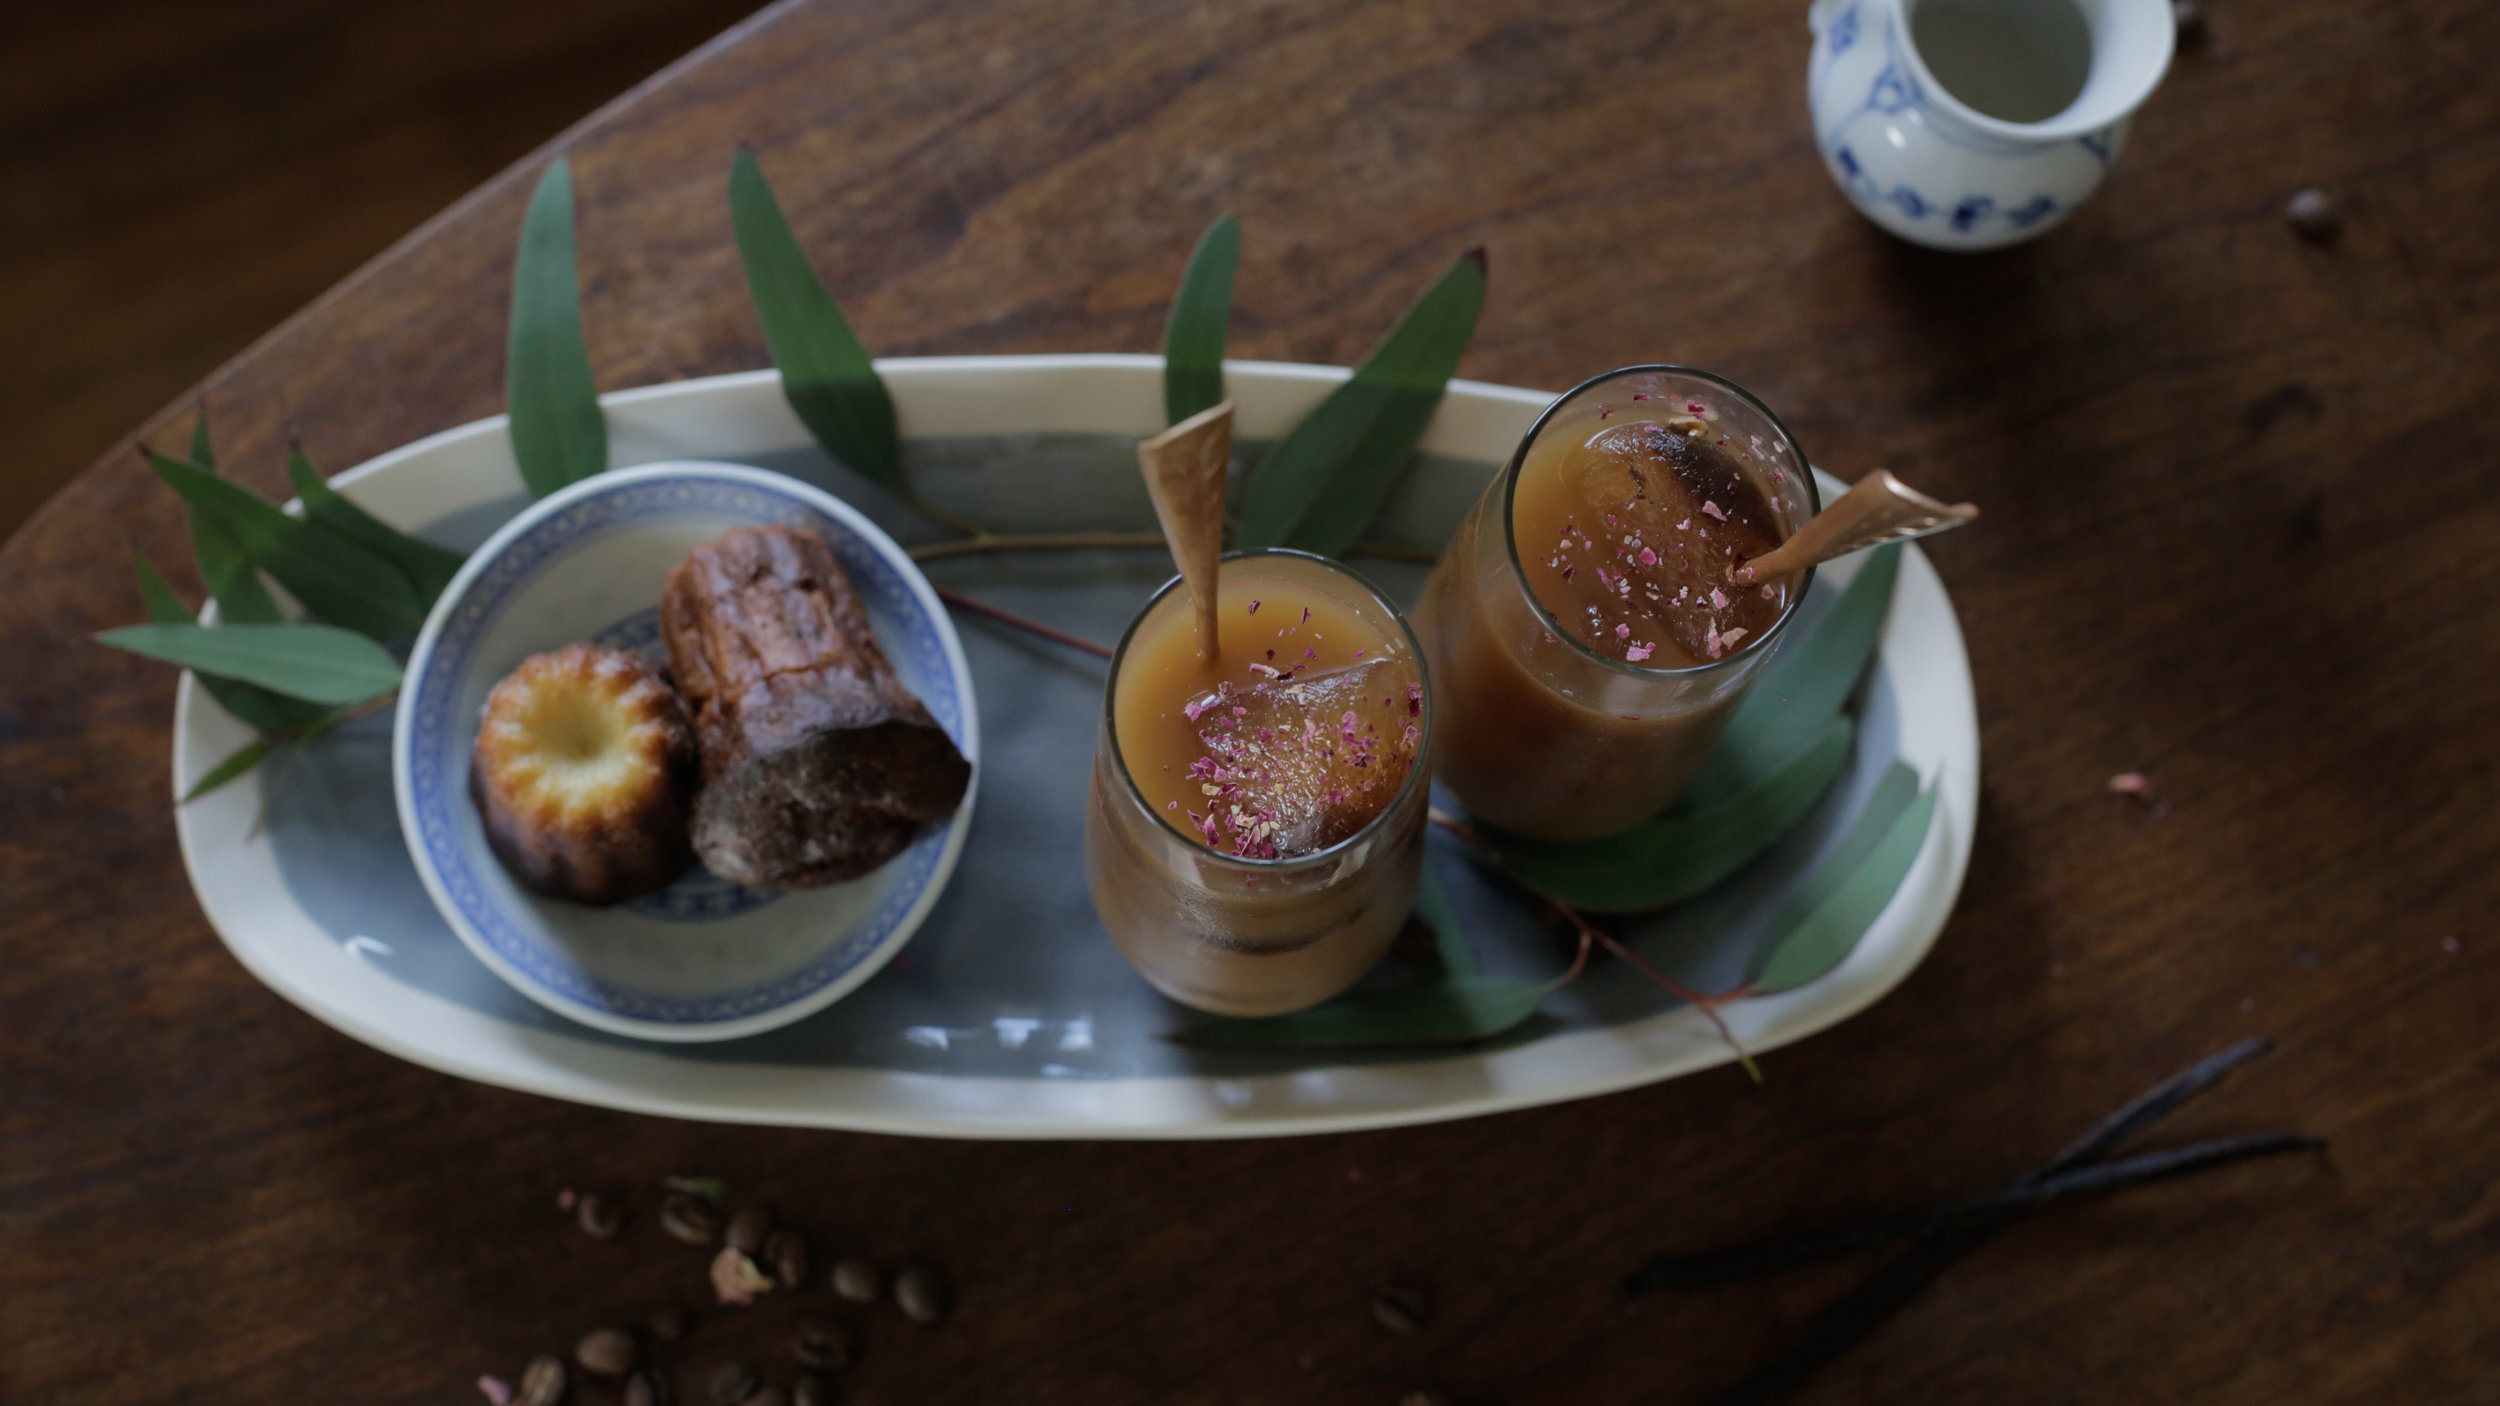
So to mark my renewed commitment to slowing down and celebrate the first few glorious days of spring, I made a batch of these lovely Rose + Vanilla Bean Iced Lattes. Infusing the almond milk with whole vanilla bean and rose petals takes a little more time and a little more love, but really, don't all the best things? The end result is floral and creamy and refreshing and barely sweet. The perfect addition to a sunshiny morning spent lounging on the patio, ignoring your inbox. 


Ingredients:

*Please note, like many of my recipes, the amounts here are merely suggestions. Feel free to adjust to your taste. Makes enough for 2.

- 2 cups organic almond milk (soy, coconut or dairy would also work beautifully)

- 1 whole vanilla bean

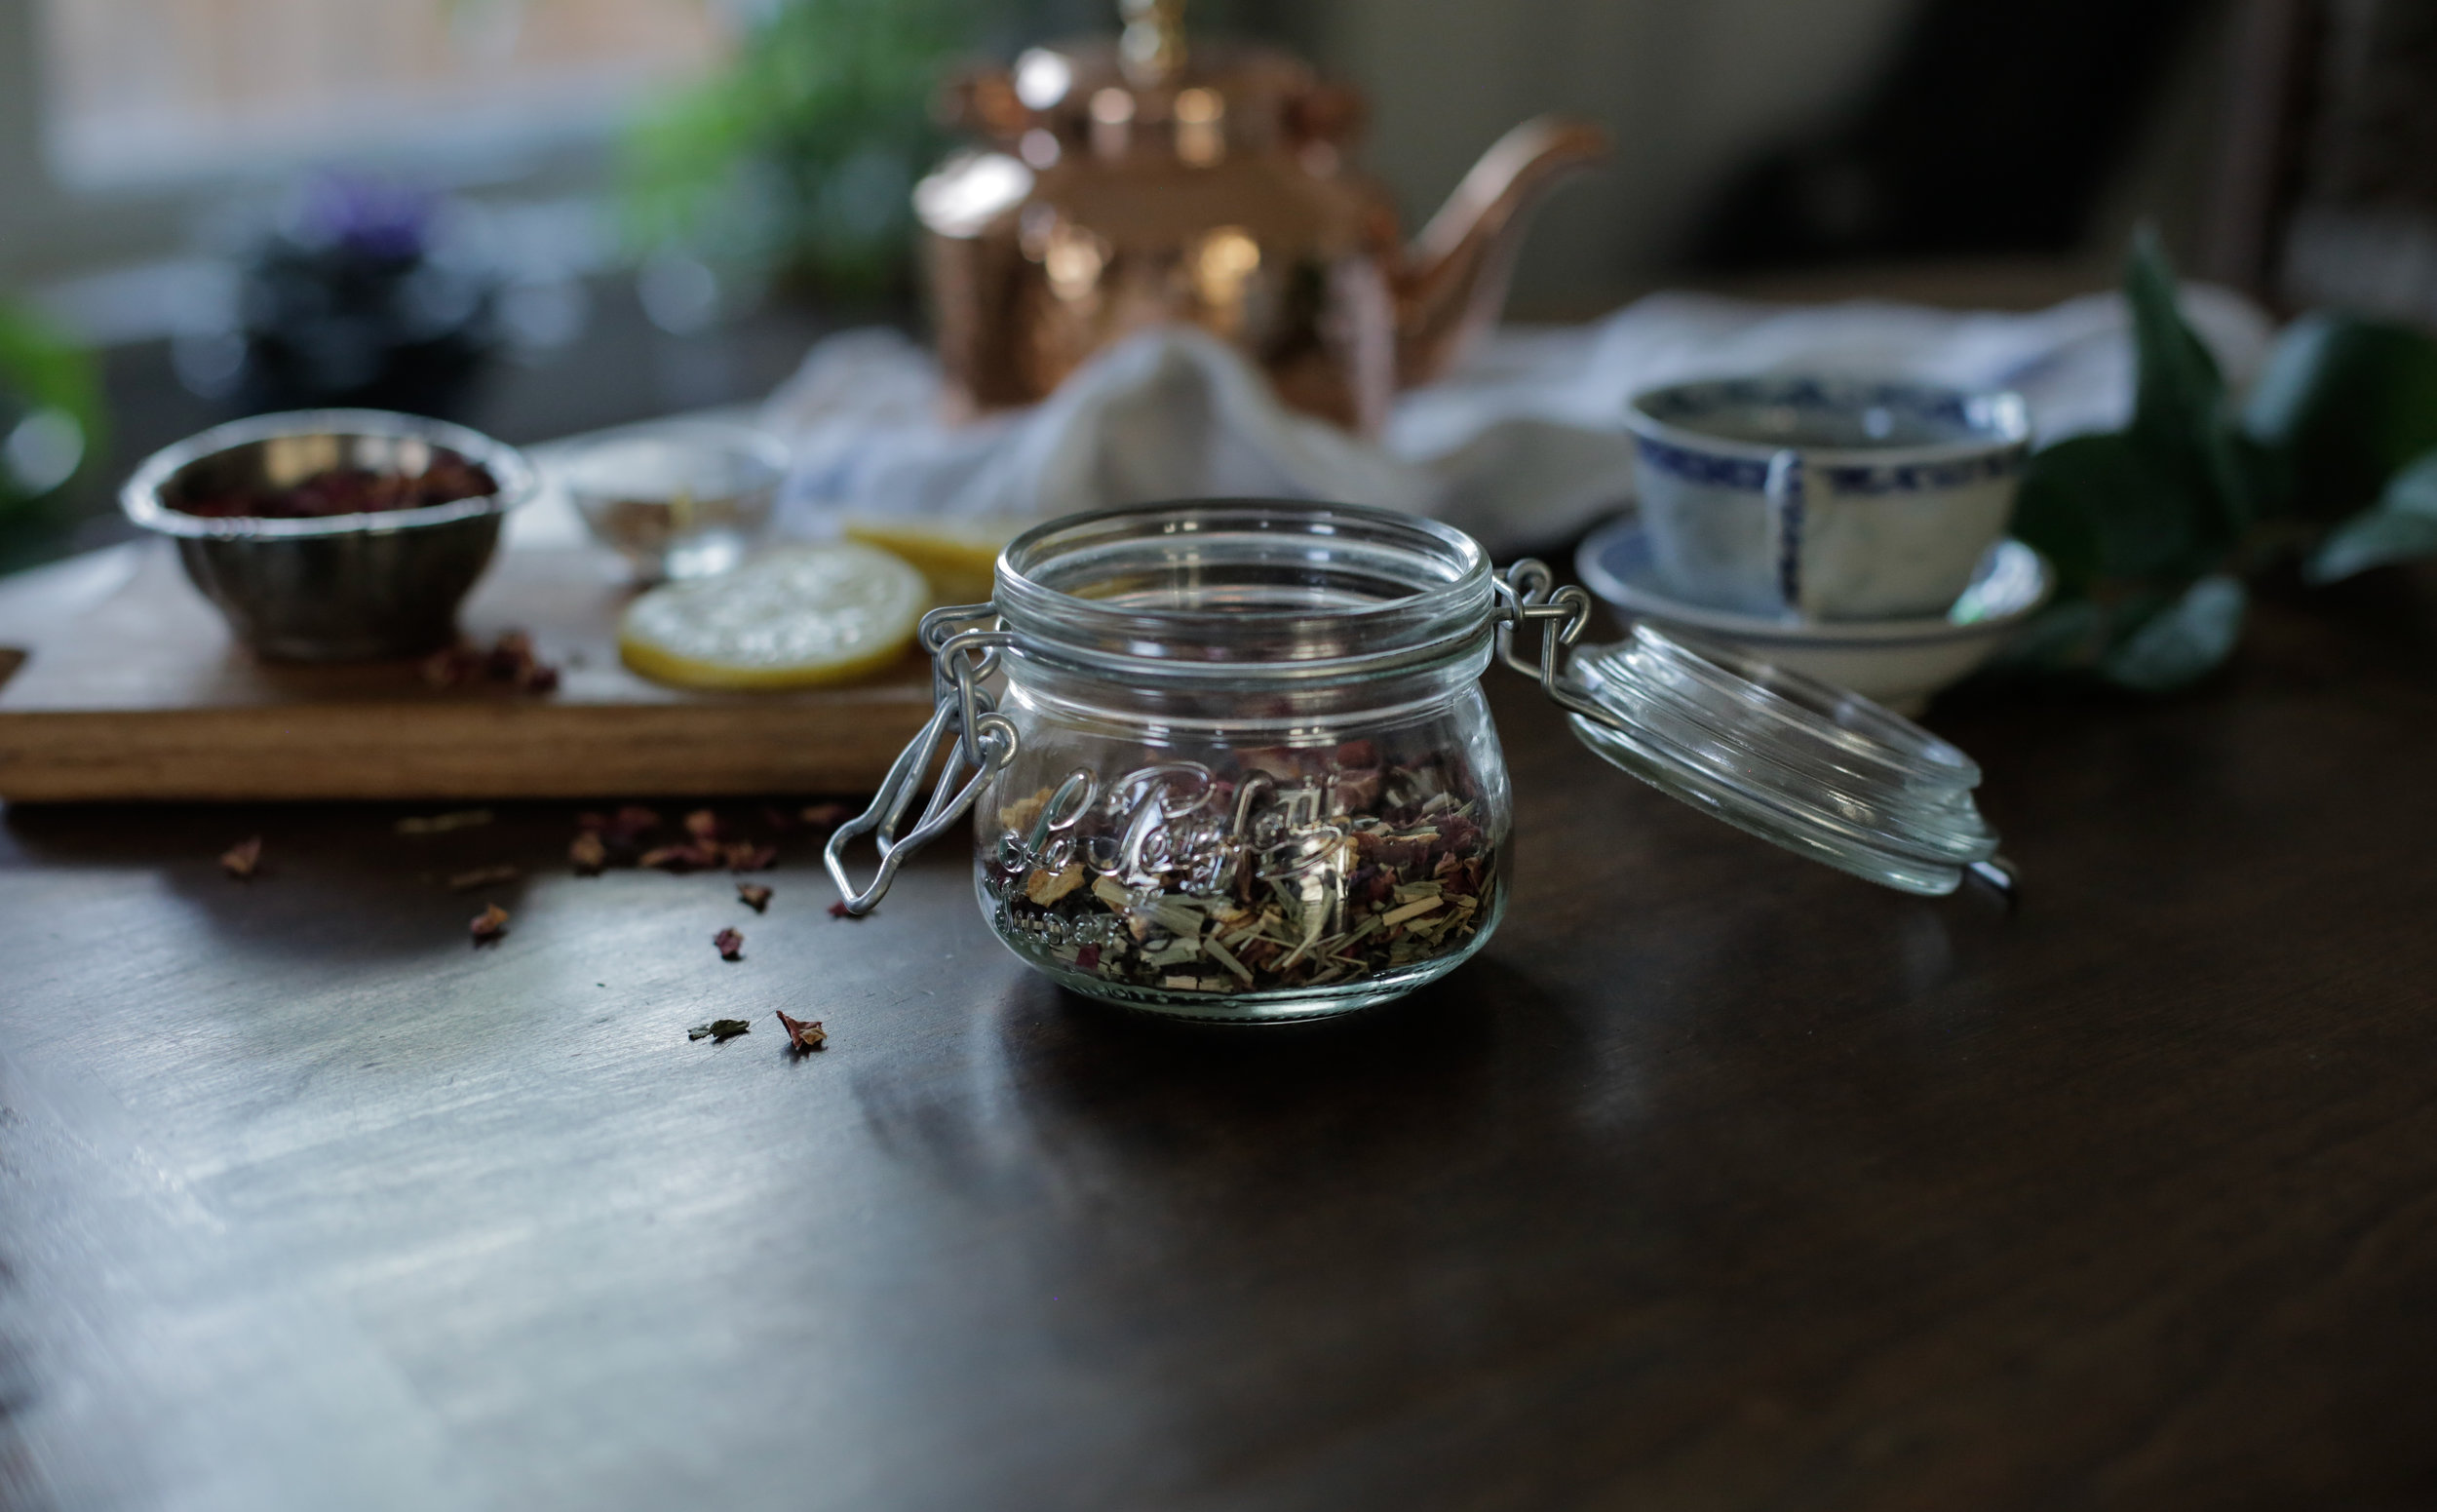
- 3 T of organic food-grade dried rose petals 

- 2 cups cold brew coffee or fresh espresso shots

Instructions: 

1. Freeze cold brew coffee in ice cube tray to make coffee ice cubes. This will keep the ice from watering down your latte as it melts.

2. Add almond milk to a small pan. Using a sharp knife, cut vanilla bean length-wise to expose the tiny seeds inside. Scrape the inside flecks of vanilla bean into the pan of milk, then add the empty husks to the milk as well. Add rose petals.

3. Heat pan over low heat until it begins to simmer. Once the creamer simmers, remove from heat. Cover and allow to steep for 30 mins - 1 hr. (The longer you steep, the stronger the rose flavor will be.)

4. Strain creamer into a clean jar or bowl to remove vanilla bean husks and rose petals. Those gorgeous little flecks of vanilla bean will stay in the creamer. Chill in fridge.

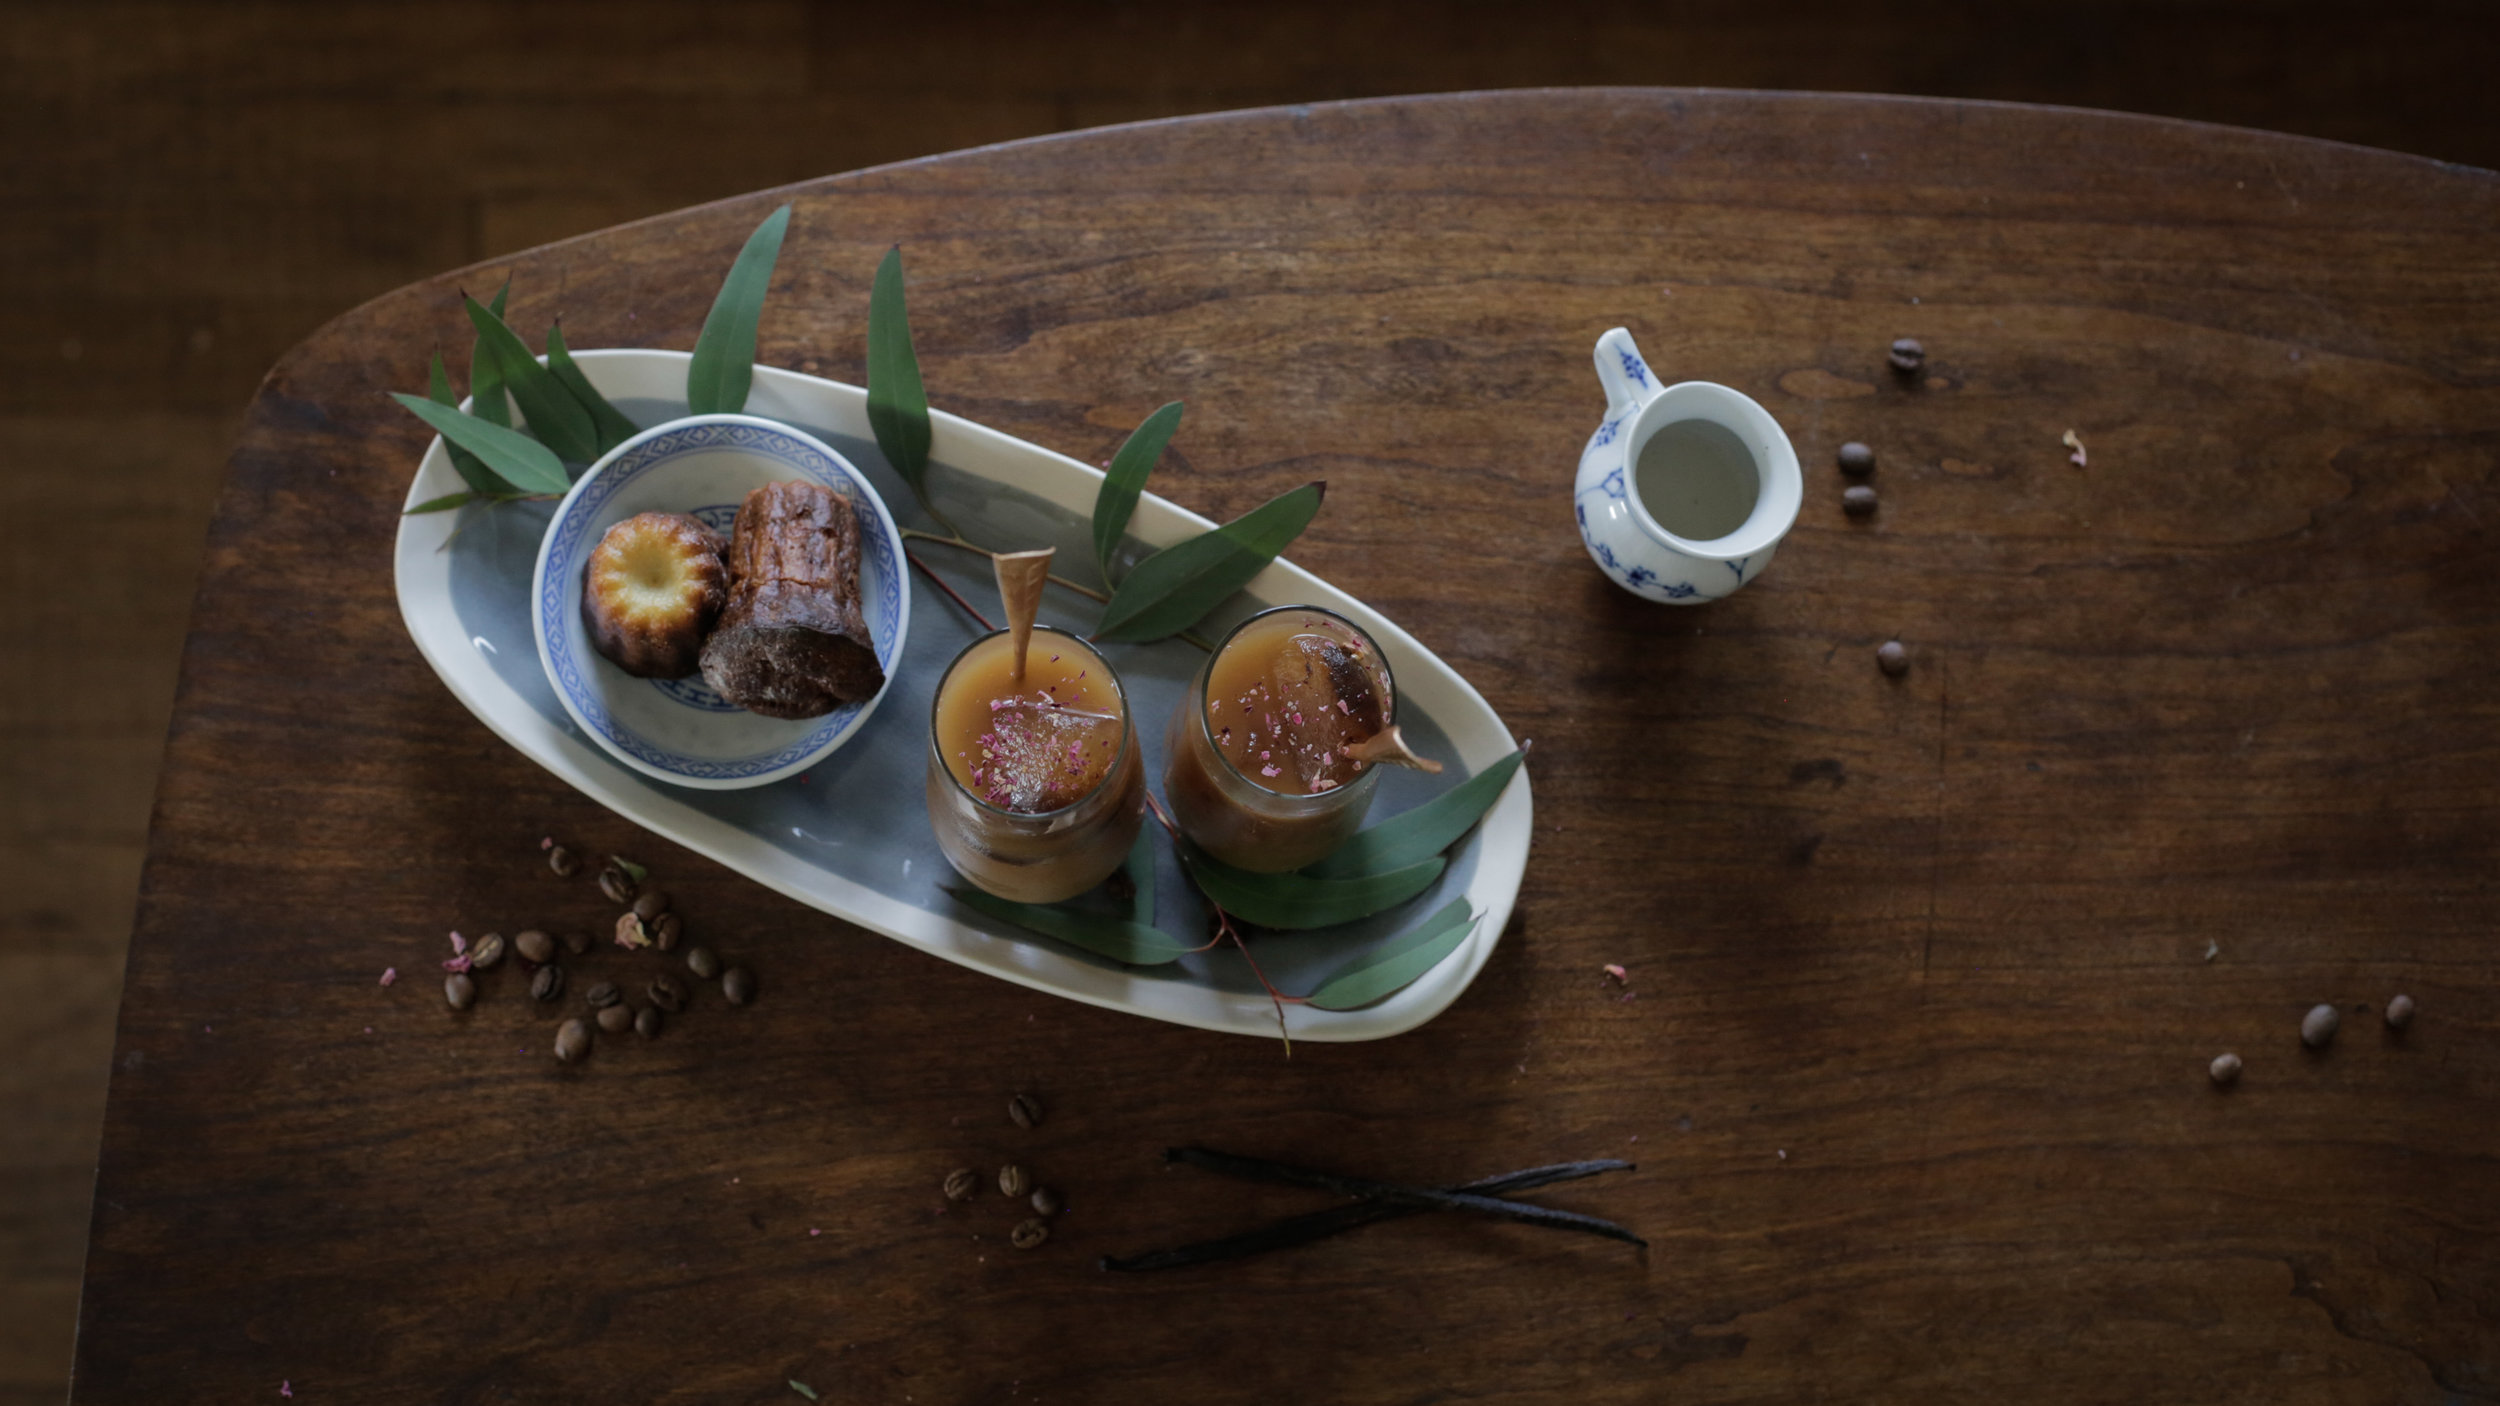
5. Add coffee ice cubes and fresh espresso shots (or cold brew coffee) to highball glass. Add creamer to taste. Garnish with crushed rose petals.

xo, 

 
April 11, 2017 /Hailey Faust
Coffee, recipes, iced latte, slow living, the art of slow living, the lovely wild, rose, vanilla bean, homemade, almond milk, food photography, lifestyle blog, lifestyle
:: Eat
1 Comment
steam_20170129-_85B8307.jpg

Apothecary :: Mood-Lifting Lemon + Rose Winter Tea

February 01, 2017 by Hailey Faust in :: Apothecary, :: Eat, Gifts

I learned a deep love of tea from my mother. Growing up, every morning before school I was cheerfully greeted with a tiny steaming mug of English Breakfast and a thick slice of homemade pumpkin bread. It's her answer to just about every scenario. Bad day at work? Tea. Horrible breakup? Tea. Being audited by the IRS? Double tea. To this day, the first words out of my mother's mouth every morning are, "Let me make you a cup of tea." Before "good morning." Before "hello." Before anything - tea first. There's a woman who has her priorities straight. 

So it's no surprise that a cozy cuppa is my go-to when I am in need of a little comfort. I don't think I'm alone when I say these past few weeks have been...challenging. The political and meteorological climate, combined with a marathon of sunless grey days has left me feeling a bit lost. Untethered. Overwhelmed. Exhausted. Let's be honest - January is always a little brutal, but this year felt particularly rough.

In life's more difficult seasons, it's especially important for us to double down on self-care. In order to show up for each other and the world, we first need to fill our own tanks and hold space for ourselves. Brewing a cup of soothing herbal tea is a wonderful exercise in daily self-care. I love the act of mixing the fragrant herbs, boiling the water, quietly meditating as it steeps. This simple ritual feels so grounding and restorative. A momentary time-out from the daily chaos. One of my favorite recipes for this time of year includes lemon balm and rose petals. The lemony flavor is bright and cheerful while the rose adds a lovely floral note and the smell of spring. Both have been long prescribed by folklore to lift the spirits and chase away the mid-winter blues. 

So let's all take a moment to slow down and breathe deep and drink some flowers. Here's to a brighter month ahead, dear ones.

***Disclaimer: I’m not a doctor, nurse, or licensed healthcare practitioner. Some herbs and botanicals are not safe for pregnant or nursing mothers and may not be suitable to take with certain medications or conditions. This information is not meant to diagnose, treat, cure, or prevent any disease. Always consult your doctor before beginning any kind of new vitamin, herbal, diet, or exercise regime. Make sure to research all of the ingredients to make sure they are safe for you and your family. 


Ingredients

- 1 part organic edible rose petals

- 1 part organic edible lemon balm

- 1/2 part organic edible linden leaf

- 1/2 part dried lemon peel

Instructions

1. Loosely measure out all ingredients in a bowl. You can use a mortar and pestle to break up any large pieces if necessary. The ratios here are merely suggestions so feel free update according to taste. I would recommend experimenting with a few pots of tea to see what you like before mixing a large batch. 

2. Store in an airtight jar or tin (these also make lovely gifts!)

3. Use 1 tsp of the mixture per cup, or 2 - 3 tsp per pot of tea. Pour boiling water over strainer with tea and let steep for 3 minutes. I like to use this opportunity for a little mini-meditation.

4. Garnish with a slice of fresh lemon. Breathe, relax, enjoy. 
 

20170129-_85B8337.jpg

xo,

 
20170129-_85B8252.jpg
February 01, 2017 /Hailey Faust
apothecary, slow living, the art of slow living, tea, the lovely wild, lifestyle blog, DIY, herbal remedies, winter, christmas, diy christmas gifts
:: Apothecary, :: Eat, Gifts
4 Comments
20161211-_85B7405-2.jpg

DIY :: Dried Orange Garland and Cloved Pomanders

December 13, 2016 by Hailey Faust in :: DIY, :: Celebrate

When I think back on childhood holidays, my earliest memories are wrapped in the warm glow of white candles. I see baskets of apples and hot waffles with jam and garlands of happy gingerbread men in the window. My father teaching me to ski in our driveway. Making salt dough ornaments in a cozy mountain hytte with my mom and siblings. Long nights and endless snow. We left Norway when I was only seven, but the quiet simplicity of a Scandinavian Christmas planted deep seeds I still carry. 

The Norwegian concept of koselig, similar to the Danish hygge, is one that has no direct translation. It can be used as both a noun and a verb and essentially captures the cozy contentedness you feel when you warm chilly feet by the fire or gather with dear ones over a candlelit dinner at home. Koselig is simple and handmade and nurturing. It values the little things. The important things. Like fresh coffee and good friends and cozy slippers. In many ways, koselig is the original art of slow living.

When it comes to the holidays, I love to make our home feel warm and welcoming and koselig. I tend to keep decorations simple and handmade. Foraged juniper boughs. Straw ornaments. Endless white candles....you get the idea. I always make a few batches of these dried orange garlands to hang in windows and gift to friends. The winter light shines through them like little stained glass windows and makes me smile. Little drops of sunshine to brighten the dark winter days.

This year I also took a stab at making simple orange pomander balls to bring in the scents of winter. You guys - I don't know how I have never tried these before! First off, they smell incredible. Warm and spicy and Christmasy. And the super complicated DIY instructions? Stick some cloves in an orange. That's it. Done. They look lovely hanging on the tree or in a happy bowl on the kitchen table (where I may or may not have grabbed one as I rushed out the door for a last minute hostess gift.) Everybody wins. 

Some years it's all too easy to get lost in the hustle of the holidays. To get overwhelmed by the commercialization and travel itineraries and endless to-do lists. To lose sight of the quiet moments that make this season magical. I think we could all benefit from slowing down and cozying in and lighting a few more candles. It's the most koselig time of the year.

Happy Holidays, lovelies. Hope your week is warm and fuzzy. 


Supplies

- Oranges or mandarins

- Wooden or metal dowel

- Twine or ribbon

Instructions

1. Cut the oranges into very thin slices (about 1/4" if you can). Some will be thicker than others. Just remember, the thinner the slices, the less time they will take to dry.

2.  If you don't have a food dehydrator, I can't recommend them enough. It has quickly become my favorite kitchen tool. I purchased this one on Amazon a few years ago and we get a ton of use out of it for everything from kale chips and fruit leather, to dried herbs and sun-dried tomatoes. This thing pays for itself in time and deliciousness. 

Dehydrator: Place the orange slices on the drying racks of your dehydrator. Set the temperature to 135° F and leave to dry for 12 - 14 hours. Flip after about 8 hours. You'll know they are done when you press your fingernail into the slices and they crack or crunch a bit. Make sure they are fully dry and not sticky or soft. 

Oven: Preheat the oven to 170° F or as low temp as it will go. Place the oranges on a parchment lined baking sheet and place in the oven, leaving the door propped open a few inches. Bake for 3 hours, then flip oranges. Continue to bake until they fully dry out (usually about 8 hours.) I would recommend checking in every hour near the end until they reach the desired texture and lose their stickiness.
Note: I haven't used the oven method in years since we purchased our dehydrator. You may need to add or decrease baking time depending on the size of your slices and your oven. It goes without saying, but always babysit the oven when it is on for extended periods like this. 

3. Once the oranges are fully dry, use a wooden or metal dowel to poke one hole on the left and right side of the orange. Make sure they are parallel, as you will be threading the twine through them later. I like to place mine in the top third of the orange.  

4. Weave your twine through the holes to string the orange slices together. I like to hide my stitch on the back side of the orange.

5. Hang in a window where the winter light can shine through. I also hang any extra slices on the tree or use them to spruce up my wrapping!


Supplies

- Orange or mandarin

- Whole cloves

- Ribbon to hang (optional)

Instructions

1. Push the sharp end of the cloves through the skin of the orange or mandarin. Create a simple design by studding the cloves around the orange.

2. Hang to dry with ribbon. As the orange dries out, it will fill the house with a spicy, wintery aroma.

xo,

 
December 13, 2016 /Hailey Faust
orange, orange garland, christmas, diy, the lovely wild, the art of slow living, lifestyle blog, holiday, decoration, organic, pomander
:: DIY, :: Celebrate
1 Comment

Subscribe

Subscribe below to keep up on all the lovely!
We promise to never send spam or share your info with anyone else. For realzies. xo

We respect your privacy and will not share your information with any third parties. 

Thank you!

© 2016 HAILEY FAUST LLC. ALL RIGHTS RESERVED.