the Lovely Wild

  • Blog
  • Archive
    • :: Archive
    • :: Apothecary
    • :: Celebrate
    • :: DIY
    • :: Eat
    • :: Wander
  • About
  • Design
  • Contact
VanillaExtract2-8326.jpg

DIY :: Homemade Vanilla Extract

November 09, 2020 by Hailey Faust in :: Apothecary, :: DIY, :: Eat

As we step gently into the darker side of the year, I have been finding deep comfort in preparing our little den for hibernation. In frosted kitchen windows and folded flannels and pots simmering contentedly on the stove. Bell jars pinging on the counter. Dough rising and dishes stacked neatly in the cupboard. The quiet productivity that settles in as winter descends.

There is something deeply soothing about working gently with my hands and turning inward this time of year. One of my favorite autumn rituals is infusing a big batch of this simple homemade vanilla extract and dreaming of all the sweet things it will soon become. Cherry Almond Biscotti with hot coffee on a snowy evening. Homemade Maple Pecan Granola with our little family piled around the kitchen table. Grandma’s famous Christmas Tea Ring with cinnamon and maraschinos.

Extracts take time to infuse. Like all things, they need space to rest and integrate. So this is a lovely project to start now and have ready just in time for winter baking and gifting. It only takes about 15 minutes of hands-on time, and then a little darkness and a little patience. There are few things more magical than reaching for this sweet little amber bottle in the back of the cupboard when the time comes. Truly.

To say it’s been a strange year is a massive understatement. But when nothing seems certain, and every day brings new terrain to navigate, taking time to quietly prepare for the colder days ahead can be oddly comforting.

 Sending you warmth and love and peace of mind, dear friends.

VanillaExtract-8412.jpg
VanillaExtract-8348.jpg
VanillaExtract.png
 

Supplies:

  • Small amber jars (any size will do. I used 5oz.)

  • Organic vanilla beans (about 2 - 3 beans per small jar)

  • Bourbon - at least 80 proof (vodka also works well, but I prefer the sweet notes of bourbon)

  • Optional: Sealing wax and wax seal for packaging

VanillaExtract-8275.jpg

Step 1:

Begin by washing and sterilizing your jars and caps. You can do this with boiling water, or in a high temp dishwasher. After the jars are sterilized, allow them to air dry on a clean towel.

VanillaExtract-8281.jpg

Step 2:

Using a sharp knife, cut your vanilla beans lengthwise to expose the seeds inside. Then cut the beans in half vertically so they can easily fit into your jars with a little headspace left over.

VanillaExtract-8285.jpg

Step 3:

Place the equivalent of 2 - 3 whole vanilla beans (4 - 6 cut halves) in each clean bottle.

VanillaExtract-8308.jpg

Step 4:

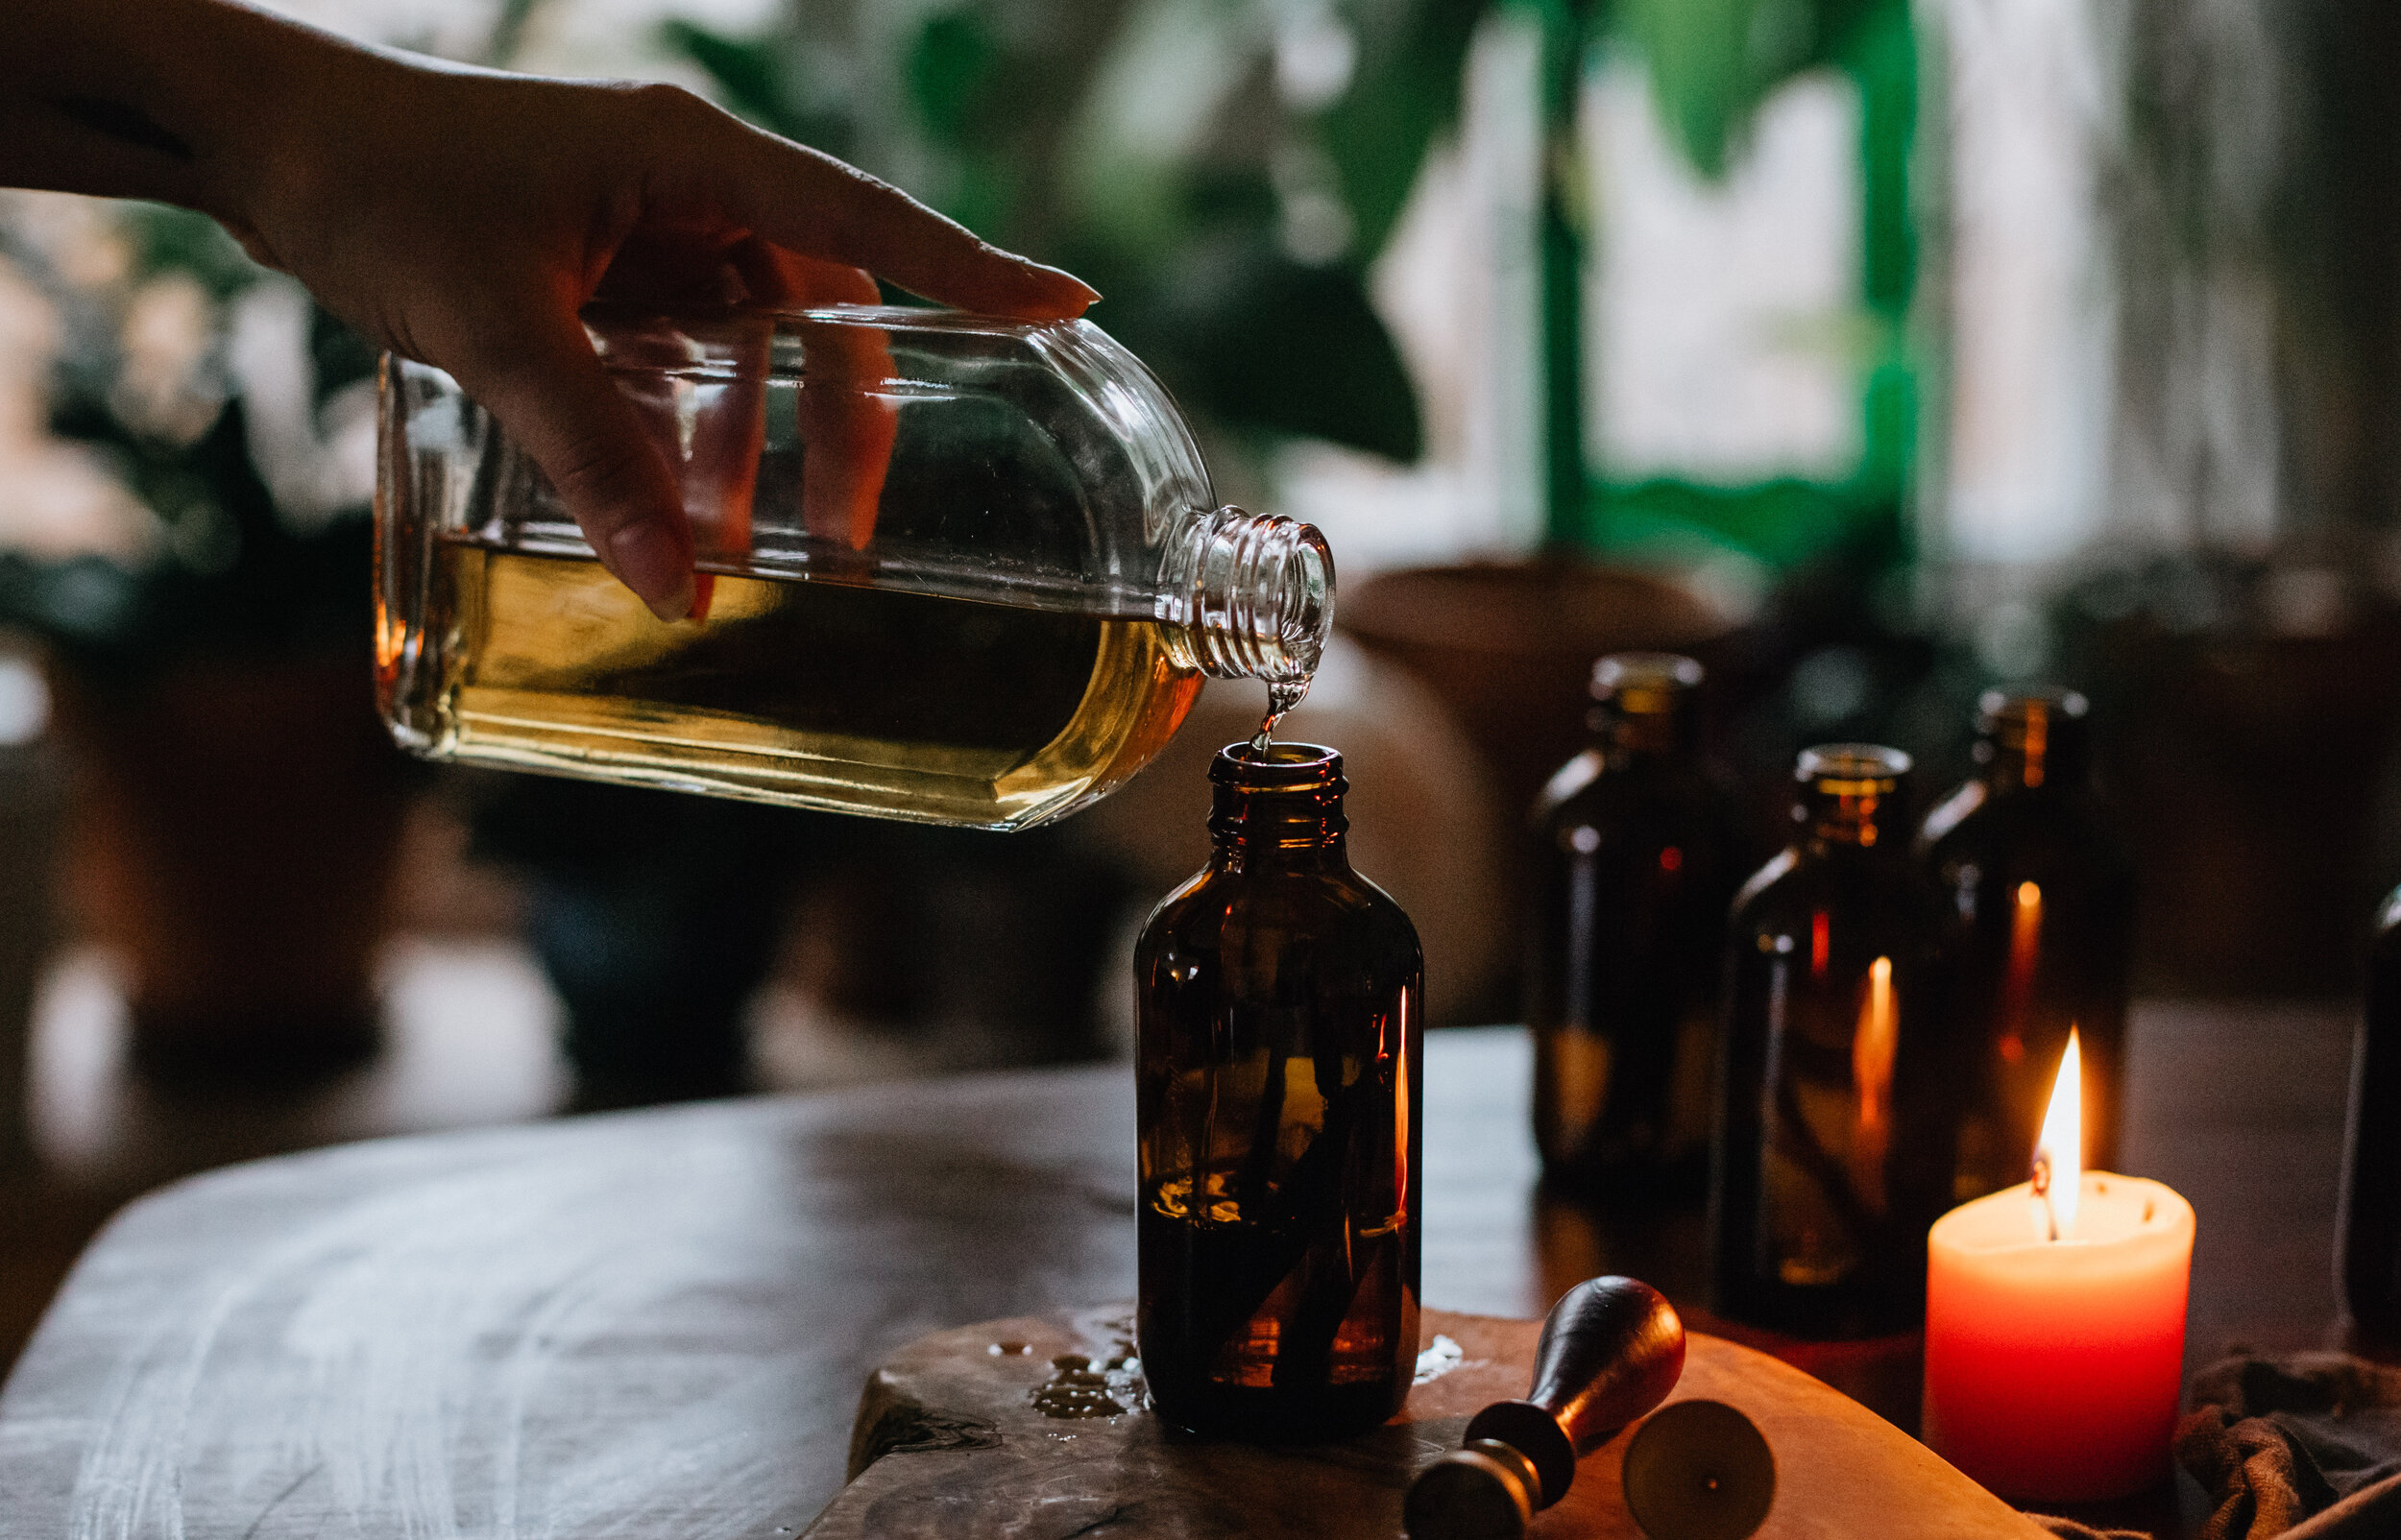
Fill each bottle with bourbon or vodka, ensuring that the beans are completely submerged.

VanillaExtract-8331.jpg

Step 5:

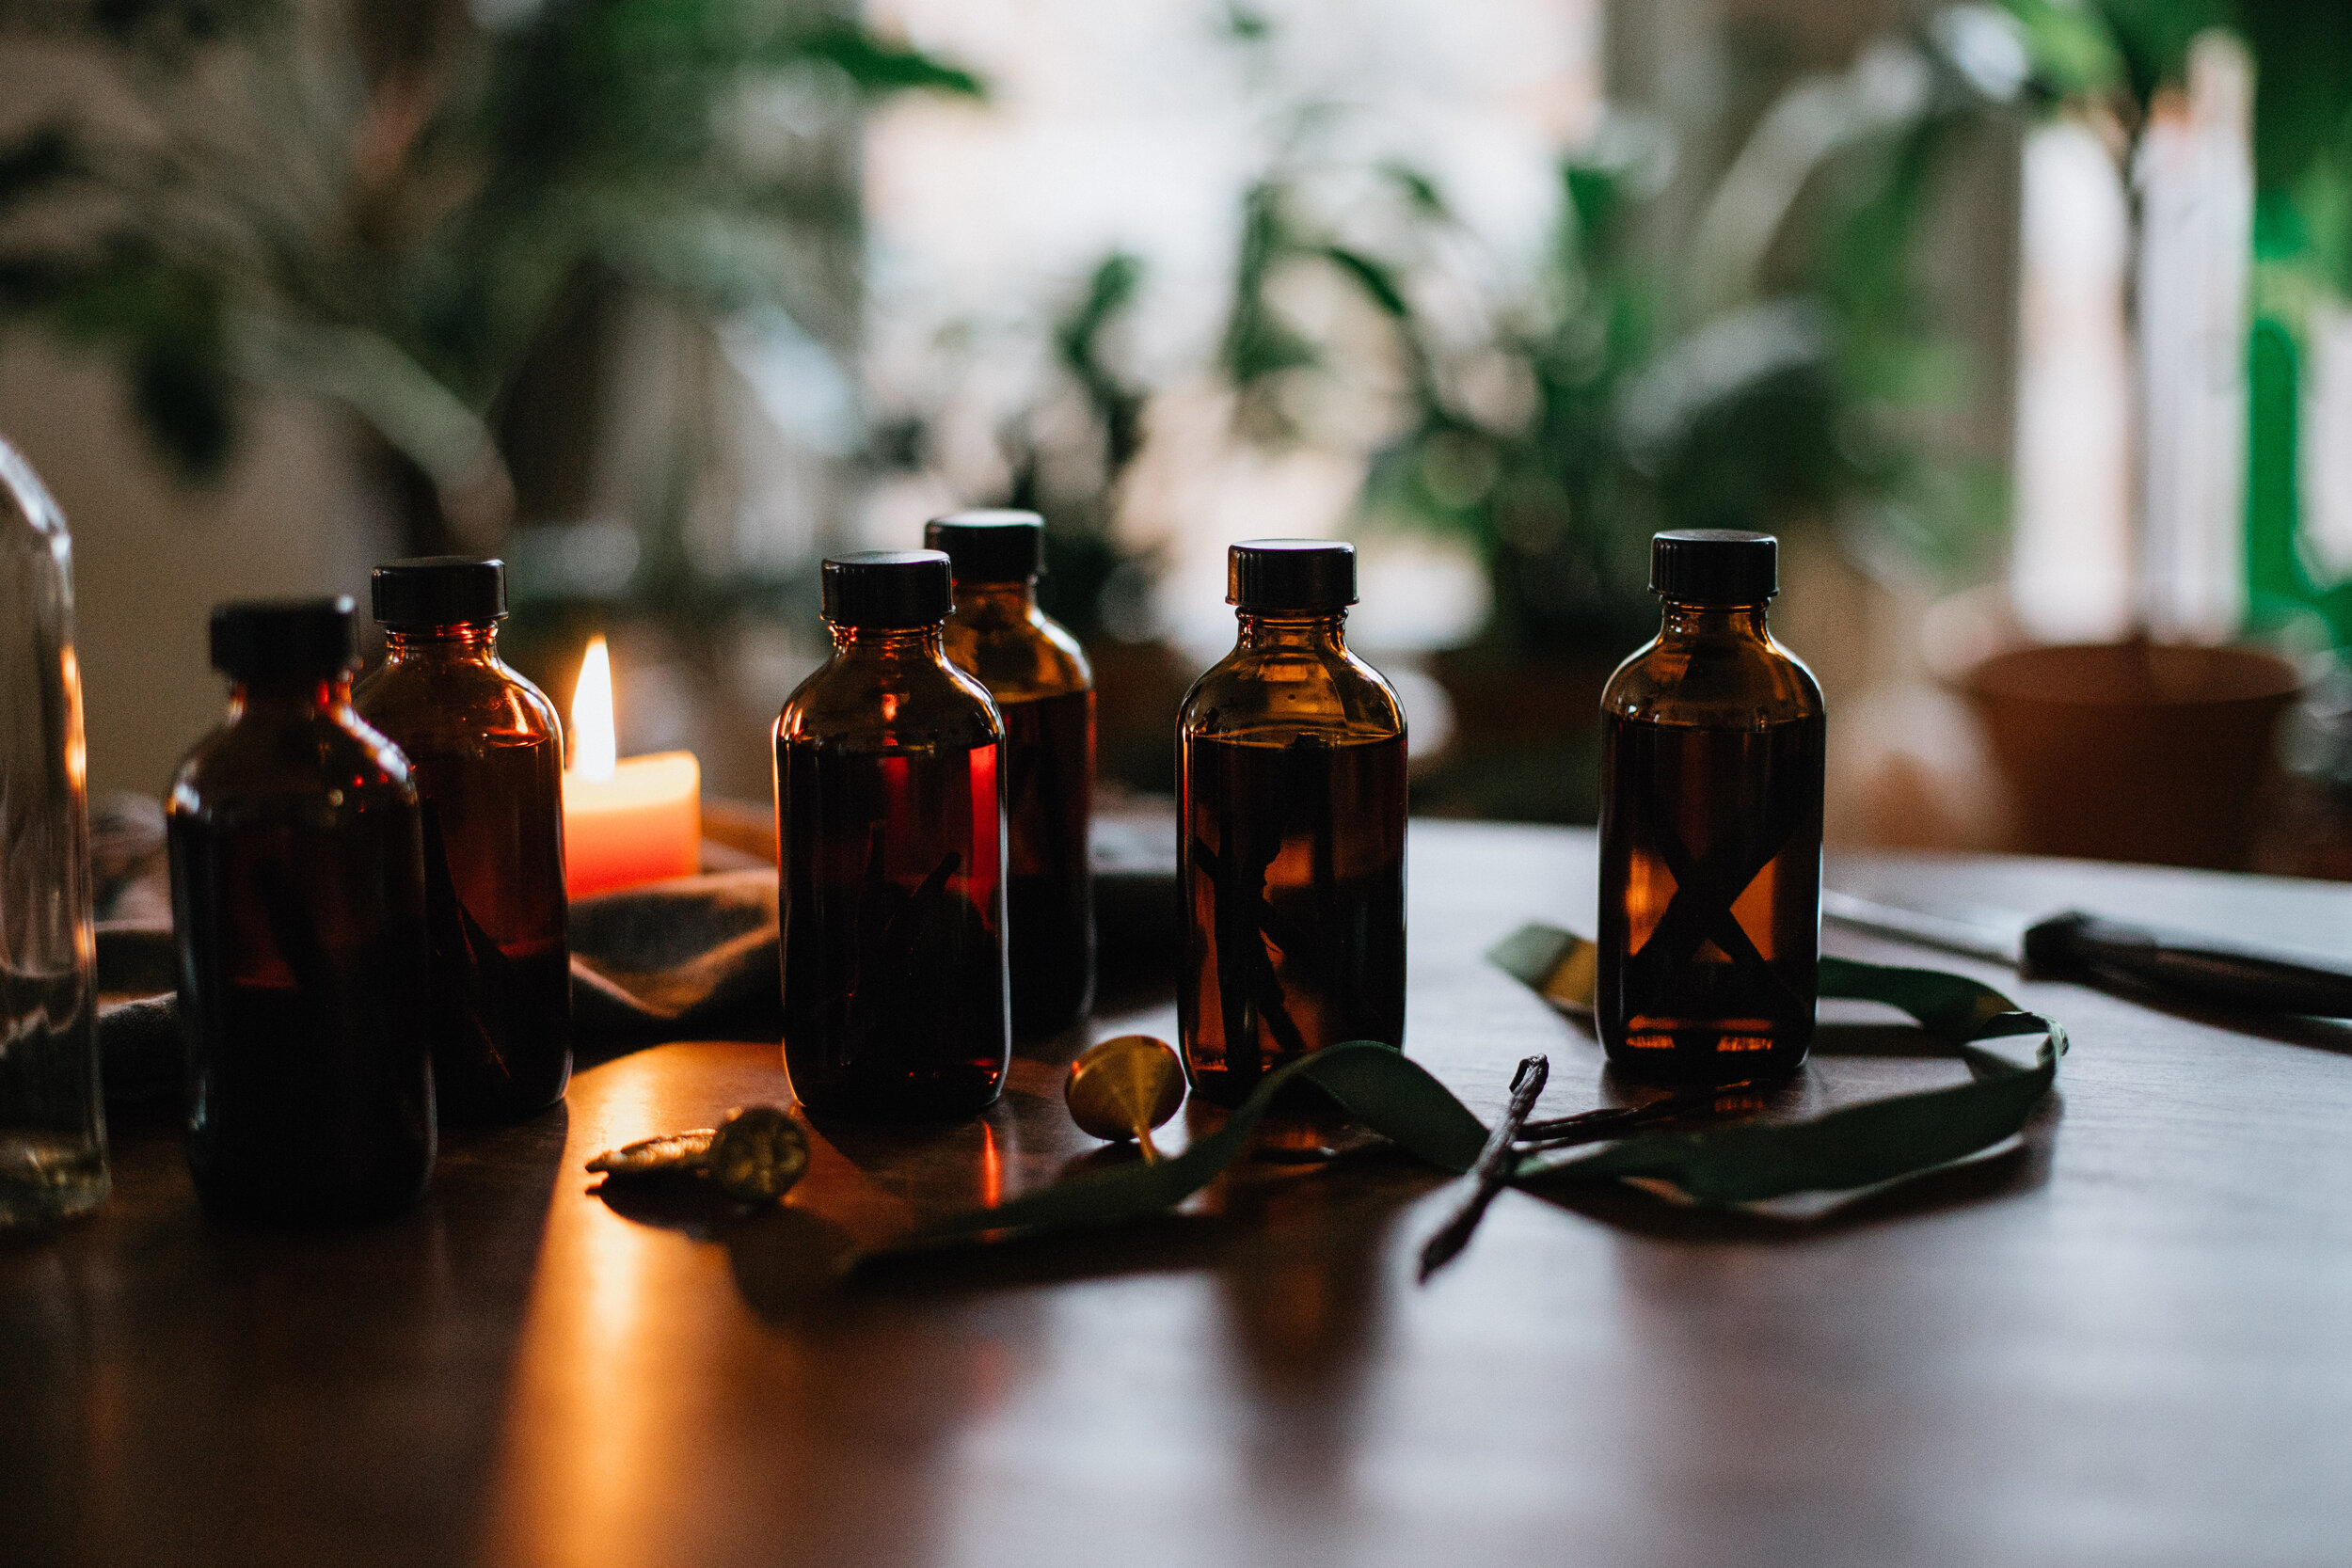
Cap bottles and place them in a dark cupboard for 5 - 8 weeks. I like to gently shake mine every day or two for the first few weeks to help the vanilla integrate.

Though you can start using the extract as soon as 5 weeks, the flavor will continue to deepen and improve with time. No need to remove the vanilla beans! You can continue to refresh the bourbon and add more beans to the jar as needed to ensure you have a perpetual supply of vanilla magic in the cupboard.

VanillaExtract-8361.jpg

Packaging:

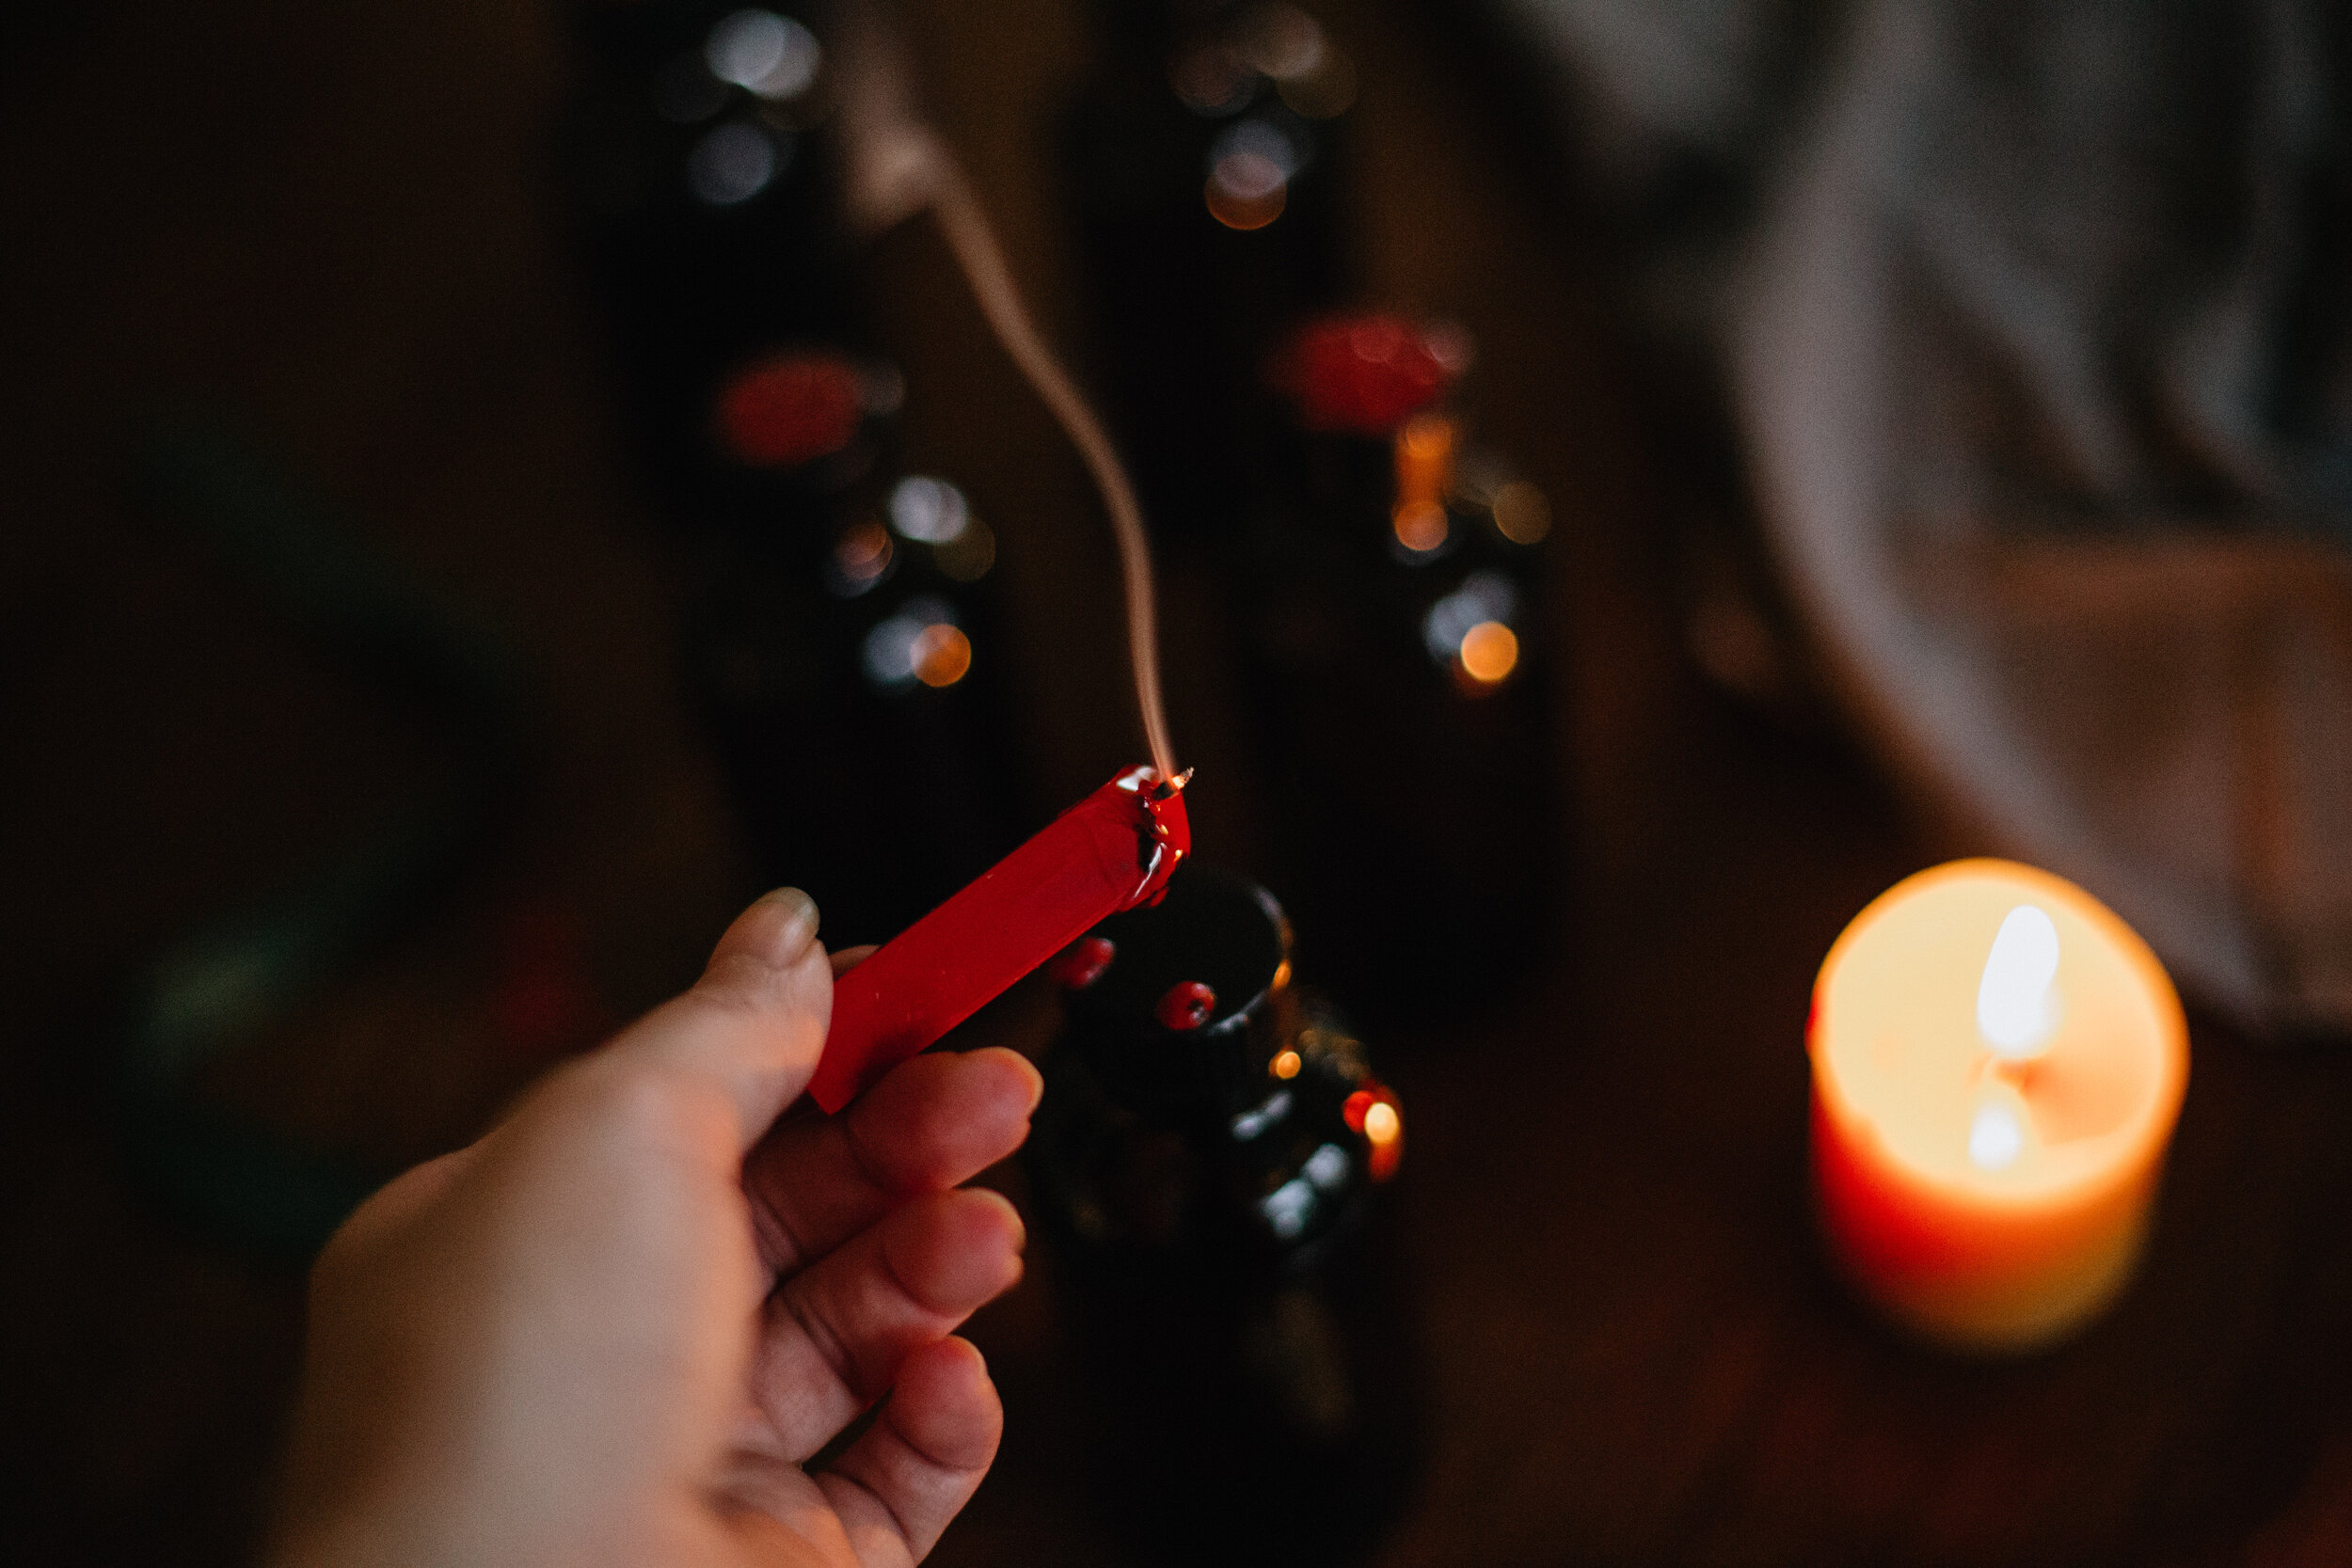
Since I will be gifting most of my bottles, I wanted to elevate the presentation a bit. I kept the packaging simple by melting a little red sealing wax onto each lid, and pressing firmly with a metal seal. I would love to try submerging the entire lid and neck of the bottle in wax to truly seal in the old world magic…but the light was fading and the baby was fussing, so this quick alternative did the trick in a pinch.

VanillaExtract-8371.jpg
VanillaExtract-8394.jpg
VanillaExtract-8380.jpg
VanillaExtract-8362.jpg

xo,

Haileysignature.png
 
VanillaExtract-8445.jpg
November 09, 2020 /Hailey Faust
homemade christmas gifts, vanilla extract, diy, diy vanilla extract, diy holiday, vanilla bean, urban homesteading, easy diy gifts, hygge, homemade, christmas, orange garland
:: Apothecary, :: DIY, :: Eat
Comment
20171122-_85B1765.jpg

Setting the Table :: the Art of Everyday Ritual

November 23, 2017 by Hailey Faust in :: Celebrate, :: DIY

As we retreat into the darker days of winter, I find myself deeply drawn to daily rituals. To simple acts like steeping and sweeping and setting the table. Making the bed. Stirring a pot of simmering soup. Perhaps it's the long dark nights, or the primal need to cozy in and hibernate. To turn inward. To retreat into our little burrows. Whatever it is, my homebody tendencies are off the charts right now. 

It's a little ironic that in this season of rest and retreat, it's so easy to get swept up in the cult of busy. To rush from place to place, laptop and presents and to-do lists in tow. To convince ourselves we don't have the time or space for slow living. I'm constantly reminding myself that all it takes is a little intention to transform daily chores into personal rituals. It doesn't need to be anything fancy. Quietly meditate while your tea steeps. Focus on clearing negativity as you sweep the kitchen floor. Light some candles on a weeknight. Start a gratitude journal. It can literally be anything. Whatever it looks like for you, finding ways to incorporate a little intention and ritual into daily habits can be a lovely way to stay nourished and grounded during the holiday bustle. 

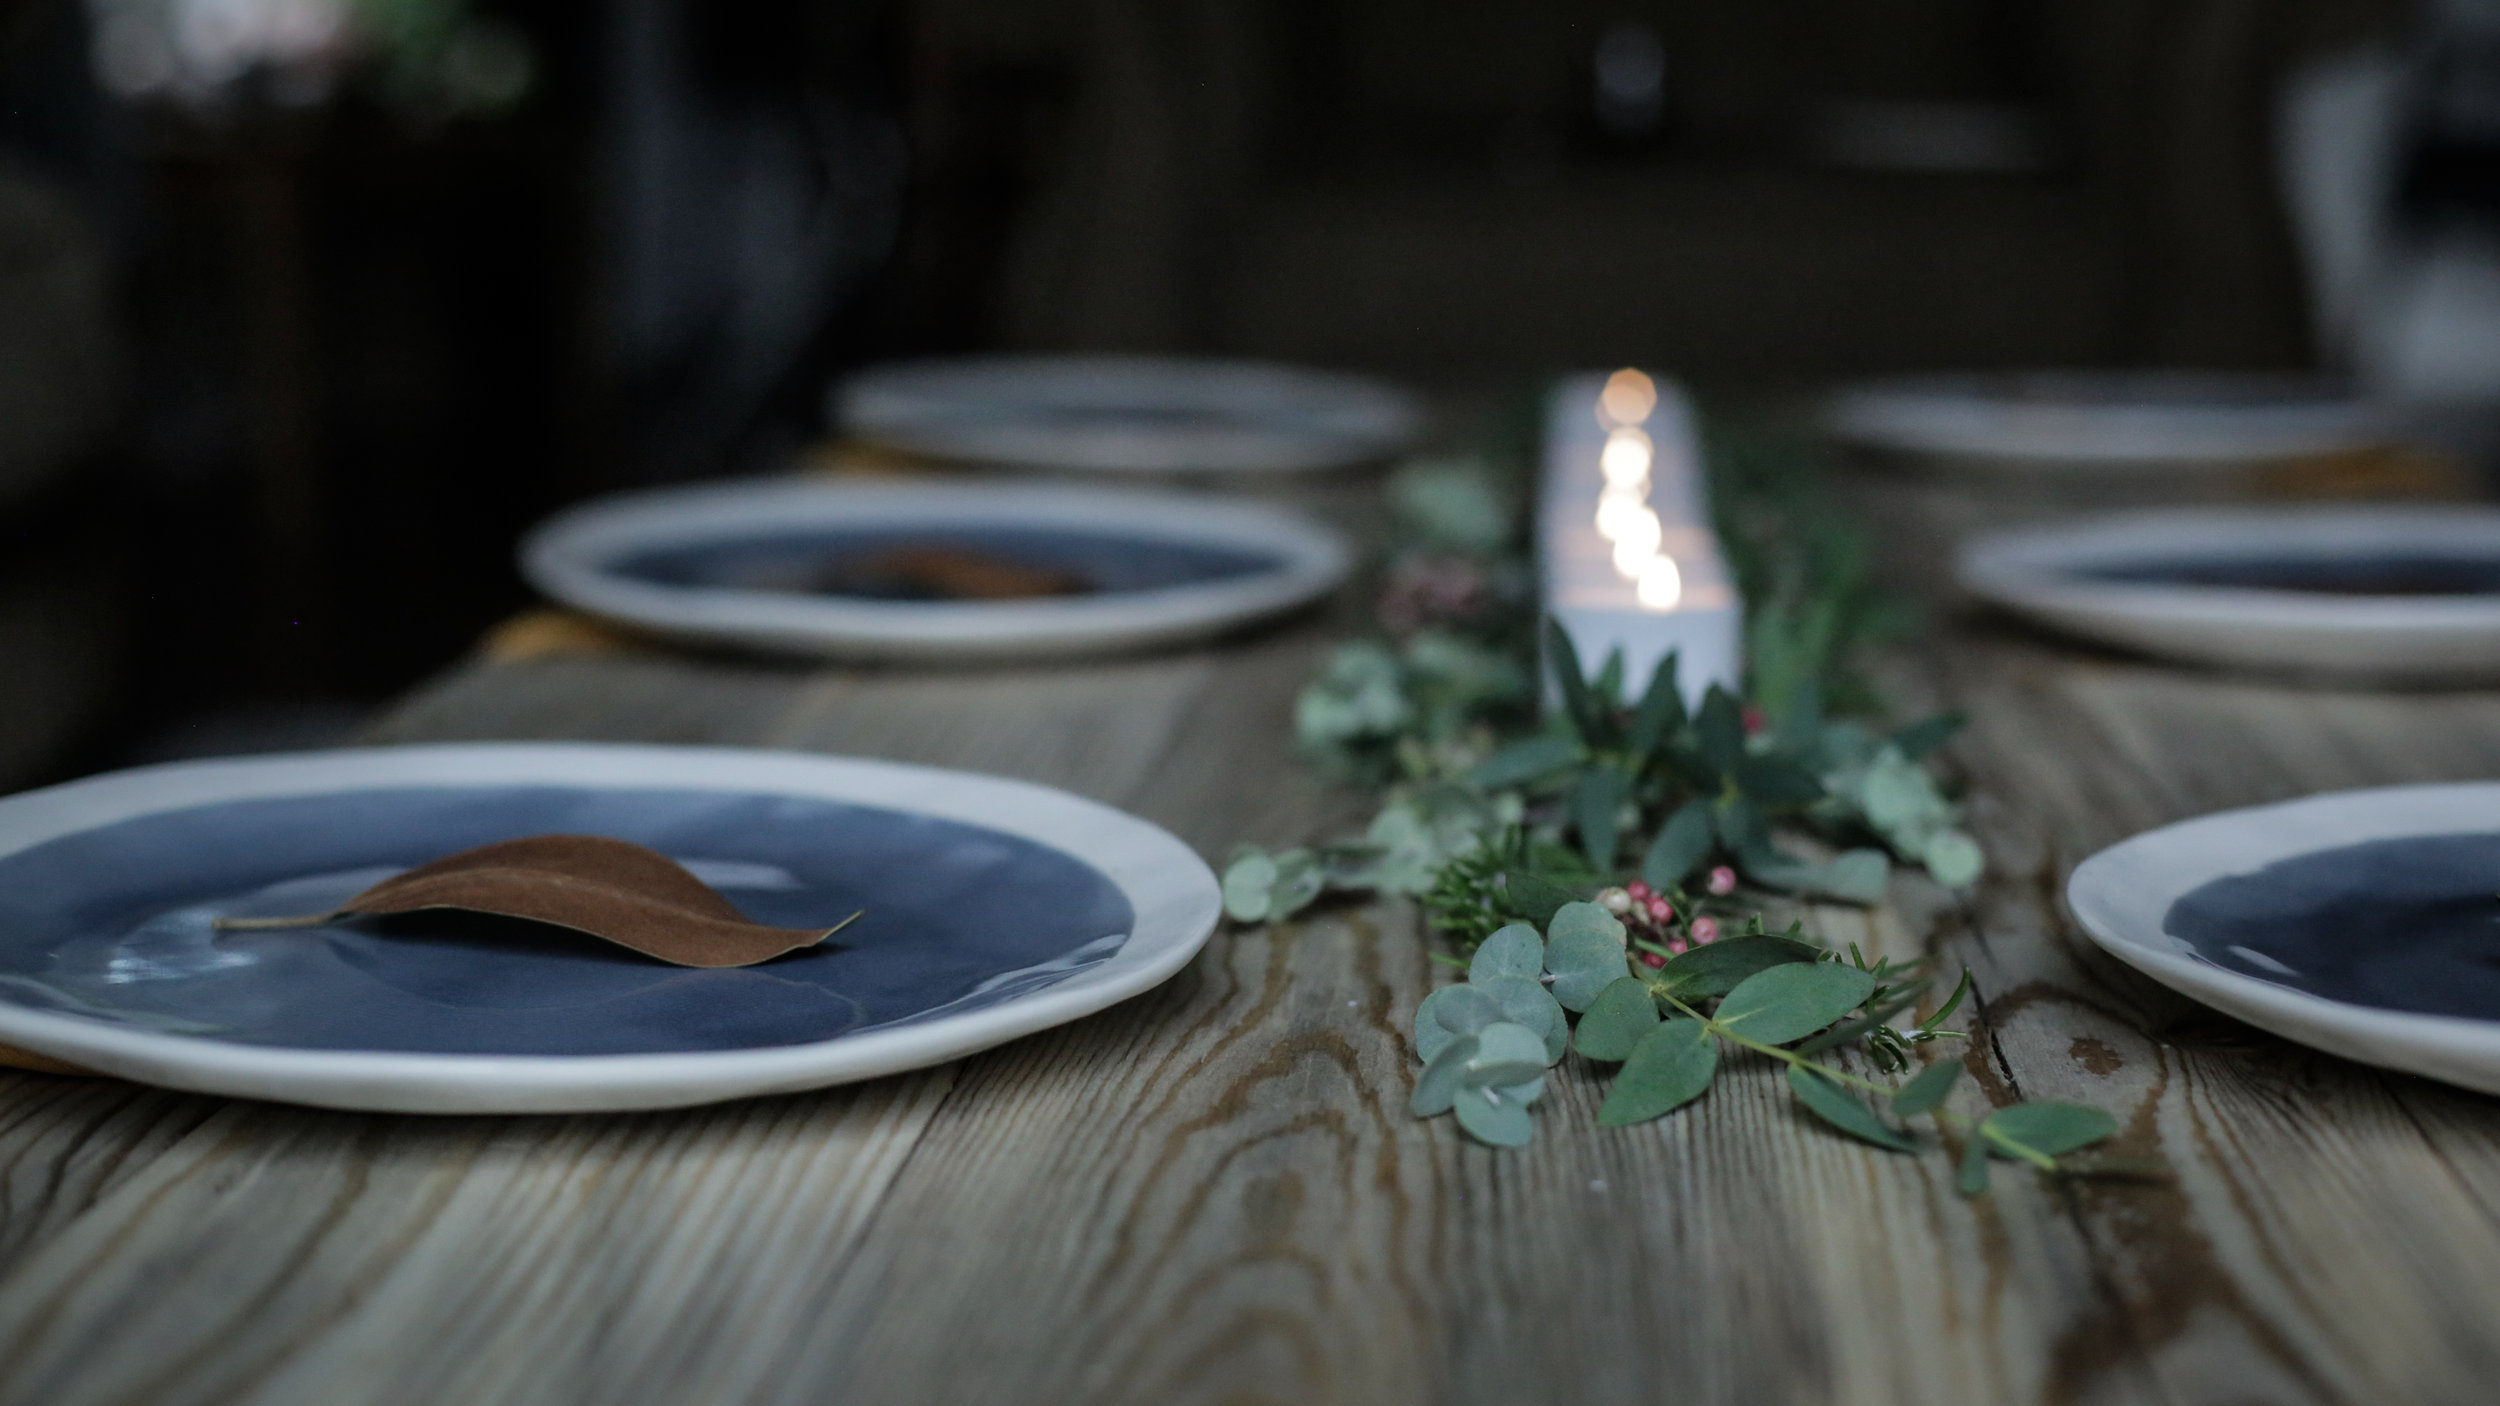
One of my favorite personal rituals is setting the table. I love to weave in a little symbolism. To play with herbs. Light a few candles. Maybe break out the nice napkins. It's my way of creating sacred space for dear ones to gather. An altar to honor togetherness. This winter pomegranate and eucalyptus tablescape is admittedly much fancier than I would normally attempt on a weeknight, but hey, it's the holidays. Pomegranates have long symbolized the decent of Persephone into the underworld and the seasonal transition into winter. They are associated with abundance and prosperity. Eucalyptus is believed to ward off arguments and clear any negative energy. Grey candles promote balance. Magnolia leaves for relaxation. A secret spell to bless our table.

Sending you all love and light and lots of hygge today (and everyday.) I am so grateful for each and every one of you. 

20171122-_85B1773.jpg
20171122-_85B1662.jpg
20171122-_85B1588.jpg
20171122-_85B1669.jpg
20171122-_85B1739.jpg
20171122-_85B1544.jpg
20171122-_85B1761.jpg
20171122-_85B1731.jpg

xo,

Haileysignature.png
 
20171122-_85B1836.jpg
November 23, 2017 /Hailey Faust
the art of slow living, holiday, decoration, decor, Diy, tablescape, natural, organic, eucalyptus, christmas, table, thanksgiving, ritual, slow living, hygge
:: Celebrate, :: DIY
Comment
20170906-_85B0628-2.jpg

Wild Huckleberry + Strawberry Jam

September 09, 2017 by Hailey Faust in :: Eat

The mountains are burning. The forests are parched. The hills and valleys are choked with smoke. There's no escape. The whole damn West is on fire. 

I find myself yearning for the crisp clear days of fall like never before. Praying for rain or snow or even a friendly wind to provide some relief from the relentless smoke. To clear our burning lungs and clouded thoughts. It's hard to breathe deep when you can't breathe deep, you know? 

So we have been spending lots of time indoors. Watching the last few weeks of summer fade slowly into the haze. Puttering around the kitchen and garden, canning and preserving. Trying to coax fall into an early arrival. There is something deeply grounding to me about putting up the summer harvest. Squirreling away a few jars for the colder days ahead. Connecting with our food and the changing seasons in a tangible, practical way. 

It's no surprise that jam was one of the first foods we, as humans, learned to preserve. Take some fruit, add honey or sugar, and you have a delicious preserve that lasts well beyond the growing season. A recipe for jam was even included in the earliest known cookbook, De Re Coquinaria (The Art of Cooking), written in the 1st century AD. It is rumored Joan of Arc ate quince jam for courage before battles, and that Mary Queen of Scots used marmalade to cure seasickness. Sailors ate jam rich with Vitamin C to prevent scurvy on long voyages. And during WWII, the Women's Institute put up over 1600 tons of jam to help combat food shortages. Jam has long been our friend in times of scarcity and uncertainty. A small comfort when winter is coming. 

So in the face of fires and floods, after I have called and donated and helped however I can, I make jam. If for no other reason than to carry on and lift morale. To remind myself of the quiet afternoon spent picking huckleberries under a clear sky not so long ago. To thank nature for her gifts even as we stand humbled by her power. 

Stay safe, dear ones. Sending all my love to you. 

20170906-_85B0638.jpg
20170906-_85B0602.jpg
20170906-_85B0706.jpg
20170906-_85B0654.jpg
20170906-_85B0752.jpg
20170906-_85B0798.jpg
huckjam.png
 

Please note, this recipe is for a small batch of fresh or freezer jam (because water bath canning is a whole thing...) 
Makes about four 8 oz jars.


Ingredients:

- 2 cups crushed huckleberries

- 2 cups crushed strawberries

- 1/4 cup lemon juice

- 1 pkg Pomona's Universal Pectin* 
*I like Pomona's because it sets the jam using calcium instead of sugar. This allows for a much lower sugar jam. Low Sugar Pectin would also work just fine. If you choose to use that, follow instructions on that package to ensure jam sets well.

- 1 to 2 cups sugar (depending on how sweet you like it)

Instructions:
 

1. If using Pomona's pectin, mix the calcium powder with 1/2 cup water in a small jar. Shake vigorously.

- Put a small plate or saucer in the freezer (you will use this later to check if your jam is set.)

- Make sure your jars and lids have been cleaned and sterilized. 

2. After cleaning fruit and hulling strawberries, crush strawberries and huckleberries in a medium bowl using a potato masher. You should have about 4 cups crushed fruit. Feel free to adjust ratio of strawberries to huckleberries to taste.

3. Measure 4 cups crushed fruit into large pan. Add lemon juice.

4. Add 2 teaspoons of the premixed calcium water. This is all you will need for this recipe (you can keep the rest of the jar for several months in the fridge if you plan to do more canning.)

5. In a separate bowl, combine sugar and 2 teaspoons pectin powder.  

6. Bring pan with fruit, lemon juice and calcium water to a full boil. Stirring to keep from burning. Add a small pad of butter to help reduce foaming. Gently spoon off any foam that forms at the top (it won't hurt ya but it makes the jam less pretty.)

7. Add sugar / pectin mix all at once. Simmer and stir vigorously for 3 mins to dissolve pectin and sugar. 

8. Take the cold plate out of the freezer and spoon a small dollop of jam onto it. Let it sit for a few moments then gently run your finger through the puddle of jam. If it leaves a clean line through the jam, and it is begining to take on a gelatinous structure, it is done. If the jam runny and saucy, and your finger doesn't leave a clean line, simmer for a few more minutes and then repeat the test on another cold plate.

The longer you cook the more "set" your jam will be. If you like a softer runnier jam cook for only 2-3 mins. If you like your jam to have more structure and gel, cook for a bit longer. I cooked mine for 5 mins and it came out just right. 

9. Fill sterilized jars to within 1/2" of top. Screw on lids. Let cool in fridge and then move to freezer as soon as they are no longer warm to the touch. Keeps in freezer for 1 year. 

10. Spread on good crusty bread with butter. Hibernate. 

20170906-_85B0647.jpg

xo,

Haileysignature.png
 
20170906-_85B0721.jpg
September 09, 2017 /Hailey Faust
homemade, jam, jelly, huckleberry, strawberry, the art of slow living, slow living, hygge, recipes, recipe, diy, simple
:: Eat
Comment

A Foraged Thanksgiving Table & Frost Kissed Cranberries

November 22, 2016 by Hailey Faust in :: Celebrate, :: DIY

There is one spot in our home we always seem to gravitate to. A warm little corner perfectly suited for morning coffees and late night cribbage and quiet moments alone. For simple evenings spent with good friends, sharing food and stories. Laughing. Being together. They say the kitchen is the heart of the home, but I have a sneaking suspicion it's actually the table. 

For years we all crammed around our tiny kitchen table, bumping elbows and balancing toddlers on laps. It was close and cozy, but often left someone standing at the counter or retreating to the couch in search of a seat. So my ever-talented husband built this gorgeous blue spruce coffee / dining / everything table, which has quickly become the centerpiece of our household. He made this in like an afternoon, you guys. He's like a little wood gnome, that one. And I am totally smitten with the result. There is something so grounding about sitting on the floor. Down-to-earth in the most literal sense. And lord knows I love to set a pretty table.

Setting a table can feel like something of a lost art these days. A relic of a bygone era of stuffy place cards and pickle forks. But I think there's something deeply satisfying about creating a lovely space for dear ones to gather. To set the vibe. To make things a little special. So this Thanksgiving, I wanted to create a table that felt simple and balanced and seasonal. Pretty and inviting and unfussy. 

I started by foraging through the garden and chilly neighborhood alleys for the heartiest herbs. The ones that have managed to survive early morning frosts and howling November winds. I returned with pink ears and cheeks and a fragrant bouquet of rosemary, sage, thyme, and eucalyptus. I supplemented with aromatic pepper berries and magnolia leaves from Habitat, my favorite little neighborhood flower shop, and mixed them in with this simple candle train I found for pennies at the flea market. The whole display cost less than a bag of coffee and smelled amazing.

I also whipped up this classic pumpkin pie with frost kissed cranberries (because c'mon, what's Thanksgiving without pumpkin pie?) I thought about writing a whole DIY on the sugared cranberries, but they are so embarrassingly easy it seemed like overkill. Simply dissolve 1 cup sugar with 2 cups water on the stovetop. Pour the mixture over a bowl of cranberries and refrigerate overnight. In the morning, drain the cranberries and lay them out on parchment paper. Roll them in fresh sugar and let dry for 2 hours. They taste delicious and look sparkly and festive on the table. Easy. Peasy. 

Hope you all have a lovely, restful holiday weekend filled with love and food and gratitude. I am thankful for each and every one of you. Happy Thanksgiving, dear ones! 

20161120-_85B0539.jpg
20161120-_85B0269.jpg

xo,

 
November 22, 2016 /Hailey Faust
thanksgiving, table, tablescape, the art of slow living, christmas, holiday, diy, natural, hygge, organic
:: Celebrate, :: DIY
Comment

Subscribe

Subscribe below to keep up on all the lovely!
We promise to never send spam or share your info with anyone else. For realzies. xo

We respect your privacy and will not share your information with any third parties. 

Thank you!

© 2016 HAILEY FAUST LLC. ALL RIGHTS RESERVED.