Apothecary :: New Moon Herbal Dream Pillows
I've been having the strangest dreams lately. Dreams of stones and bones and old forest women. Of moons and mountains and ancient skeleton keys. Dreams heavy with a symbolism I can never seem to untangle. Songs that slip through my fingers the moment after I wake. Perhaps it's the lulling hum of our old ceiling fan. Or the warm breeze fluttering in the bedroom curtains. Or the late summer lightning flashing over the mountains. Whatever it is, it has been pretty magical.
There is something undeniably intriguing about the etherial nature of dreams. Perhaps that's why humans have always tried to decode them. To find meaning and symbols amid the bizarre and tangled plot lines. To interpret the images like runes spread upon a table. It makes sense when you think about it...dreams take us to the delicate space between our conscious mind and unconscious spirit. They allow us to peek below the veil. To see what might be lurking in the quiet corners of our psyche. To remember things our soul knows, but minds have forgotten.
This Sunday's New Moon in Leo is a particularly auspicious moment to look for the messages hidden in our dreams. The New Moon asks us to set intentions. To turn our gaze inward. To get very quiet and very clear about what it is we are trying to manifest. These simple Herbal Dream Pillows come together in just a few minutes and are a lovely personal ritual to honor the lunar cycle and connect to our subconscious. The herbs listed have been long prescribed by folklore for deep sleep and vivid dreams. To quiet the mind and soothe the spirit. To peek into the space between.
Wishing you a dreamy New Moon, dear ones.


***Disclaimer: I’m not a doctor, nurse, or licensed healthcare practitioner. Some herbs and botanicals are not safe for pregnant or nursing mothers and may not be suitable to take with certain medications or conditions. This information is not meant to diagnose, treat, cure, or prevent any disease. Always consult your doctor before beginning any kind of new vitamin, herbal, diet, or exercise regime. Make sure to research all of the ingredients to make sure they are safe for you and your family.
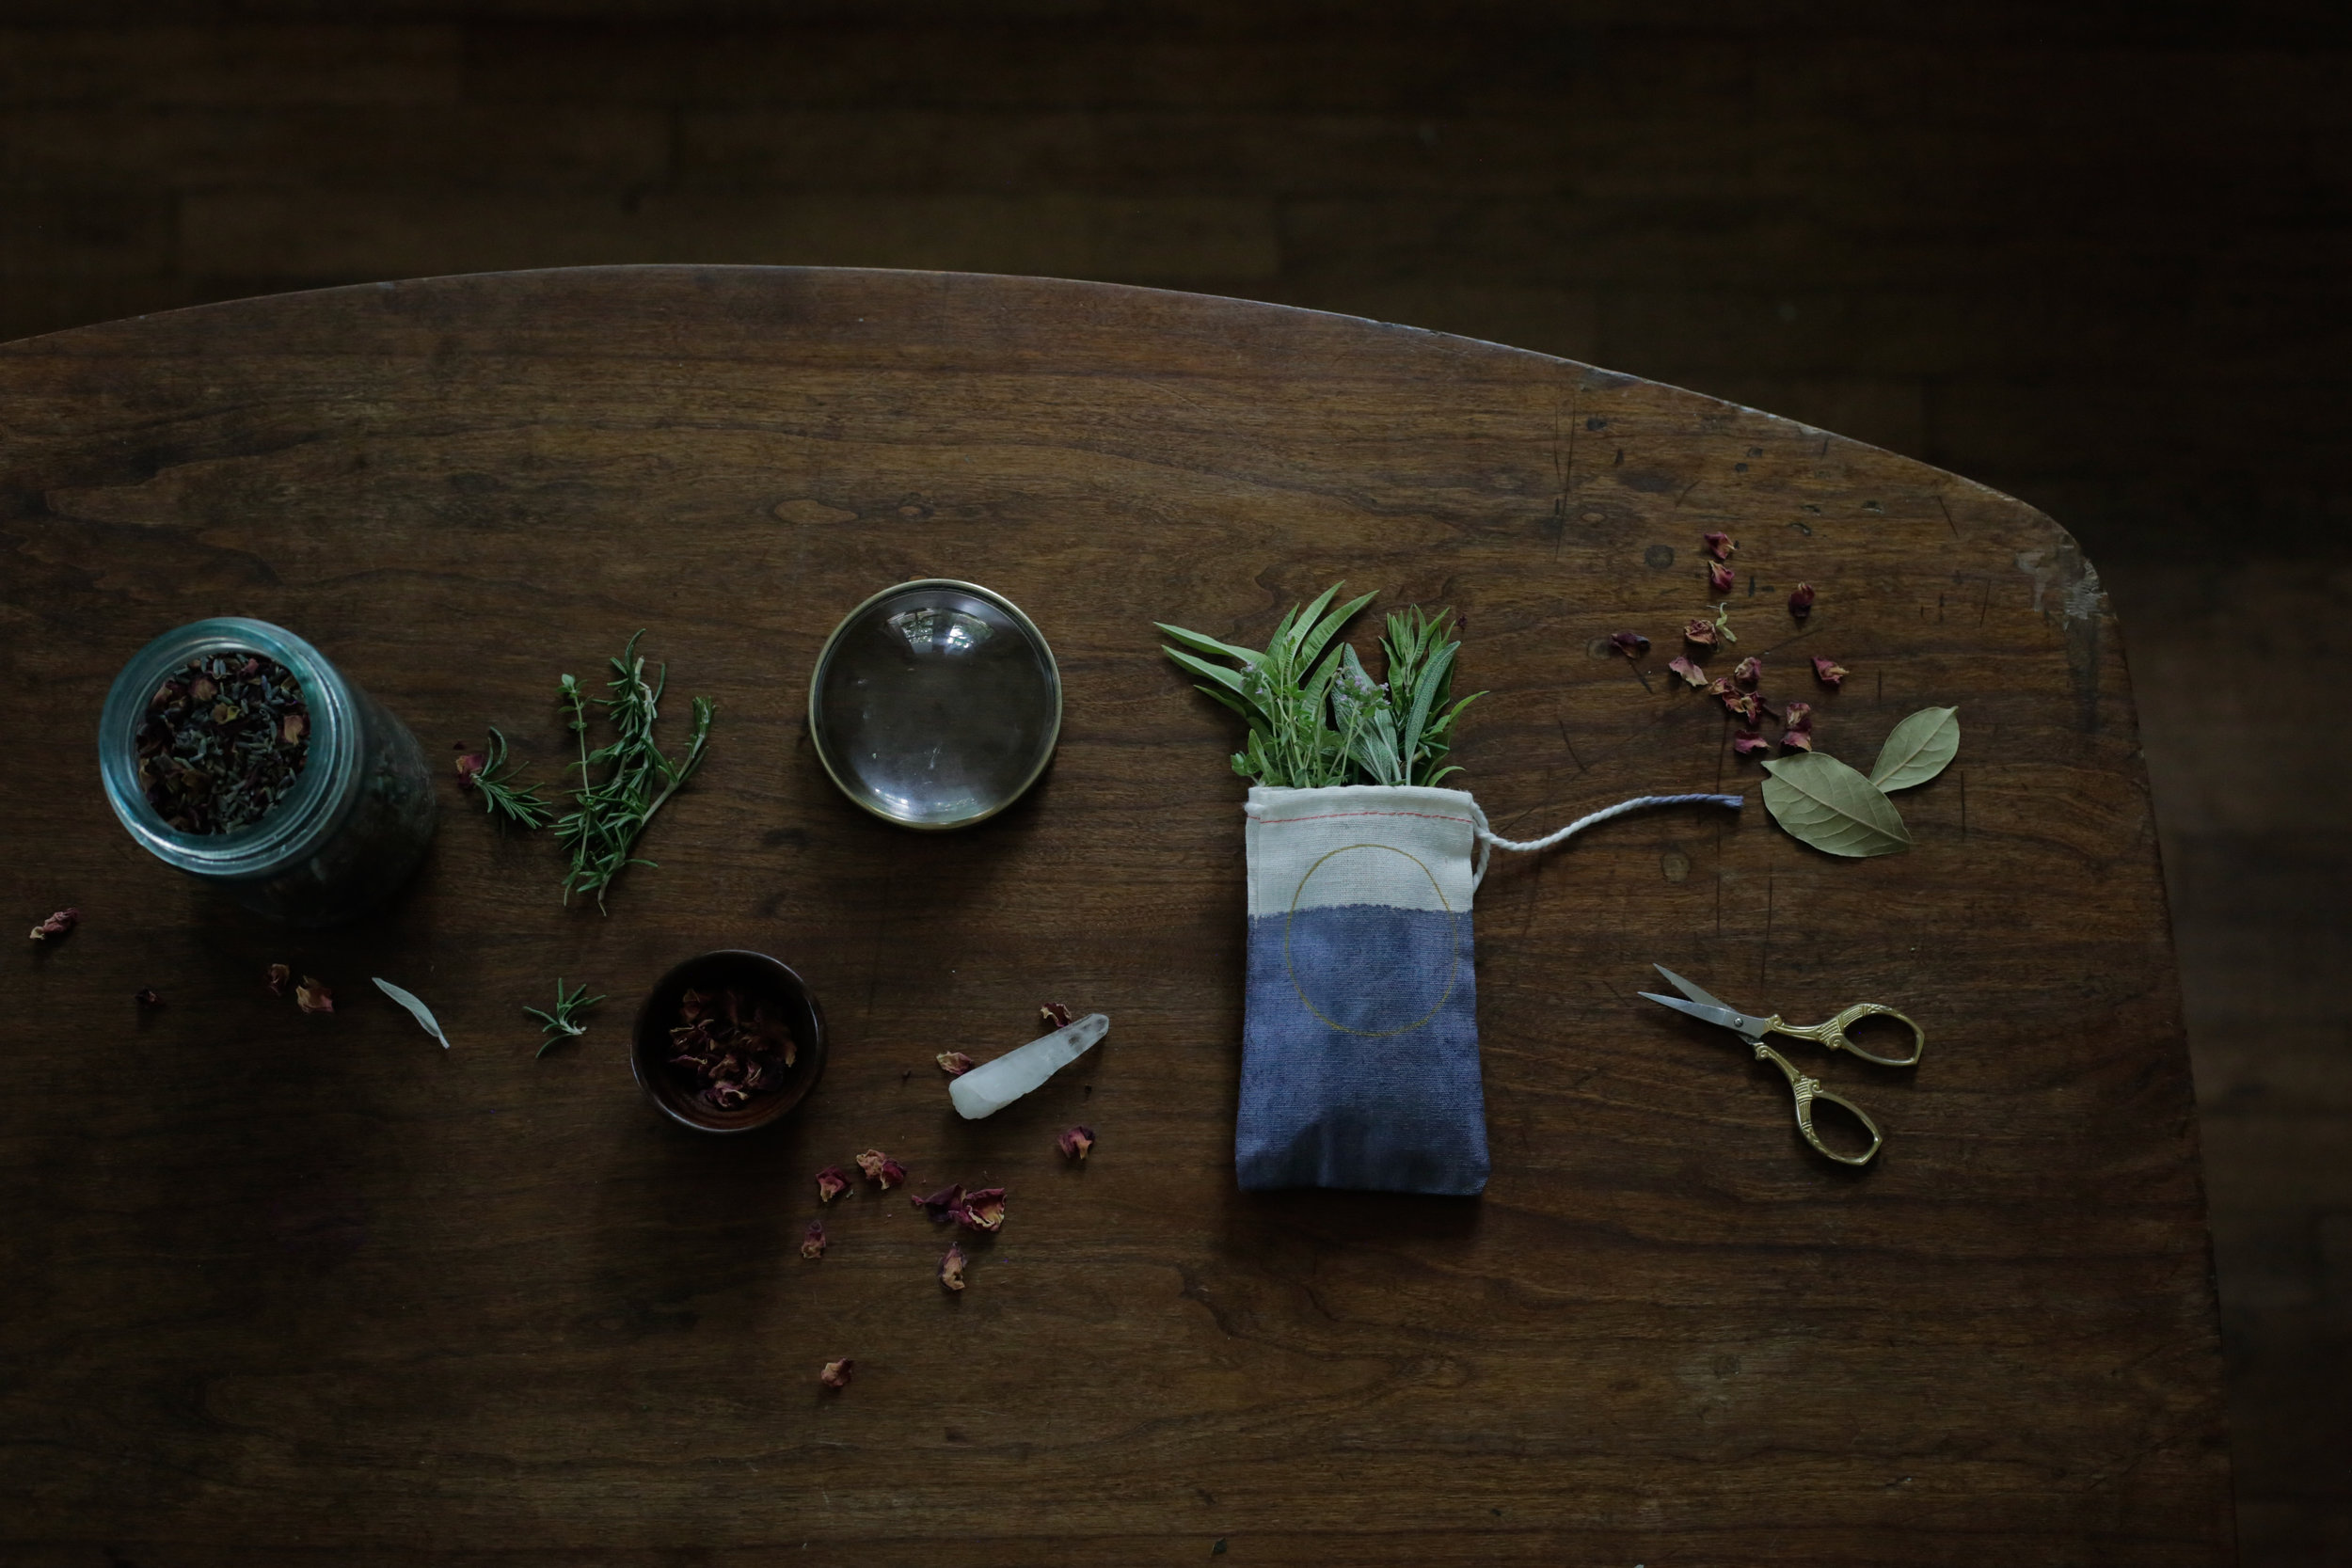
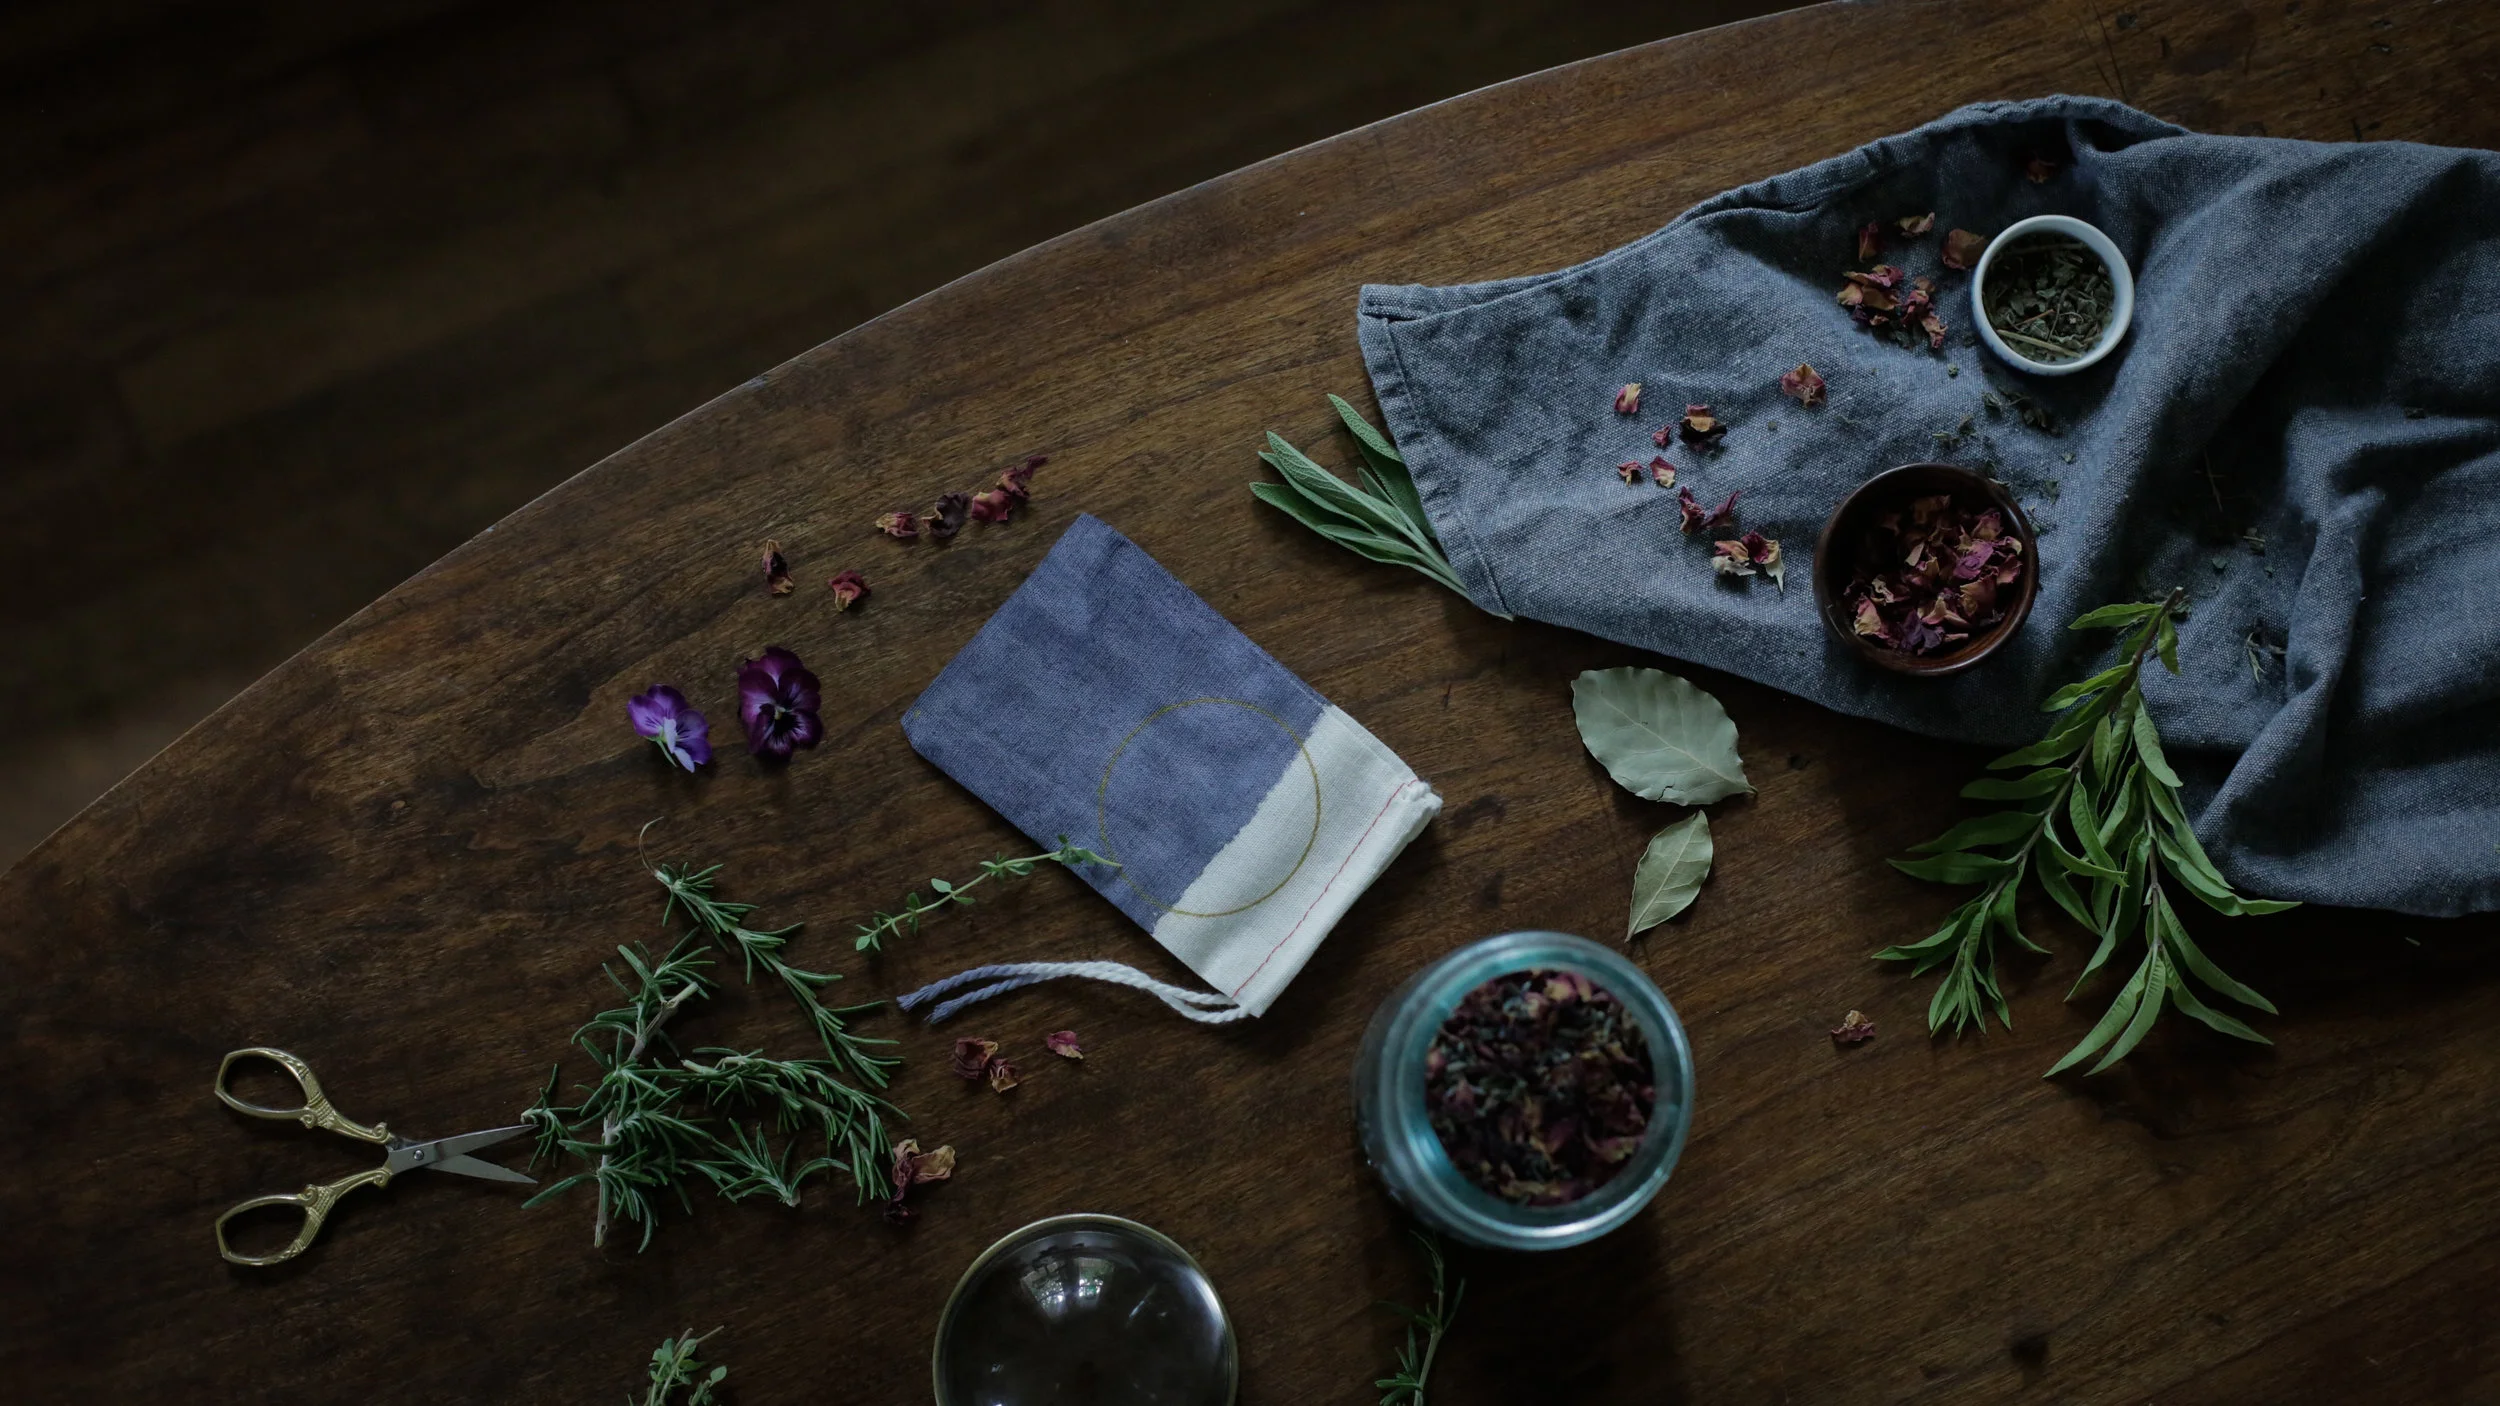
Supplies:
- Small linen draw string bag
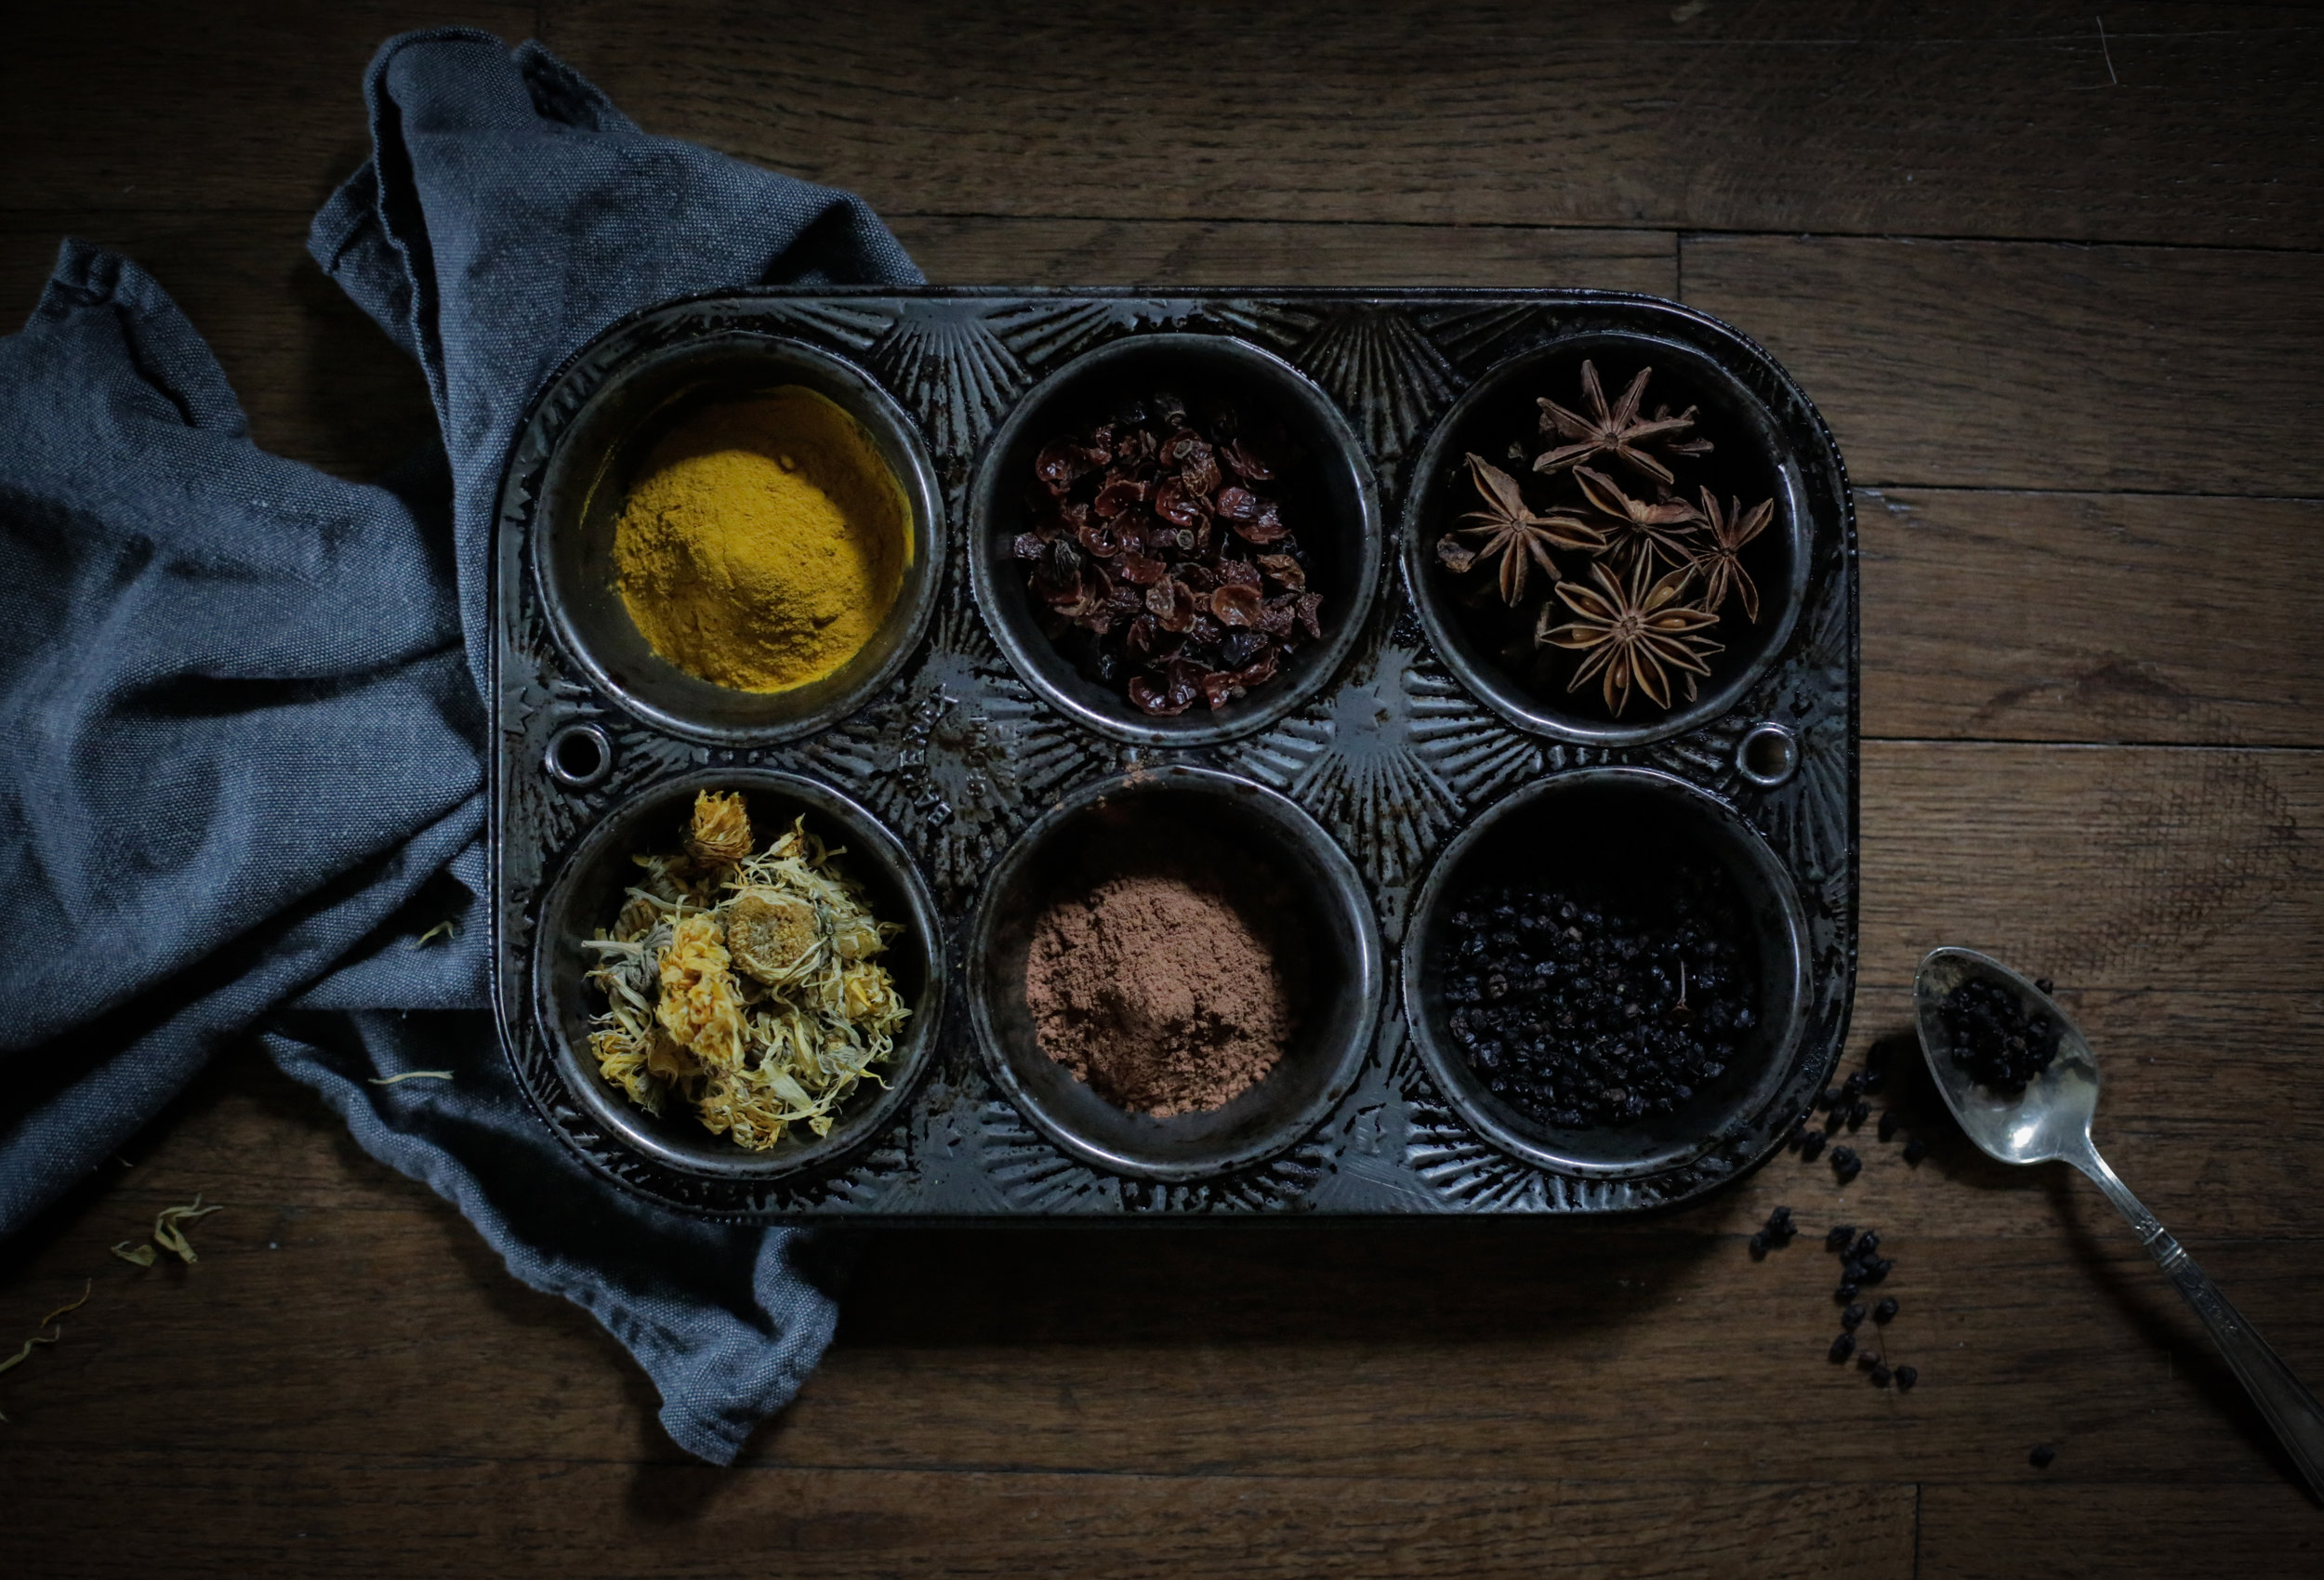
- Lavender (for relaxation)
- Rose Petals (for love)
- Chamomile (for deep sleep)
- 1 bay leaf (for prophetic dreams)
- Lemon Verbena (for light and happy dreams)
- Sage (for cleansing and protection)
Instructions:
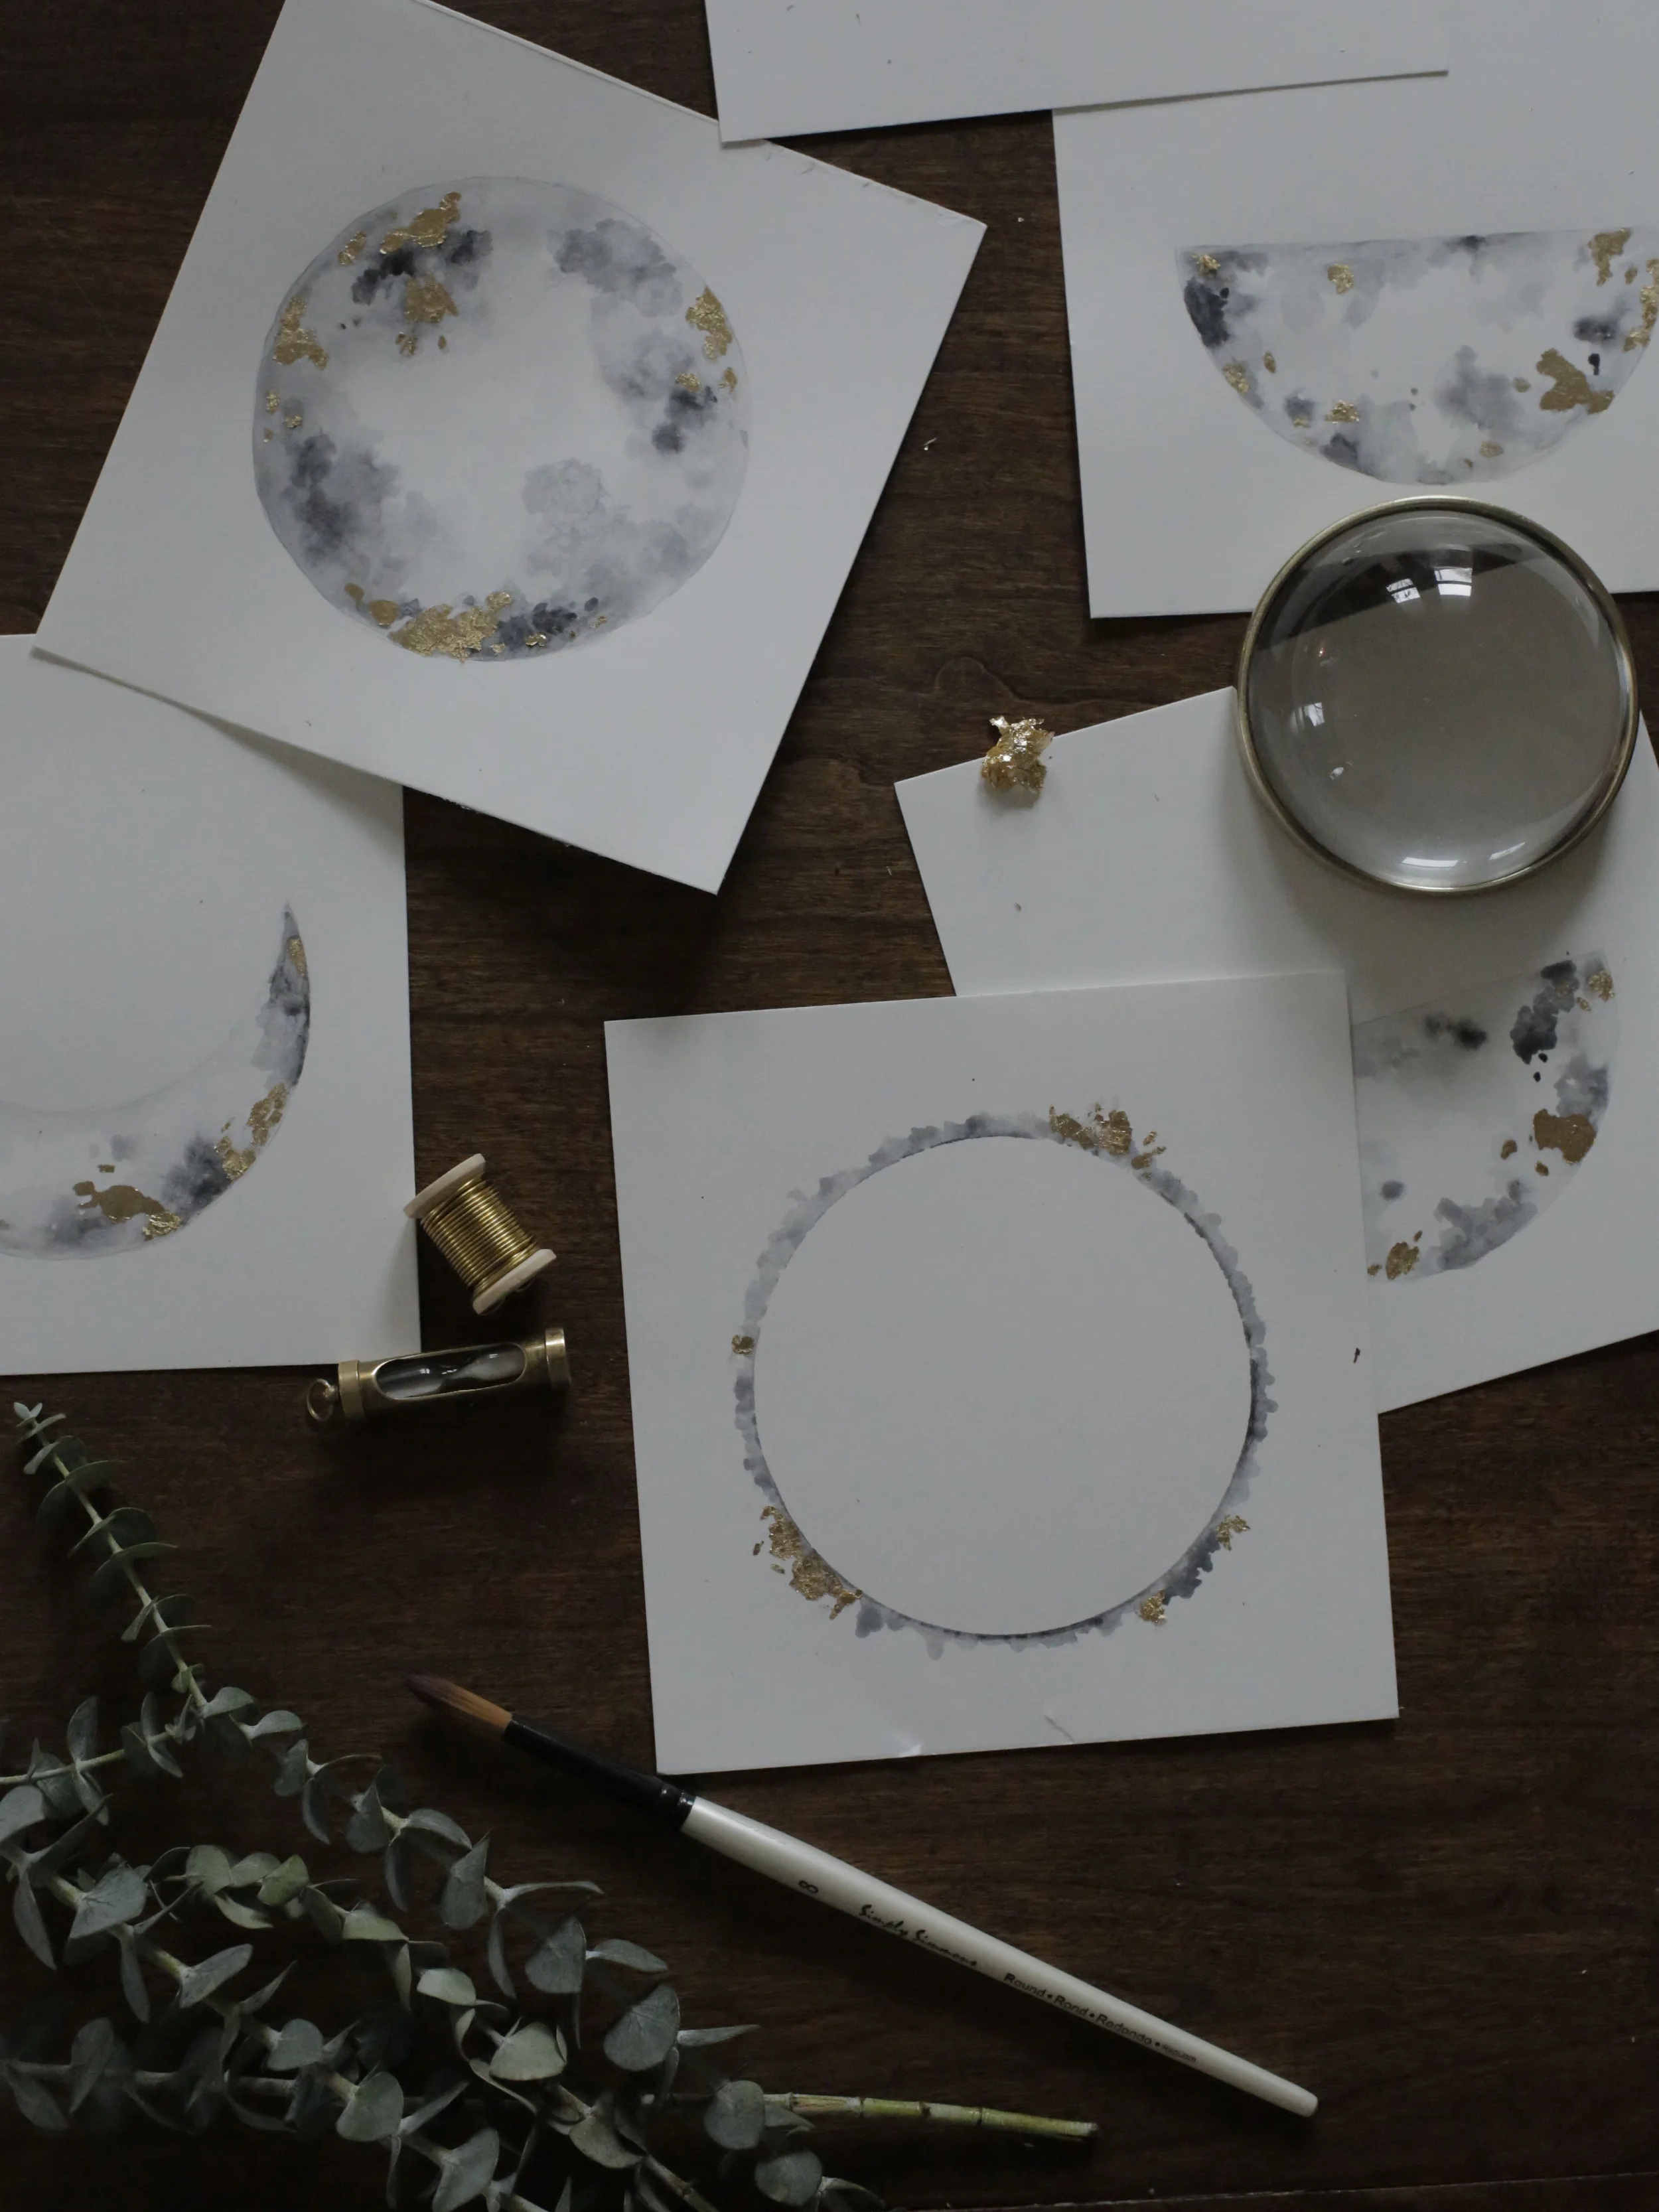
1. Start by dip-dying your muslin bag. I used some lovely indigo dye I had rolling around in the back of my craft closet. Follow dye instructions and allow bag to dry. Once dry, I used a small glass to trace the new moon with gold ink.


2. Add your dried herbs to your moon pillow. There is really no precise formula here. Just add small amounts of each herb, smelling as you go until you reach your desired mixture. Follow your nose on this one. Don't forget to toss in a bay leaf or two to inspire prophetic dreams.

3. Place dream pillow beneath your pillow and breathe deep.

xo,