the Lovely Wild

  • Blog
  • Archive
    • :: Archive
    • :: Apothecary
    • :: Celebrate
    • :: DIY
    • :: Eat
    • :: Wander
  • About
  • Design
  • Contact
VanillaExtract2-8326.jpg

DIY :: Homemade Vanilla Extract

November 09, 2020 by Hailey Faust in :: Apothecary, :: DIY, :: Eat

As we step gently into the darker side of the year, I have been finding deep comfort in preparing our little den for hibernation. In frosted kitchen windows and folded flannels and pots simmering contentedly on the stove. Bell jars pinging on the counter. Dough rising and dishes stacked neatly in the cupboard. The quiet productivity that settles in as winter descends.

There is something deeply soothing about working gently with my hands and turning inward this time of year. One of my favorite autumn rituals is infusing a big batch of this simple homemade vanilla extract and dreaming of all the sweet things it will soon become. Cherry Almond Biscotti with hot coffee on a snowy evening. Homemade Maple Pecan Granola with our little family piled around the kitchen table. Grandma’s famous Christmas Tea Ring with cinnamon and maraschinos.

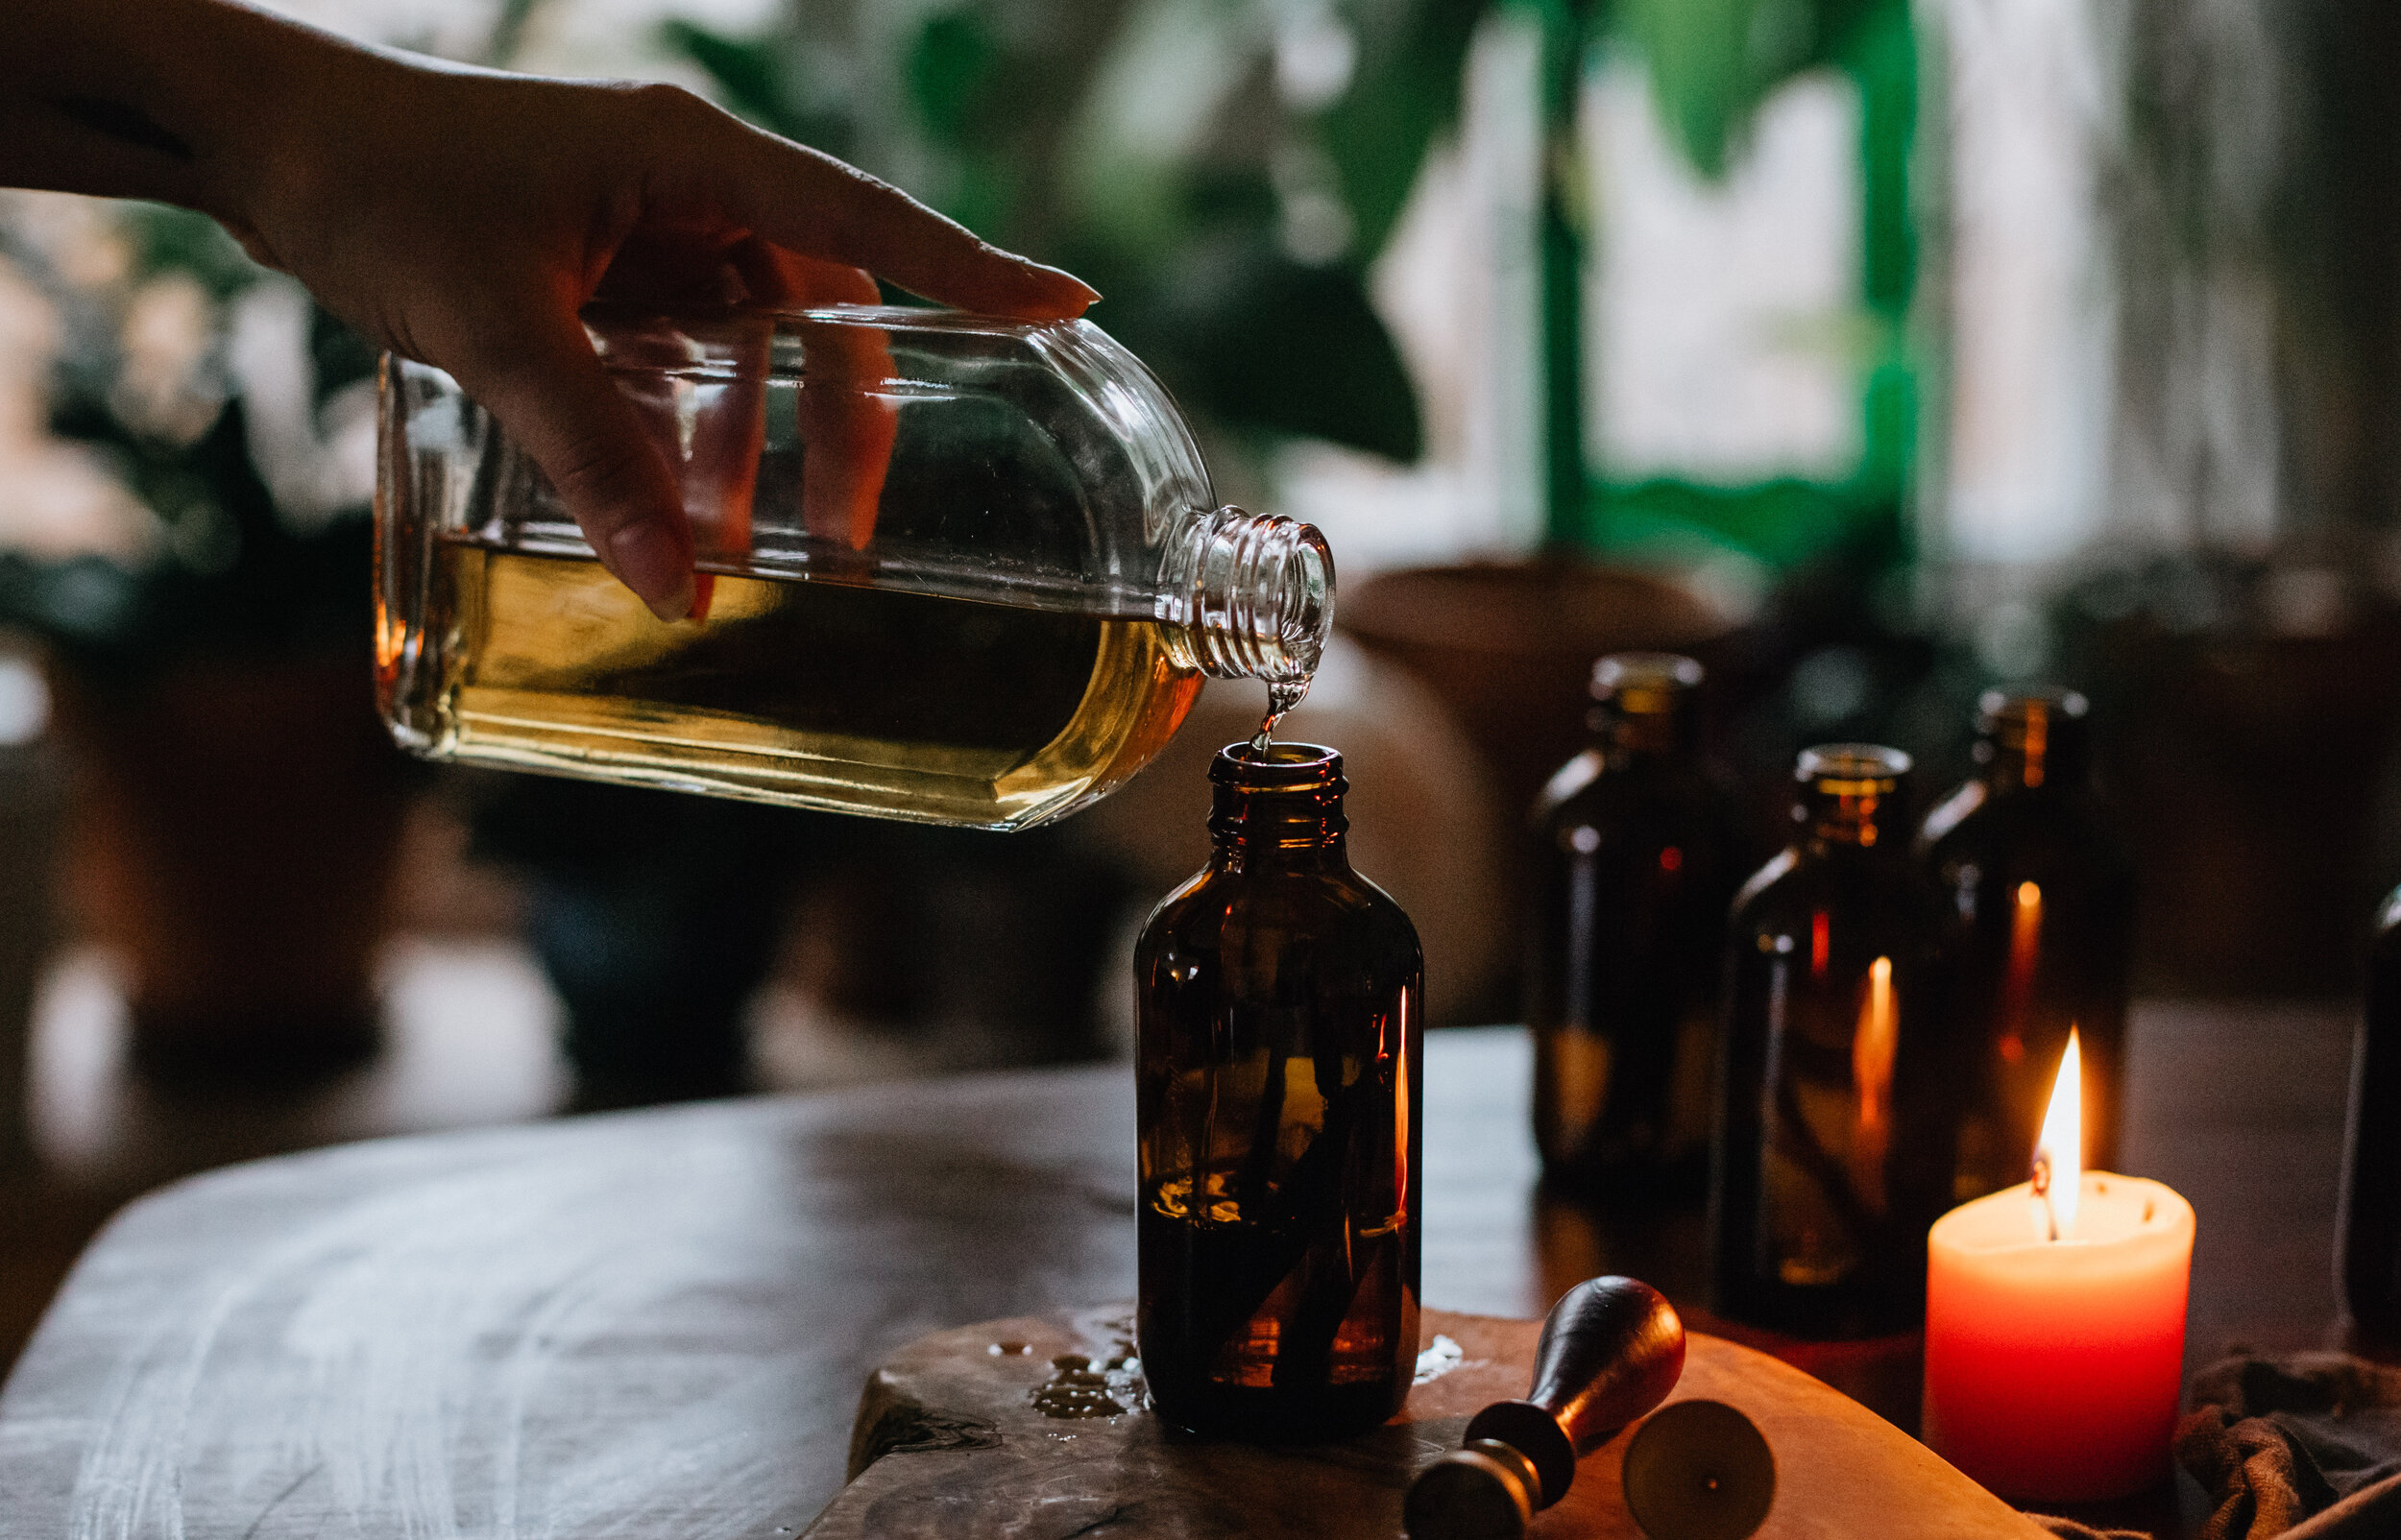
Extracts take time to infuse. Like all things, they need space to rest and integrate. So this is a lovely project to start now and have ready just in time for winter baking and gifting. It only takes about 15 minutes of hands-on time, and then a little darkness and a little patience. There are few things more magical than reaching for this sweet little amber bottle in the back of the cupboard when the time comes. Truly.

To say it’s been a strange year is a massive understatement. But when nothing seems certain, and every day brings new terrain to navigate, taking time to quietly prepare for the colder days ahead can be oddly comforting.

 Sending you warmth and love and peace of mind, dear friends.

VanillaExtract-8412.jpg
VanillaExtract-8348.jpg
VanillaExtract.png
 

Supplies:

  • Small amber jars (any size will do. I used 5oz.)

  • Organic vanilla beans (about 2 - 3 beans per small jar)

  • Bourbon - at least 80 proof (vodka also works well, but I prefer the sweet notes of bourbon)

  • Optional: Sealing wax and wax seal for packaging

VanillaExtract-8275.jpg

Step 1:

Begin by washing and sterilizing your jars and caps. You can do this with boiling water, or in a high temp dishwasher. After the jars are sterilized, allow them to air dry on a clean towel.

VanillaExtract-8281.jpg

Step 2:

Using a sharp knife, cut your vanilla beans lengthwise to expose the seeds inside. Then cut the beans in half vertically so they can easily fit into your jars with a little headspace left over.

VanillaExtract-8285.jpg

Step 3:

Place the equivalent of 2 - 3 whole vanilla beans (4 - 6 cut halves) in each clean bottle.

VanillaExtract-8308.jpg

Step 4:

Fill each bottle with bourbon or vodka, ensuring that the beans are completely submerged.

VanillaExtract-8331.jpg

Step 5:

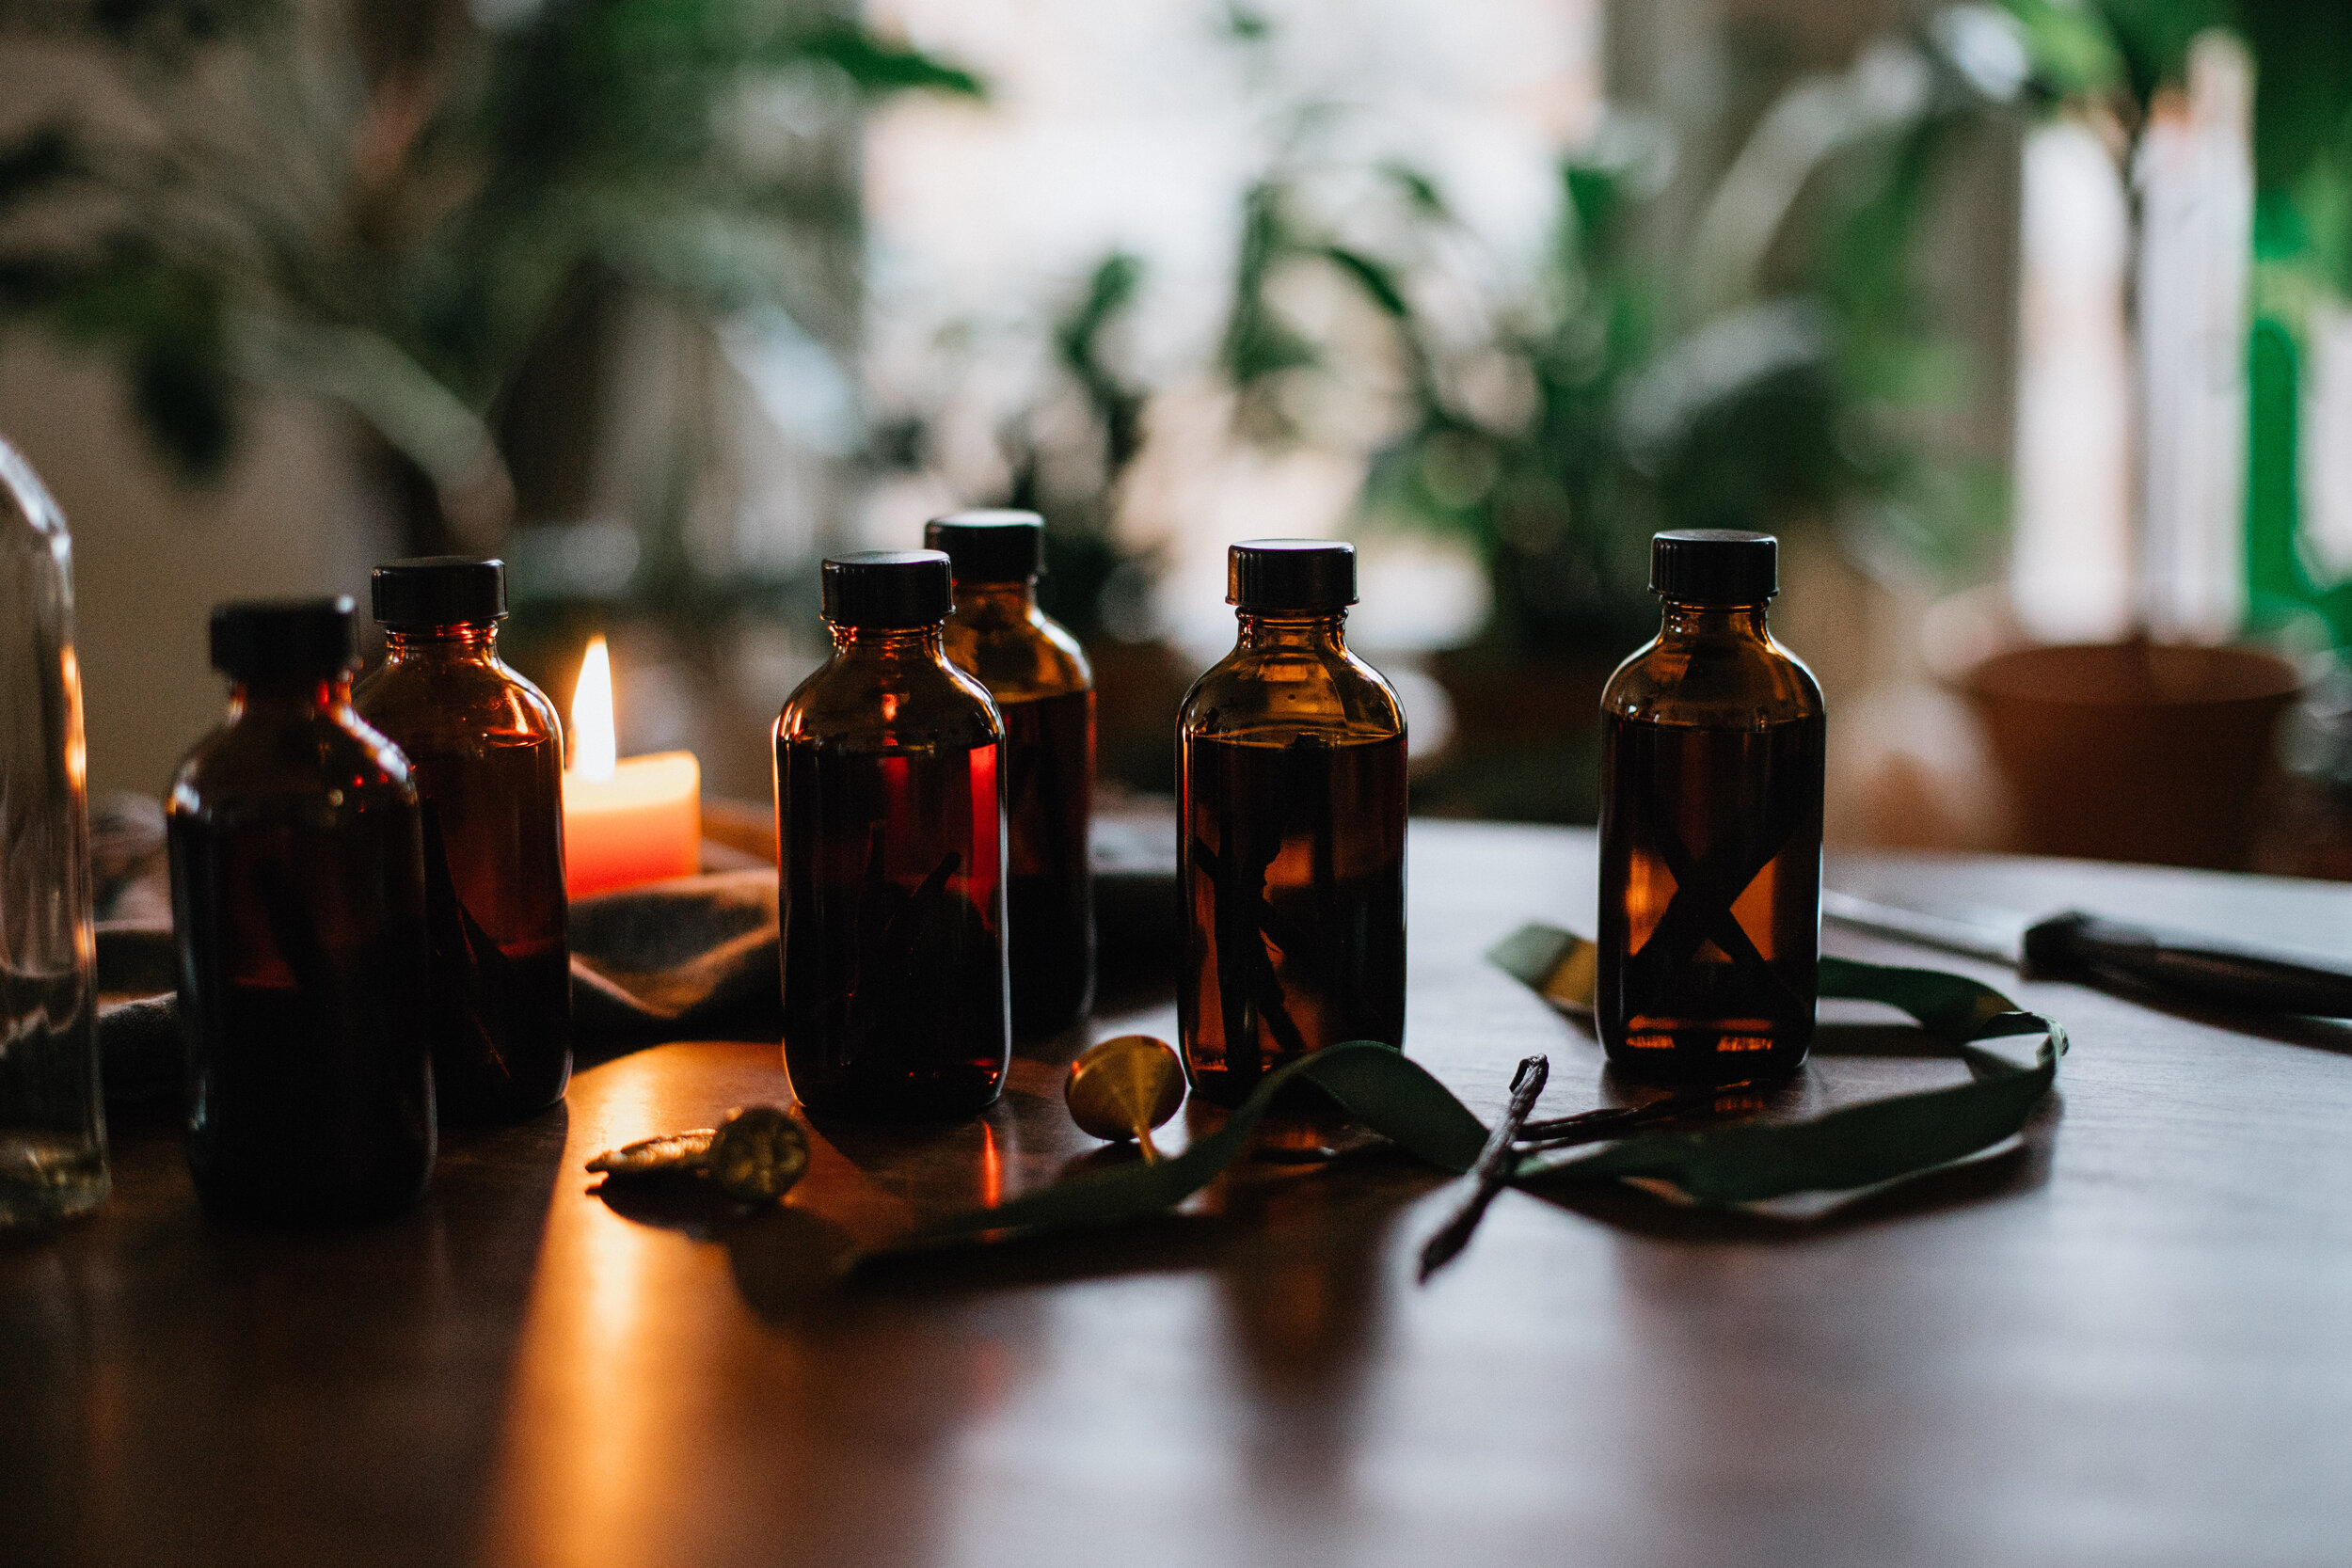
Cap bottles and place them in a dark cupboard for 5 - 8 weeks. I like to gently shake mine every day or two for the first few weeks to help the vanilla integrate.

Though you can start using the extract as soon as 5 weeks, the flavor will continue to deepen and improve with time. No need to remove the vanilla beans! You can continue to refresh the bourbon and add more beans to the jar as needed to ensure you have a perpetual supply of vanilla magic in the cupboard.

VanillaExtract-8361.jpg

Packaging:

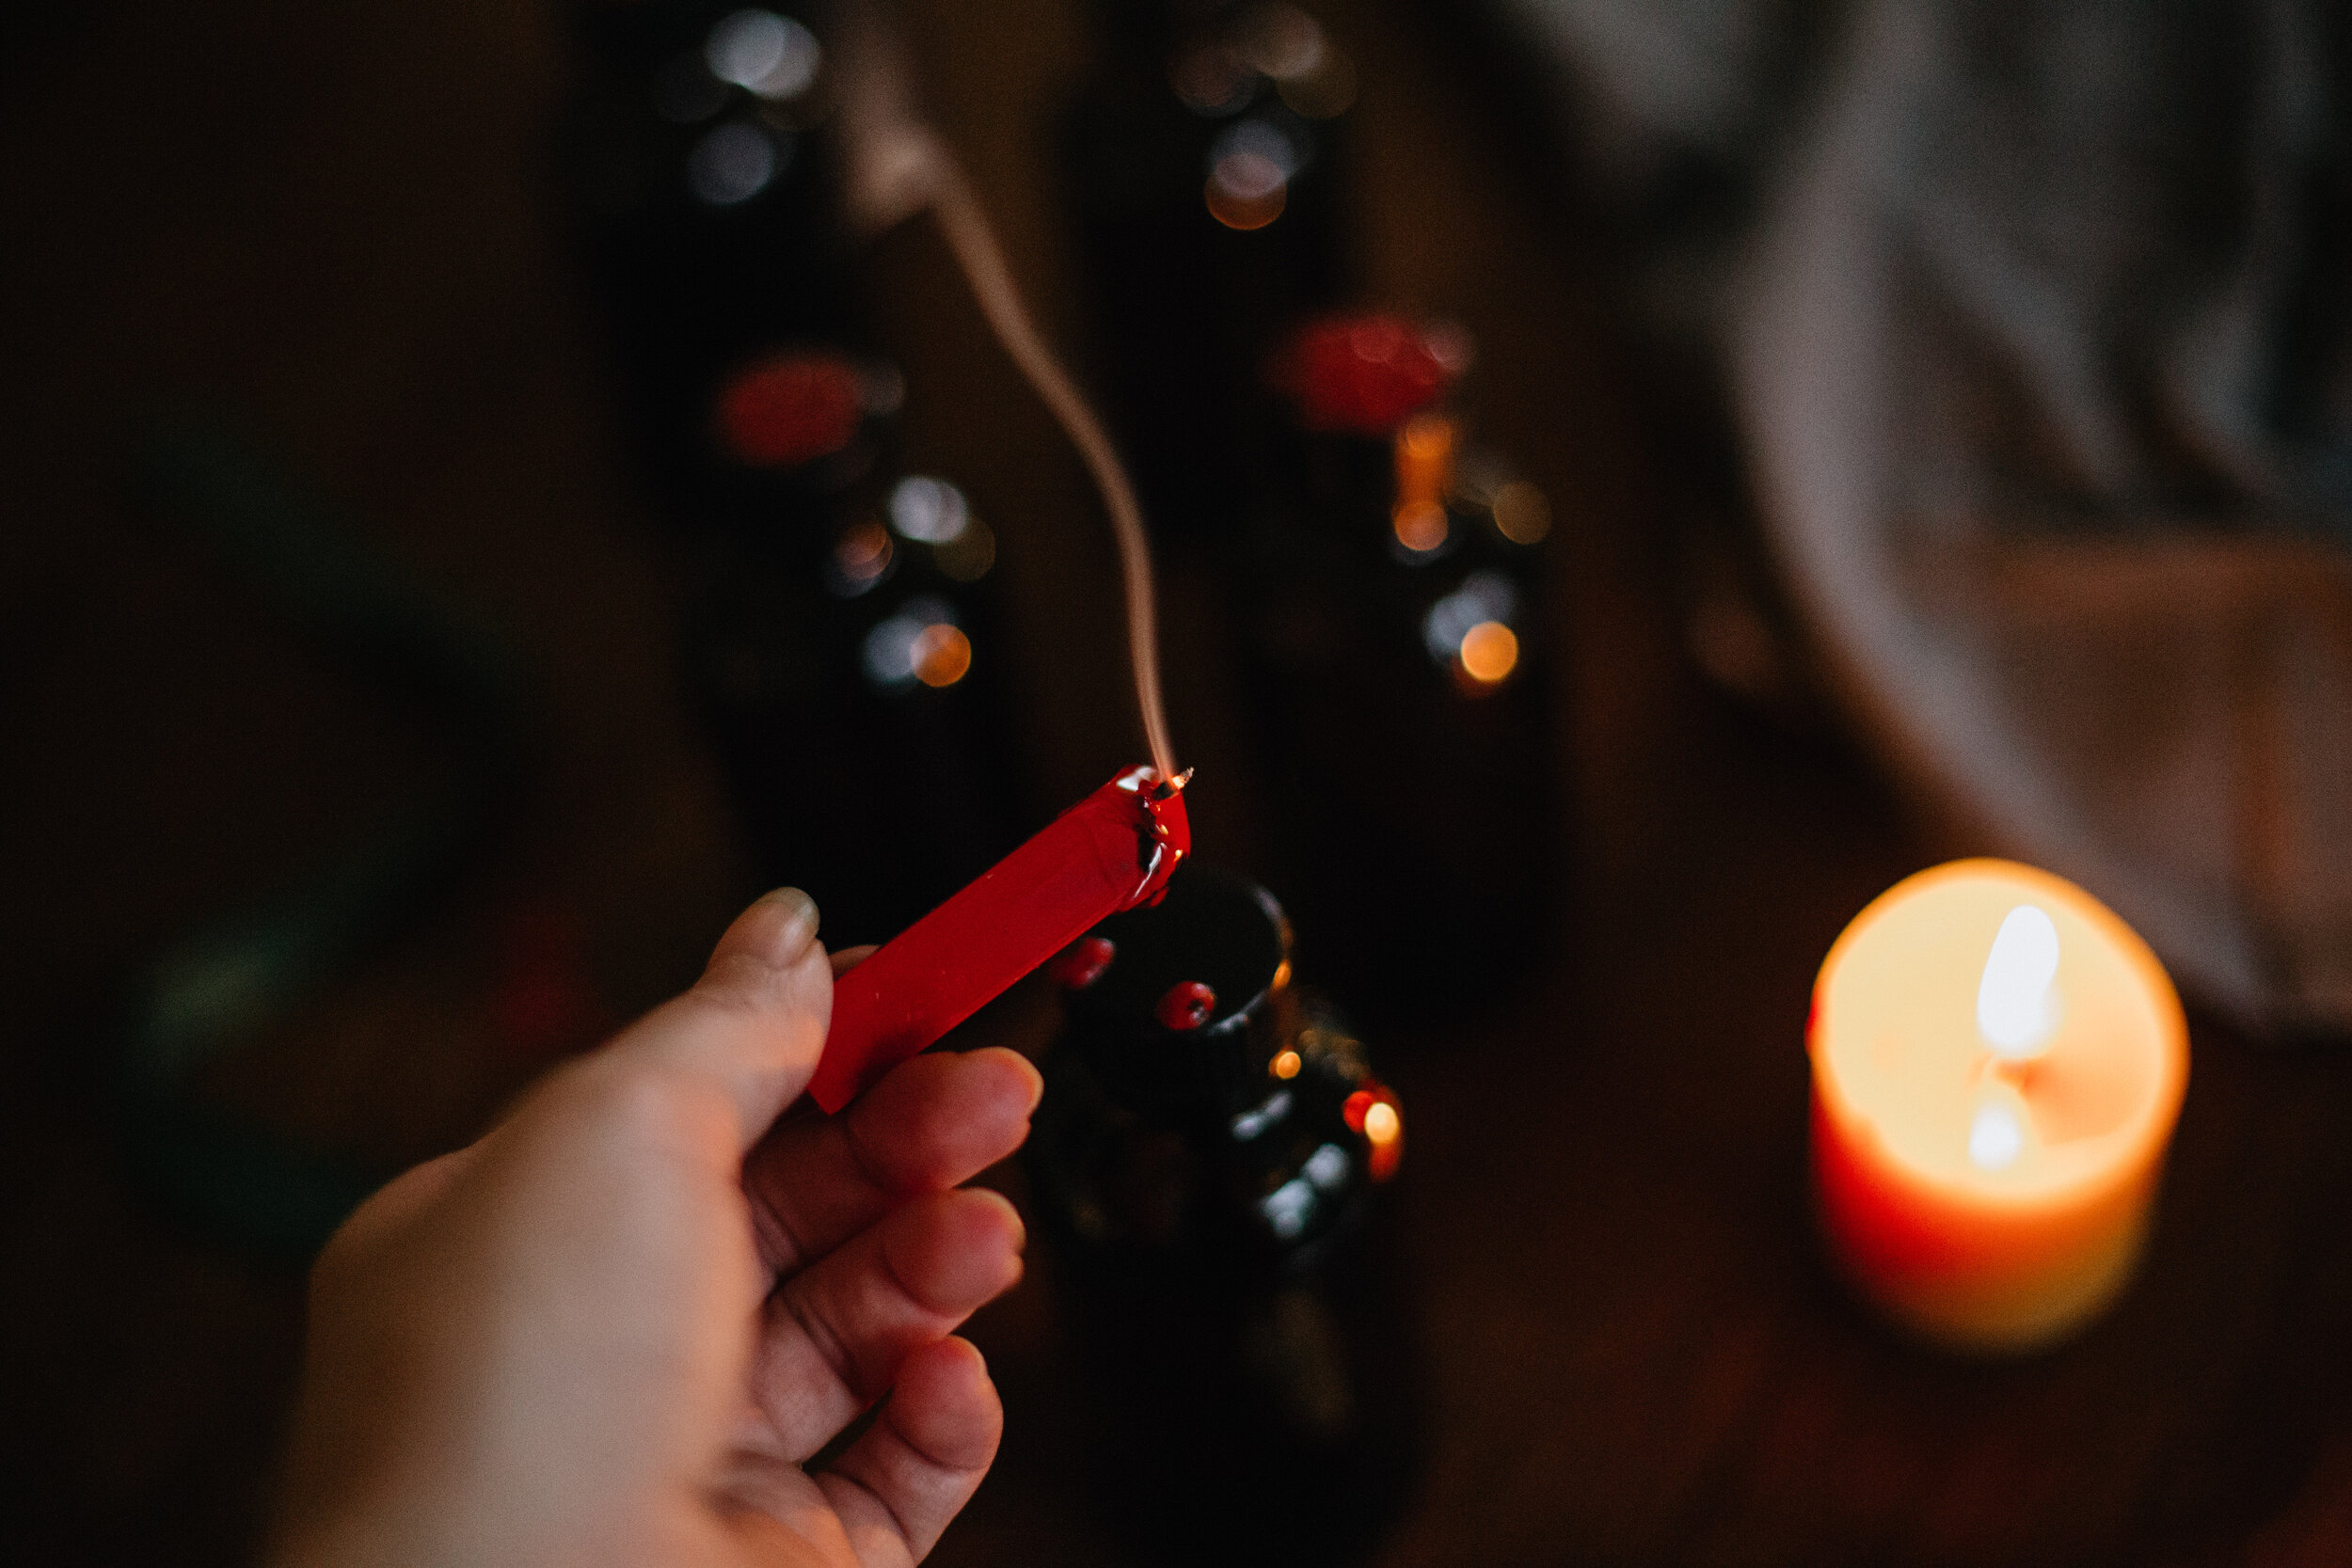
Since I will be gifting most of my bottles, I wanted to elevate the presentation a bit. I kept the packaging simple by melting a little red sealing wax onto each lid, and pressing firmly with a metal seal. I would love to try submerging the entire lid and neck of the bottle in wax to truly seal in the old world magic…but the light was fading and the baby was fussing, so this quick alternative did the trick in a pinch.

VanillaExtract-8371.jpg
VanillaExtract-8394.jpg
VanillaExtract-8380.jpg
VanillaExtract-8362.jpg

xo,

Haileysignature.png
 
VanillaExtract-8445.jpg
November 09, 2020 /Hailey Faust
homemade christmas gifts, vanilla extract, diy, diy vanilla extract, diy holiday, vanilla bean, urban homesteading, easy diy gifts, hygge, homemade, christmas, orange garland
:: Apothecary, :: DIY, :: Eat
Comment

Salted Preserved Lemons

February 24, 2016 by Hailey Faust in :: Eat

There is something so endlessly satisfying about making something from scratch you once had to buy.

It's what I love most about urban homesteading. That very particular kind of magic that comes with growing, creating and preserving your own food. Opening a fresh jar of garden tomatoes in the depths of winter or hanging bushels of herbs to dry in a warm attic. Baking your own bread. Picking berries for jam. It's a quiet beauty. A productive meditation of sorts. Investing a few moments of effort now as a lovely offering to your future self.

These Moroccan-inspired Salted Preserved Lemons take a little foresight and a little patience.  But I'm *hoping* they will be well worth the wait. Spring is in the air and I am already dreaming of using these beauties on fresh salmon fillets with dill and crisp summer salads from the garden. Preserved Lemons take about one month to cure, but only 15 minutes of real hands-on time to make.

I recommend using the traditional Meyer lemons if you can find them. Meyers are thought to be a cross between a lemon and a mandarin, so they are a little sweeter and have a thinner, softer rind than your average lemon. 

I wish I could say these were each plucked lovingly from my own little Meyer lemon tree, but that would be a total lie. If I get two lemons a year from her, I chalk it up as a bountiful harvest. Oh well. I love her anyway. 

Oh, one last thing. It's really imperative to the process that you pretend you are on a sun-baked Mediterranean villa as you make these. A glass of mint tea is really helpful for this. Just a tip. 


Ingredients

- Organic Meyer Lemons (as many as you can fit into your jar. I used about 7. Regular organic lemons will work great too, but it's imperative that they are organic since you will be eating the rind.)

- Sea salt

- Sterilized jar (any size works, as long as you can sterilize it and fit at least 3 lemons.)

Instructions

1. Wash and scrub the lemons thoroughly. Cut the ends off of each lemon.

2. Cut a lemon into quarters, but only about 3/4s of the way through. The quarters should still be connected by the stem end. Just cut far enough so that the lemon opens up a bit. 

3. Add 1 tbs of salt to the bottom of your sterilized jar. Add 1 tsp of salt to the inside of the cut lemon and close it up again. 

4. Push the salted lemon down firmly (cut side down) in the jar until the juices squish out. Cover with 1 tsp of salt. 

4. Repeat the process. Quarter another lemon, cover the inside with 1 tsp salt and squish it on top of the last lemon in the jar, adding 1 tsp of salt between layers. (Yeah. It takes a lot of salt.) 

5. I was able to get enough juice from squishing the lemons to totally cover them, which is the goal. If your lemon juice does not cover your lemons entirely, keep adding fresh lemon juice until it does. Anything that is sticking up out of the brine will likely get moldy. 

6. Let sit at room temperature for 3 days, turning over several times a day. After that, refrigerate for an additional 3 - 4 weeks before eating. They can supposedly keep for up to six months in the fridge, but this is my first batch so I don't speak from experience. Many cultures don't even bother refrigerating, but I'm not much of a risk taker when it comes to food safety. 

7. Before using, discard the pulp and wash excess salt off. It's the rind you want. Using a little bit of the juice can also great for brightening up a dish. 

Heres to springtime and little jars of sunshine. Have a great week everyone. 

xo,

 
February 24, 2016 /Hailey Faust
Lemons, recipes, preserves, urban homesteading
:: Eat
Comment

Subscribe

Subscribe below to keep up on all the lovely!
We promise to never send spam or share your info with anyone else. For realzies. xo

We respect your privacy and will not share your information with any third parties. 

Thank you!

© 2016 HAILEY FAUST LLC. ALL RIGHTS RESERVED.