
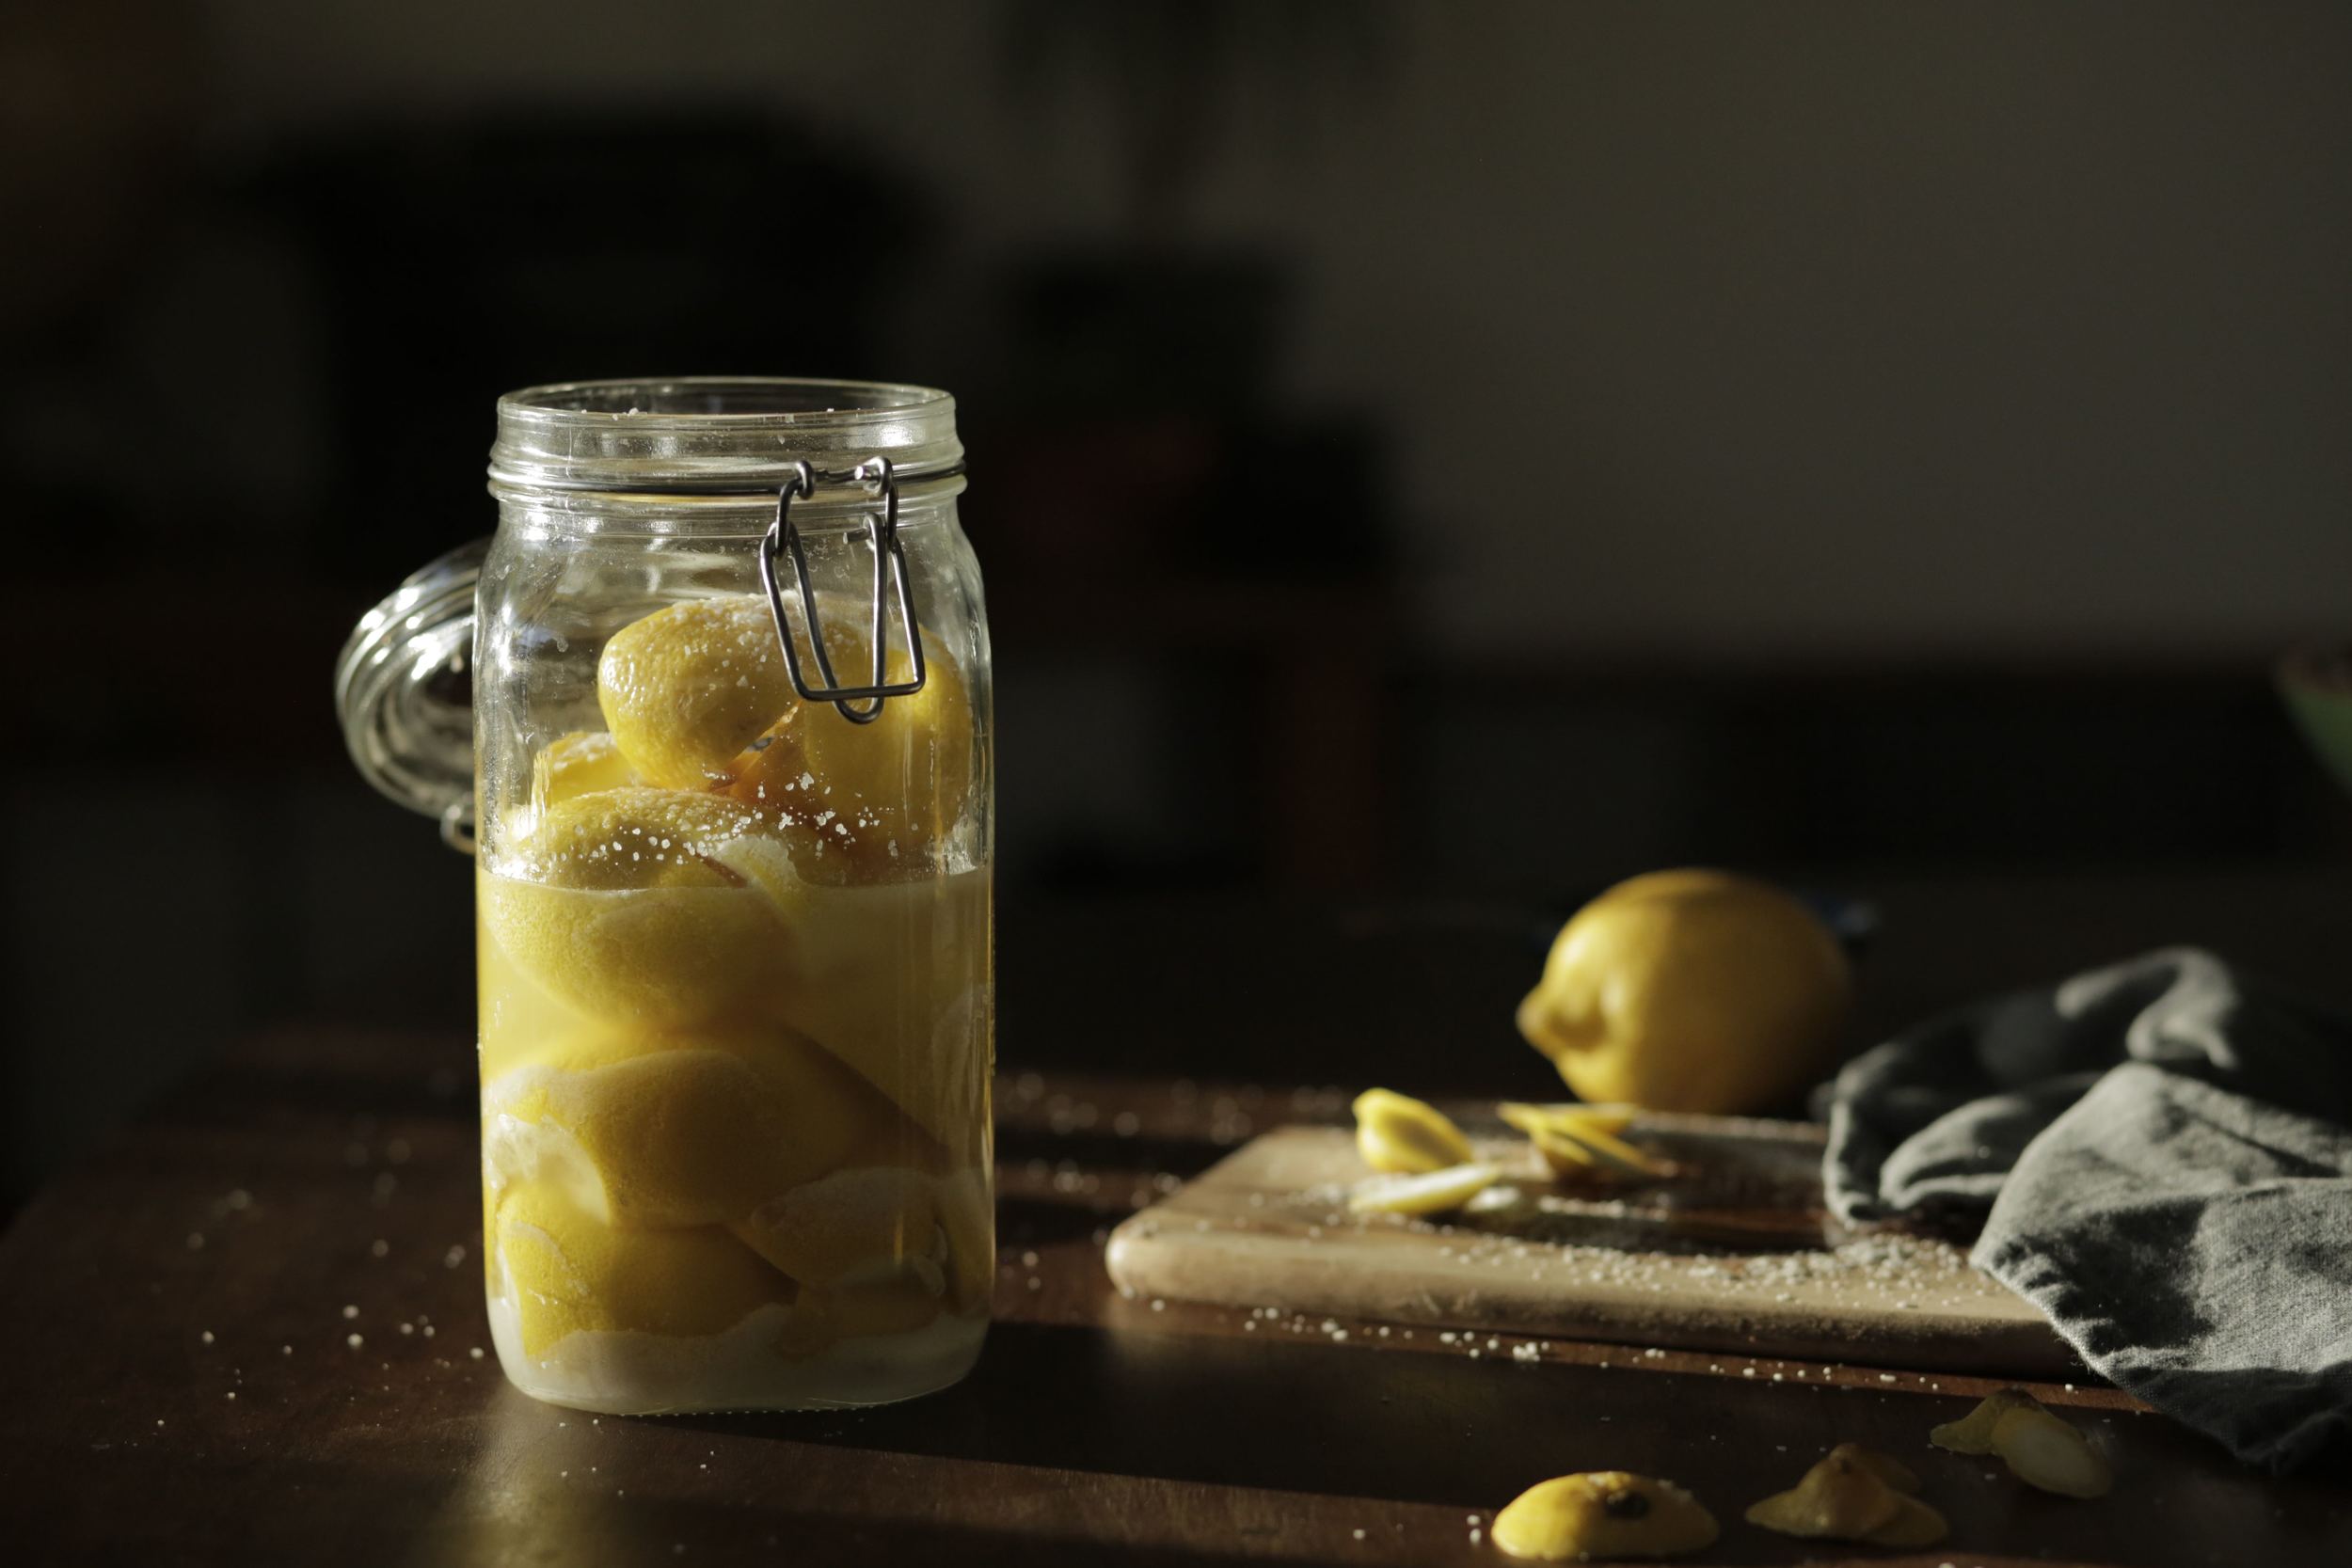
Salted Preserved Lemons
There is something so endlessly satisfying about making something from scratch you once had to buy.
It's what I love most about urban homesteading. That very particular kind of magic that comes with growing, creating and preserving your own food. Opening a fresh jar of garden tomatoes in the depths of winter or hanging bushels of herbs to dry in a warm attic. Baking your own bread. Picking berries for jam. It's a quiet beauty. A productive meditation of sorts. Investing a few moments of effort now as a lovely offering to your future self.
These Moroccan-inspired Salted Preserved Lemons take a little foresight and a little patience. But I'm *hoping* they will be well worth the wait. Spring is in the air and I am already dreaming of using these beauties on fresh salmon fillets with dill and crisp summer salads from the garden. Preserved Lemons take about one month to cure, but only 15 minutes of real hands-on time to make.
I recommend using the traditional Meyer lemons if you can find them. Meyers are thought to be a cross between a lemon and a mandarin, so they are a little sweeter and have a thinner, softer rind than your average lemon.
I wish I could say these were each plucked lovingly from my own little Meyer lemon tree, but that would be a total lie. If I get two lemons a year from her, I chalk it up as a bountiful harvest. Oh well. I love her anyway.
Oh, one last thing. It's really imperative to the process that you pretend you are on a sun-baked Mediterranean villa as you make these. A glass of mint tea is really helpful for this. Just a tip.


Ingredients
- Organic Meyer Lemons (as many as you can fit into your jar. I used about 7. Regular organic lemons will work great too, but it's imperative that they are organic since you will be eating the rind.)
- Sea salt
- Sterilized jar (any size works, as long as you can sterilize it and fit at least 3 lemons.)
Instructions
1. Wash and scrub the lemons thoroughly. Cut the ends off of each lemon.
2. Cut a lemon into quarters, but only about 3/4s of the way through. The quarters should still be connected by the stem end. Just cut far enough so that the lemon opens up a bit.
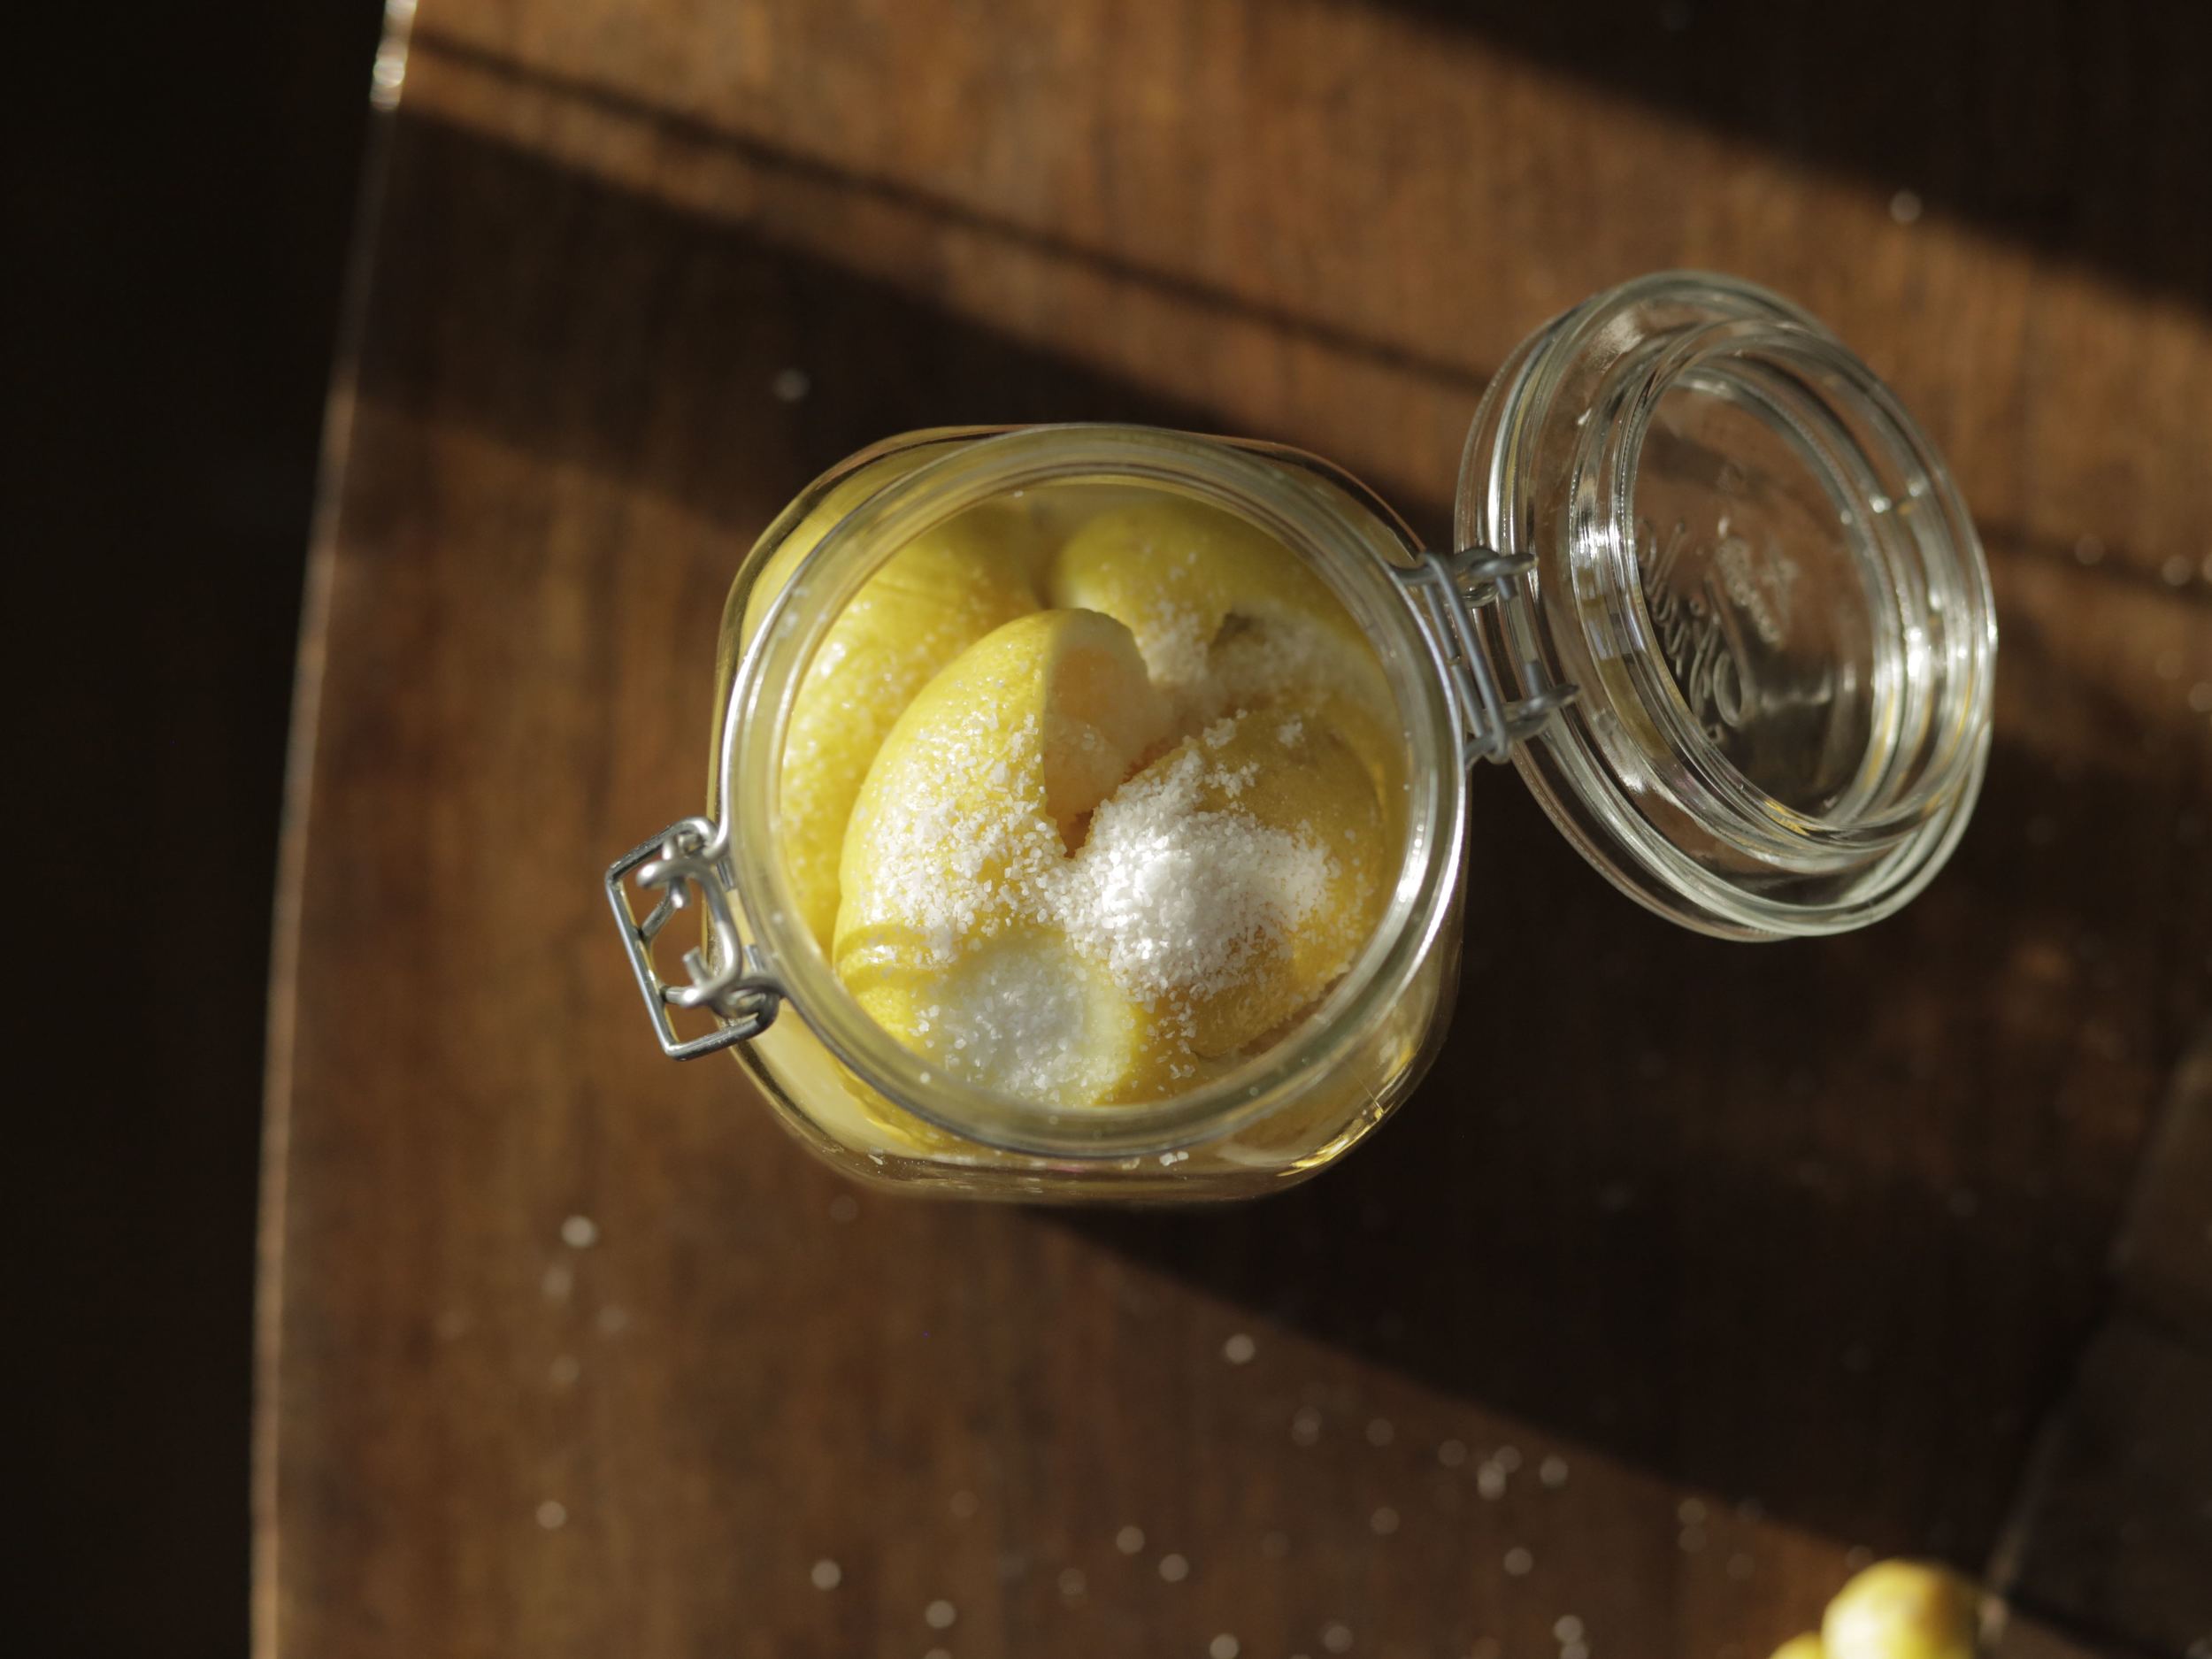
3. Add 1 tbs of salt to the bottom of your sterilized jar. Add 1 tsp of salt to the inside of the cut lemon and close it up again.
4. Push the salted lemon down firmly (cut side down) in the jar until the juices squish out. Cover with 1 tsp of salt.
4. Repeat the process. Quarter another lemon, cover the inside with 1 tsp salt and squish it on top of the last lemon in the jar, adding 1 tsp of salt between layers. (Yeah. It takes a lot of salt.)
5. I was able to get enough juice from squishing the lemons to totally cover them, which is the goal. If your lemon juice does not cover your lemons entirely, keep adding fresh lemon juice until it does. Anything that is sticking up out of the brine will likely get moldy.
6. Let sit at room temperature for 3 days, turning over several times a day. After that, refrigerate for an additional 3 - 4 weeks before eating. They can supposedly keep for up to six months in the fridge, but this is my first batch so I don't speak from experience. Many cultures don't even bother refrigerating, but I'm not much of a risk taker when it comes to food safety.
7. Before using, discard the pulp and wash excess salt off. It's the rind you want. Using a little bit of the juice can also great for brightening up a dish.
Heres to springtime and little jars of sunshine. Have a great week everyone.
xo,

